Go Back
Make Ahead Halloween Party Food Recipe
Ash Tyrrell

Make Ahead Halloween Party Food Recipe

I first whipped these up when I had about twenty minutes before my daughter's Halloween class party and zero patience left for anything complicated. I needed something that looked fun, didn't need an oven, and wouldn't turn into a soggy mess on the drive over. That's exactly what I got, and I've been making them every October since.
Total Time 25 minutes
Servings: 8

Ingredients
  

  • 2 Granny Smith apples quartered – I always pick Granny Smith because the tartness balances the sweet peanut butter and the flesh stays firm instead of turning mushy.
  • ¼ cup peanut butter – go for a thick standard jarred kind like Jif or Skippy; natural peanut butter is too loose and the "teeth" slide right off.
  • 40 pine nuts – these are your teeth and their small size makes them easy to press in without tearing the apple.
  • 1 ounce cheddar cheese or ¼ mango cut into small triangles – cheese gives a savory tongue, mango gives a sweet one, so pick based on your crowd.
  • 8 to 16 candy eyeballs – purely decorative but they're what makes this recipe read as one of those creepy halloween food ideas adults still get a kick out of.
  • 2 teaspoons citric acid or juice of 1 lemon stirred into 1 quart cold water – this is my make-ahead trick for keeping the apples from browning before serving.

Method
 

  1. Stir the citric acid or fresh lemon juice into your quart of cold water. Drop the apple quarters in and let them sit for about five minutes. This step is what lets you prep hours ahead without the fruit turning brown and unappetizing on the platter.
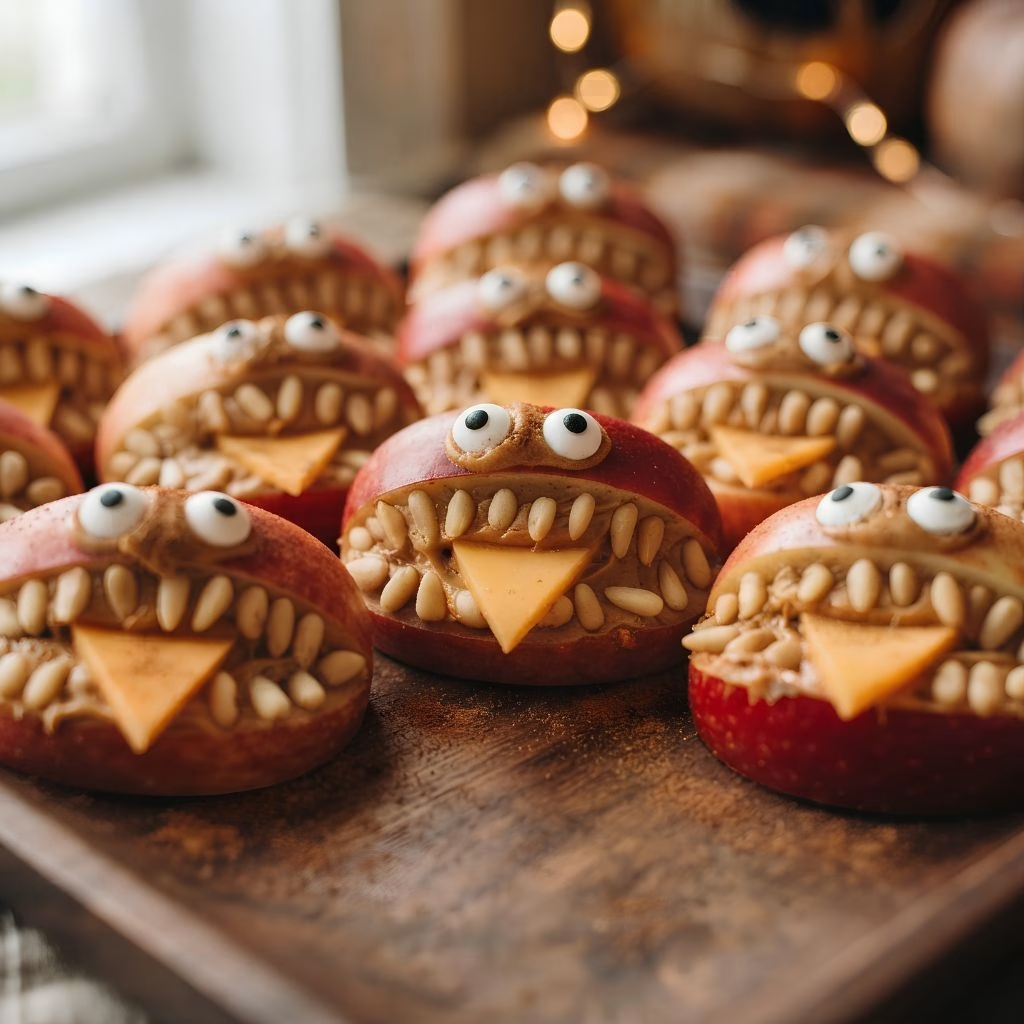
  2. Pat the apple quarters dry with a paper towel. Using your paring knife, carve a shallow "mouth" shape into the curved side of each piece. Keep the cut fairly deep so there's room to hold the peanut butter and toppings without them spilling out.
  3. While the apples dry, slice your cheddar cheese or mango into small triangle shapes. These will sit inside the mouth as the "tongue," so aim for pieces about the size of your thumbnail so they don't overwhelm the bite.
  4. Spread a thin layer of peanut butter inside each carved mouth using your butter knife. Press the pine nuts into the peanut butter along the top and bottom edges of the mouth to form rows of teeth. Work quickly since peanut butter firms up a bit once it's been in the fridge.
  5. Tuck one cheese or mango triangle into the center of each mouth so it looks like a tongue poking out. Dab a tiny bit of peanut butter above the mouth and press one or two candy eyeballs into place. This last step is what turns a plain apple slice into a genuinely fun halloween party food table idea.
  6. If you're serving right away, arrange the monsters on your platter and set them out. If you're prepping ahead, cover the tray loosely and refrigerate until 30 minutes before your guests arrive, then bring them out at room temperature for the best texture.
Notes

  • I always cut my apples as close to the soak as possible, since apples that sit around uncut start to soften and get harder to carve cleanly.
  • I keep my peanut butter at room temperature before I start, because cold peanut butter cracks the apple instead of spreading smoothly.
  • I press the pine nuts in at a slight angle instead of straight down, since it makes the "teeth" look more natural and less like they're just glued on.
  • I like laying my finished monsters on a bed of shredded lettuce or kale, which keeps them from sliding around on the platter and adds a nice pop of green.
  • I prep my citric acid soak the night before if I know it's going to be a busy morning, so all I have to do the day of is cut and assemble.