Go Back
Mini Pumpkin Pie Recipe
Ash Tyrrell

Mini Pumpkin Pie Recipe

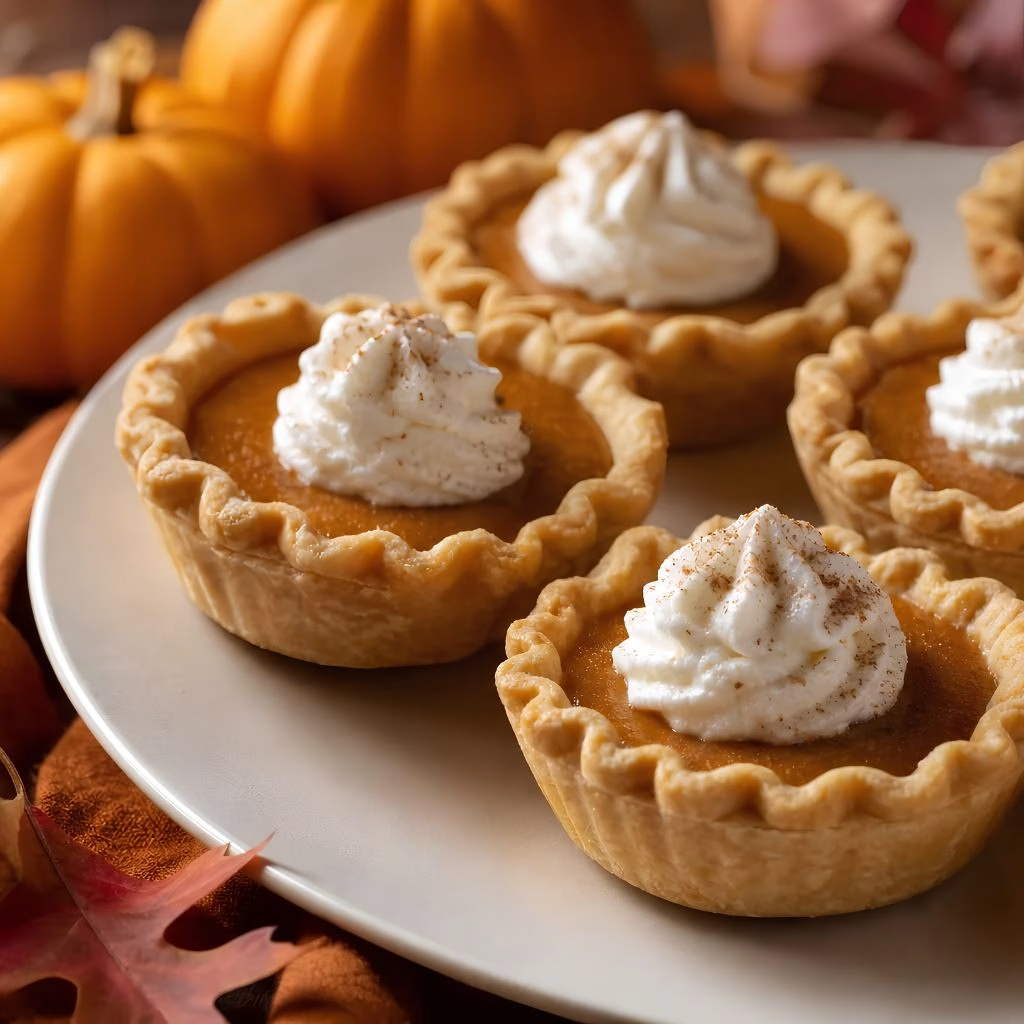
I still remember the first time I made mini pumpkin pies for a small Thanksgiving gathering, and I honestly haven't gone back to a full-sized pie since. I love that each little pie is portioned out perfectly, so there's no messy slicing or squabbling over the biggest piece.
Prep Time 25 minutes
Cook Time 20 minutes

Ingredients
  

  • 3 tablespoons cold unsalted butter diced – keeping it cold is the secret to a flaky, layered crust
  • 1 1/2 tablespoons cold shortening diced – adds tenderness and helps the crust hold its shape in the muffin cups
  • 1/2 cup plus 2 tablespoons all-purpose flour – the base of the crust; spoon and level it so you don't pack in too much
  • 1/4 teaspoon salt for the crust – balances the richness of the butter and shortening
  • 2 tablespoons ice-cold water – bring the dough together gently adding a touch more if it feels dry
  • 1 tablespoon plus 2 teaspoons sugar – sweetens the pumpkin filling without overpowering the spices
  • 1/2 teaspoon ground cinnamon – the backbone of that classic pumpkin pie flavor
  • 1/8 teaspoon ground ginger – adds a warm subtle kick
  • 1/8 teaspoon ground nutmeg – rounds out the spice blend with a cozy earthy note
  • Pinch of ground cloves – just a touch goes a long way here
  • Pinch of salt for the filling – sharpens all the other flavors
  • 1/4 cup plus 1 tablespoon canned pumpkin puree – use pure pumpkin not pumpkin pie filling, for the best texture
  • 1 tablespoon milk – loosens the filling so it whisks up silky smooth
  • 1 large egg – binds the filling and gives it that classic custardy set
  • 1 large egg beaten, for brushing – gives the crust a shiny, golden-brown finish

Method
 

  1. In a mixing bowl, combine the cold butter, shortening, flour, and salt. Use your fingertips or a pastry blender to work the fats into the flour until it looks crumbly, almost like coarse sand. Pinching the fat between your fingers instead of mashing it creates those flaky layers you want in the finished crust.
  2. Sprinkle the ice-cold water over the flour mixture and stir gently with a fork until it starts to come together. Press it into a disk shape, wrap it tightly, and refrigerate for about 20 minutes. This resting time keeps the butter firm, which is what gives you a flaky crust instead of a tough one.
  3. While the dough chills, preheat your oven to 400°F. In a separate bowl, whisk together the sugar, cinnamon, ginger, nutmeg, cloves, salt, pumpkin puree, milk, and one egg until completely smooth. Set the filling aside so the flavors have a moment to meld together.
  4. Flour your work surface and roll the chilled dough into a rough circle, about nine inches across. Use a 3 to 4-inch round cookie cutter to cut out circles, then gently press each one into the cups of your muffin pan, fluting the edges with your fingers if you like a decorative touch.
  5. Spoon the pumpkin filling evenly into each crust-lined cup, filling them almost to the top without overflowing. Brush the beaten egg lightly along the exposed crust edges. This little step is what gives the finished pies that bakery-style golden shine.
  6. Bake the pies at 400°F for 10 minutes, then lower the oven temperature to 325°F and continue baking for another 10 minutes. This two-stage bake sets the crust quickly before gently finishing the custard filling so it doesn't crack or puff up too much.
  7. Let the pies cool fully in the pan before attempting to remove them, since the filling needs time to firm up. Run a thin knife around the edge of each pie to loosen it, then lift them out carefully onto a cooling rack or serving plate.
Notes

  • I always keep my butter and shortening in the freezer for ten minutes before starting, since colder fat makes a noticeably flakier crust.
  • I whisk my filling ingredients a little longer than feels necessary, because a fully smooth mixture bakes up with a much creamier texture.
  • I use a light hand when pressing the dough into the muffin cups, since overworking it makes the crust tough instead of tender.
  • I like to place my muffin pan on a baking sheet, which makes it so much easier to move in and out of the oven without spilling filling.
  • I always let mine cool completely, even though the smell makes that really hard, because warm filling doesn't hold its shape when you try to remove the pies.