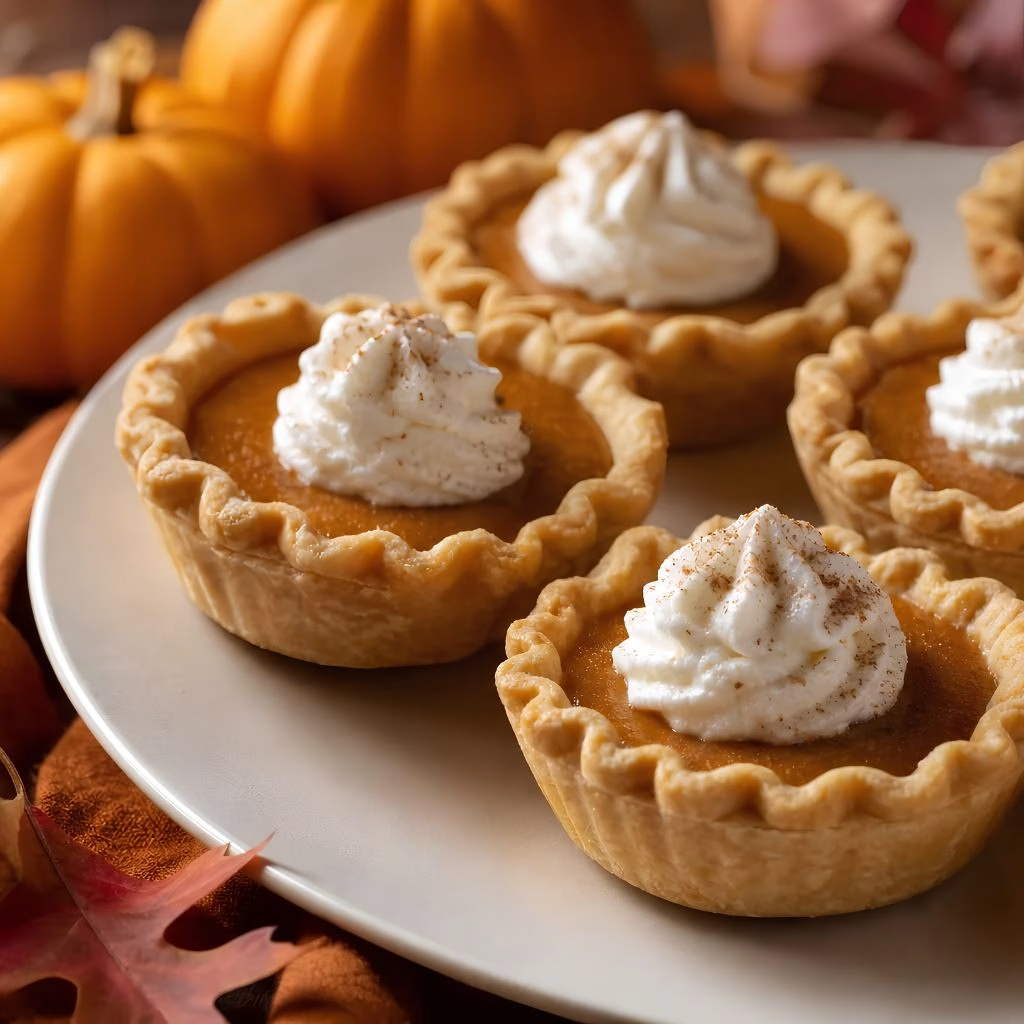
I still remember the first time I made Mini Pumpkin Pie Recipe for a small Thanksgiving gathering, and I honestly haven’t gone back to a full-sized pie since. I love that each little pie is portioned out perfectly, so there’s no messy slicing or squabbling over the biggest piece. Every bite has that same creamy, spiced pumpkin filling wrapped in a flaky, buttery crust that I crave every fall.
If you’re hosting a smaller crowd, or you just want dessert that looks adorable on a platter, this mini pumpkin pie recipe is exactly what I turn to. I promise once you try these two-bite pies, you’ll want to keep a batch in your freezer all season long.
Cooking Time
- Prep Time: 25 minutes
- Cooking Time: 20 minutes
- Total Time: 45 minutes (plus 20 minutes chilling time)
Equipment You Need
- Mixing bowl – for blending the crust ingredients and whisking the filling
- Pastry blender or fork – to cut cold butter and shortening into the flour
- Standard or mini muffin pan – shapes and bakes the individual pies
- Rolling pin – rolls the pie dough to an even thickness
- Round cookie cutter (3 to 4 inches) – cuts out the small crust circles
- Whisk – blends the pumpkin filling until smooth and lump-free
- Pastry brush – brushes egg wash on the crust edges for a golden finish
- Wire cooling rack – helps the pies cool evenly before you remove them from the pan
Ingredients
- 3 tablespoons cold unsalted butter, diced – keeping it cold is the secret to a flaky, layered crust
- 1 1/2 tablespoons cold shortening, diced – adds tenderness and helps the crust hold its shape in the muffin cups
- 1/2 cup plus 2 tablespoons all-purpose flour – the base of the crust; spoon and level it so you don’t pack in too much
- 1/4 teaspoon salt, for the crust – balances the richness of the butter and shortening
- 2 tablespoons ice-cold water – bring the dough together gently, adding a touch more if it feels dry
- 1 tablespoon plus 2 teaspoons sugar – sweetens the pumpkin filling without overpowering the spices
- 1/2 teaspoon ground cinnamon – the backbone of that classic pumpkin pie flavor
- 1/8 teaspoon ground ginger – adds a warm, subtle kick
- 1/8 teaspoon ground nutmeg – rounds out the spice blend with a cozy, earthy note
- Pinch of ground cloves – just a touch goes a long way here
- Pinch of salt, for the filling – sharpens all the other flavors
- 1/4 cup plus 1 tablespoon canned pumpkin puree – use pure pumpkin, not pumpkin pie filling, for the best texture
- 1 tablespoon milk – loosens the filling so it whisks up silky smooth
- 1 large egg – binds the filling and gives it that classic custardy set
- 1 large egg, beaten, for brushing – gives the crust a shiny, golden-brown finish
Note: this recipe makes about 4 mini pumpkin pies in a standard muffin pan, or roughly 10 to 12 bite-sized pies in a mini muffin pan, and it doubles easily if you’re feeding a bigger group.
How to Make Mini Pumpkin Pie Recipe?
Making these little pies is simpler than you’d think, and most of the work is just mixing and rolling. I like to get my crust chilling first so the rest of the process moves quickly. Here’s exactly how I put mine together every fall.
Make the Pie Dough
In a mixing bowl, combine the cold butter, shortening, flour, and salt. Use your fingertips or a pastry blender to work the fats into the flour until it looks crumbly, almost like coarse sand. Pinching the fat between your fingers instead of mashing it creates those flaky layers you want in the finished crust.
Add Water and Chill
Sprinkle the ice-cold water over the flour mixture and stir gently with a fork until it starts to come together. Press it into a disk shape, wrap it tightly, and refrigerate for about 20 minutes. This resting time keeps the butter firm, which is what gives you a flaky crust instead of a tough one.
Preheat and Mix the Filling
While the dough chills, preheat your oven to 400°F. In a separate bowl, whisk together the sugar, cinnamon, ginger, nutmeg, cloves, salt, pumpkin puree, milk, and one egg until completely smooth. Set the filling aside so the flavors have a moment to meld together.
Roll and Cut the Crust
Flour your work surface and roll the chilled dough into a rough circle, about nine inches across. Use a 3 to 4-inch round cookie cutter to cut out circles, then gently press each one into the cups of your muffin pan, fluting the edges with your fingers if you like a decorative touch.
Fill and Brush the Pies
Spoon the pumpkin filling evenly into each crust-lined cup, filling them almost to the top without overflowing. Brush the beaten egg lightly along the exposed crust edges. This little step is what gives the finished pies that bakery-style golden shine.
Bake in Two Stages
Bake the pies at 400°F for 10 minutes, then lower the oven temperature to 325°F and continue baking for another 10 minutes. This two-stage bake sets the crust quickly before gently finishing the custard filling so it doesn’t crack or puff up too much.
Cool Completely Before Serving
Let the pies cool fully in the pan before attempting to remove them, since the filling needs time to firm up. Run a thin knife around the edge of each pie to loosen it, then lift them out carefully onto a cooling rack or serving plate.
Additional Tips for Making This Recipe Better
I’ve made these mini pumpkin pies more times than I can count, and these small tweaks have made a real difference for me over the years.
- I always keep my butter and shortening in the freezer for ten minutes before starting, since colder fat makes a noticeably flakier crust.
- I whisk my filling ingredients a little longer than feels necessary, because a fully smooth mixture bakes up with a much creamier texture.
- I use a light hand when pressing the dough into the muffin cups, since overworking it makes the crust tough instead of tender.
- I like to place my muffin pan on a baking sheet, which makes it so much easier to move in and out of the oven without spilling filling.
- I always let mine cool completely, even though the smell makes that really hard, because warm filling doesn’t hold its shape when you try to remove the pies.
Common Mistakes to Avoid
I’ve made a few of these mistakes myself, so I’d rather you skip the trial and error.
- I once grabbed pumpkin pie filling instead of pure pumpkin puree, and my filling turned out overly sweet and oddly seasoned, so I always double-check the can now.
- I used to skip chilling the dough when I was in a rush, and the crust baked up tough instead of flaky, so that step is non-negotiable for me now.
- I overfilled a few cups early on and ended up with a sticky, overflowed mess in my muffin pan, so I stop just shy of the rim now.
- I tried removing the pies while they were still warm once, and a couple fell apart, so I make myself wait until they’re fully cooled.
- I forgot the egg wash on one batch, and while they still tasted great, they looked pale next to the shiny, golden ones, so I never skip that brush of egg anymore.
How to Serve Mini Pumpkin Pie Recipe?
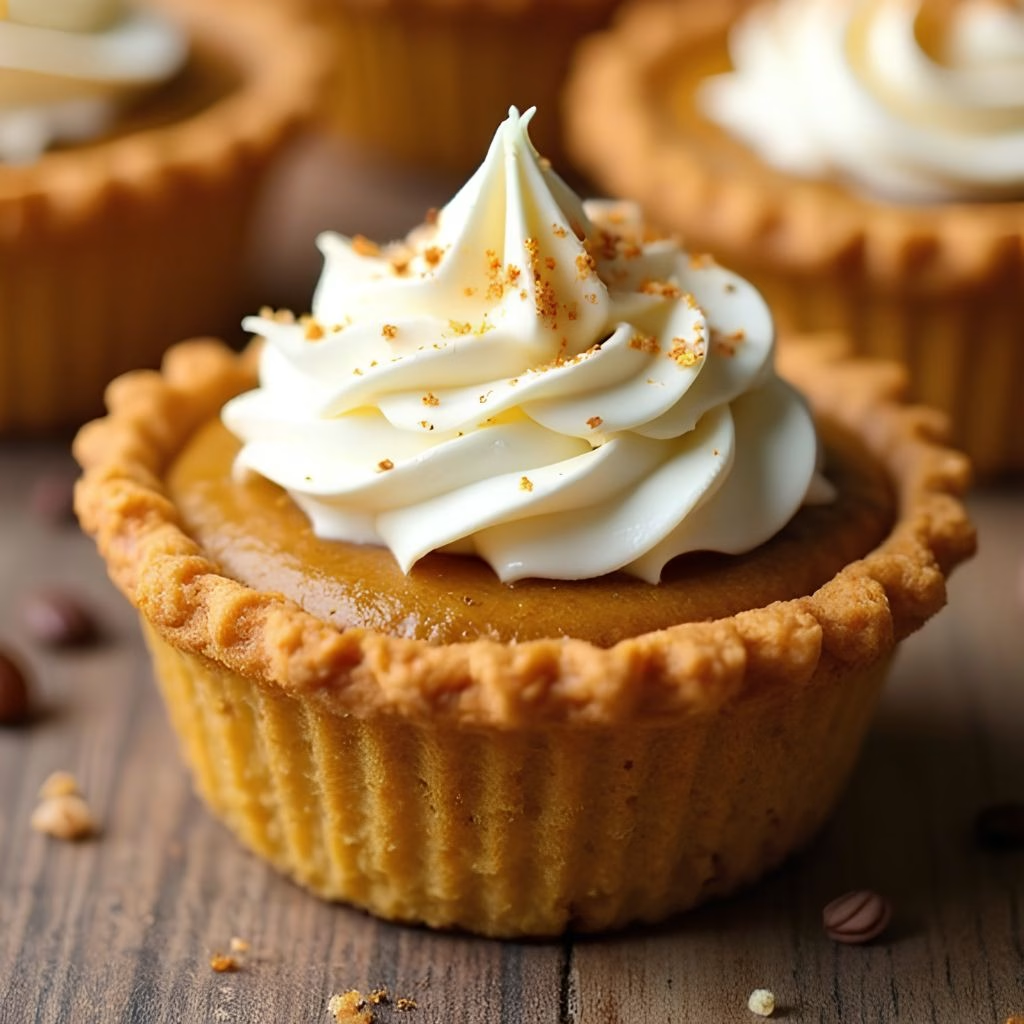
These little pies are basically made for a dessert table, and I love arranging them on a tiered stand so they’re the centerpiece rather than an afterthought. A dollop of lightly sweetened whipped cream and a light dusting of cinnamon or pumpkin pie spice on top makes them look like they came straight from a bakery case.
If you’re setting up a broader fall spread, these pies pair beautifully alongside other mini treats, like this mini apple pie recipe, which gives your guests a second bite-sized option with a completely different flavor. A few candied pecans or a light caramel drizzle also dress these up nicely for a more formal holiday table.
Variations
- Dairy-free version: swap the milk for canned coconut milk or your favorite plant-based milk alternative.
- Sugar-free option: use a granulated sugar substitute measured cup for cup in the filling.
- Extra creamy filling: stir in a spoonful of cream cheese for a pumpkin cheesecake-style bite, similar in spirit to a mini cheesecake recipe.
- Flavor boost: add a splash of vanilla extract or a teaspoon of maple syrup to deepen the filling’s flavor.
- Boozy twist: stir a tablespoon of bourbon or dark rum into the filling for an adults-only version.
- Pre-made crust shortcut: use a store-bought rolled pie crust instead of homemade if you’re short on time.
- Muffin tin size swap: use a mini muffin tin instead of a standard one for even smaller, party-friendly bites.
Nutritional Information
Here’s a general idea of what you’re looking at per mini pie, though exact numbers will vary based on the ingredients and portion sizes you use.
- Calories: approximately 150-180 per mini pie
- Protein: approximately 3 grams per mini pie
- Carbohydrates: approximately 15-18 grams per mini pie
- Fat: approximately 9-11 grams per mini pie
Make Ahead and Storage
You can prepare the pie dough up to two days ahead and keep it wrapped tightly in the refrigerator until you’re ready to roll and bake. The pumpkin filling can also be whisked together a day in advance and stored in a covered container in the fridge.
Once baked, store the cooled pies in an airtight container in the refrigerator for up to four days. I like to bring them to room temperature or warm them briefly in the oven before serving so the crust crisps back up.
These mini pies also freeze beautifully. Wrap them individually, freeze for up to three months, and thaw overnight in the refrigerator before serving or gently reheating.
Why You’ll Love This Recipe?
There’s a reason this recipe has become a regular on my fall dessert table every single year.
- It’s quick and easy: with just 45 minutes from start to finish, it comes together far faster than a traditional full-sized pumpkin pie.
- It’s perfectly portioned: everyone gets their own individual pie, so there’s no cutting, serving, or arguing over slice sizes.
- It’s endlessly customizable: from dairy-free swaps to a splash of bourbon, this filling adapts easily to whatever you’re craving.
- It’s great for entertaining: these pies look polished on a dessert table and are simple for guests to grab and enjoy on the go.
- It freezes well: I can make a batch ahead of the holidays and always have a treat ready when unexpected guests stop by.
FAQs
Can I use a store-bought pie crust for this recipe?
Yes, a rolled, store-bought pie crust works perfectly here and saves you the step of making dough from scratch.
Can I use fresh pumpkin instead of canned puree?
You can, just make sure it’s well-drained and smooth so your filling doesn’t turn out watery.
Why did my mini pumpkin pies crack on top?
Cracking usually happens from overbaking, so keep an eye on them during the second, lower-temperature stage of baking.
Can I make these in a mini muffin tin instead?
Absolutely, just reduce the baking time slightly since smaller pies cook faster than standard-sized ones.
How do I know when the pies are done baking?
The filling should look mostly set with just a slight jiggle in the very center, since it will continue to firm up as it cools.

Mini Pumpkin Pie Recipe
Ingredients
Method
- In a mixing bowl, combine the cold butter, shortening, flour, and salt. Use your fingertips or a pastry blender to work the fats into the flour until it looks crumbly, almost like coarse sand. Pinching the fat between your fingers instead of mashing it creates those flaky layers you want in the finished crust.
- Sprinkle the ice-cold water over the flour mixture and stir gently with a fork until it starts to come together. Press it into a disk shape, wrap it tightly, and refrigerate for about 20 minutes. This resting time keeps the butter firm, which is what gives you a flaky crust instead of a tough one.
- While the dough chills, preheat your oven to 400°F. In a separate bowl, whisk together the sugar, cinnamon, ginger, nutmeg, cloves, salt, pumpkin puree, milk, and one egg until completely smooth. Set the filling aside so the flavors have a moment to meld together.
- Flour your work surface and roll the chilled dough into a rough circle, about nine inches across. Use a 3 to 4-inch round cookie cutter to cut out circles, then gently press each one into the cups of your muffin pan, fluting the edges with your fingers if you like a decorative touch.
- Spoon the pumpkin filling evenly into each crust-lined cup, filling them almost to the top without overflowing. Brush the beaten egg lightly along the exposed crust edges. This little step is what gives the finished pies that bakery-style golden shine.
- Bake the pies at 400°F for 10 minutes, then lower the oven temperature to 325°F and continue baking for another 10 minutes. This two-stage bake sets the crust quickly before gently finishing the custard filling so it doesn’t crack or puff up too much.
- Let the pies cool fully in the pan before attempting to remove them, since the filling needs time to firm up. Run a thin knife around the edge of each pie to loosen it, then lift them out carefully onto a cooling rack or serving plate.
Notes
- I always keep my butter and shortening in the freezer for ten minutes before starting, since colder fat makes a noticeably flakier crust.
- I whisk my filling ingredients a little longer than feels necessary, because a fully smooth mixture bakes up with a much creamier texture.
- I use a light hand when pressing the dough into the muffin cups, since overworking it makes the crust tough instead of tender.
- I like to place my muffin pan on a baking sheet, which makes it so much easier to move in and out of the oven without spilling filling.
- I always let mine cool completely, even though the smell makes that really hard, because warm filling doesn’t hold its shape when you try to remove the pies.