I always start by preheating my oven to 350°F and giving my donut pan a light coat of nonstick spray. This little step matters more than people think, because donuts can stick stubbornly if the pan isn't greased well. While the oven heats up, I set my ingredients out on the counter so everything is ready to go.
In a large bowl, I whisk together the sifted cake flour, sugar, baking powder, nutmeg, and salt. I like to give this a really thorough whisk so the baking powder is evenly distributed, which helps the donuts rise uniformly. This only takes me a minute or two, but it makes a real difference in the final texture.
In a separate bowl, I mix the buttermilk, beaten eggs, and melted butter until it looks smooth and combined. I make sure my melted butter isn't too hot, since I don't want it to accidentally cook the eggs when I stir everything together.
Next, I pour the wet mixture into the dry ingredients and stir just until combined. I try not to overmix here, because overworking the batter can make the donuts turn out tough instead of soft and fluffy. A few small lumps are totally fine.
I spoon or pipe the batter into the donut pan cavities, filling each about two-thirds full. I've learned that overfilling causes the donuts to lose their classic ring shape, so I always leave a little room for them to rise.
I bake mine for about 10 to 12 minutes, or until the tops spring back lightly when touched. Every oven runs a little differently, so I start checking around the 9-minute mark just to be safe.
Once out of the oven, I let the donuts sit in the pan for a few minutes before transferring them to a cooling rack. This step is important because decorating warm donuts makes the candy coating melt and slide right off.
While the donuts finish cooling, I melt the white candy melts in the microwave in 30-second bursts, stirring in between. Candy melts can look unmelted even when they're ready, so I always stir well before deciding to microwave again.
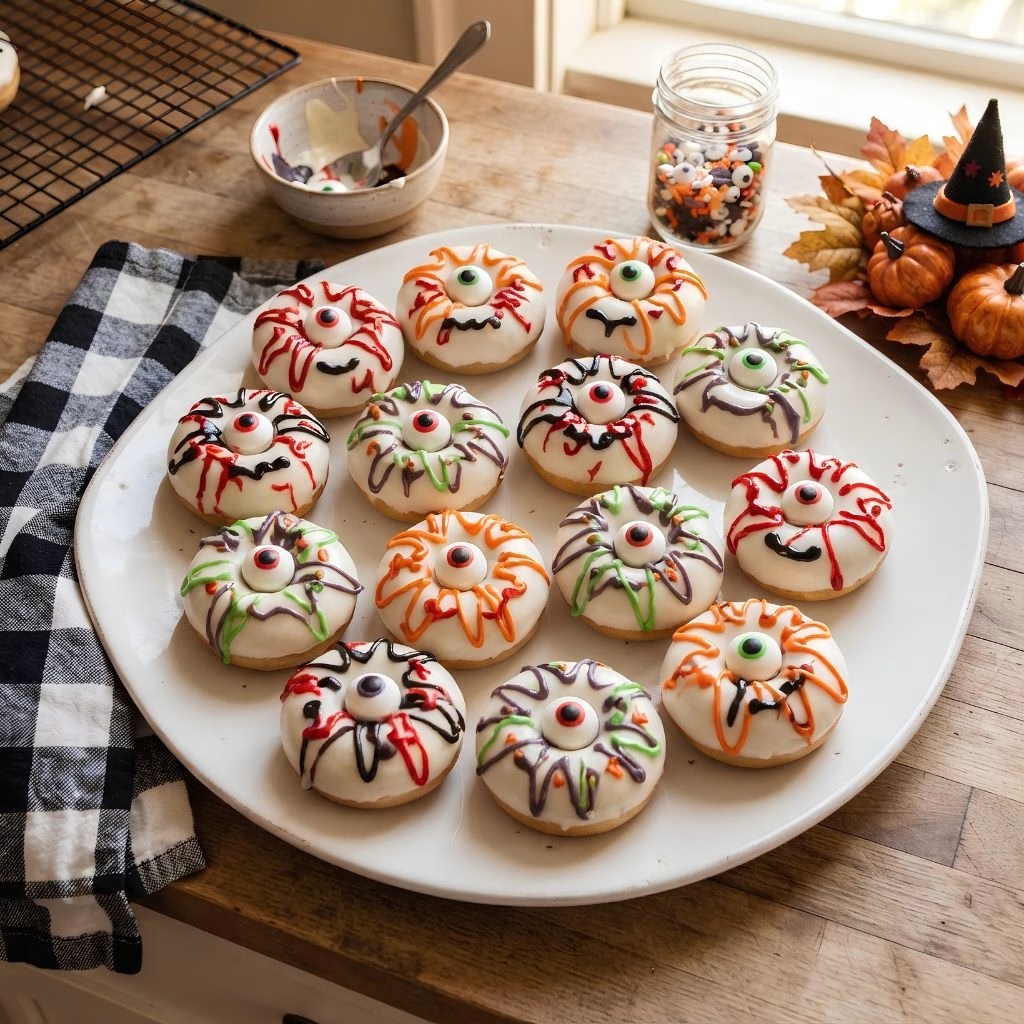
I dip the top of each cooled donut into the melted white candy, letting the excess drip off before setting it back on the rack. This forms the "eyeball" base that the colorful details will sit on top of.
Before the white coating hardens, I melt small amounts of red, orange, green, purple, and black candy melts separately and drizzle them onto the donuts to create spooky pupils and veiny details. I move quickly here since the white coating sets fast.
Finally, I let the decorated donuts sit at room temperature until the candy coating firms up completely, usually around 20 to 30 minutes. Once set, they're ready to serve or pack up for the party.