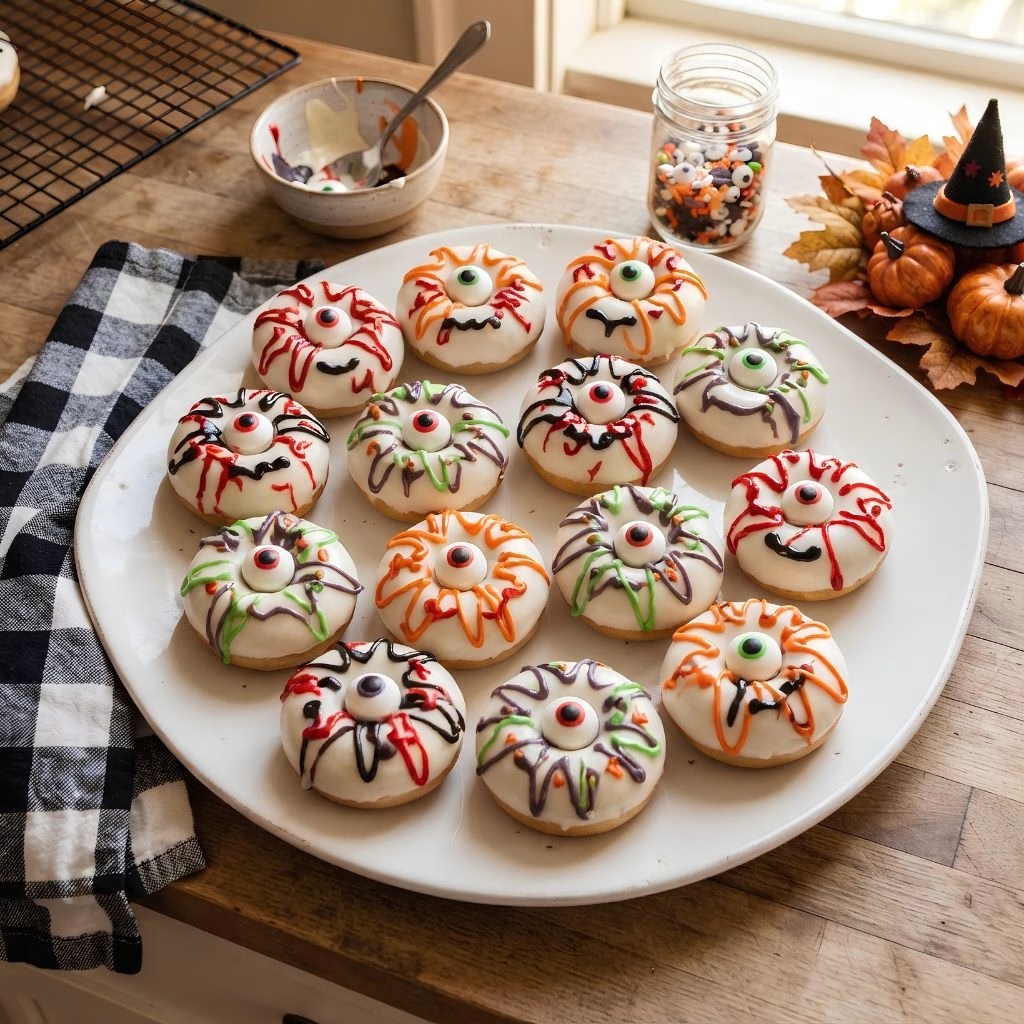
I still remember the first time I made this Monster Eyes Donuts Recipe for a Halloween party my kitchen looked like a candy explosion, but the donuts disappeared within minutes! There’s something about baking your own donuts from scratch and topping them with colorful candy that makes the whole process feel like a fun little project instead of a chore.
I promise you don’t need to be an expert baker to pull this off; I was pretty new to donut pans myself when I first tried it. Once you see how quickly these come together, you’ll probably want to make them every October, just like I do now. Let me walk you through exactly how I make mine.
Cooking Time
- Prep Time: 2 hours 30 minutes (includes cooling and decorating)
- Cooking Time: 10-12 minutes
- Total Time: Around 2 hours 45 minutes
Ingredients
- 2 cups cake flour, sifted — sifting keeps the batter light so your donuts don’t turn out dense
- 3/4 cup granulated sugar — gives the donuts their classic light sweetness
- 2 teaspoons baking powder — this is what helps the donuts puff up nicely in the pan
- 1/4 teaspoon ground nutmeg — adds a warm, cozy flavor that pairs well with fall baking
- 1 teaspoon salt — balances the sweetness and brings out the other flavors
- 3/4 cup buttermilk — makes the crumb soft and tender, don’t swap it for regular milk if you can help it
- 2 eggs, lightly beaten — helps bind the batter and gives the donuts structure
- 2 tablespoons butter, melted — adds richness, and I always use unsalted so I can control the salt myself
- White candy melts — this becomes the base coating that looks like the “eyeball”
- Red, orange, green, purple, and black candy melts — used for drizzling on the monster pupils and creepy details
Note: This recipe makes about 12 monster eye donuts, so it serves a small group or a class party nicely.
Equipment You Need
- Donut pan — shapes the batter into that classic donut form while baking
- Mixing bowls — one for dry ingredients, one for wet, keeps things organized
- Whisk — helps blend the batter smoothly without overmixing
- Cooling rack — lets the donuts cool evenly so the candy coating sets properly
- Parchment paper — keeps your counter clean while you decorate
- Microwave-safe bowls — for melting the candy melts in short bursts
- Piping bag or spoon — for drizzling the colored candy details onto each donut
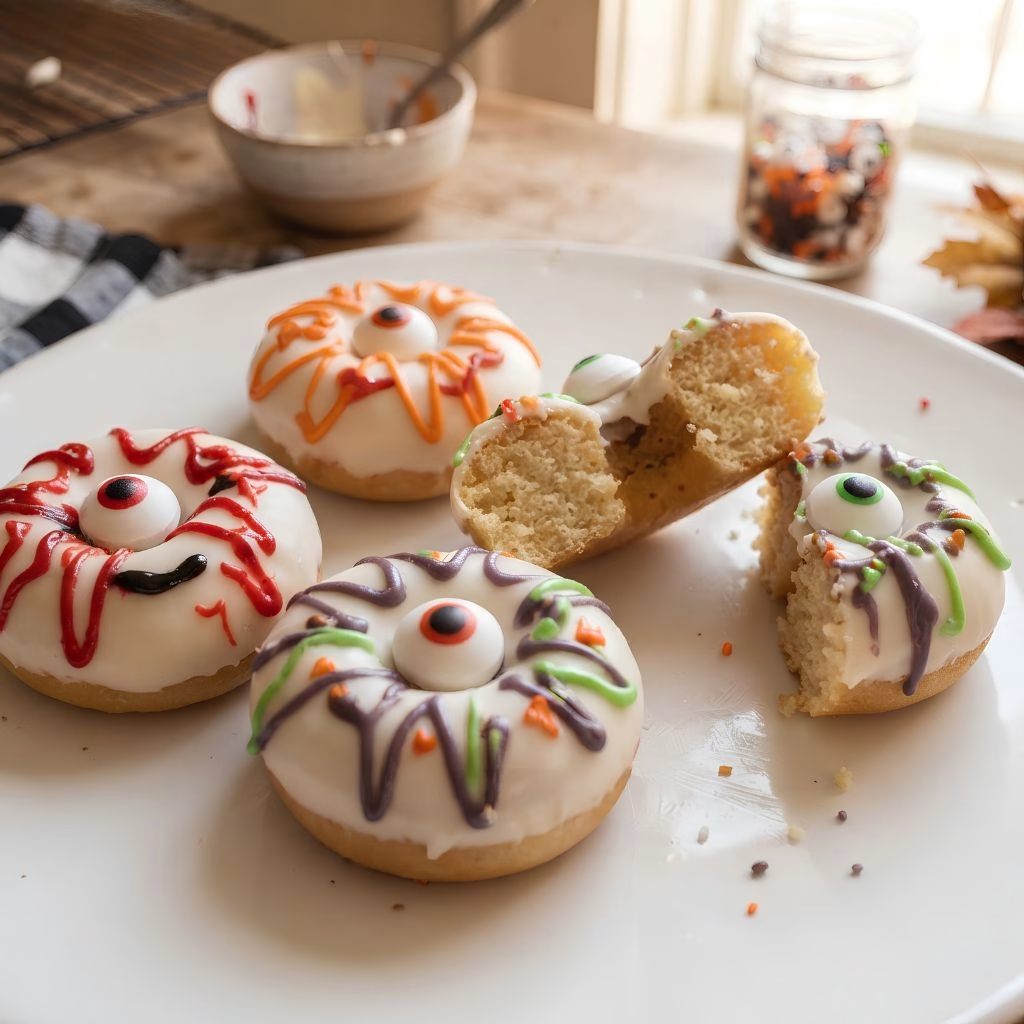
How to Make Monster Eyes Halloween Donuts?
Making these donuts is honestly easier than it looks once you break it into stages. I bake the donuts first, let them cool completely, then move on to the fun part decorating them like little monster eyeballs. Here’s exactly how I do it step by step.
Step 1: Preheat and Prep the Pan
I always start by preheating my oven to 350°F and giving my donut pan a light coat of nonstick spray. This little step matters more than people think, because donuts can stick stubbornly if the pan isn’t greased well. While the oven heats up, I set my ingredients out on the counter so everything is ready to go.
Step 2: Mix the Dry Ingredients
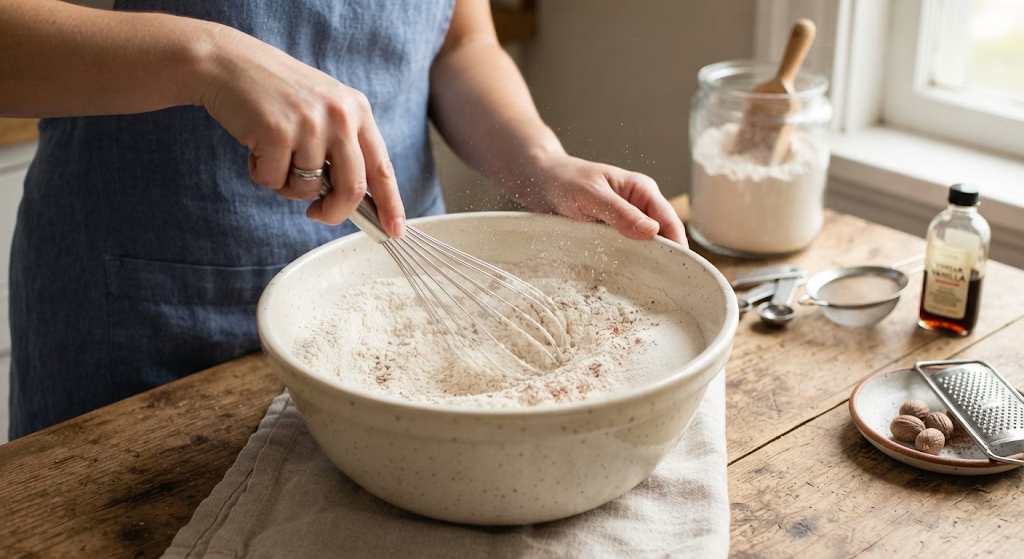
In a large bowl, I whisk together the sifted cake flour, sugar, baking powder, nutmeg, and salt. I like to give this a really thorough whisk so the baking powder is evenly distributed, which helps the donuts rise uniformly. This only takes me a minute or two, but it makes a real difference in the final texture.
Step 3: Combine the Wet Ingredients
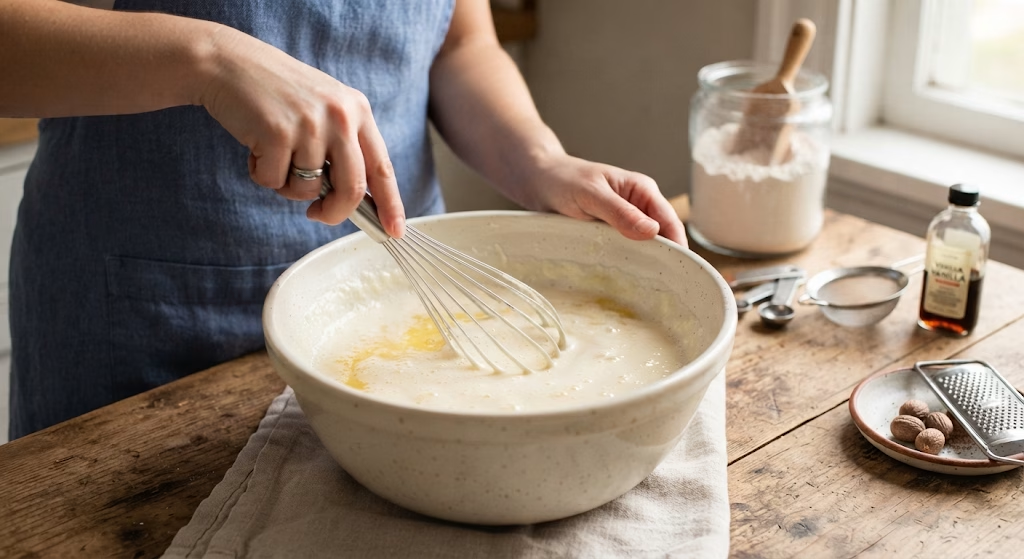
In a separate bowl, I mix the buttermilk, beaten eggs, and melted butter until it looks smooth and combined. I make sure my melted butter isn’t too hot, since I don’t want it to accidentally cook the eggs when I stir everything together.
Step 4: Bring the Batter Together
Next, I pour the wet mixture into the dry ingredients and stir just until combined. I try not to overmix here, because overworking the batter can make the donuts turn out tough instead of soft and fluffy. A few small lumps are totally fine.
Step 5: Fill the Donut Pan
I spoon or pipe the batter into the donut pan cavities, filling each about two-thirds full. I’ve learned that overfilling causes the donuts to lose their classic ring shape, so I always leave a little room for them to rise.
Step 6: Bake the Donuts
I bake mine for about 10 to 12 minutes, or until the tops spring back lightly when touched. Every oven runs a little differently, so I start checking around the 9-minute mark just to be safe.
Step 7: Cool Completely
Once out of the oven, I let the donuts sit in the pan for a few minutes before transferring them to a cooling rack. This step is important because decorating warm donuts makes the candy coating melt and slide right off.
Step 8: Melt the Candy Coating
While the donuts finish cooling, I melt the white candy melts in the microwave in 30-second bursts, stirring in between. Candy melts can look unmelted even when they’re ready, so I always stir well before deciding to microwave again.
Step 9: Dip and Coat Each Donut
I dip the top of each cooled donut into the melted white candy, letting the excess drip off before setting it back on the rack. This forms the “eyeball” base that the colorful details will sit on top of.
Step 10: Add the Monster Details
Before the white coating hardens, I melt small amounts of red, orange, green, purple, and black candy melts separately and drizzle them onto the donuts to create spooky pupils and veiny details. I move quickly here since the white coating sets fast.
Step 11: Let Everything Set
Finally, I let the decorated donuts sit at room temperature until the candy coating firms up completely, usually around 20 to 30 minutes. Once set, they’re ready to serve or pack up for the party.
Additional Tips for Making This Recipe Better
I’ve made these donuts more times than I can count, so here are a few things I picked up along the way:
- I always sift my cake flour, even when I’m short on time, because it really does keep the crumb lighter.
- I keep my candy melts in small separate bowls so I can work fast before the white coating hardens.
- I never skip the cooling step, since warm donuts ruin the smooth candy finish.
- I like using a piping bag for the colored details, since it gives me way more control than a spoon.
- I make a couple of extra “practice” donuts first if I’m decorating with kids, so they get comfortable with the technique.
Common Mistakes to Avoid
- I used to overfill my donut pan, and it made the donuts lose their ring shape — I stick to two-thirds full now.
- I once rushed the cooling step and watched my candy coating slide right off — I always wait until the donuts are fully cool.
- I’ve overheated candy melts before, and they turned clumpy instead of smooth — short microwave bursts work much better.
- I sometimes overmixed my batter early on, which made the donuts dense instead of fluffy I stir just until combined now.
- I forgot to grease my pan thoroughly once, and half my donuts stuck — a good coat of nonstick spray saves a lot of frustration.
How to Serve Monster Eyes Halloween Donuts?
I love setting these out on a black or orange platter lined with parchment paper for extra contrast against the bright candy colors. Arranging them in a spiral or stacking a few on a tiered stand makes them look even more festive for a party table.
If I’m hosting kids, I’ll scatter a few extra candy eyes or sprinkles around the platter for a playful, spooky touch. These also pair really well with a warm mug of something cozy, and honestly they’d sit nicely on a table alongside other bite-sized party snacks like the ones in this buffalo chicken dip recipe if you’re planning a bigger Halloween spread.
Variations
- Swap the buttermilk for a dairy-free alternative like oat milk mixed with a splash of lemon juice.
- Use dark chocolate candy melts instead of white for a more “monster” look with less sweetness.
- Add a pinch of cinnamon to the batter for a warmer, spiced flavor.
- Try mini donut pans for bite-sized versions that are perfect for classroom parties.
- Mix in orange or black sprinkles before the candy coating sets for extra texture.
Nutritional Information
Here’s a rough idea of what each donut offers, based on standard ingredients:
- Calories: Around 150-180 per donut
- Protein: About 3 grams per donut
- Carbohydrates: Roughly 25-28 grams per donut
- Fat: Approximately 6-8 grams per donut
Make Ahead and Storage
I usually bake the plain donuts a day ahead and store them unfrosted in an airtight container at room temperature. This keeps them fresh without the candy coating getting soft or sticky before the party.
Once fully decorated, I store leftover donuts in an airtight container at room temperature for up to 2 days, since refrigeration can make the candy coating sweat. If I need to keep them longer, I freeze the plain baked donuts (before decorating) for up to a month, then thaw and decorate them fresh whenever I need them.
To reheat, I just let refrigerated or frozen plain donuts sit at room temperature for about 20 minutes before decorating, since warm donuts will mess up the candy coating.
Why You’ll Love This Recipe?
There are a few reasons this has become one of my go-to Halloween bakes every year:
- Easy to customize: I can switch up the candy colors depending on the theme of my party, whether it’s classic orange and black or something brighter.
- Great for kids: My nieces and nephews love helping with the candy decorating part since it’s low-mess and forgiving.
- Make-ahead friendly: I can bake the donuts early and save the decorating for the day of the event.
- Fun presentation: These always get compliments at parties because they look way more impressive than the effort they actually take.
- Versatile treat: I’ve made mini versions for classroom parties and regular-sized ones for adult gatherings, and both work great.
FAQs
Can I use a boxed cake mix instead of making the batter from scratch?
Yes, a boxed cake mix works as a quicker shortcut if you’re short on time, though I personally think the scratch version has a slightly better texture.
Do I need a donut pan to make these?
I’d recommend using one, since it gives the donuts their classic ring shape, but you could try a mini muffin pan for a different presentation.
How long do the candy melts take to harden?
In my experience, they usually set within 20 to 30 minutes at room temperature, faster if your kitchen is on the cooler side.
Can I make these ahead of time for a party?
Absolutely, I usually bake the donuts a day in advance and decorate them closer to serving time so the candy coating stays fresh and glossy.
What can I use if I don’t have candy melts?
I’ve substituted white chocolate chips in a pinch, though I add a small amount of shortening to help it melt smoothly for dipping. If you enjoy playing with sweet toppings like this, you might also like trying out this chocolate donut glaze recipe for a different take on decorated donuts.

Monster Eyes Donuts Recipe
Ingredients
Method
- I always start by preheating my oven to 350°F and giving my donut pan a light coat of nonstick spray. This little step matters more than people think, because donuts can stick stubbornly if the pan isn’t greased well. While the oven heats up, I set my ingredients out on the counter so everything is ready to go.
- In a large bowl, I whisk together the sifted cake flour, sugar, baking powder, nutmeg, and salt. I like to give this a really thorough whisk so the baking powder is evenly distributed, which helps the donuts rise uniformly. This only takes me a minute or two, but it makes a real difference in the final texture.
- In a separate bowl, I mix the buttermilk, beaten eggs, and melted butter until it looks smooth and combined. I make sure my melted butter isn’t too hot, since I don’t want it to accidentally cook the eggs when I stir everything together.
- Next, I pour the wet mixture into the dry ingredients and stir just until combined. I try not to overmix here, because overworking the batter can make the donuts turn out tough instead of soft and fluffy. A few small lumps are totally fine.
- I spoon or pipe the batter into the donut pan cavities, filling each about two-thirds full. I’ve learned that overfilling causes the donuts to lose their classic ring shape, so I always leave a little room for them to rise.
- I bake mine for about 10 to 12 minutes, or until the tops spring back lightly when touched. Every oven runs a little differently, so I start checking around the 9-minute mark just to be safe.
- Once out of the oven, I let the donuts sit in the pan for a few minutes before transferring them to a cooling rack. This step is important because decorating warm donuts makes the candy coating melt and slide right off.
- While the donuts finish cooling, I melt the white candy melts in the microwave in 30-second bursts, stirring in between. Candy melts can look unmelted even when they’re ready, so I always stir well before deciding to microwave again.
- I dip the top of each cooled donut into the melted white candy, letting the excess drip off before setting it back on the rack. This forms the “eyeball” base that the colorful details will sit on top of.
- Before the white coating hardens, I melt small amounts of red, orange, green, purple, and black candy melts separately and drizzle them onto the donuts to create spooky pupils and veiny details. I move quickly here since the white coating sets fast.
- Finally, I let the decorated donuts sit at room temperature until the candy coating firms up completely, usually around 20 to 30 minutes. Once set, they’re ready to serve or pack up for the party.
Notes
- I always sift my cake flour, even when I’m short on time, because it really does keep the crumb lighter.
- I keep my candy melts in small separate bowls so I can work fast before the white coating hardens.
- I never skip the cooling step, since warm donuts ruin the smooth candy finish.
- I like using a piping bag for the colored details, since it gives me way more control than a spoon.
- I make a couple of extra “practice” donuts first if I’m decorating with kids, so they get comfortable with the technique.