Go Back
Nashville Hot Chicken Tenders Recipe
Ash Tyrrell

Nashville Hot Chicken Tenders Recipe

The first time I made these Nashville Hot Chicken Tenders, I honestly couldn’t stop sneaking bites straight from the cooling rack. The crispy coating, juicy chicken, and spicy buttery glaze created the perfect balance of heat and flavor. I loved how every tender stayed crunchy on the outside while remaining tender inside. The sweet and smoky spice blend made my kitchen smell incredible from start to finish.
Total Time 35 minutes
Servings: 6

Ingredients
  

  • 2 pounds chicken tenders – Fresh chicken works best because it stays juicy and cooks evenly.
  • 2 cups buttermilk – Helps tenderize the chicken and adds rich flavor.
  • cup hot sauce – Adds tangy heat to the marinade.
  • cups all-purpose flour – Creates the crispy outer coating.
  • 3 tablespoons cornstarch – Gives the breading extra crunch.
  • 1 tablespoon onion powder – Adds savory depth to the coating.
  • 1 tablespoon paprika – Gives color and mild smoky flavor.
  • 2 teaspoons cayenne pepper – Essential for authentic Nashville heat.
  • 2 teaspoons black pepper – Adds bold seasoning.
  • ½ teaspoon garlic powder – Enhances the savory flavor.
  • 3 tablespoons seasoned salt – Helps season every layer properly.
  • Vegetable oil for frying – Use neutral oils like canola or peanut oil for best frying results
  • cup cayenne pepper – The main spicy ingredient for the signature heat.
  • tablespoons dark brown sugar – Balances the spice with sweetness.
  • 1 teaspoon chili powder – Adds earthy warmth.
  • 1 teaspoon garlic powder – Boosts flavor in the sauce.
  • 1 teaspoon smoked paprika – Gives a smoky Southern-style taste.
  • 1 cup reserved frying oil – Helps create the traditional spicy glaze.
  • White bread slices – Classic Nashville hot chicken pairing.
  • Pickle slices – Cool down the heat and add crunch.

Method
 

  1. Start by combining the buttermilk and hot sauce in a large bowl. This mixture helps tenderize the chicken while adding flavor to every bite. Add the chicken tenders and let them soak for at least 30 minutes for the best texture.
  2. In another large bowl, whisk together flour, cornstarch, seasoned salt, paprika, cayenne pepper, onion powder, garlic powder, and black pepper. The cornstarch helps create an extra crispy crust that stays crunchy longer. Make sure the spices are evenly mixed throughout the flour.
  3. Remove each chicken tender from the marinade and dredge it in the seasoned flour. Dip it back into the buttermilk mixture, then coat it again in the flour mixture. This double coating creates the thick, crunchy crust Nashville chicken is famous for.
  4. Place the coated chicken tenders on a baking sheet or wire rack. Let them rest for about 15 to 20 minutes before frying. I noticed this step really helps the breading stick better during frying.
  5. Pour vegetable oil into a heavy skillet or Dutch oven until it’s about 2 inches deep. Heat the oil over medium-high heat until it reaches around 350°F. If a small pinch of flour sizzles immediately, the oil is ready for frying.
  6. Carefully place a few chicken tenders into the hot oil without overcrowding the pan. Fry each side for about 2 to 3 minutes until golden brown and crispy. Transfer the cooked chicken to a wire rack so it stays crunchy.
  7. In a heat-safe bowl, whisk together cayenne pepper, brown sugar, chili powder, garlic powder, and smoked paprika. Carefully add one cup of the hot frying oil and stir until smooth. The warm oil helps bloom the spices and create that classic fiery glaze.
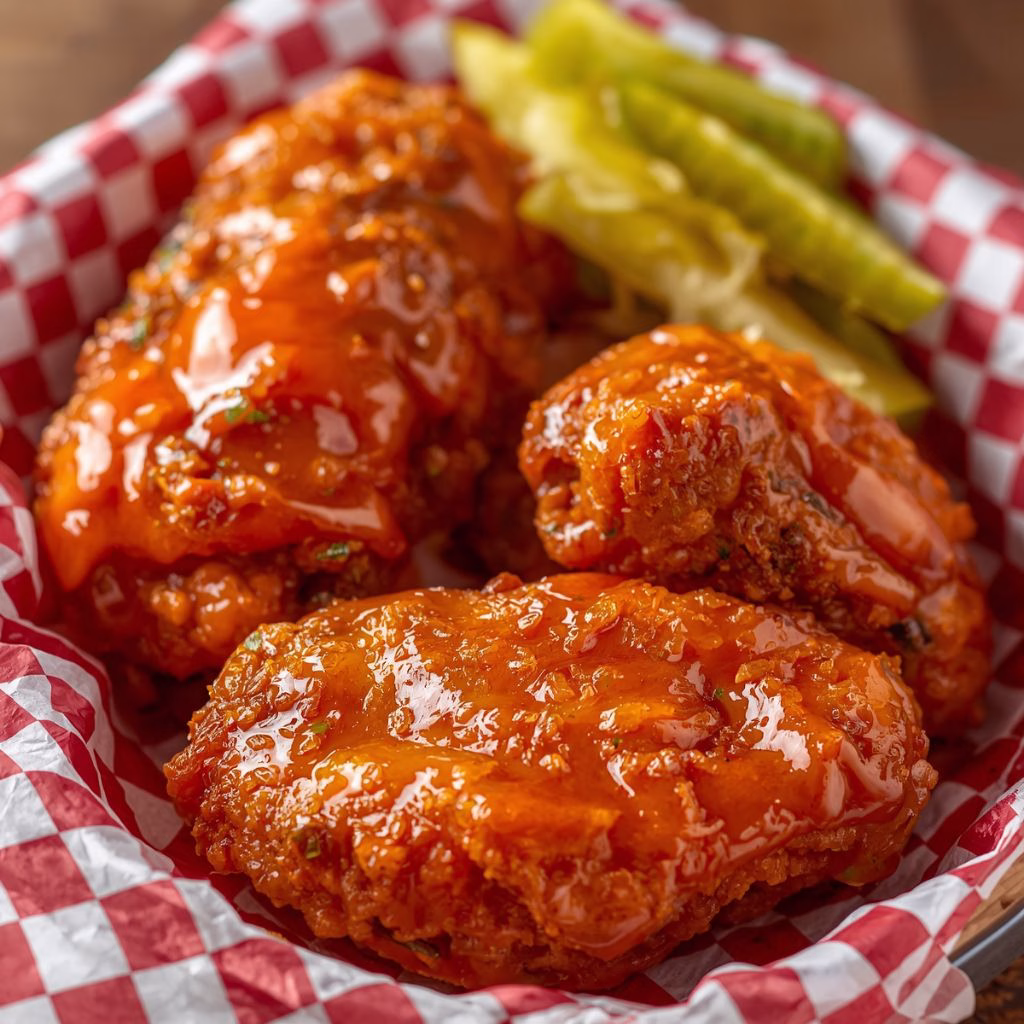
  8. Brush the spicy glaze generously over the hot fried chicken tenders. Make sure every piece gets coated evenly for maximum flavor. The sauce should soak slightly into the crispy crust while still keeping the chicken crunchy.
  9. Place the chicken tenders on slices of soft white bread and top with pickles. The bread absorbs some of the spicy oil while the pickles add freshness and crunch. Serve immediately while the chicken is hot and crispy.

Notes

  • I always let the coated chicken rest before frying because it helps the crust stay attached.
  • I like using peanut oil since it gives the chicken a crispier texture.
  • I never overcrowd the frying pan because it lowers the oil temperature quickly.
  • I keep cooked tenders warm in a low-temperature oven while frying the remaining batches.
  • I sometimes add a drizzle of honey to the glaze when I want sweet heat.
  • I use a wire rack instead of paper towels so the crust stays crispy underneath too.