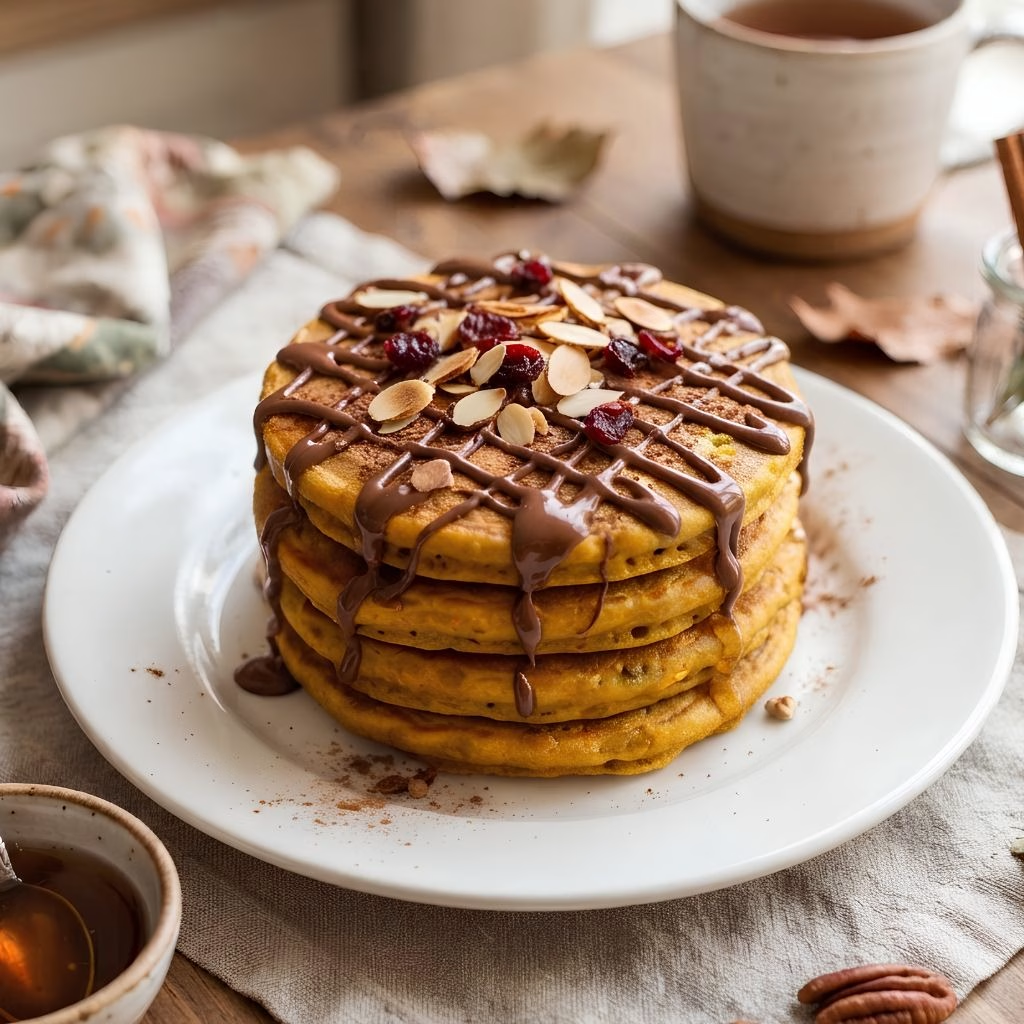
In a medium bowl, whisk together the flour, brown sugar, baking powder, pumpkin pie spice, and salt until everything looks evenly blended. Whisking these together first means the baking powder gets evenly distributed, so you won't end up with any bitter pockets in your finished pancakes. Set this bowl aside while you prepare the wet mixture in a separate bowl.
In a separate bowl, whisk the milk, egg, pumpkin puree, mashed banana, and melted butter together until the mixture looks smooth and well combined. Take your time mashing the banana beforehand so there are no big lumps left sitting in the batter. This wet mixture is really where all the moisture, sweetness, and flavor of the pancakes comes from.
Pour the dry ingredients into the wet mixture and stir gently with a spatula until just combined. I always remind myself not to overmix at this stage, since a few small lumps in the batter are totally fine and expected. Overmixing activates the gluten too much and leads to dense, chewy pancakes instead of light, fluffy ones.
Warm a non-stick skillet or griddle over medium-low heat and lightly grease it with a little butter or oil. I like to test the pan with a small drop of batter first to make sure it's actually hot enough before committing a full pancake. If the test drop sizzles gently without burning right away, you're ready to start cooking the rest.
Pour about ¼ cup of batter onto the skillet for each pancake, leaving a little space between them so they don't merge together. Cook for 2-3 minutes until small bubbles form on the surface and the edges start to look set and slightly dry. This is your cue that the bottom has turned golden and is ready for flipping.
Carefully flip each pancake with a spatula and cook for another 1-2 minutes on the other side. You'll know they're done when both sides are an even golden brown and the center springs back gently when lightly pressed. Transfer them to a plate and repeat with the remaining batter until it's all used up.