Go Back
Vampire Red Velvet Cake Recipe
Ash Tyrrell

Vampire Red Velvet Cake Recipe

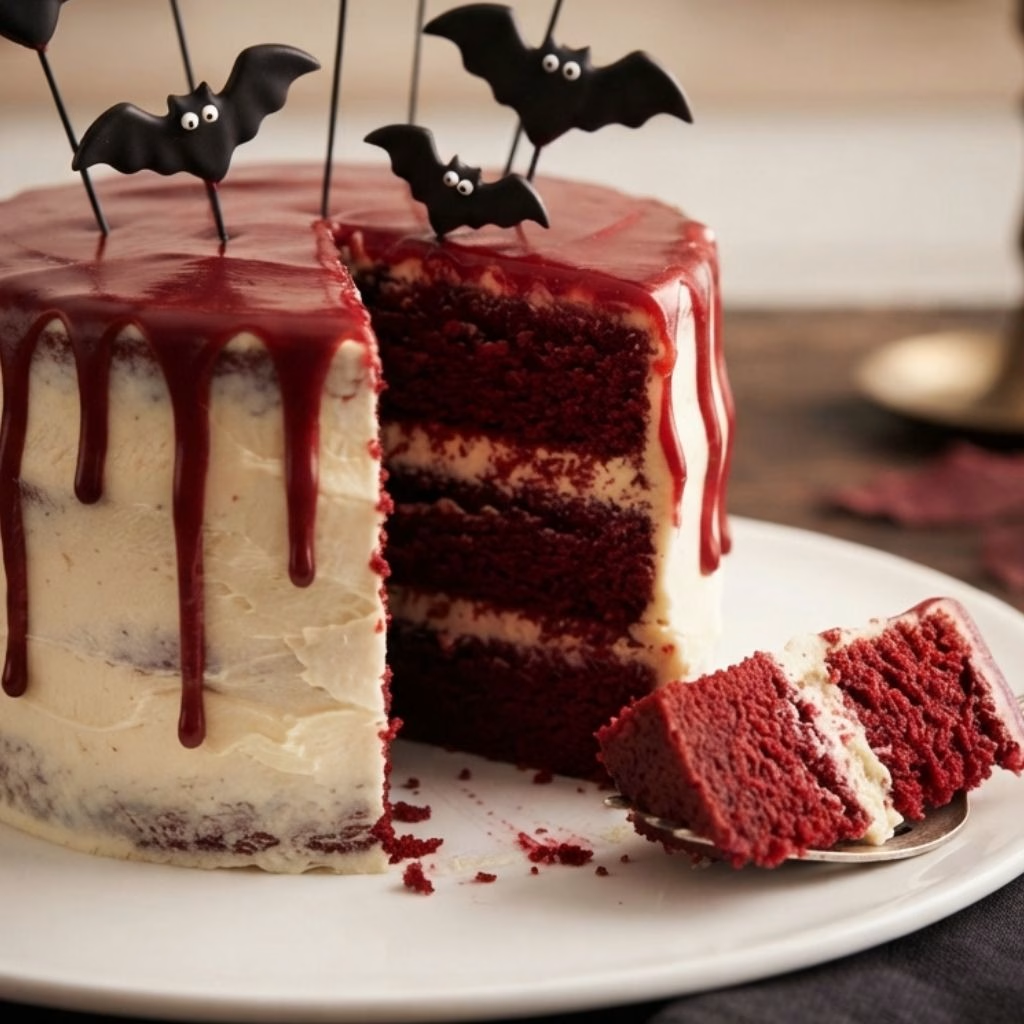
I made this vampire red velvet cake for the first time three Halloweens ago, and it's been requested every year since. I love how dramatic it looks with that deep red ganache dripping down the sides, yet it's honestly one of the easiest "fancy" cakes I've ever pulled off.
Total Time 1 hour 30 minutes
Servings: 10

Ingredients
  

  • 2 large eggs — bring them to room temperature so they blend into the batter smoothly
  • 1 ½ cups vegetable oil — keeps the crumb moist for days without drying out
  • 1 cup buttermilk — adds tang and helps activate the baking soda for a soft rise
  • 1 tablespoon white vinegar — reacts with the baking soda to give the cake extra lift
  • 2 teaspoons vanilla extract — rounds out the cocoa flavor with warmth
  • 2 ounces red food coloring — this is what gives red velvet its signature vampire-worthy color
  • 2 ½ cups all-purpose flour — spoon and level it rather than scooping directly from the bag
  • 2 cups granulated sugar — balances the tang from the buttermilk and vinegar
  • 1 tablespoon cocoa powder — just enough for a subtle chocolate note not a full chocolate cake
  • 1 teaspoon salt — sharpens all the other flavors
  • 1 teaspoon baking soda — your main leavening agent so make sure it's fresh
  • 6 ounces red candy melts — melts smoothly and holds its bold color better than chocolate alone
  • 5 tablespoons heavy cream — heats the candy melts into a pourable glossy ganache
  • 4 ounces black candy melts — easy to pipe and sets up hard enough to stand upright
  • Candy eyes — for sticking onto the bats to give them a bit of personality

Method
 

  1. Preheat your oven to 350°F and grease your cake pans well. Whisk together the eggs, oil, buttermilk, vinegar, vanilla, and food coloring in one bowl. In a separate bowl, whisk the flour, sugar, cocoa powder, salt, and baking soda, then combine both mixtures until smooth.
  2. Divide the batter evenly and bake for 25 to 30 minutes, until the layers spring back when lightly touched. Let them cool in the pans for 10 minutes, then move them to a wire rack. Once completely cool, trim the domed tops flat with a serrated knife.
  3. Fill and stack your layers with your favorite buttercream, then apply a thin crumb coat around the entire cake. Chill the cake for about 15 minutes so this coat firms up. Add a second, slightly thicker layer of frosting on top, and don't stress over making it perfectly smooth.
  4. Finely chop your red candy melts and place them in a heatproof bowl. Warm the heavy cream in a saucepan until it's just about to simmer, then pour it over the candy melts. Stir until completely smooth and glossy.
  5. Spoon the warm ganache onto the center of your chilled cake. Use an offset spatula to gently push it toward the edges, letting it naturally drip down the sides in uneven streaks for that classic "bloody" effect.
  6. Pipe bat outlines onto parchment paper using melted black candy melts, then insert a small stick or wire into each one while still wet for support. Once set, peel them off, attach candy eyes with a dab of melted candy, and press them into the top of the cake at varying heights.
Notes

  • I always chill my cake before pouring the ganache, since a cold cake helps it set up faster instead of sliding off completely.
  • I like using gel food coloring for a more vivid red without thinning out my batter.
  • I never skip the crumb coat, because it keeps stray cake crumbs from showing up in my final frosting layer.
  • I make my chocolate bats a day in advance so I'm not rushing while my ganache is still warm and workable.
  • I keep a spare batch of candy melts on hand in case my first round of bats break while I'm peeling them off the parchment.