In a medium bowl, whisk together the flour, baking soda, and salt until fully combined. Setting this aside first means you won't scramble to measure while your wet ingredients are already creamed. This simple step keeps the whole process organized.
In your mixer bowl, combine the granulated sugar, brown sugar, butter, and peanut butter. Beat until light and fluffy, about two minutes, then mix in the egg and vanilla. This is where the base flavor of your witches cookies really comes together.
With the mixer on low, slowly add the flour mixture into the wet ingredients. Mix just until everything is combined, since overmixing can make the cookies tough instead of tender. The dough should feel soft but not sticky at this stage.
Scoop tablespoon-sized portions of dough, roll into balls, then coat each one in the extra granulated sugar. Place them on your lined baking sheet and bake at 375°F for about 10 minutes, until lightly golden around the edges.
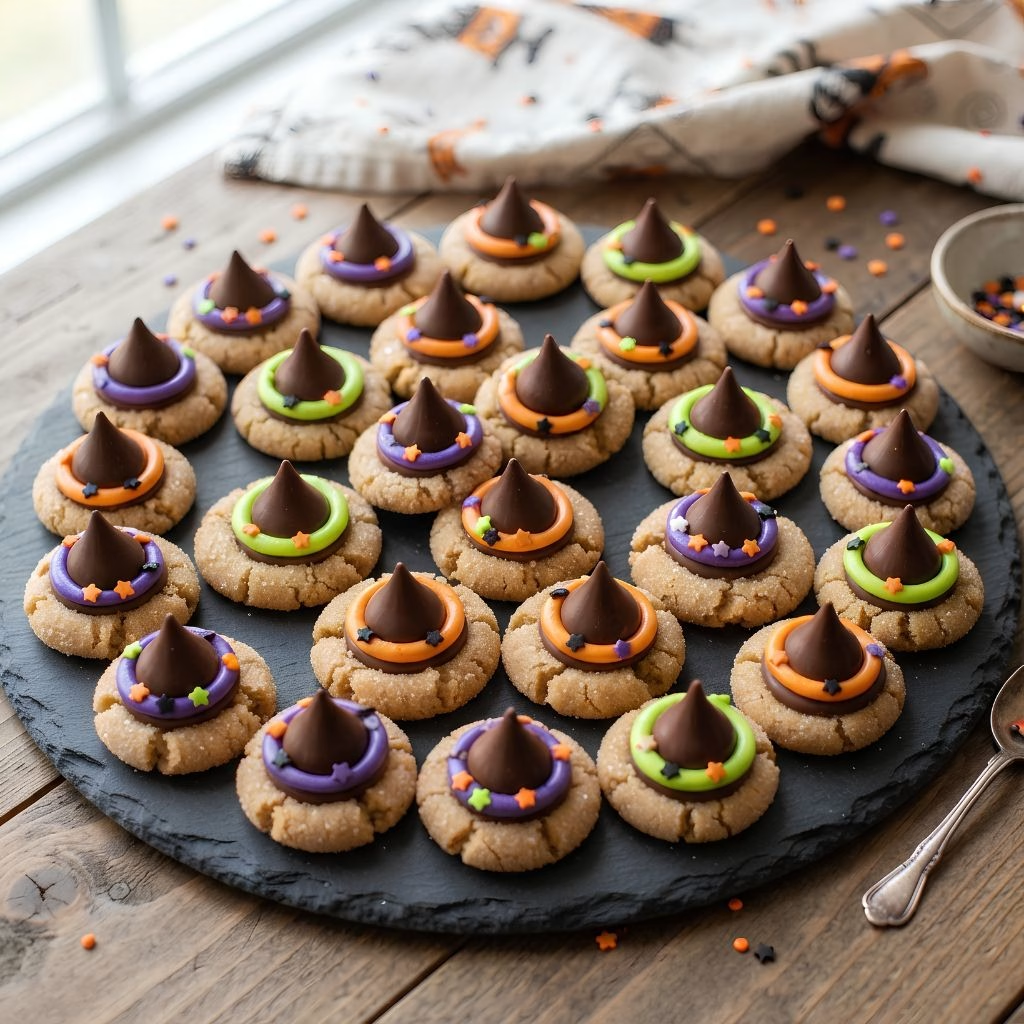
As soon as the cookies come out of the oven, press a chocolate melting wafer onto the center of each one. The residual heat will melt it slightly, so use the back of a spoon to spread it into a wide, even circle. Let the cookies cool completely before moving on.
Beat the butter until creamy, then gradually mix in the confectioners' sugar, vanilla, cream, and a pinch of salt. Divide the frosting into three bowls and tint each one with gel food coloring in your chosen witch hat colors.
Pipe a small amount of frosting onto the flat side of a chocolate kiss, then press it into the center of the cooled chocolate circle. The extra frosting should peek out slightly to form the hat band, and you can finish with a scattering of sprinkles.