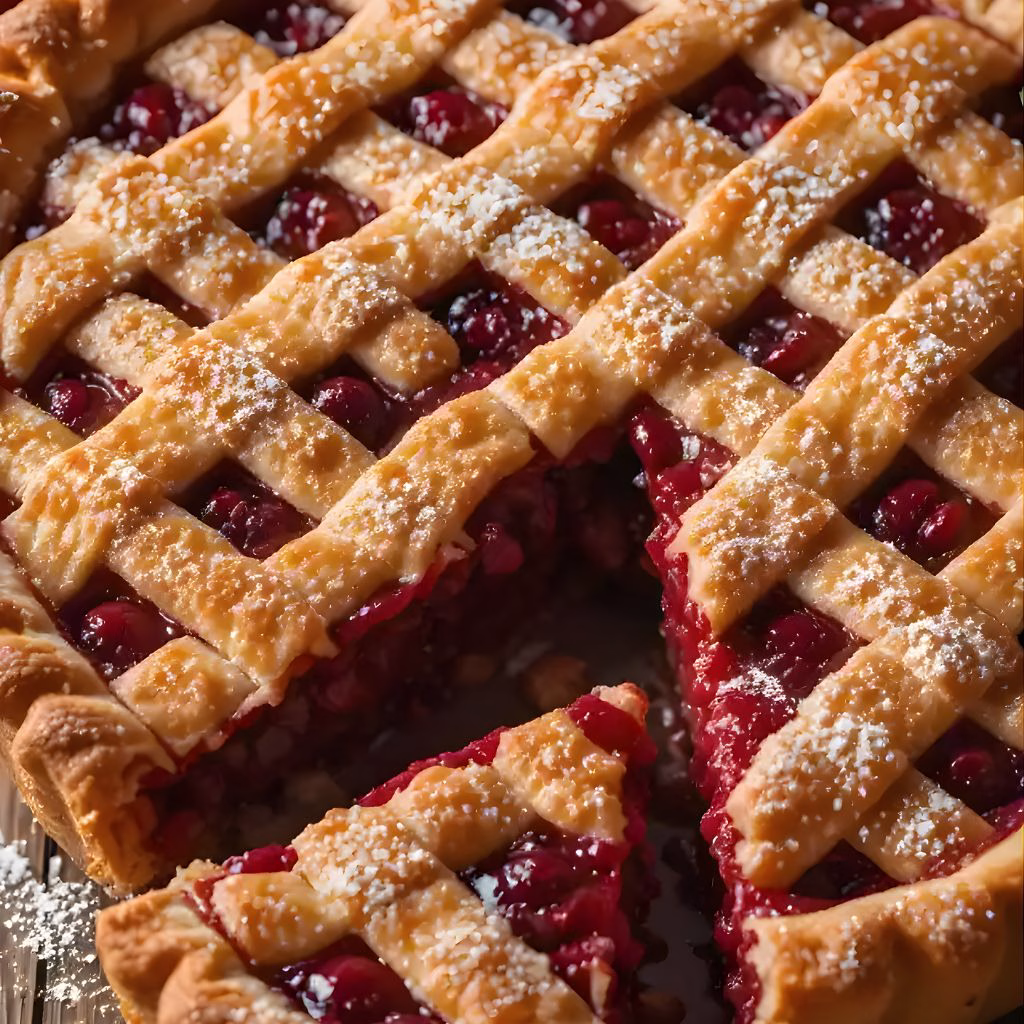
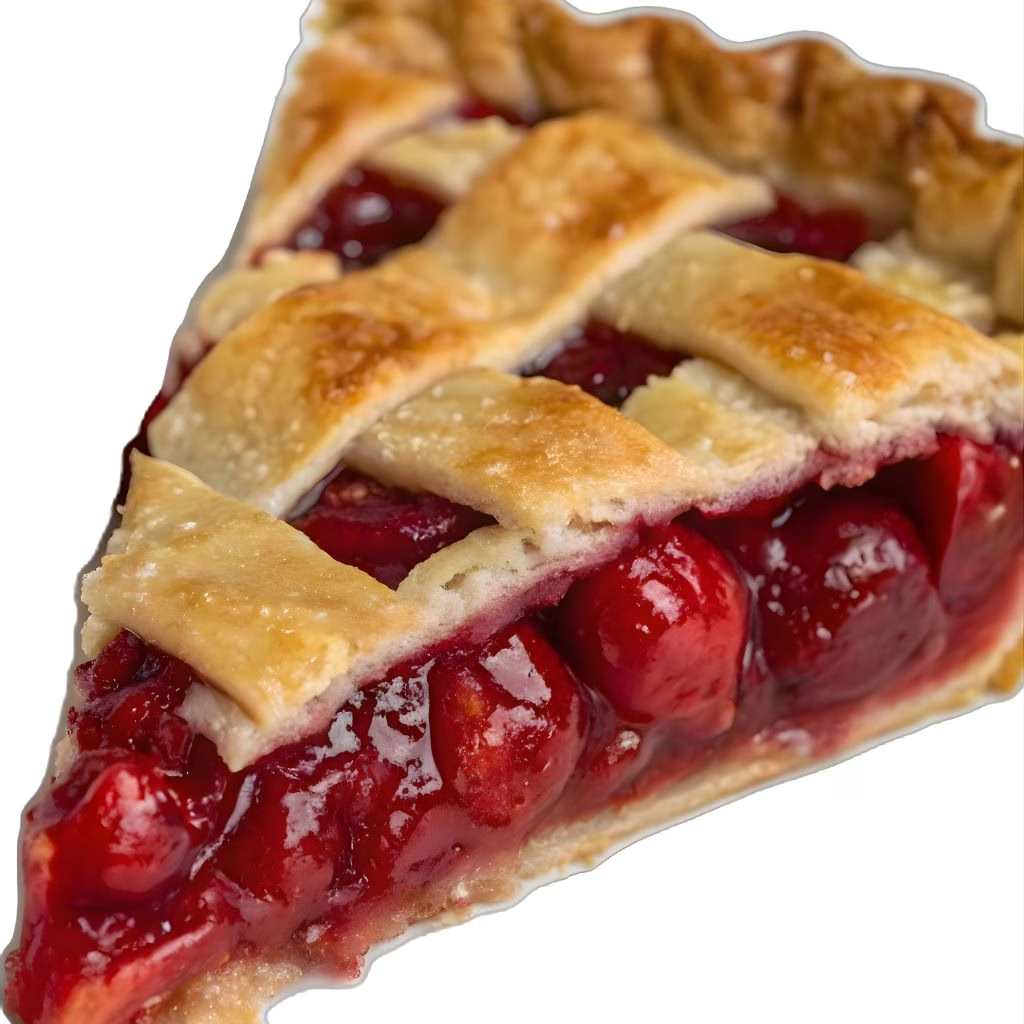
I’ve always loved baking pies, and recently I made this Cherry Pie with Flaky Crust Recipe that completely stole my heart. The moment I took it out of the oven, the sweet aroma of cherries and buttery crust filled my kitchen. I love how the crust practically melts in your mouth while the cherry filling is perfectly balanced between sweet and tart.
Making this pie wasn’t as intimidating as I thought, and I felt so proud when it came out golden and gorgeous. If you’ve ever wanted a homemade pie that tastes as if it came from a bakery, this recipe is exactly what you need. You can also enjoy similar flavors in an easy homemade quick pickled jalapenos recipe as a tangy side treat.

Ingredients
Here’s what you’ll need to make this classic cherry pie, with tips to make each ingredient work its best:
- 2 ½ cups all-purpose flour – I like sifting it first to make the crust extra light and flaky.
- 1 teaspoon salt – enhances the buttery flavor of the crust.
- 1 tablespoon sugar – just a touch for flavor balance in the dough.
- 1 cup unsalted butter, cold and cubed – cold butter creates those amazing flaky layers.
- 6–8 tablespoons ice water – add gradually to bring the dough together without melting the butter.
- 4 cups fresh or frozen tart cherries, pitted – I prefer fresh for a natural tang, but frozen works too.
- 1 cup granulated sugar – adjust depending on how sweet your cherries are.
- 3 tablespoons cornstarch – helps thicken the cherry filling so it’s not runny.
- 1 tablespoon lemon juice – brightens the cherry flavor beautifully.
- 1 teaspoon vanilla extract – adds depth and richness to the filling.
- 1 egg, beaten – for brushing on the crust to get that golden, shiny finish.
Note: several servings
Variations
I love experimenting with this pie, and here are some easy ways to tweak it:
- For a dairy-free version, substitute butter with coconut oil or a vegan butter alternative.
- Use a sugar substitute like erythritol for a sugar-free pie that still tastes amazing.
- Add almond extract or a sprinkle of cinnamon to enhance the flavor of the cherries.
- Mix in fresh blueberries or raspberries for a fruit twist. You might also enjoy creative combinations like pizza burgers recipe for a fun twist on comfort food flavors.
Cooking Time
Here’s what you can expect for timing when making this pie:
- Prep Time: 25 minutes
- Cooking Time: 50 minutes
- Total Time: 1 hour 15 minutes
Equipment You Need
Here’s the gear that will make this pie easy and enjoyable to bake:
- Mixing bowls – to combine dough and filling ingredients.
- Rolling pin – to roll out the crust evenly without sticking.
- 9-inch pie pan – the perfect size for this pie.
- Pastry brush – to brush the egg wash on top for a golden crust.
- Knife or pastry wheel – for cutting decorative slits in the top crust.
How to Make Cherry Pie with Flaky Crust Recipe
Prepare the Dough
I start by mixing flour, salt, and sugar in a large bowl. Then I cut in the cold butter until the mixture looks like coarse crumbs. I slowly add ice water and gently knead just until it comes together, keeping the dough cold for flakiness.
Make the Cherry Filling
While the dough chills, I combine cherries, sugar, cornstarch, lemon juice, and vanilla in a bowl. I make sure the cornstarch is fully mixed so the filling thickens nicely while baking.
Roll Out the Crust
I divide the dough into two discs, then roll one out for the bottom crust and place it in the pie pan. Rolling evenly ensures a sturdy base that won’t tear when adding the filling.
Assemble the Pie
I pour the cherry mixture over the bottom crust, then carefully place the second rolled-out dough on top. I crimp the edges to seal in the filling and cut a few small slits on top for steam to escape.
Brush and Bake
I brush the top with a beaten egg for a shiny golden finish. The pie goes into a preheated oven at 400°F (200°C) for about 50 minutes until the crust is beautifully golden and the filling is bubbly.
Cool Before Serving
I let the pie cool for at least 2 hours before slicing. This allows the filling to set so you get clean, perfect slices every time.
Additional Tips for Making this Recipe Better
From my experience, these little tweaks make a big difference:
- I always chill the dough before rolling to prevent shrinking.
- I use a mix of fresh and frozen cherries if fresh ones aren’t fully in season.
- Brushing the top with egg wash ensures that gorgeous golden color.
- If the edges brown too fast, I cover them with foil halfway through baking.
- I avoid overmixing the filling to keep the cherries intact.
How to Serve Cherry Pie with Flaky Crust
Serving this pie is just as fun as baking it. I love adding a scoop of vanilla ice cream on top for contrast. Fresh mint leaves or a light dusting of powdered sugar also make it look extra special. You can serve slices on individual dessert plates for a bakery-style presentation that impresses every time.
Nutritional Information
Here’s a quick look at the nutritional content per serving:
- Calories: 360 – perfect for an occasional treat.
- Protein: 3g – from the butter and egg in the crust.
- Carbohydrates: 55g – mostly from the cherries and sugar.
- Fat: 14g – thanks to that rich, flaky butter crust.
Make Ahead and Storage
Storing
I store leftover pie in the refrigerator, covered loosely with foil, for up to 4 days. This keeps the crust crisp yet the filling moist.
Freezing
I like to freeze unbaked pies for later. Wrap tightly in plastic and foil, then bake directly from frozen, adding 10–15 minutes to the cooking time.
Reheating
Reheating in a 350°F oven for 10–15 minutes brings back that fresh-baked aroma and restores the crust’s crispiness. I avoid microwaving to keep it from getting soggy.
Why You’ll Love This Recipe
This cherry pie has so many charms that make it a favorite in my kitchen:
- Easy to make: The steps are simple, even if you’re new to pie baking.
- Flaky, buttery crust: Every bite melts in your mouth.
- Customizable: You can adjust sugar, fruits, and flavorings to suit your taste.
- Perfect for any occasion: From family dinners to holidays, it’s always a hit.
- Balanced sweetness: Tart cherries with just enough sugar make it irresistible.
Cherry Pie with Flaky Crust Recipe
Ingredients
Method
- I start by mixing flour, salt, and sugar in a large bowl. Then I cut in the cold butter until the mixture looks like coarse crumbs. I slowly add ice water and gently knead just until it comes together, keeping the dough cold for flakiness.
- While the dough chills, I combine cherries, sugar, cornstarch, lemon juice, and vanilla in a bowl. I make sure the cornstarch is fully mixed so the filling thickens nicely while baking.
- I divide the dough into two discs, then roll one out for the bottom crust and place it in the pie pan. Rolling evenly ensures a sturdy base that won’t tear when adding the filling.
- I pour the cherry mixture over the bottom crust, then carefully place the second rolled-out dough on top. I crimp the edges to seal in the filling and cut a few small slits on top for steam to escape.
- I brush the top with a beaten egg for a shiny golden finish. The pie goes into a preheated oven at 400°F (200°C) for about 50 minutes until the crust is beautifully golden and the filling is bubbly.
- I let the pie cool for at least 2 hours before slicing. This allows the filling to set so you get clean, perfect slices every time.
Notes
- I always chill the dough before rolling to prevent shrinking.
- I use a mix of fresh and frozen cherries if fresh ones aren’t fully in season.
- Brushing the top with egg wash ensures that gorgeous golden color.
- If the edges brown too fast, I cover them with foil halfway through baking.
- I avoid overmixing the filling to keep the cherries intact.