I’ll be honest — when I first tried making sushi rice at home, I felt nervous about getting it right. But after practicing this sushi rice recipe a few times, I realized how simple and rewarding it really is.
This seasoned rice is the heart of every great sushi roll or bowl I make. The aroma of vinegar mixed with warm rice always makes my kitchen feel special. Once you try this method, I’m sure you’ll feel confident making perfect sushi rice too!
Ingredients
This recipe uses simple ingredients, but each one plays an important role in flavor and texture.
- 2 cups Japanese short-grain rice — This rice is naturally sticky and perfect for sushi because it holds together without becoming mushy.
- 2 cups water — The correct ratio ensures tender grains with the ideal texture.
- 1/4 cup unseasoned rice vinegar — Gives sushi rice its signature light tangy flavor.
- 4 teaspoons sugar (or honey) — Balances the vinegar and creates classic sushi seasoning.
- 1 teaspoon fine sea salt — Enhances all the flavors and keeps the seasoning well-rounded.
- Optional: 4-inch square of kombu (dried seaweed) — Adds subtle umami depth and extra richness.
Note: Several servings
This ingredient quantity makes about 4 cups of cooked sushi rice, which serves approximately 4–6 people depending on portion size.
Variations
You can easily customize this sushi rice recipe based on your preferences:
- Sugar-free option — Replace sugar with a natural sweetener like stevia or skip it for a less sweet taste.
- Extra umami — Add kombu while cooking the rice for deeper savory flavor.
- Citrus twist — Add a small amount of lemon or lime juice for a fresh variation.
- Low-sodium version — Reduce the salt slightly if you prefer lighter seasoning.
- Vegan-friendly — This recipe is naturally vegan as written.
Cooking Time
- Prep Time: 5 minutes
- Cooking Time: 30 minutes
- Total Time: 35 minutes
Equipment You Need
- Rice cooker or heavy-bottom pot with lid — Ensures even cooking and proper steaming.
- Fine-mesh strainer — Used for rinsing the rice until the water runs clear.
- Small saucepan — For heating and dissolving the vinegar mixture.
- Large mixing bowl — Allows you to gently season and cool the rice.
- Rice paddle or spatula — Helps fold the rice without breaking the grains.
How to Make Sushi Rice Recipe Name?
Rinse the Rice
Start by rinsing the short-grain rice under cold water using a fine-mesh strainer. Continue rinsing until the water runs clear to remove excess starch. This step is important because it helps prevent the rice from becoming overly sticky or gummy. Proper rinsing ensures the final texture is light yet cohesive.
Cook the Rice
Place the rinsed rice and measured water into your rice cooker or pot. If using kombu, lay it on top before cooking. Cook according to your appliance instructions and allow the rice to steam once finished. Steaming helps the grains fully absorb moisture and become tender.
Prepare the Sushi Seasoning
While the rice cooks, combine rice vinegar, sugar, and salt in a small saucepan. Warm the mixture gently, stirring until the sugar dissolves completely. The seasoning should be smooth and well blended, but not boiled. This mixture gives sushi rice its classic balanced flavor.
Season the Rice
Transfer the hot cooked rice into a large bowl. Slowly drizzle the vinegar mixture over the rice while gently folding it using a rice paddle. Use slicing motions instead of stirring to avoid crushing the grains. This technique keeps the rice fluffy and evenly seasoned.
Cool the Rice
Cover the bowl with a damp towel to prevent drying. Allow the rice to cool to room temperature before using it for sushi. Proper cooling ensures the best texture for rolling or shaping.
Additional Tips for Making This Recipe Better
Here are some personal tips I’ve learned while making this recipe:
- I always rinse the rice thoroughly — it makes a noticeable difference in texture.
- I gently fold the rice instead of stirring to keep the grains intact.
- I let the rice cool naturally rather than placing it in the refrigerator immediately.
- I use a wooden or plastic spoon to avoid breaking the grains.
- I taste and adjust the seasoning slightly if I want it more tangy or sweet.
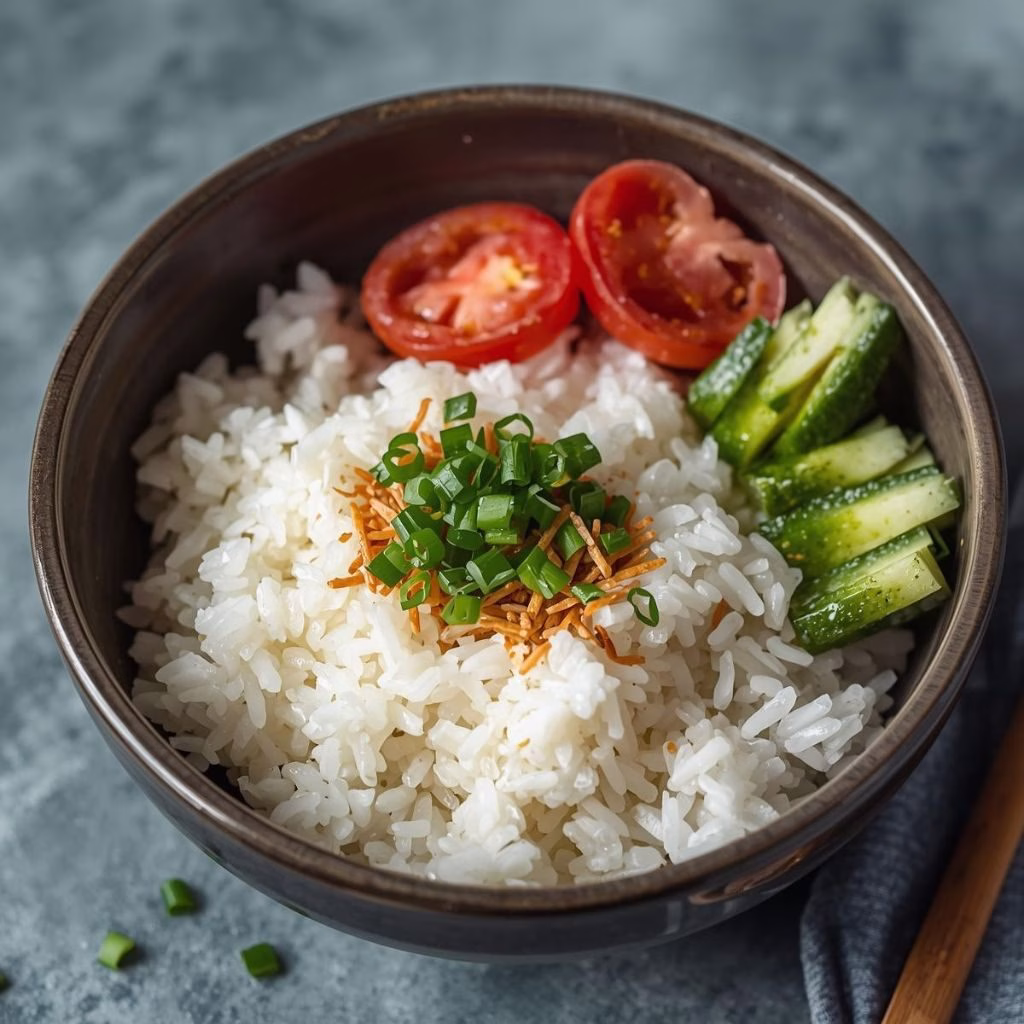
How to Serve Sushi Rice Recipe Name?
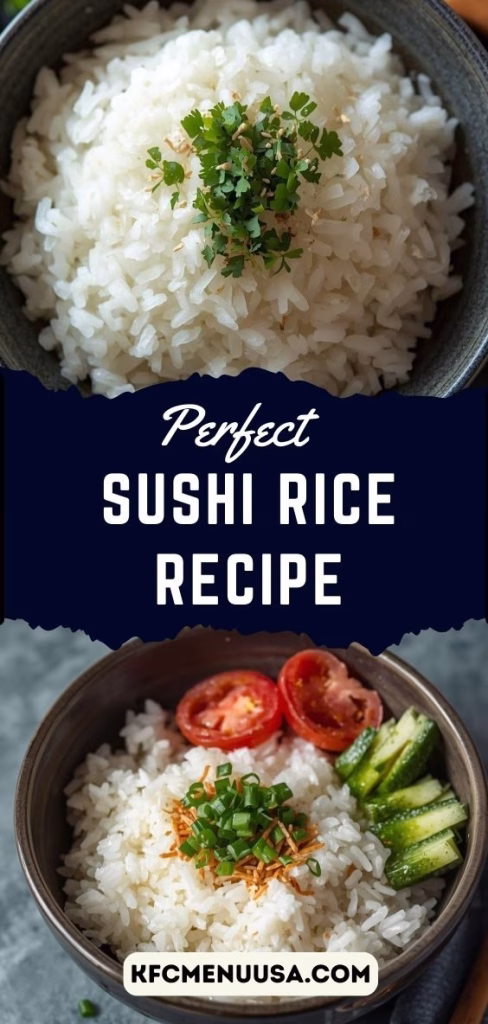
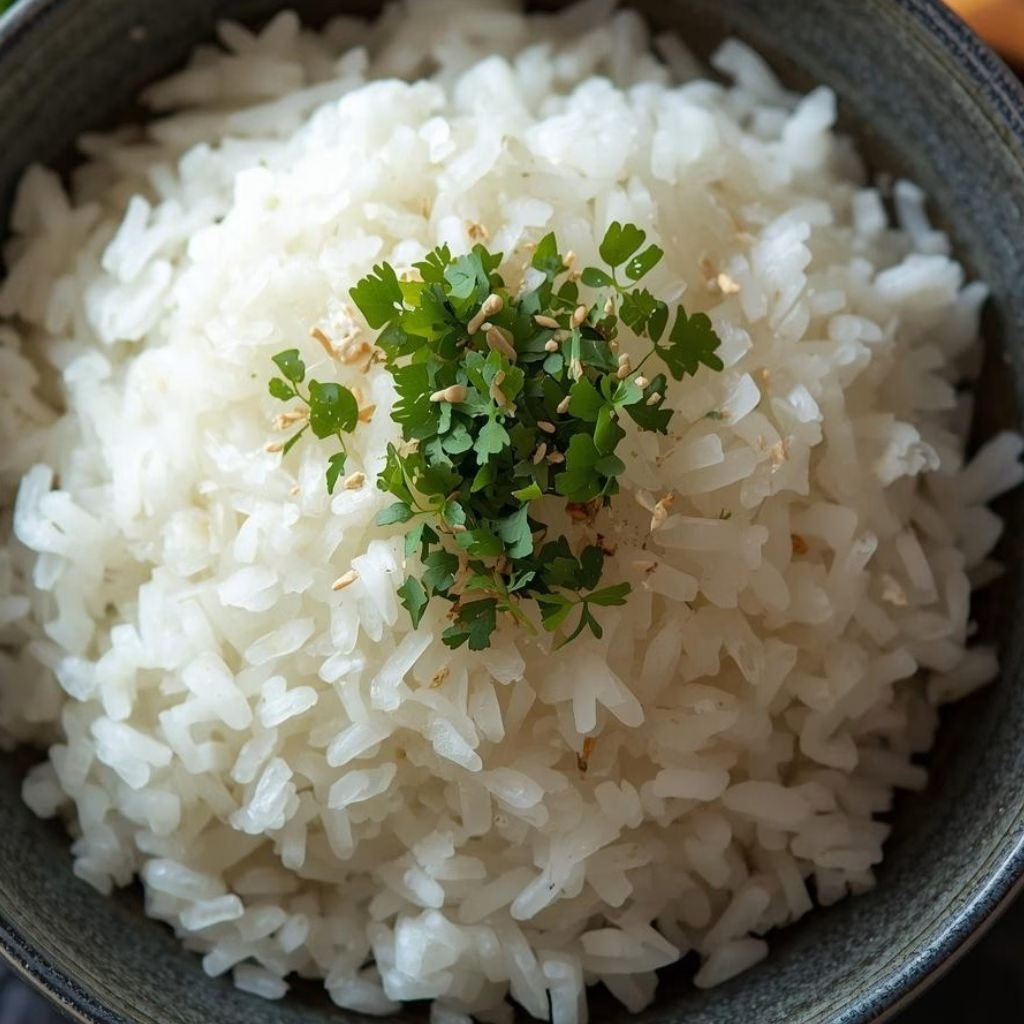
Sushi rice can be served in many creative ways. I love using it as a base for sushi rolls wrapped in seaweed sheets. It also works beautifully in rice bowls topped with fresh vegetables, avocado, or seafood. You can shape it into small mounds for nigiri-style servings. For presentation, sprinkle sesame seeds or add thinly sliced green onions for color and texture.
Nutritional Information
Approximate values per serving:
- Calories: 250–300
- Protein: 4–6g
- Carbohydrates: 55–60g
- Fat: Less than 1g
Make Ahead and Storage
Refrigerating
Store leftover sushi rice in an airtight container in the refrigerator for up to 3 days. Keep it covered to prevent drying out. The texture may firm up slightly when chilled.
Freezing
Freezing is not highly recommended because it can alter the texture. However, if needed, store in small portions and use within one month.
Reheating
To restore softness, sprinkle a small amount of water over the rice before reheating. Warm gently in the microwave or steam lightly until soft again. Avoid overheating to maintain texture.
Why You’ll Love This Recipe?
Here’s why this sushi rice recipe will become a favorite in your kitchen:
- It’s simple and beginner-friendly, even if you’ve never made sushi before.
- The texture is authentic, glossy, and perfectly sticky.
- It’s versatile and works for rolls, bowls, or side dishes.
- You can easily adjust sweetness and seasoning to match your taste.
- It pairs beautifully with a wide variety of toppings and ingredients.
It also pairs well with other comforting meals like mexican-chopped-cheese-sandwich-recipe and easy-tomato-soup-with-grilled-cheese-ideas-recipe for a complete dining experience.
If you follow this method carefully, you’ll achieve restaurant-quality sushi rice every time. Once you master this base recipe, you can create endless sushi combinations at home with confidence and creativity. Enjoy your cooking experience! 🍣