I recently made this classic Root Beer Float Recipe, and it instantly brought back memories of old-fashioned soda fountains. The combination of creamy vanilla ice cream and bubbly root beer creates a simple dessert that never goes out of style. What I love most is how quickly it comes together with just two ingredients.
The frothy top and smooth, sweet flavor make every sip and spoonful enjoyable. If you’re looking for an easy and refreshing treat, this recipe is always a great choice.
Ingredients
A root beer float is wonderfully simple, but choosing quality ingredients makes a noticeable difference.
- 2 large scoops vanilla ice cream – Rich, creamy vanilla ice cream creates the classic flavor and texture. Premium ice cream melts more slowly and produces a thicker float.
- 1 bottle (12–16 ounces) very cold root beer – Chilled root beer helps create the signature frothy foam while keeping the dessert refreshingly cold.
Note: The quantities above make 1 generous serving. Double or triple the ingredients as needed for additional servings.
Variations
There are plenty of ways to customize this classic dessert.
- Use dairy-free vanilla ice cream for a vegan-friendly version.
- Choose sugar-free root beer and low-sugar ice cream for a lighter treat.
- Add whipped cream on top for extra richness.
- Garnish with a maraschino cherry for a classic soda-shop presentation.
- Try vanilla bean ice cream for a deeper vanilla flavor.
- Add a drizzle of chocolate syrup for a dessert-like twist.
- Substitute cream soda for a sweeter float variation.
- Use frozen custard instead of ice cream for an extra creamy texture.
- Refreshing dishes like Chickpea Avocado Feta Salad pair nicely with cold desserts during warm weather.

Cooking Time
This recipe comes together in just a few minutes.
- Prep Time: 5 minutes
- Cooking Time: 0 minutes
- Total Time: 5 minutes
Equipment You Need
Before making your float, gather these simple tools.
- Tall glass mug – Holds the float and leaves room for foam.
- Ice cream scoop – Helps create neat, even scoops.
- Long spoon – Perfect for enjoying the ice cream.
- Straw – Makes sipping the creamy root beer easier.
- Freezer (optional) – Chills the glass for an extra-cold treat.
How to Make a Root Beer Float Recipe?
Making a root beer float is incredibly easy. The key is keeping both the ice cream and root beer very cold. This helps create the perfect balance of creamy texture and fizzy foam.
Chill the Glass
Place your serving glass in the freezer for about 10 minutes before assembling the float. A frosty glass helps keep everything colder for longer. This simple step makes the finished drink even more refreshing.
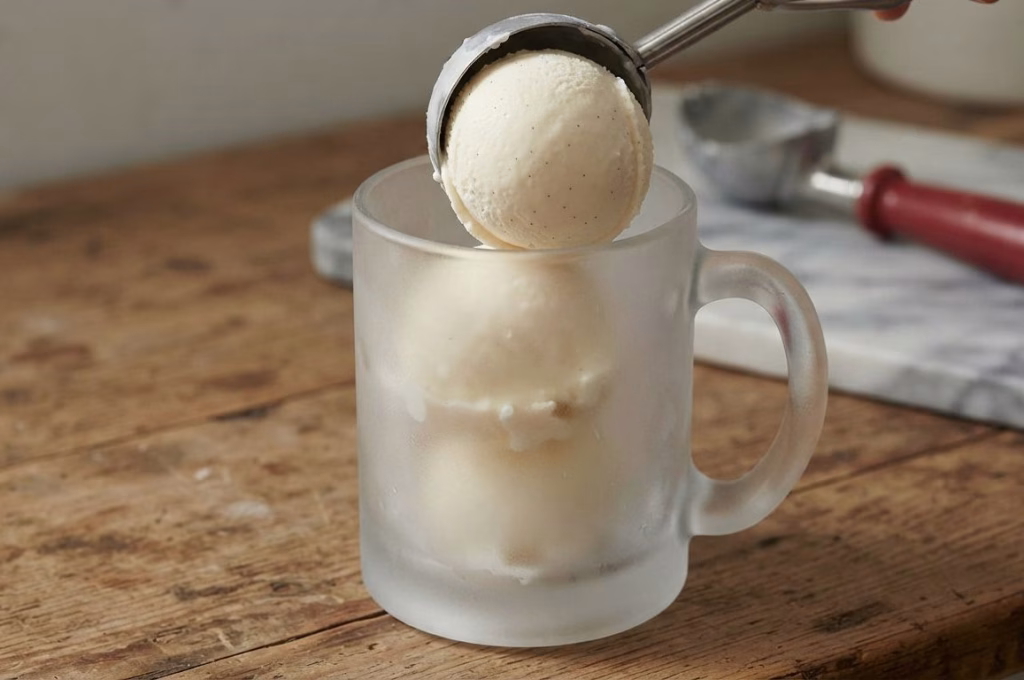
Prepare the Ice Cream
Remove the vanilla ice cream from the freezer just long enough to scoop it easily. Scoop two generous portions into the chilled glass. The ice cream should remain firm and cold.
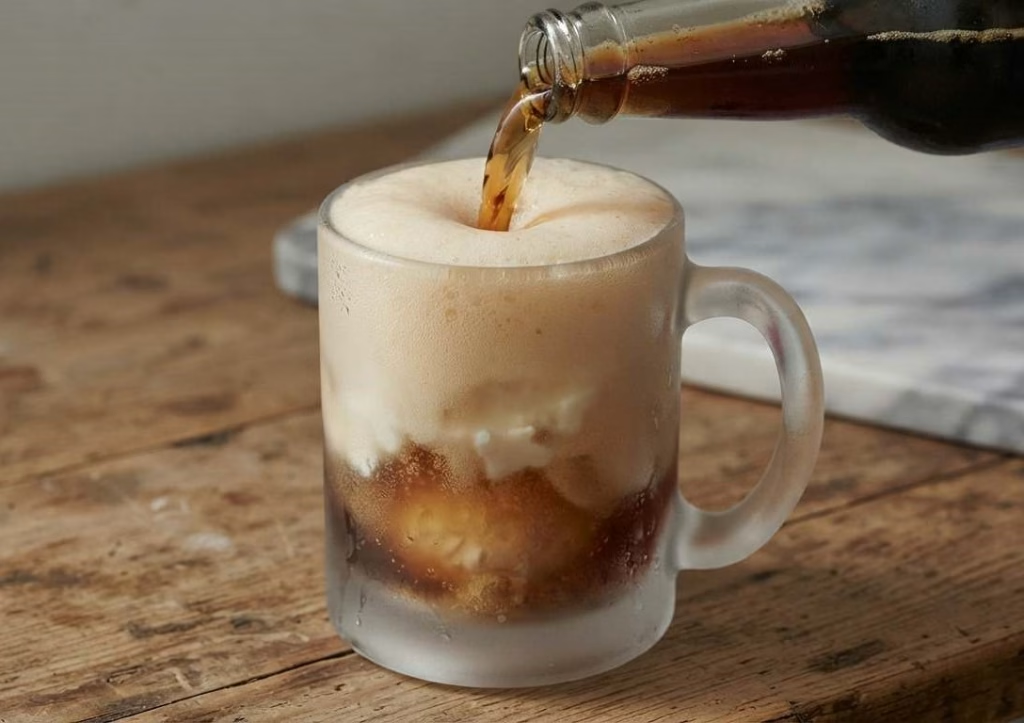
Add the Root Beer
Slowly pour the cold root beer over the ice cream. Pouring gradually prevents excessive overflow and creates the signature foamy head. Leave a little space at the top of the glass for the foam to expand.
Let the Foam Settle
As the root beer meets the ice cream, a creamy foam will quickly form. Allow it to settle for a few seconds before adding more root beer if needed. This creates the ideal float texture.
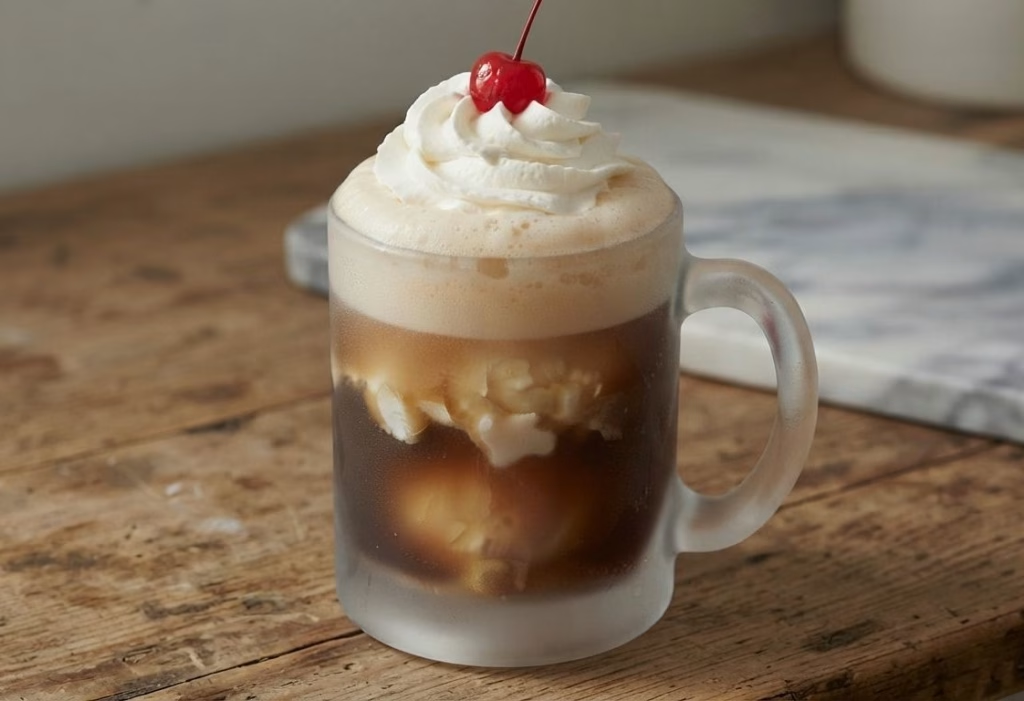
Add Optional Toppings
For an old-fashioned soda fountain presentation, top the float with whipped cream and a cherry. These additions make the dessert look festive and extra appealing.
Serve Immediately
Root beer floats are best enjoyed right away while the soda is still fizzy. Serve with both a straw and a long spoon. This lets everyone enjoy the creamy ice cream and bubbly soda together.
Additional Tips for Making This Recipe Better
After making this recipe several times, I discovered a few tricks that consistently improve the results.
- I always chill the glass first because it keeps the float cold longer.
- I use premium vanilla ice cream since it creates a richer and creamier texture.
- I pour the root beer slowly to control the foam and avoid spills.
- I make sure the root beer is thoroughly chilled before serving.
- I enjoy adding whipped cream and a cherry when serving guests because it looks more impressive.
- I serve the float immediately because the carbonation is best right after assembly.
How to Serve Root Beer Float Recipe?
A root beer float is delicious on its own, but presentation can make it even more enjoyable.
Serve it in a frosty glass mug with a colorful straw and a long dessert spoon. Add a swirl of whipped cream and a maraschino cherry for a nostalgic soda-shop look. For parties, serve floats alongside burgers, sandwiches, hot dogs, or summer barbecue dishes.
Small float glasses can also be offered as a fun dessert option at gatherings. Savory recipes such as Harissa Beef Roasted Pepper Sweet Potato Boats can create an enjoyable contrast when served as part of a larger meal.
Nutritional Information
The following values are approximate for one serving.
- Calories: About 450 calories
- Protein: About 5 grams
- Carbohydrates: About 77 grams
- Fat: About 15 grams
Make Ahead and Storage
A root beer float is best enjoyed fresh, but here are some helpful storage guidelines.
Storing
Store leftover ice cream in the freezer according to package directions. Keep root beer refrigerated and tightly sealed to preserve carbonation. Once assembled, the float should be consumed immediately.
Freezing
The completed float does not freeze well because the soda loses its carbonation and texture. However, you can freeze serving glasses beforehand to improve the final result.
Reheating
No reheating is needed for this recipe. If the float melts, it is best to make a fresh one rather than attempting to restore it.
Why You’ll Love This Recipe?
This timeless dessert remains popular for many reasons. Here are some of the biggest benefits.
- Incredibly Easy to Make
With only two primary ingredients and a few minutes of preparation, anyone can make this dessert successfully. - Classic Nostalgic Flavor
The creamy vanilla ice cream and fizzy root beer create a combination that has been loved for generations. - Perfect for Any Occasion
Whether it’s a summer afternoon, family gathering, or casual dessert, this float always fits the occasion. - Easy to Customize
You can experiment with different ice creams, toppings, and soda flavors to create your own version. - Kid-Friendly and Crowd-Pleasing
Both children and adults enjoy the sweet, creamy, and refreshing taste, making it a dependable favorite.
Final Thoughts
This Root Beer Float Recipe proves that sometimes the simplest desserts are the most satisfying. With creamy vanilla ice cream, cold root beer, and a few minutes of preparation, you can create a refreshing treat that’s both nostalgic and delicious. Whether you’re serving it at a summer party or enjoying it as an afternoon indulgence, this classic float never disappoints.
Root Beer Float Recipe
Ingredients
Method
- Place your serving glass in the freezer for about 10 minutes before assembling the float. A frosty glass helps keep everything colder for longer. This simple step makes the finished drink even more refreshing.
- Remove the vanilla ice cream from the freezer just long enough to scoop it easily. Scoop two generous portions into the chilled glass. The ice cream should remain firm and cold.
- Slowly pour the cold root beer over the ice cream. Pouring gradually prevents excessive overflow and creates the signature foamy head. Leave a little space at the top of the glass for the foam to expand.
- As the root beer meets the ice cream, a creamy foam will quickly form. Allow it to settle for a few seconds before adding more root beer if needed. This creates the ideal float texture.
- For an old-fashioned soda fountain presentation, top the float with whipped cream and a cherry. These additions make the dessert look festive and extra appealing.
- Root beer floats are best enjoyed right away while the soda is still fizzy. Serve with both a straw and a long spoon. This lets everyone enjoy the creamy ice cream and bubbly soda together.
Notes
- I always chill the glass first because it keeps the float cold longer.
- I use premium vanilla ice cream since it creates a richer and creamier texture.
- I pour the root beer slowly to control the foam and avoid spills.
- I make sure the root beer is thoroughly chilled before serving.
- I enjoy adding whipped cream and a cherry when serving guests because it looks more impressive.
- I serve the float immediately because the carbonation is best right after assembly.