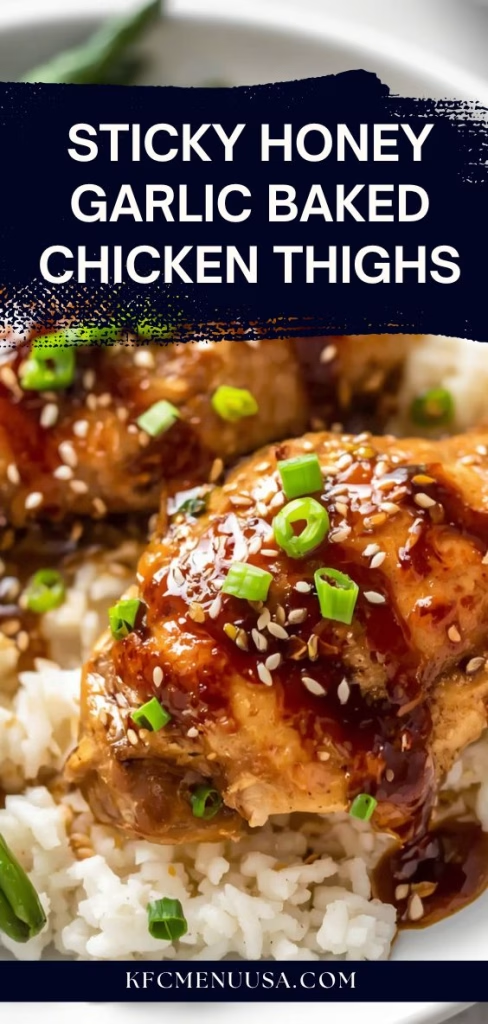
I have been making these sticky honey garlic baked chicken thighs almost every other week since I first tried the combination, and I still get excited when that glaze starts bubbling in the oven. I love that I can throw everything together in one dish and still end up with something that tastes like it took way more effort than it did.
The garlic and honey turn into this deep, glossy coating that clings to every bite of chicken. It’s the kind of dinner that makes me feel like I actually have my act together on a weeknight. If you try it, I think it will earn a permanent spot in your rotation too.
Ingredients
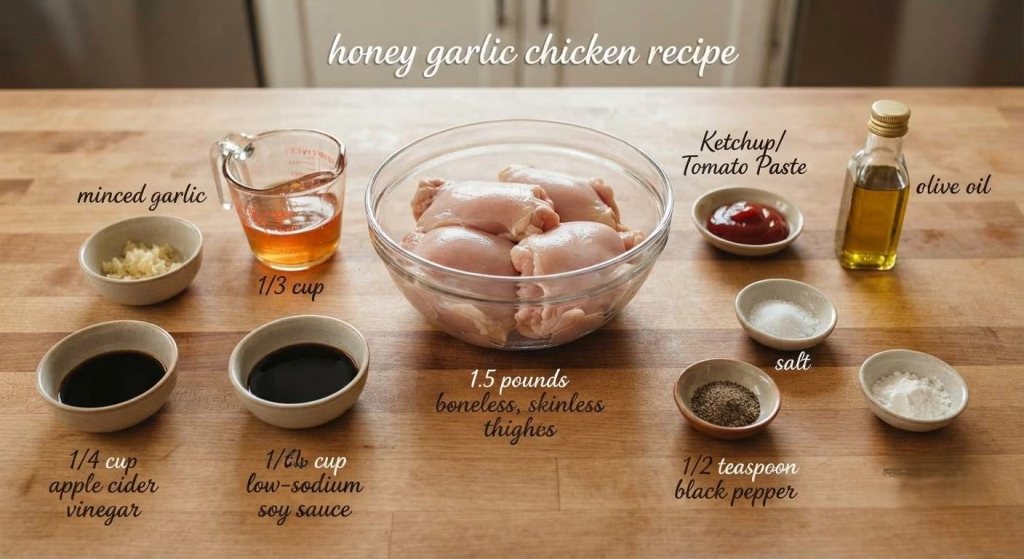
- Boneless, skinless chicken thighs (1.5 pounds) – thighs stay juicy in the oven far better than chicken breast, and they hold up well to a longer bake without drying out.
- Garlic cloves, minced (6 cloves) – fresh garlic gives the sauce a sharper, more fragrant bite than garlic powder ever will, so skip the jarred stuff if you can.
- Honey (1/3 cup) – this is what gives the glaze its sticky, caramelized finish, and raw or local honey adds a slightly richer flavor.
- Low-sodium soy sauce (1/4 cup) – using the low-sodium version lets you control the saltiness instead of the sauce overpowering the honey.
- Apple cider vinegar (1 tablespoon) – a small splash cuts through the sweetness and keeps the glaze from tasting one-note.
- Ketchup or tomato paste (1 tablespoon) – this adds a bit of body and a subtle tang that rounds out the glaze.
- Olive oil (1 tablespoon) – helps the chicken sear on the outside and keeps the glaze from sticking to the baking dish.
- Salt (1/2 teaspoon) – season the chicken directly so the flavor isn’t only coming from the sauce.
- Black pepper (1/2 teaspoon) – balances the sweetness with a little bite.
- Cornstarch (1 teaspoon, optional) – whisked into the sauce, this helps it thicken faster in the oven if you like an extra sticky glaze.
Note: These measurements are based on about 1.5 pounds of chicken thighs, which typically serves four people comfortably, so adjust the ingredient amounts up or down if you’re cooking for a bigger or smaller group.
Variations
- Swap the honey for maple syrup if you want a slightly deeper, less floral sweetness.
- Use tamari or coconut aminos instead of soy sauce to make this dish gluten-free.
- Add a pinch of red pepper flakes or a spoonful of sriracha if you want some heat in the glaze.
- Try this same sauce on chicken drumsticks or bone-in thighs for a heartier, fall-off-the-bone version.
- Stir in a splash of pineapple juice for a fruitier, slightly tangy twist on the classic flavor.
- Skip the honey altogether and use a sugar-free maple substitute if you’re watching your sugar intake.
Cooking Time
- Prep Time: 10 minutes
- Cooking Time: 35 minutes
- Total Time: 45 minutes
Equipment You Need
- Baking dish – holds the chicken thighs and lets the sauce reduce around them as they bake.
- Mixing bowl – used for whisking the honey garlic sauce together before it goes over the chicken.
- Whisk – makes sure the honey, soy sauce, and garlic blend into a smooth glaze.
- Measuring cups and spoons – keeps your ingredient ratios accurate so the glaze thickens properly.
- Meat thermometer – checks that the chicken has reached a safe internal temperature without overcooking it.
- Basting brush or spoon – helps you coat the chicken evenly with sauce partway through baking.
How to Make Sticky Honey Garlic Baked Chicken Thighs Recipe?
Making this recipe is really about layering flavor before the oven does the rest of the work. I like to prepare the sauce first so it’s ready to go the moment the chicken is seasoned. Once everything is combined, the oven handles the hard part while the glaze slowly thickens.
Step 1: Season the Chicken
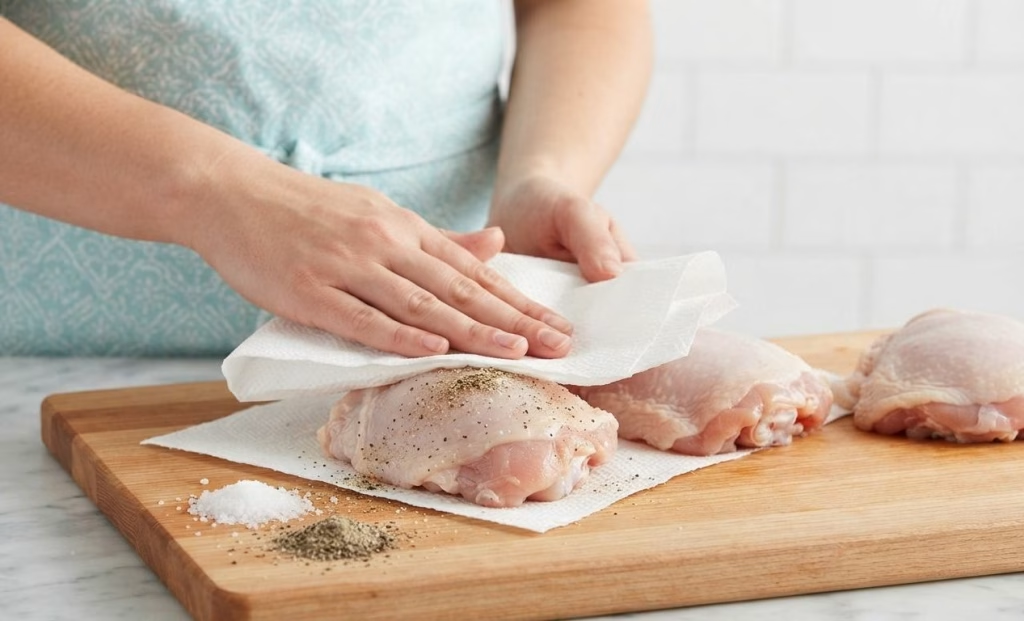
Pat the chicken thighs dry with a paper towel so the seasoning sticks properly. Sprinkle both sides with salt and black pepper, pressing gently so it stays in place. Set the seasoned chicken aside while you prepare the sauce in a separate bowl.
Step 2: Whisk the Honey Garlic Sauce
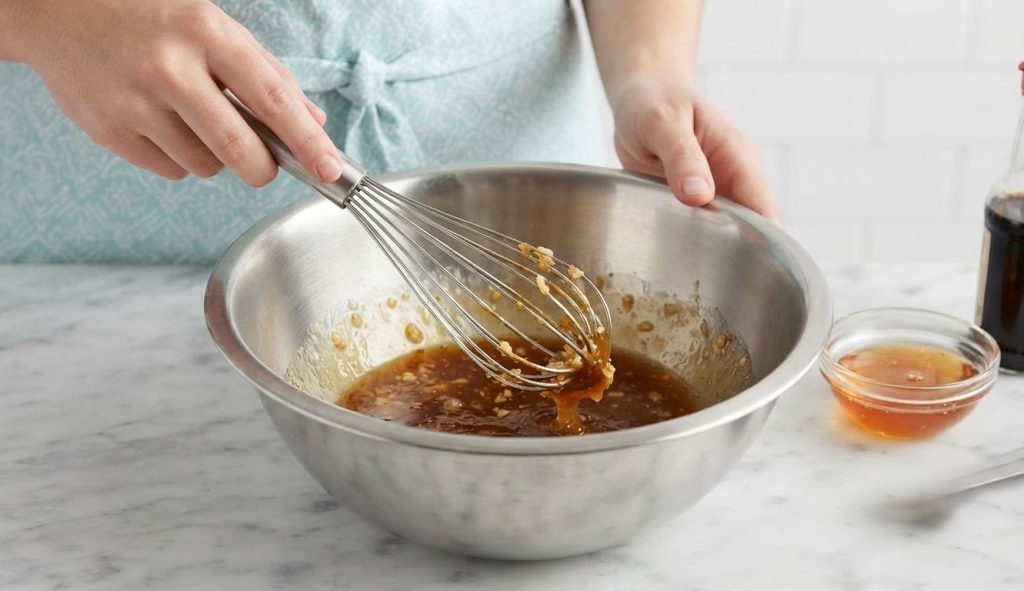
In a mixing bowl, whisk together the honey, soy sauce, minced garlic, apple cider vinegar, and ketchup until smooth. The mixture should look glossy and slightly thickened once fully combined. This sauce is what transforms plain chicken into something sticky and bold.
Step 3: Arrange and Coat the Chicken
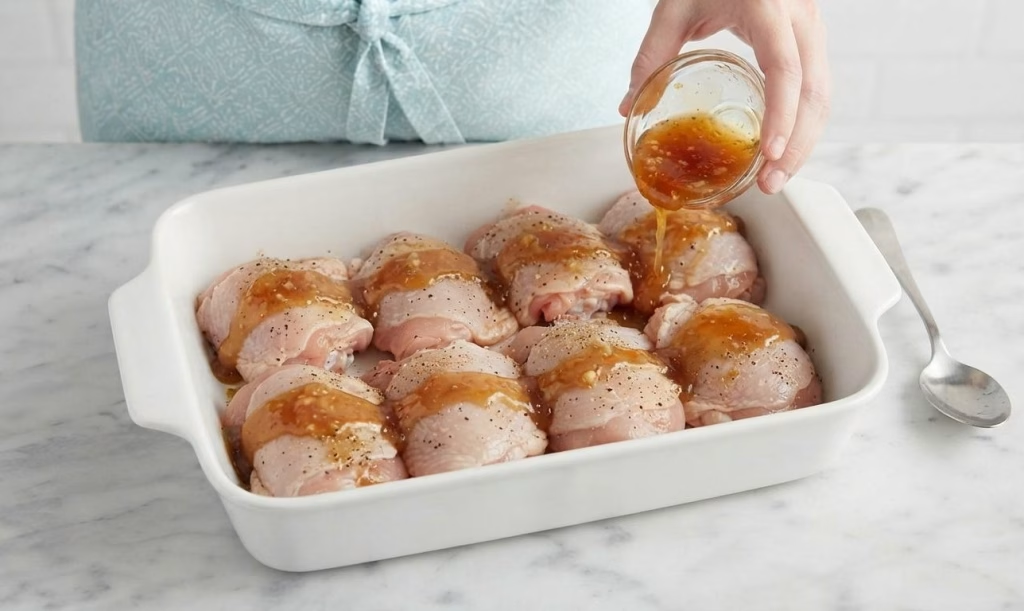
Place the chicken thighs in a lightly oiled baking dish in a single layer. Pour the honey garlic sauce evenly over the top, making sure every piece gets a good coating. Use a spoon to spread any extra sauce pooling at the bottom back over the chicken.
Step 4: Bake Until Golden and Sticky
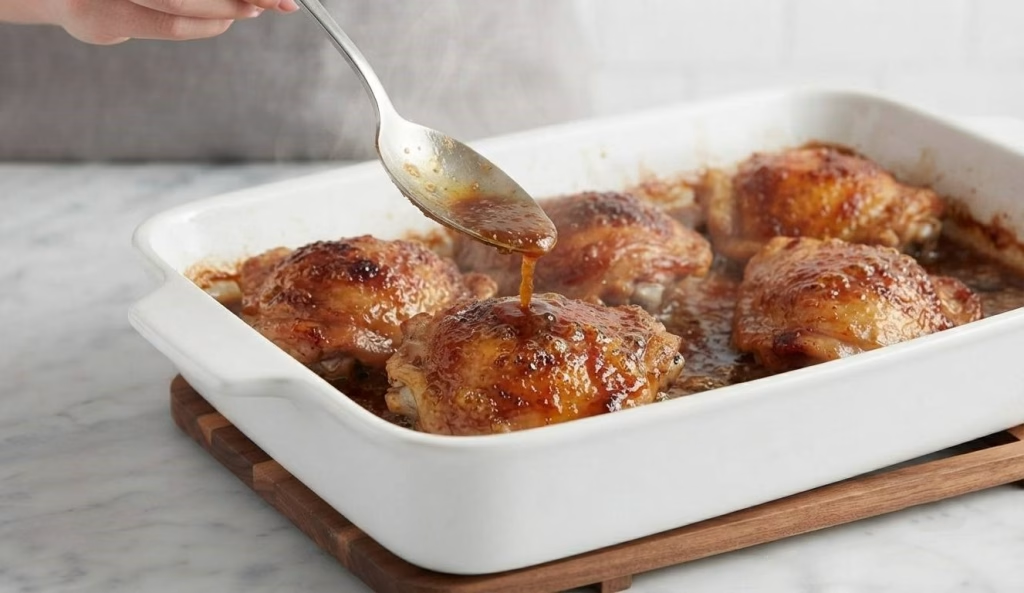
Bake the chicken at 400°F for about 30 to 35 minutes, basting once or twice with the pan sauce. The chicken is done when it reaches an internal temperature of 165°F and the glaze looks thick and glossy. If the sauce still looks thin, broil for the last two minutes to help it caramelize.
Step 5: Rest Before Serving
Let the chicken rest for about five minutes once it comes out of the oven. This gives the juices time to redistribute so the meat stays tender when you cut into it. Spoon any remaining glaze from the dish over the top right before serving.
Additional Tips for Making This Recipe Better
I’ve made this recipe enough times to know exactly where it can go wrong, so here’s what I do differently now.
- I always pat the chicken completely dry before seasoning, since any leftover moisture keeps the glaze from sticking properly.
- I baste the chicken at least once halfway through baking, because it builds a much deeper, glossier coating by the time it’s done.
- I use a meat thermometer instead of guessing, since chicken thighs can look done on the outside while still needing a few more minutes.
- I let the chicken rest before slicing into it, which keeps all that flavorful juice inside instead of running out onto the cutting board.
- I double the sauce recipe when I want extra to spoon over rice, because the leftover glaze is honestly one of my favorite parts. It also pairs well with a Grilled Chicken Salad Recipe for lighter meal planning throughout the week.
How to Serve Sticky Honey Garlic Baked Chicken Thighs?
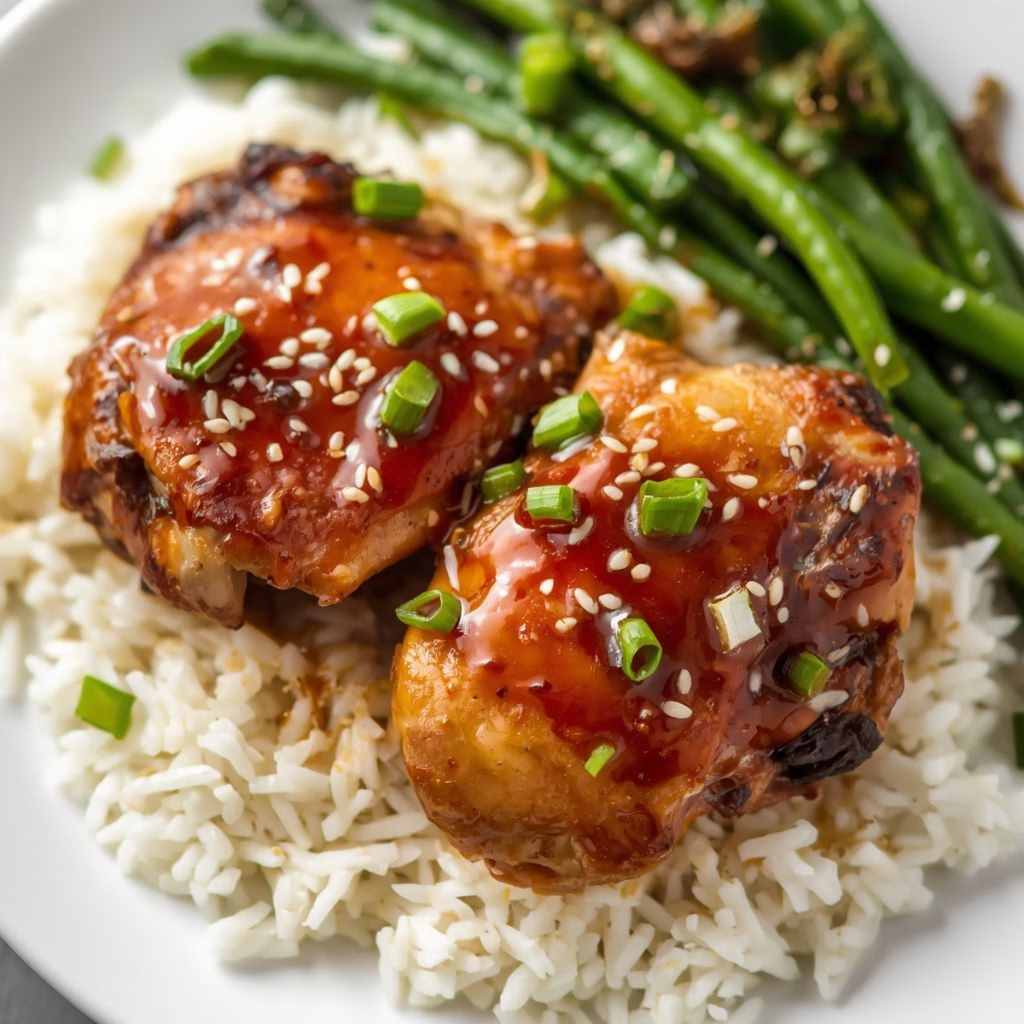
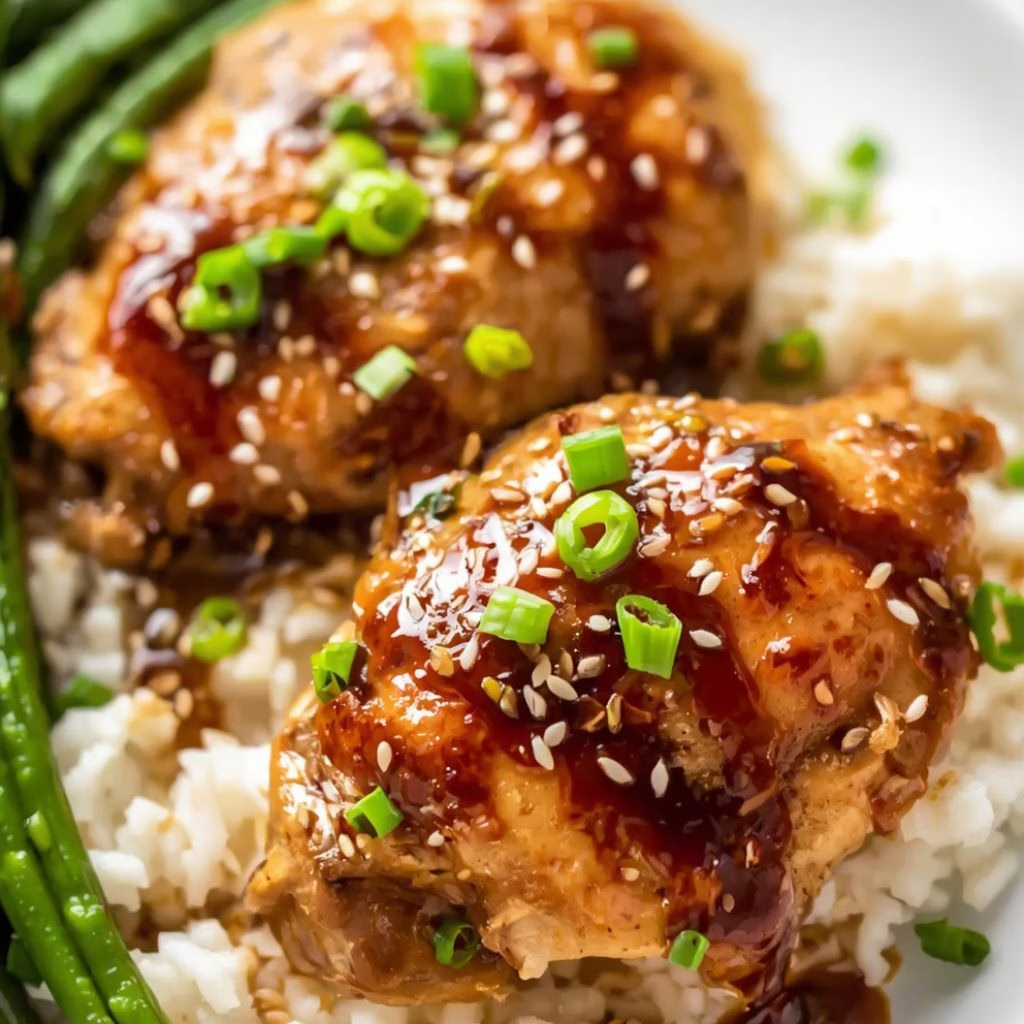
I like serving this chicken over a bed of steamed jasmine rice so it can soak up every bit of that sticky glaze. A side of roasted broccoli or sautéed green beans adds some color and balances out the sweetness of the sauce. For a heartier plate, I sometimes pair it with garlic butter noodles or mashed potatoes instead. If you’re preparing a full chicken-inspired menu, a Pesto Chicken Sandwich on Sourdough Recipe also fits nicely alongside these flavors.
To make it look a little more polished, I sprinkle sesame seeds and sliced green onions right over the top before bringing it to the table. A few extra spoonfuls of the pan glaze drizzled around the plate make the whole dish look shiny and restaurant-style, even though it barely took any effort.
Nutritional Information
Here’s a general idea of what one serving of this chicken looks like nutritionally, though exact numbers will vary based on your specific ingredients.
- Calories: approximately 260 per serving
- Protein: approximately 32 grams per serving
- Carbohydrates: approximately 14 grams per serving
- Fat: approximately 8 grams per serving
Make Ahead and Storage
Make Ahead
You can season the chicken and mix the sauce a day in advance, storing them separately in the fridge until you’re ready to bake. This saves time on busy nights since all you have to do is combine everything and pop it in the oven.
Storing Leftovers
Leftover chicken keeps well in an airtight container in the refrigerator for up to four days. Make sure it has cooled down before sealing it so the glaze doesn’t turn watery from trapped steam.
Freezing
This chicken freezes nicely for up to three months if stored in a freezer-safe container or bag. I like portioning it out ahead of time so I can pull out single servings whenever I need a quick dinner.
Reheating
Reheat the chicken in a covered skillet over low heat, spooning the sauce over it as it warms through. The microwave works too in a pinch, though the stovetop keeps the glaze from drying out as much.
Why You’ll Love This Recipe
This recipe has earned its spot in my regular dinner lineup for a handful of reasons, and I think you’ll see why once you try it.
- It comes together with pantry staples you likely already have, so there’s no special shopping trip required before dinner.
- The oven does most of the work here, which means less standing over a hot stove and more time to relax while it bakes.
- It’s easy to customize with different proteins or spice levels, so you can make it your own depending on what you’re craving.
- The glaze works just as well over rice, noodles, or vegetables, making it a flexible base for whatever you have on hand.
- It reheats beautifully, so leftovers taste almost as good as the first night, which makes it a great option for meal prep.

Sticky Honey Garlic Baked Chicken Thighs
Ingredients
Method
- Pat the chicken thighs dry with a paper towel so the seasoning sticks properly. Sprinkle both sides with salt and black pepper, pressing gently so it stays in place. Set the seasoned chicken aside while you prepare the sauce in a separate bowl.
- In a mixing bowl, whisk together the honey, soy sauce, minced garlic, apple cider vinegar, and ketchup until smooth. The mixture should look glossy and slightly thickened once fully combined. This sauce is what transforms plain chicken into something sticky and bold.
- Place the chicken thighs in a lightly oiled baking dish in a single layer. Pour the honey garlic sauce evenly over the top, making sure every piece gets a good coating. Use a spoon to spread any extra sauce pooling at the bottom back over the chicken.
- Bake the chicken at 400°F for about 30 to 35 minutes, basting once or twice with the pan sauce. The chicken is done when it reaches an internal temperature of 165°F and the glaze looks thick and glossy. If the sauce still looks thin, broil for the last two minutes to help it caramelize.
- Let the chicken rest for about five minutes once it comes out of the oven. This gives the juices time to redistribute so the meat stays tender when you cut into it. Spoon any remaining glaze from the dish over the top right before serving.
Notes
- I always pat the chicken completely dry before seasoning, since any leftover moisture keeps the glaze from sticking properly.
- I baste the chicken at least once halfway through baking, because it builds a much deeper, glossier coating by the time it’s done.
- I use a meat thermometer instead of guessing, since chicken thighs can look done on the outside while still needing a few more minutes.
- I let the chicken rest before slicing into it, which keeps all that flavorful juice inside instead of running out onto the cutting board.
- I double the sauce recipe when I want extra to spoon over rice, because the leftover glaze is honestly one of my favorite parts.