I still remember the first time I made Thanksgiving Mashed Potato Recipe for dinner and watched my whole family go back for seconds before the turkey was even carved. That’s when I knew I’d found my go-to recipe for good.
Over the years I’ve tweaked it, tested it with different potatoes, and learned exactly where most people go wrong with their mash. Now I’m sharing my tried-and-true method so you can make the creamiest, fluffiest mashed potatoes of your life this holiday season. Trust me, once you try this version, you’ll never go back to the boxed stuff.
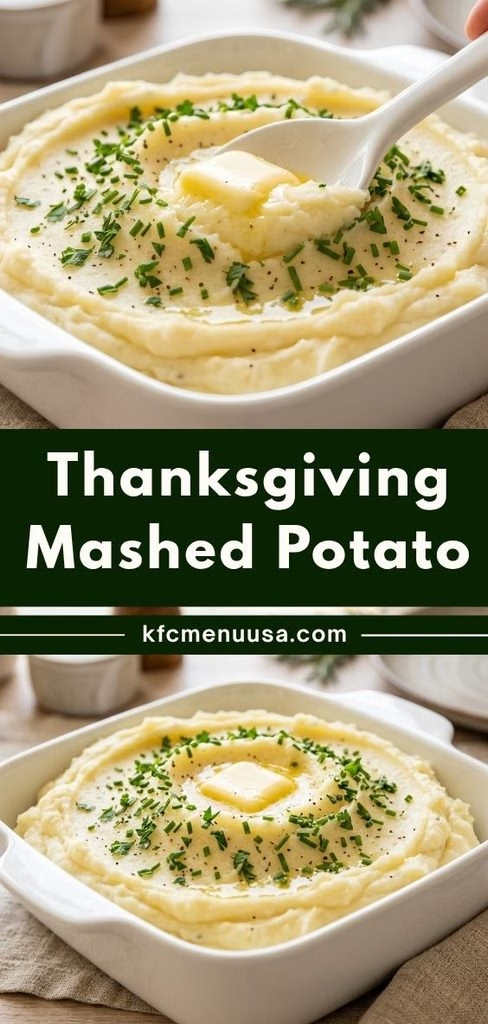
Cooking Time
- Prep Time: 15 minutes
- Cook Time: 20 minutes
- Total Time: 35 minutes
Ingredients
- 3 pounds Yukon gold or russet potatoes, peeled and cut into even chunks — these two varieties give the fluffiest, creamiest texture
- 2 teaspoons coarse salt, plus more to taste — seasoning the water early helps the potatoes absorb flavor from the inside out
- 1/2 cup whole milk or heavy cream, warmed — warming the dairy first keeps the potatoes from turning cold and gluey
- 6 tablespoons unsalted butter, softened — go for real butter, not margarine, for the richest flavor
- 1/4 teaspoon freshly cracked black pepper — freshly cracked makes a noticeable difference over pre-ground pepper
- 2 tablespoons sour cream (optional) — adds a subtle tang and extra creaminess
- 2 tablespoons fresh chives or parsley, chopped — use fresh herbs only, dried versions won’t give the same bright finish
Note: This recipe serves 6–8 people as a side dish.
Equipment You Need
- Large stockpot — to boil the potatoes evenly
- Colander — to drain the potatoes thoroughly before mashing
- Potato masher or ricer — for that smooth, lump-free texture
- Small saucepan — to warm the milk and butter together
- Wooden spoon or rubber spatula — to fold in the dairy gently
- Measuring cups and spoons — for accurate ingredient quantities
How to Make Thanksgiving Mashed Potato Recipe?
Making perfect mashed potatoes isn’t complicated, but a few small details really do make or break the final texture. I’ll walk you through each stage below, from boiling the potatoes to folding in the butter, so you end up with a bowl of mash that’s rich, smooth, and completely lump-free.
Step 1: Prep the Potatoes
Peel your potatoes and cut them into roughly one-inch cubes so they cook at the same rate. I always rinse the cubes under cold water first to wash away excess starch, which keeps the final mash from turning gummy. Try to keep the pieces uniform in size, since uneven chunks mean some potatoes turn mushy while others stay firm.
Step 2: Boil Until Fork-Tender
Place the potato cubes in a large pot and cover them with about an inch of cold water, then stir in the salt. Bring everything to a gentle boil over medium-high heat and let the potatoes cook for 15 to 20 minutes. You’ll know they’re ready when a fork slides through a piece with almost no resistance.
Step 3: Drain and Dry
Drain the potatoes in a colander right away so they don’t sit in hot water and turn waterlogged. I like to return them to the warm, empty pot for a minute or two over low heat, which lets any leftover moisture steam off. This tiny step makes a real difference in how creamy the final texture turns out.
Step 4: Warm the Dairy
While the potatoes are draining, gently heat the milk and butter together in a small saucepan until the butter melts completely. Warming the dairy first is one of my favorite tricks, because cold milk poured straight into hot potatoes can make them seize up and turn starchy instead of silky.
Step 5: Mash the Potatoes
Using a potato masher or ricer, mash the potatoes directly in the pot until no large lumps remain. A ricer gives the smoothest, most restaurant-quality texture, but a sturdy masher works great too if that’s what you have on hand in your kitchen.
Step 6: Fold in Butter and Cream
Slowly pour in the warm milk-and-butter mixture while gently folding the potatoes with a spoon or spatula. Add the sour cream here if you’re using it, along with the black pepper. Stir just until everything is combined and creamy, being careful not to overwork the potatoes.
Step 7: Taste and Season
Give your mash a taste and add more salt or pepper as needed, since potatoes can vary in how much seasoning they soak up. I always adjust at this final stage rather than guessing earlier, because it’s much easier to add more than to fix an over-salted batch.
Step 8: Garnish and Serve
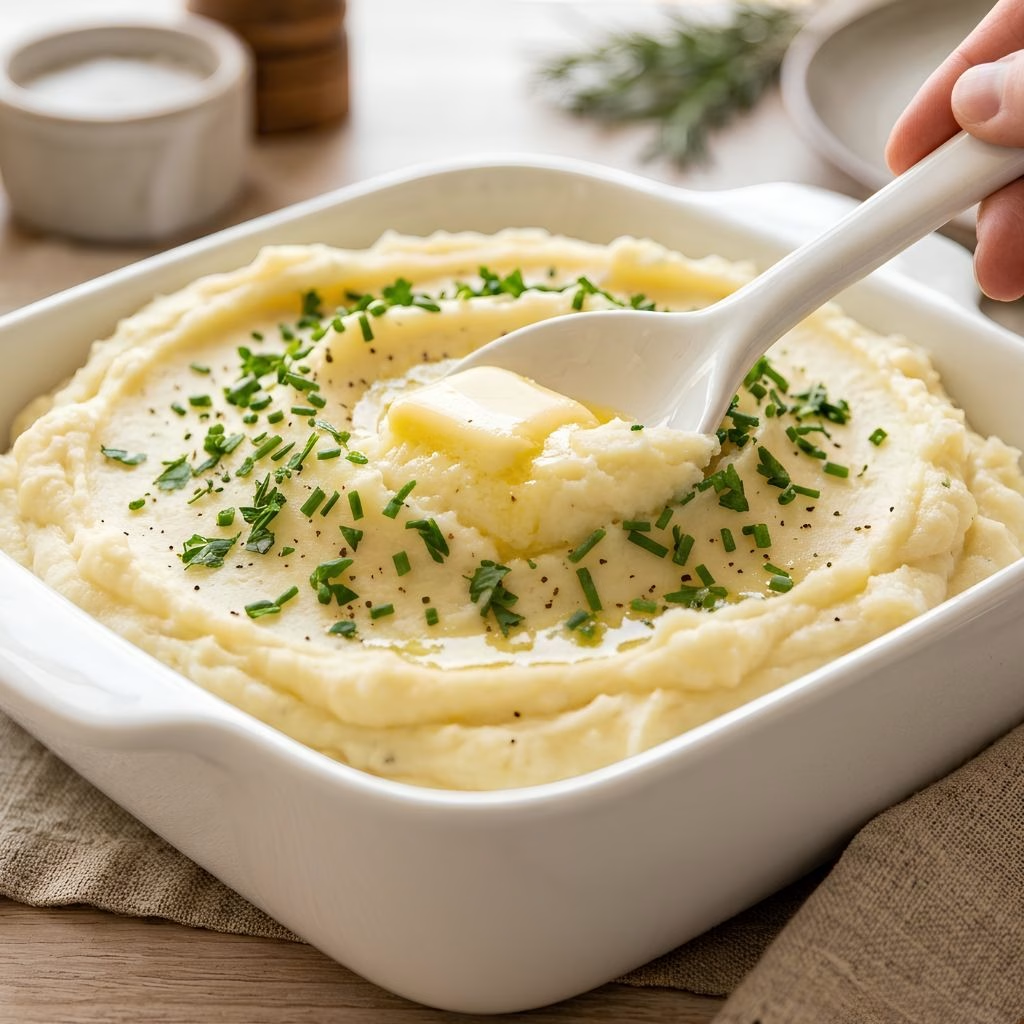
Transfer the mashed potatoes to a serving bowl and top with a pat of butter and a sprinkle of fresh chives or parsley. Serve them immediately while they’re warm, creamy, and at their absolute best for your holiday table.
Additional Tips for Making This Recipe Better
I’ve made this dish more times than I can count, and these small lessons have genuinely upgraded my results over the years.
- I always salt my boiling water generously, since it’s the easiest way to season the potatoes from the inside.
- I never use a blender or food processor, because it overworks the starches and turns the potatoes gluey almost instantly.
- I warm my milk and butter every single time now, since cold dairy used to leave my mash lukewarm and lumpy.
- I keep a splash of reserved potato water on hand in case my mash needs loosening before serving.
- I taste as I go instead of waiting until the end, which helps me layer the seasoning more naturally.
Common Mistakes to Avoid
Over the years I’ve made nearly every mistake possible with this dish, so let me save you the trouble.
- I used to cut my potato chunks unevenly, which left some pieces mushy and others undercooked now I always aim for same-sized cubes.
- I once used a hand mixer on high speed and ended up with gummy, paste-like potatoes, so I stick to gentle mashing by hand now.
- I used to skip draining properly, which left my mash watery, so now I let the potatoes sit in the pot briefly to dry out.
- I learned the hard way that cold butter doesn’t melt evenly into hot potatoes, so I always soften or melt it first.
- I used to add all the milk at once, which made the texture too loose, so now I pour it in slowly while mashing.
How to Serve Thanksgiving Mashed Potato Recipe?
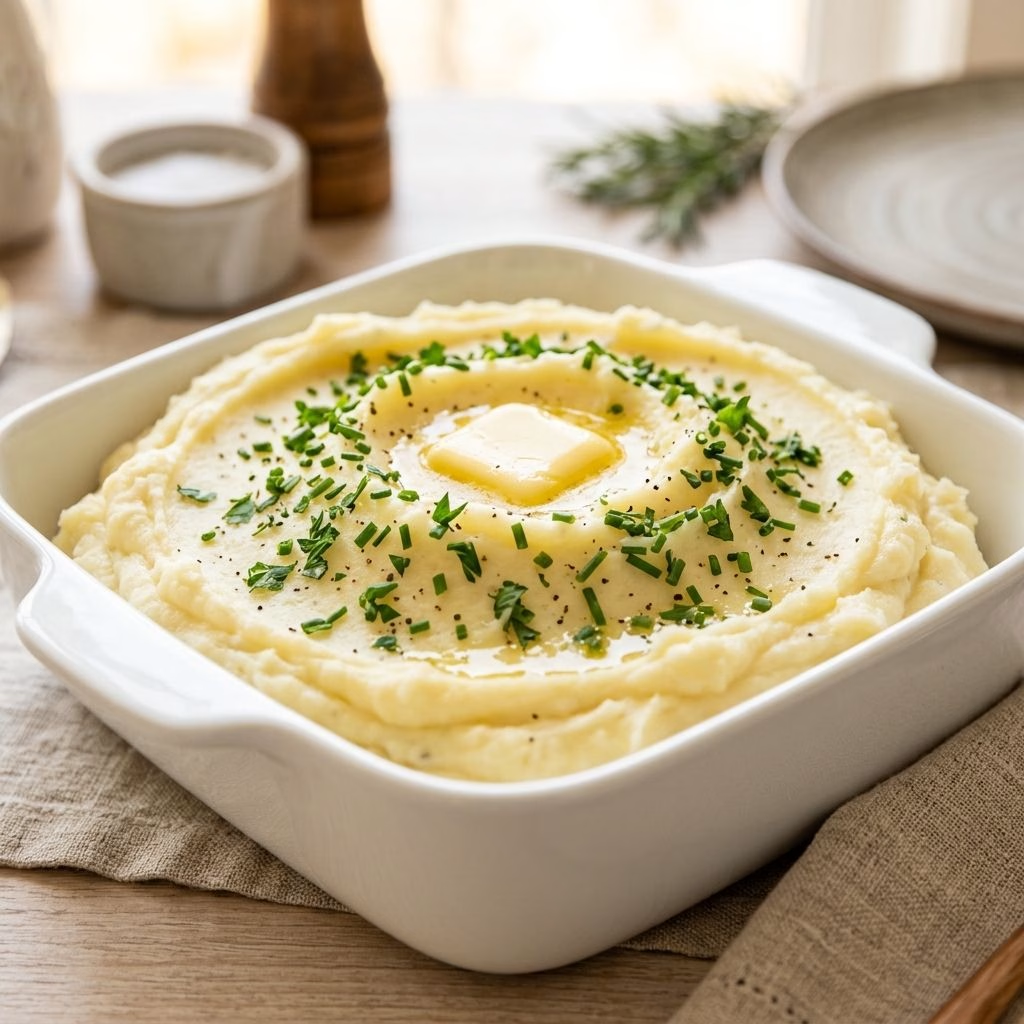
I love serving my mashed potatoes in a wide, shallow bowl so the butter pools nicely in the center rather than sinking to the bottom. A swirl pattern on top, made with the back of a spoon, holds melted butter beautifully and looks really inviting on a holiday spread. For garnish, a sprinkle of chopped chives, parsley, or even crispy fried shallots adds color and a bit of texture contrast.
If you’re setting up a full Thanksgiving table, this mash pairs wonderfully alongside a rich turkey gravy recipe poured generously over the top right before serving. A light dusting of cracked black pepper just before bringing it to the table finishes the presentation off perfectly.
Variations
- For a dairy-free version, swap the milk and butter for full-fat coconut milk and your favorite plant-based butter.
- For a garlicky twist, roast a whole head of garlic and mash the soft cloves right into the potatoes.
- For extra richness, stir in cream cheese along with the sour cream for a tangier, denser texture.
- For a cheesy variation, fold in shredded sharp cheddar or parmesan while the potatoes are still warm.
- For a lighter option, replace half the butter with olive oil and use low-fat milk instead of cream.
- For a smoky flavor, add a few strips of cooked, crumbled bacon along with the chives.
Nutritional Information
Here’s a rough nutritional breakdown per serving, based on this recipe serving 6–8 people as a side dish.
- Calories: approximately 220 kcal
- Protein: approximately 4 g
- Carbohydrates: approximately 28 g
- Fat: approximately 10 g
Make Ahead and Storage
You can make this mash up to two days ahead of time and store it in an airtight container in the refrigerator until you’re ready to reheat and serve it.
To reheat, warm the potatoes gently on the stovetop or in the microwave, stirring in a splash of warm milk to bring back that creamy texture.
For longer storage, these mashed potatoes freeze well for up to two months in a freezer-safe container, though the texture softens slightly once thawed.
Why You’ll Love This Recipe?
This mash has become a permanent fixture on my holiday table, and here’s exactly why I think you’ll love it just as much.
- It’s incredibly easy to make: With just a handful of ingredients and basic kitchen tools, this recipe comes together without any fuss, even on a busy Thanksgiving morning.
- It’s endlessly customizable: Whether you want it garlicky, cheesy, or dairy-free, this base recipe adapts to whatever flavor direction you’re craving.
- It feeds a crowd affordably: A few pounds of potatoes stretch far, making this one of the most budget-friendly sides on the entire holiday table.
- It reheats beautifully: Unlike a lot of side dishes, this mash holds up well the next day, which makes it perfect for Thanksgiving leftovers.
- It pairs with almost everything: From roasted turkey to a hearty green bean casserole recipe, this mash complements nearly any main dish you put next to it.
FAQs
Can I use russet potatoes instead of Yukon gold?
Yes, russet potatoes work great and give a slightly fluffier, lighter texture compared to the denser, buttery Yukon golds.
Why are my mashed potatoes gluey instead of fluffy?
Overmixing or using a blender breaks down the starches too much, so stick to gentle hand-mashing for the best texture.
Can I make this recipe dairy-free?
Absolutely, just swap the milk and butter for coconut milk and a plant-based butter alternative, and the result is still wonderfully creamy.
How long do leftover mashed potatoes last in the fridge?
Stored in an airtight container, leftover mashed potatoes stay fresh for about 3 to 4 days in the refrigerator.
What’s the best potato for the creamiest mash?
Yukon gold potatoes are my personal favorite since they naturally have a buttery flavor and a smooth, creamy texture when mashed.

Thanksgiving Mashed Potato Recipe
Ingredients
Method
- Peel your potatoes and cut them into roughly one-inch cubes so they cook at the same rate. I always rinse the cubes under cold water first to wash away excess starch, which keeps the final mash from turning gummy. Try to keep the pieces uniform in size, since uneven chunks mean some potatoes turn mushy while others stay firm.
- Place the potato cubes in a large pot and cover them with about an inch of cold water, then stir in the salt. Bring everything to a gentle boil over medium-high heat and let the potatoes cook for 15 to 20 minutes. You’ll know they’re ready when a fork slides through a piece with almost no resistance.
- Drain the potatoes in a colander right away so they don’t sit in hot water and turn waterlogged. I like to return them to the warm, empty pot for a minute or two over low heat, which lets any leftover moisture steam off. This tiny step makes a real difference in how creamy the final texture turns out.
- While the potatoes are draining, gently heat the milk and butter together in a small saucepan until the butter melts completely. Warming the dairy first is one of my favorite tricks, because cold milk poured straight into hot potatoes can make them seize up and turn starchy instead of silky.
- Using a potato masher or ricer, mash the potatoes directly in the pot until no large lumps remain. A ricer gives the smoothest, most restaurant-quality texture, but a sturdy masher works great too if that’s what you have on hand in your kitchen.
- Slowly pour in the warm milk-and-butter mixture while gently folding the potatoes with a spoon or spatula. Add the sour cream here if you’re using it, along with the black pepper. Stir just until everything is combined and creamy, being careful not to overwork the potatoes.
- Give your mash a taste and add more salt or pepper as needed, since potatoes can vary in how much seasoning they soak up. I always adjust at this final stage rather than guessing earlier, because it’s much easier to add more than to fix an over-salted batch.
- Transfer the mashed potatoes to a serving bowl and top with a pat of butter and a sprinkle of fresh chives or parsley. Serve them immediately while they’re warm, creamy, and at their absolute best for your holiday table.
Notes
- I always salt my boiling water generously, since it’s the easiest way to season the potatoes from the inside.
- I never use a blender or food processor, because it overworks the starches and turns the potatoes gluey almost instantly.
- I warm my milk and butter every single time now, since cold dairy used to leave my mash lukewarm and lumpy.
- I keep a splash of reserved potato water on hand in case my mash needs loosening before serving.
- I taste as I go instead of waiting until the end, which helps me layer the seasoning more naturally.