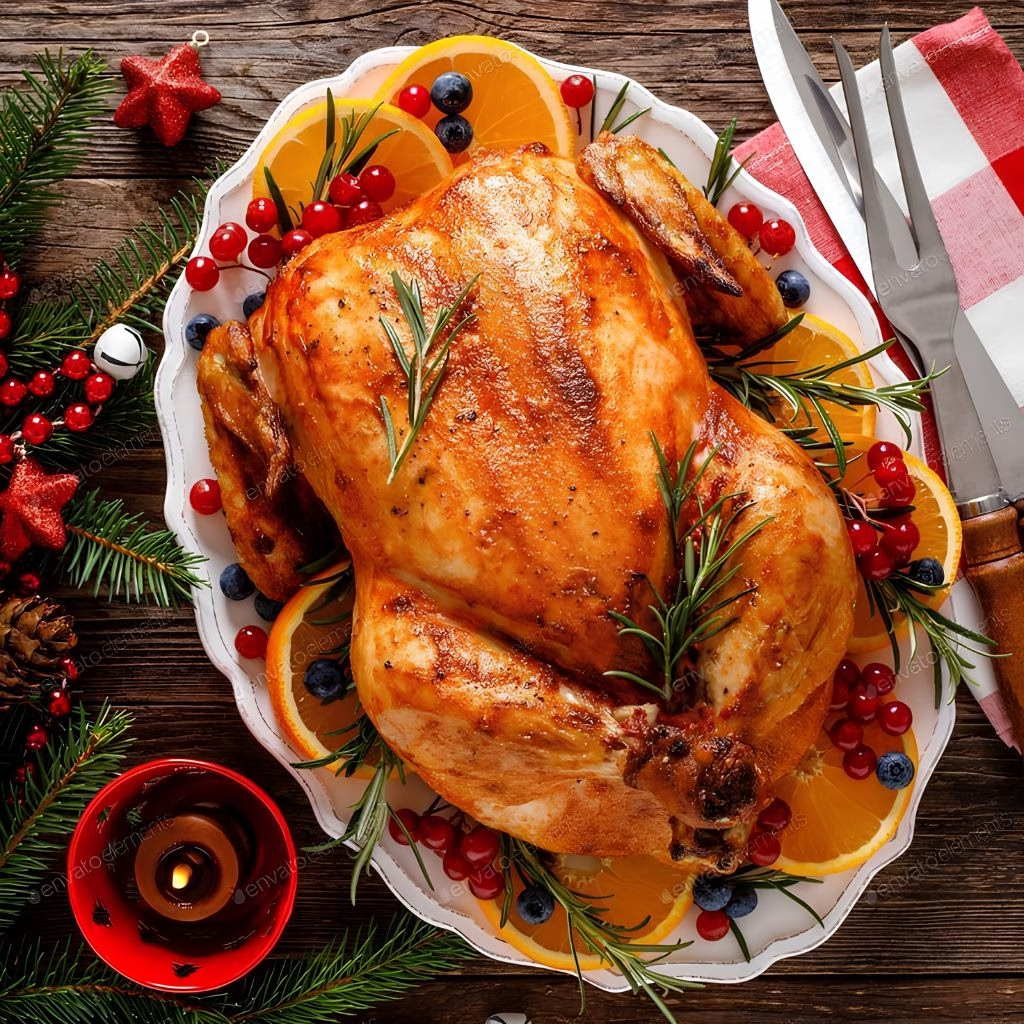
I’ve roasted more turkeys than I can count over the years, and I can tell you that dry brining changed everything for me. The first time I tried it, I honestly couldn’t believe how deeply seasoned and juicy the meat turned out, without any of the wet-brine mess or a giant bucket taking over my fridge.
Since then, this has become my go-to method every single Thanksgiving, and my family notices the difference the second they take a bite. If you’ve ever ended up with a dry, bland turkey despite hours of effort, I promise this simple technique will fix that for good. Once you try Dry Brine Turkey Recipe, you’ll wonder why you ever brought any other way.
Cooking Time
- Prep Time: 15 minutes
- Inactive/Brining Time: 24 to 48 hours
- Cooking Time: 2.5 to 3.5 hours (depending on turkey size)
- Total Time: About 2 days (mostly hands-off)
Ingredients
- 1 whole turkey (12-14 pounds), thawed completely – fresh or fully thawed turkey absorbs the brine far better than a partially frozen one
- 2-3 tablespoons kosher salt – the real star of a dry brine; use about 1 tablespoon per 5 pounds of turkey
- 1 tablespoon baking powder – helps the skin crisp up beautifully, so don’t skip it if you want that golden crunch
- 1 teaspoon dried thyme – adds a warm, earthy note that pairs perfectly with poultry
- 1 teaspoon dried sage – classic holiday flavor that makes the bird smell like Thanksgiving itself
- 1/2 teaspoon freshly cracked black pepper – gives a gentle bite without overpowering the other seasonings
- 1/2 teaspoon garlic powder – rounds out the flavor without the risk of burning like fresh garlic can
- 2 tablespoons olive oil or softened butter (optional, for roasting day) – helps the skin brown evenly in the oven
Note: This recipe serves 10 to 12 people, perfect for a full holiday table.
Equipment You Need
- Roasting pan or rimmed baking sheet – holds the turkey steady and catches any drippings
- Wire rack – lifts the turkey so air and salt reach the skin evenly on all sides
- Paper towels – essential for patting the turkey bone-dry before seasoning
- Small mixing bowl – for combining the dry brine ingredients
- Kitchen twine – keeps the legs tucked neatly for even cooking
- Meat thermometer – the only reliable way to know when your turkey is safely and perfectly cooked
How to Make Dry Brine Turkey Recipe?
Making a dry brine turkey is far simpler than people expect, and most of the “work” is really just waiting. I like to think of it in three stages: prep the bird, season it generously, and let the fridge do the heavy lifting. Here’s exactly how I do it every time.
Prepare the Turkey
I start by removing the neck, giblets, and any plastic or metal pieces from inside the cavity. Then I pat the entire turkey dry with paper towels, inside and out, which is honestly the most important step. If you want an even faster-cooking, more evenly browned bird, this is also the point where you could try a spatchcock turkey approach instead of roasting it whole.
Mix the Dry Brine
In a small bowl, I whisk together the kosher salt, baking powder, thyme, sage, pepper, and garlic powder until evenly combined. This only takes about a minute, and I always make a little extra so I don’t run short while coating the bird.
Season Every Surface
Next, I gently loosen the skin over the breast and thighs with my fingers and rub some of the mixture directly onto the meat underneath. Then I coat the outside skin generously and sprinkle a little inside the cavity too, making sure no part of the bird is left bare.
Refrigerate Uncovered
I place the turkey breast-side up on a wire rack set inside a sheet pan and refrigerate it uncovered for 24 to 48 hours. Leaving it uncovered actually helps dry out the skin further, which is the secret to that shatteringly crisp texture later.
Bring to Room Temperature
About an hour before roasting, I pull the turkey out of the fridge so it isn’t ice-cold when it hits the oven. This small step helps the turkey cook more evenly from edge to center.
Roast Until Golden
I tie the legs with kitchen twine, rub the skin with a little oil or butter, and roast at 325°F, basting occasionally, until a thermometer inserted into the thickest part of the thigh reads 165°F. Depending on size, this usually takes between 2.5 and 3.5 hours.
Rest Before Carving
Once it’s out of the oven, I always let the turkey rest for at least 30 minutes before slicing. This keeps all those flavorful juices locked inside instead of spilling onto the cutting board.
Additional Tips for Making This Recipe Better
I’ve picked up a handful of tricks over the years that genuinely make a difference, so I wanted to share what works best for me.
- I always pat the turkey completely dry before seasoning, since any leftover moisture stops the salt from sticking properly.
- I never skip the baking powder step, because it’s the real reason my skin turns out so crisp and golden.
- I like brining for the full 48 hours whenever my schedule allows, since the extra time really deepens the flavor.
- I keep the turkey uncovered in the fridge rather than wrapping it, which helps the skin dry out for better crisping.
- I use my hands to loosen the skin gently instead of a knife, so I don’t accidentally tear it while seasoning underneath.
Common Mistakes to Avoid
Over the years, I’ve made a few of these mistakes myself, so I know exactly how easily they happen.
- Using a partially frozen turkey: I learned the hard way that this stops the salt from absorbing evenly, so always thaw completely first.
- Skipping the patting-dry step: If I rush this part, the brine just slides off instead of sticking to the skin.
- Oversalting a pre-brined or kosher turkey: I always check the label first, since some turkeys are already salted and need less brine.
- Brining for too short a time: Anything under 12 hours barely makes a difference, so I try to plan at least a full day ahead.
- Covering the turkey while it brines: I used to wrap mine in plastic, but leaving it uncovered gives a much crispier final result.
How to Serve Dry Brine Turkey
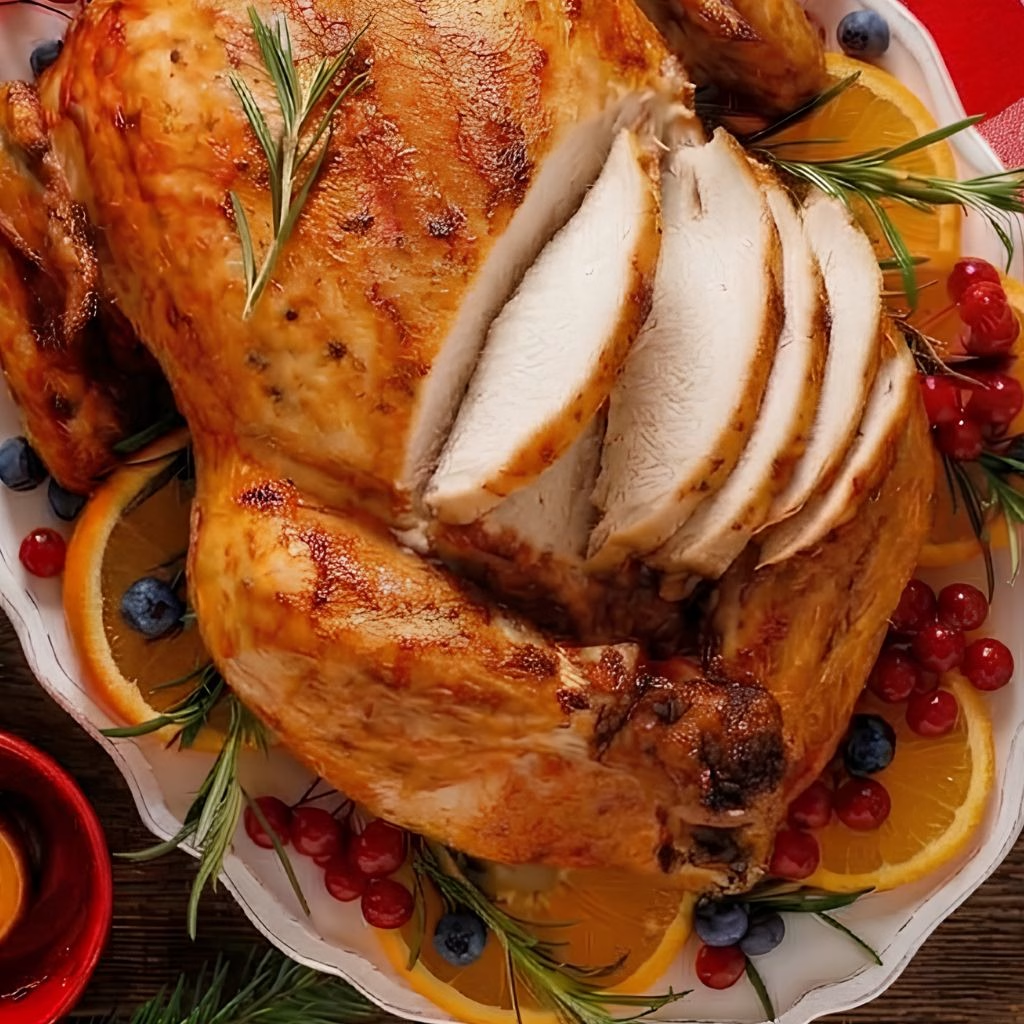
Once my turkey comes out of the oven, I like to transfer it to a large wooden board or platter and let it rest right there so the carving area doubles as a beautiful presentation piece.
I usually garnish around the bird with fresh rosemary sprigs, a few orange slices, and some whole cranberries for a classic holiday look that always gets compliments.
For side dishes, I love pairing this turkey with a warm, creamy green bean casserole, since the richness balances out the savory turkey beautifully. A simple drizzle of the pan drippings or gravy over the sliced meat right before serving keeps every bite extra moist.
Variations
- Dairy-free option: Use olive oil instead of butter when roasting, and the recipe stays completely dairy-free.
- Citrus-herb twist: Add orange or lemon zest to the dry brine mixture for a bright, fresh flavor layer.
- Spicy version: Mix in a pinch of cayenne or smoked paprika for a subtle kick.
- Turkey breast only: This same dry brine turkey breast recipe works wonderfully if you’re cooking for a smaller crowd, just reduce the brining time slightly.
- Smoked turkey: This dry brine turkey recipe for smoking works perfectly if you prefer a smoker over the oven, since the salt helps form a beautiful bark on the skin.
- Fried turkey: This method also pairs nicely with a dry brine turkey recipe for frying, giving you seasoned meat with that signature crispy fried crust.
- Sugar-free: This recipe is naturally sugar-free as written, so no adjustments are needed if that’s a priority for you.
Nutritional Information
Here’s a rough estimate per serving, based on a 12-14 pound turkey divided into 10-12 portions.
- Calories: 420-540 kcal
- Protein: 55-65 g
- Carbohydrates: 1-2 g
- Fat: 18-24 g
Make Ahead and Storage
You can dry brine the turkey up to 48 hours in advance, which actually makes holiday prep much less stressful since most of the work happens before the big day.
Leftover cooked turkey keeps well in an airtight container in the refrigerator for up to 3-4 days, and it reheats nicely in the oven or microwave with a splash of broth to keep it moist.
For longer storage, I slice the meat and freeze it in airtight bags or containers for up to 3 months, then thaw overnight in the fridge before reheating gently.
Why You’ll Love This Recipe?
This has become my most requested turkey recipe for good reason, and I think you’ll find the same once you try it yourself.
- It’s incredibly easy: There’s no heavy brining bucket or gallons of liquid to deal with, just a simple rub and some fridge time.
- It guarantees juicy meat: The salt works its way into the muscle fibers over time, keeping every slice moist even in the white meat.
- It gives unbeatable crispy skin: Thanks to the baking powder and uncovered brining time, the skin turns out beautifully golden and crackly.
- It’s endlessly customizable: Whether you want it smoked, fried, or roasted whole, this easy dry brine turkey recipe adapts to whatever method you prefer.
- It saves oven-day stress: Since the brining happens ahead of time, cooking day is much calmer and more enjoyable.
FAQs
How much salt do I need for a dry brine turkey recipe?
I generally use about 1 tablespoon of kosher salt for every 5 pounds of turkey, which keeps the seasoning balanced without being overly salty.
Can I use a dry brine turkey recipe with baking powder for extra crispy skin?
Yes, and I highly recommend it, since the baking powder helps draw out moisture and creates a much crispier finish than salt alone.
Do I need to rinse the dry brine off before cooking?
No, you don’t need to rinse it off at all, which is one of the biggest time-savers compared to a traditional wet brine.
Can I dry brine a turkey breast instead of a whole turkey?
Absolutely, a dry brine turkey breast recipe works just as well, just reduce the brining time slightly since the cut is smaller.
How long should I dry brine my turkey for the best results?
I aim for at least 24 hours, but if you have the time, stretching it to 48 hours gives noticeably deeper, richer flavor throughout the meat.

Dry Brine Turkey Recipe
Ingredients
Method
- I start by removing the neck, giblets, and any plastic or metal pieces from inside the cavity. Then I pat the entire turkey dry with paper towels, inside and out, which is honestly the most important step.
- In a small bowl, I whisk together the kosher salt, baking powder, thyme, sage, pepper, and garlic powder until evenly combined. This only takes about a minute, and I always make a little extra so I don’t run short while coating the bird.
- Next, I gently loosen the skin over the breast and thighs with my fingers and rub some of the mixture directly onto the meat underneath. Then I coat the outside skin generously and sprinkle a little inside the cavity too, making sure no part of the bird is left bare.
- I place the turkey breast-side up on a wire rack set inside a sheet pan and refrigerate it uncovered for 24 to 48 hours. Leaving it uncovered actually helps dry out the skin further, which is the secret to that shatteringly crisp texture later.
- About an hour before roasting, I pull the turkey out of the fridge so it isn’t ice-cold when it hits the oven. This small step helps the turkey cook more evenly from edge to center.
- I tie the legs with kitchen twine, rub the skin with a little oil or butter, and roast at 325°F, basting occasionally, until a thermometer inserted into the thickest part of the thigh reads 165°F. Depending on size, this usually takes between 2.5 and 3.5 hours.
- Once it’s out of the oven, I always let the turkey rest for at least 30 minutes before slicing. This keeps all those flavorful juices locked inside instead of spilling onto the cutting board.
Notes
- I always pat the turkey completely dry before seasoning, since any leftover moisture stops the salt from sticking properly.
- I never skip the baking powder step, because it’s the real reason my skin turns out so crisp and golden.
- I like brining for the full 48 hours whenever my schedule allows, since the extra time really deepens the flavor.
- I keep the turkey uncovered in the fridge rather than wrapping it, which helps the skin dry out for better crisping.
- I use my hands to loosen the skin gently instead of a knife, so I don’t accidentally tear it while seasoning underneath.