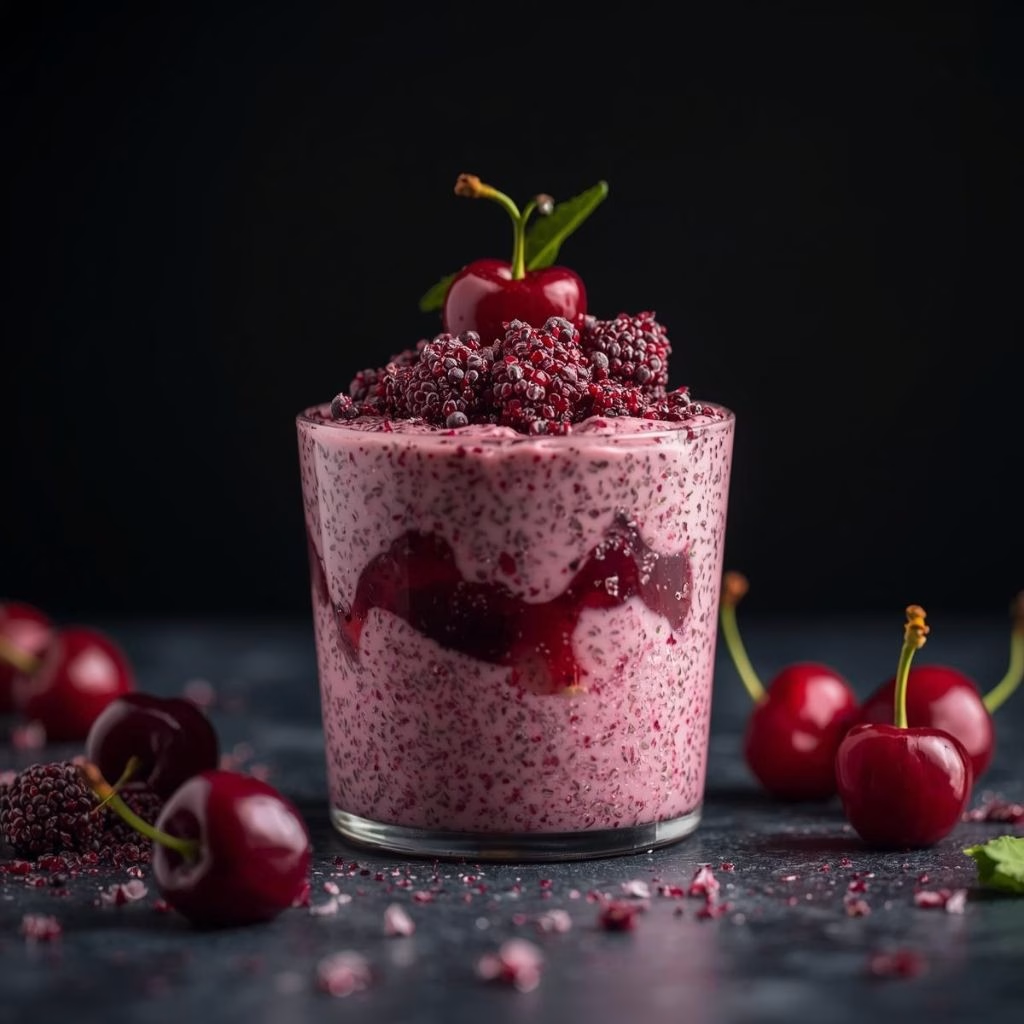
I recently tried making this cherry chia pudding recipe, and I was amazed at how creamy and flavorful it turned out. Using simple ingredients, I created a healthy breakfast that felt indulgent but was guilt-free.
The cherries added a natural sweetness, while the chia seeds gave it the perfect texture. I love making it ahead of time, so it’s ready for busy mornings.
Let me share my version of this easy, vegan, and satisfying recipe with you! You can also enjoy similar flavors in Easy Garlic Parmesan Chicken and Pasta Recipe.
Ingredients for Cherry Chia Pudding
- Frozen cherries – ½ cup
I use frozen cherries because they are already pitted and available year-round. They blend smoothly for a creamy pudding. - Unsweetened dairy-free milk – ½ cup
Almond or oat milk works great. Adjust the amount for your preferred pudding thickness. - Maple syrup – 2 teaspoons
Adds natural sweetness; feel free to use agave or date syrup. - Almond extract – ¼ teaspoon
Just a hint gives a lovely nutty flavor. Too much can overpower the pudding. - Whole chia seeds – 3 tablespoons
Make sure they are whole and fresh for the best gel consistency.
Note: Several servings
Variations
- Dairy-free: Use coconut, oat, or soy milk instead of almond milk.
- Sugar-free: Replace maple syrup with a mashed ripe banana or stevia.
- Flavor add-ins: Mix in vanilla extract, cinnamon, or a handful of cocoa nibs for extra flavor.
Cooking Time
- Prep Time: 10 minutes
- Cooking Time: 0 minutes (no cooking required)
- Total Time: 10 minutes + chilling
Equipment You Need
- Small blender – For blending cherries and milk into smooth cherry milk.
- Measuring spoons – To measure the chia seeds, syrup, and almond extract accurately.
- Jar or container – For mixing and refrigerating the pudding.
How to Make Cherry Chia Pudding Recipe
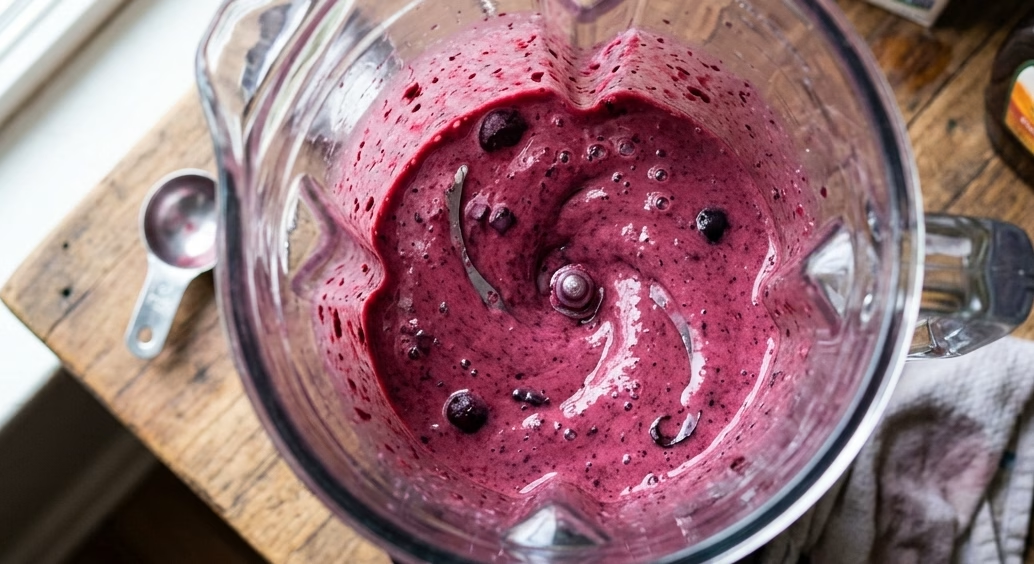
Blend the Cherries and Milk
Start by blending the frozen cherries, dairy-free milk, maple syrup, and almond extract until smooth. Make sure not to overmeasure the almond extract, as it can dominate the flavor.
Mix in Chia Seeds
Pour the cherry milk into a jar and stir in the chia seeds thoroughly. Give them a good mix to avoid clumping.
Let it Set
Allow the mixture to sit for 10 minutes, then stir again. Cover and refrigerate overnight or until it thickens to your desired consistency.
Serve with Toppings
Stir the pudding once more before serving. Add fresh fruit, granola, or coconut flakes to make it visually appealing and more flavorful. You can also pair it with Mashed Potato Casserole with Crispy Chicken Recipe for a hearty breakfast spread.
Additional Tips for Making this Recipe Better
- I always give the chia seeds a second stir after 10 minutes to prevent clumps.
- I prefer using frozen sweet cherries for consistent flavor and color.
- Adjust the milk slightly if your chia seeds gel faster or slower than expected.
- For single servings, I blend each portion separately to control the liquid-to-seed ratio.
How to Serve Cherry Chia Pudding
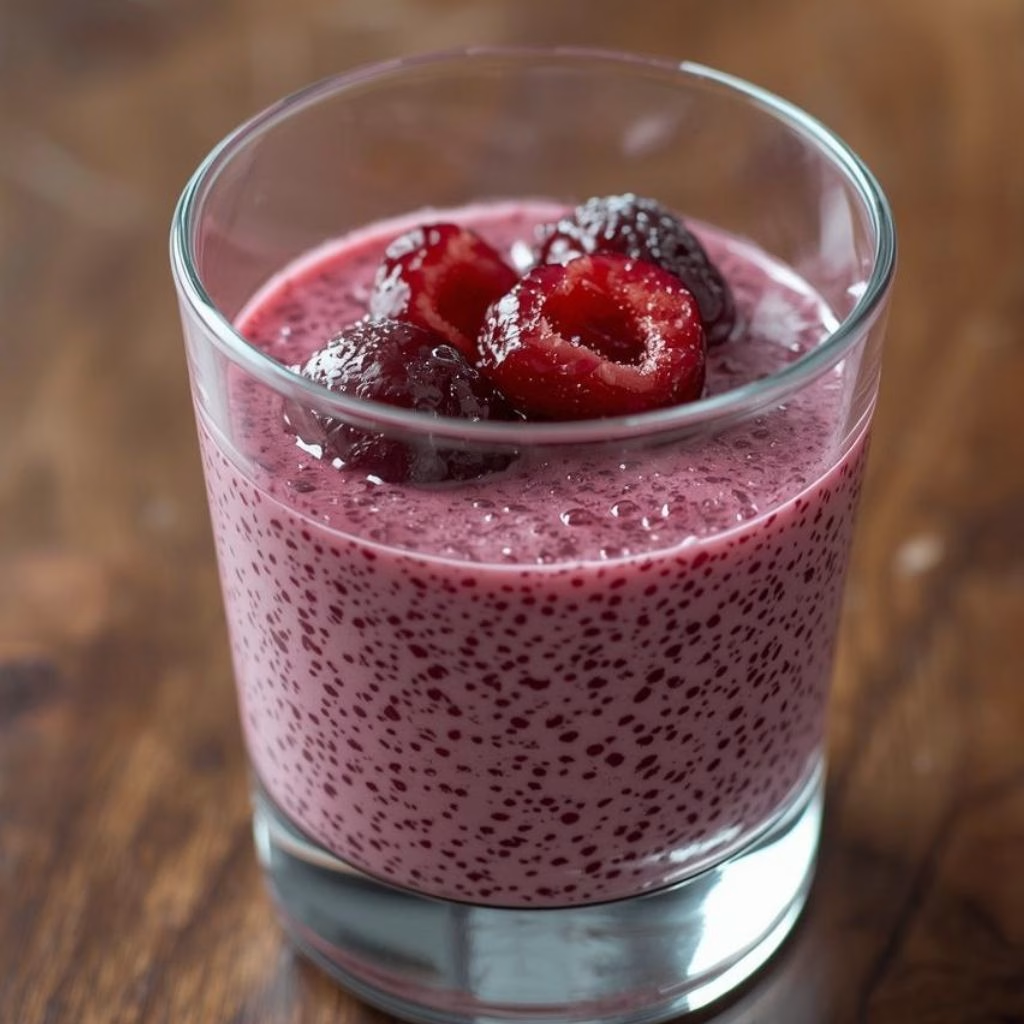
I love serving this pudding in clear jars or bowls so you can see the beautiful cherry color. Top it with fresh cherries, banana slices, or a sprinkle of granola. Coconut whipped cream or nut butter makes it extra indulgent.
Nutritional Information
Here’s an idea of what you get per serving:
- Calories: 180 kcal – A light and energizing breakfast.
- Protein: 5 g – From chia seeds, keeping you full longer.
- Carbohydrates: 28 g – Natural fruit sugars and fiber.
- Fat: 6 g – Healthy fats from chia seeds.
Make Ahead and Storage
Refrigeration
Store the pudding in an airtight container in the fridge for up to 4 days.
Freezing
I don’t recommend freezing, as chia seeds can change texture when thawed.
Reheating
No reheating needed. Serve chilled straight from the fridge for the best consistency.
Why You’ll Love This Recipe
This cherry chia pudding has so many perks:
- Easy to prepare – I can whip it up in under 10 minutes.
- Vegan and dairy-free – Perfect for plant-based diets.
- Meal prep-friendly – Great for busy mornings or snacks.
- Customizable – Add your favorite fruits, spices, or toppings.
- Healthy and satisfying – Full of fiber, protein, and natural sweetness.
This recipe is a quick, delicious way to enjoy a nutritious breakfast or snack. Give it a try, and I promise you’ll fall in love with the creamy, cherry-filled goodness!
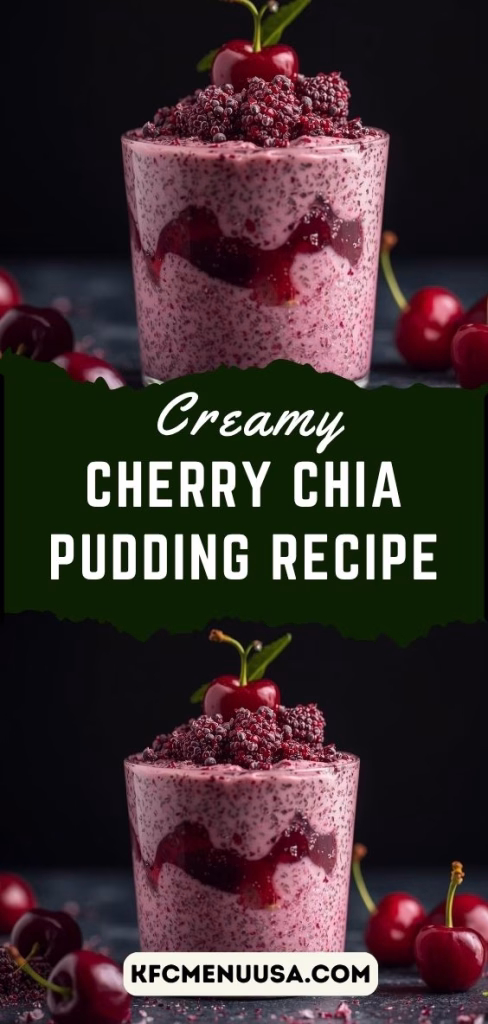
Cherry Chia Pudding Recipe
Ingredients
Method
- Start by blending the frozen cherries, dairy-free milk, maple syrup, and almond extract until smooth. Make sure not to overmeasure the almond extract, as it can dominate the flavor.
- Pour the cherry milk into a jar and stir in the chia seeds thoroughly. Give them a good mix to avoid clumping.
- Allow the mixture to sit for 10 minutes, then stir again. Cover and refrigerate overnight or until it thickens to your desired consistency.
- Stir the pudding once more before serving. Add fresh fruit, granola, or coconut flakes to make it visually appealing and more flavorful.
Notes
- I always give the chia seeds a second stir after 10 minutes to prevent clumps.
- I prefer using frozen sweet cherries for consistent flavor and color.
- Adjust the milk slightly if your chia seeds gel faster or slower than expected.
- For single servings, I blend each portion separately to control the liquid-to-seed ratio.