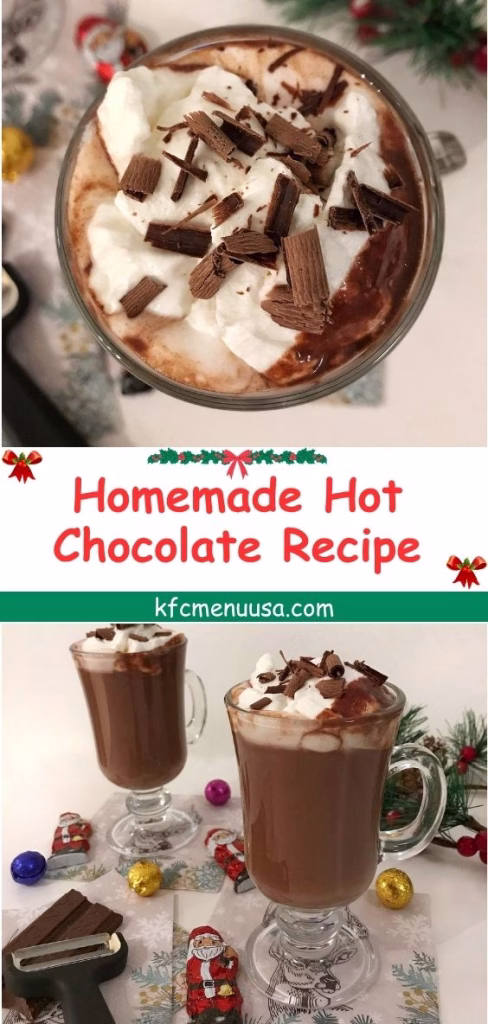
Homemade Hot Chocolate Recipe | Rich, Creamy Winter Drink
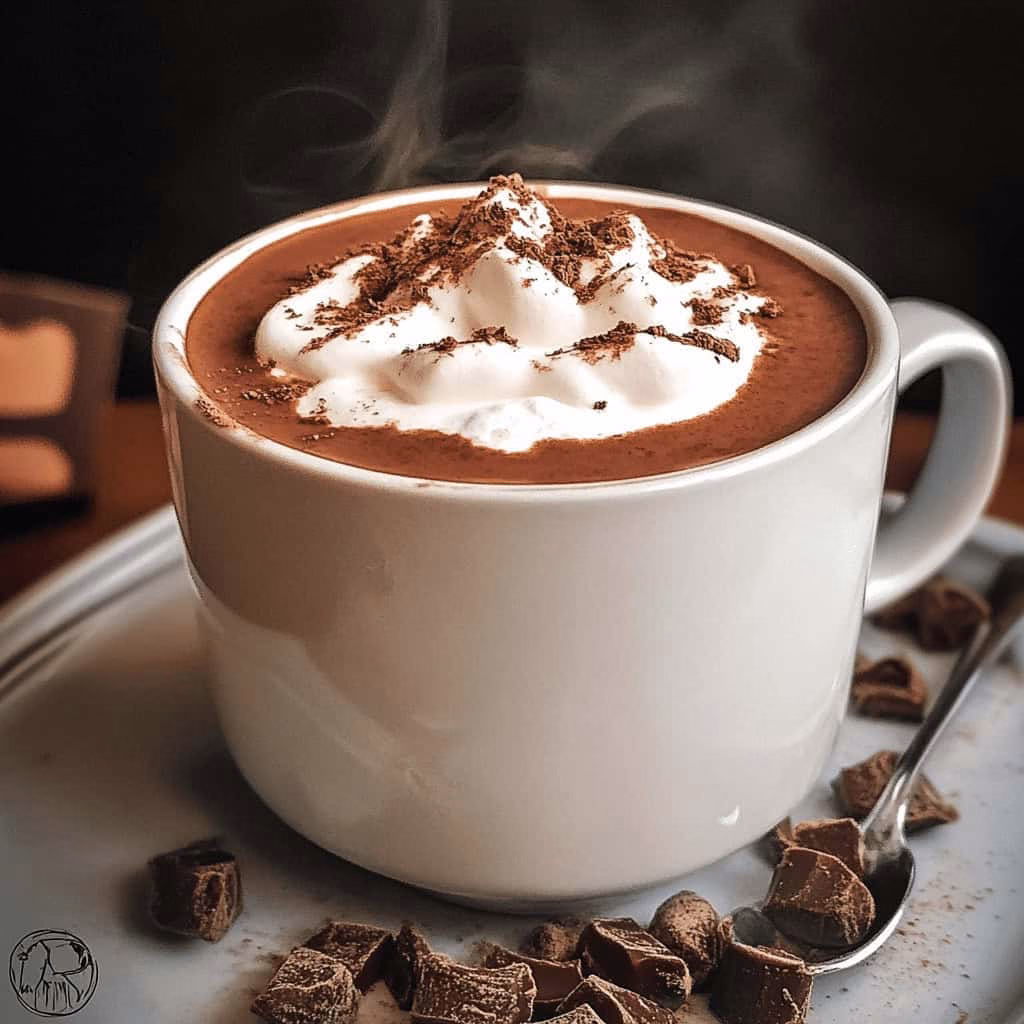
I just made a steaming cup of this hot chocolate and I can’t wait to share it with you. As I stirred the silky mix on the stove, the aroma of cocoa and vanilla filled my kitchen and I knew this was the new go-to recipe. It’s cozy, chocolatey, and far better than anything from a packet.
I’m going to walk you through my version, tips I picked up while making it, and fun variations so you can tailor it however you like.You can also enjoy similar sweet comfort drinks like this Christmas Poppy Chow Recipe for a festive treat.
Ingredients
Here’s what I used—and why each item matters:
- 2 Tbsp unsweetened cocoa powder — I prefer good quality raw cocoa for deeper flavor and less bitterness.
- ¼ tsp ground cinnamon — Adds warmth and depth without overpowering the chocolate.
- ⅛ tsp ground nutmeg — A subtle spice to round out the chocolate’s richness.
- ¼ cup brown sugar (about 55 g) — The molasses in brown sugar gives a more complex sweetness than plain white sugar.
- 1 tsp vanilla extract — Enhances the chocolate and lifts the aromas.
- 2 cups milk (500 ml) — You can use whole milk, 2%, or even non-dairy alternatives.
- Dark chocolate shavings, to garnish — For extra indulgence and visual appeal.
- Whipped cream (optional) — Makes it look gorgeous and adds creaminess on top.
Note: Serves 2
Variations
Want to tweak it? Here are ideas that I’ve tried (or am excited to try):
- Dairy-free / vegan: Substitute oat milk, almond milk, or soy milk instead of dairy milk.
- Sugar-free / low sugar: Use a sugar substitute like stevia, erythritol, or monk fruit in place of the brown sugar.
- Flavor add-ins: Add a pinch of sea salt (to boost flavors), a drop of peppermint extract, or even a dust of chili powder for a Mexican twist.
- Extra chocolate intensity: Stir in a small piece of chopped dark chocolate while heating for a silkier, richer drink.
For another dessert that captures cozy holiday flavors, try these Festive Ginger Cheesecake Cookies — they pair beautifully with a mug of homemade hot chocolate.
Cooking Time
Here’s how long things take:
- Prep Time: 2 minutes
- Cooking Time: 8 minutes
- Total Time: 10 minutes
It’s a quick treat—you’ll have hot chocolate ready in around 10 minutes.
Equipment You Need
Here’s what I like to have on hand (with why):
- Small to medium saucepan — to heat and mix ingredients evenly.
- Whisk — for dissolving powders and preventing lumps.
- Measuring spoons and cups — for accuracy, especially with spices.
- Heatproof ladle or spoon — to serve without splashing.
- Mugs / heatproof cups — to pour your finished drink into.
How to Make Homemade Hot Chocolate
Step 1: Combine dry ingredients
I start by placing the cocoa powder, cinnamon, nutmeg, brown sugar, and vanilla in the saucepan. Then I add a small splash of milk and whisk until it forms a smooth paste without lumps.
Step 2: Heat with the rest of the milk
Once the paste is smooth, I pour in the remaining milk and keep stirring over medium heat. I watch carefully so it doesn’t boil over or scald. Continue whisking until it’s hot, but not at a full rolling boil.
Step 3: Serve with garnish
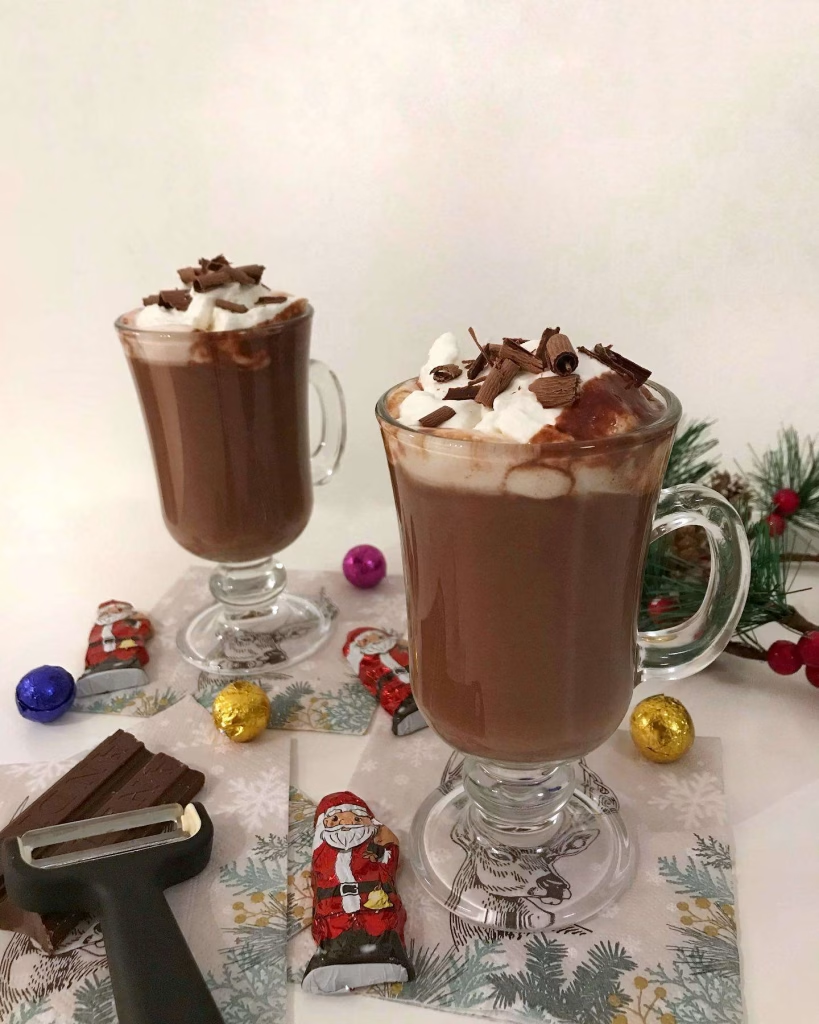
I remove from the heat and immediately pour into mugs. On top, I add whipped cream if using, and sprinkle the dark chocolate shavings for that finishing flourish.
Additional Tips for Making this Recipe Better
Here’s what I learned during my trial runs:
- Use a fine mesh sieve to sift your cocoa and spices first so nothing clumps when whisking.
- I always keep the heat moderate—never too high—so the milk doesn’t scorch or create a skin.
- If the drink separates a bit, I whisk vigorously or use a handheld frother for a few seconds.
- Taste and adjust sweetness near the end: sometimes I add a tiny pinch more sugar (or a drop of vanilla) to balance.
- Warm your mugs ahead of time so the hot chocolate stays hotter longer.
How to Serve Homemade Hot Chocolate
Here are serving ideas to make your drink look as good as it tastes:
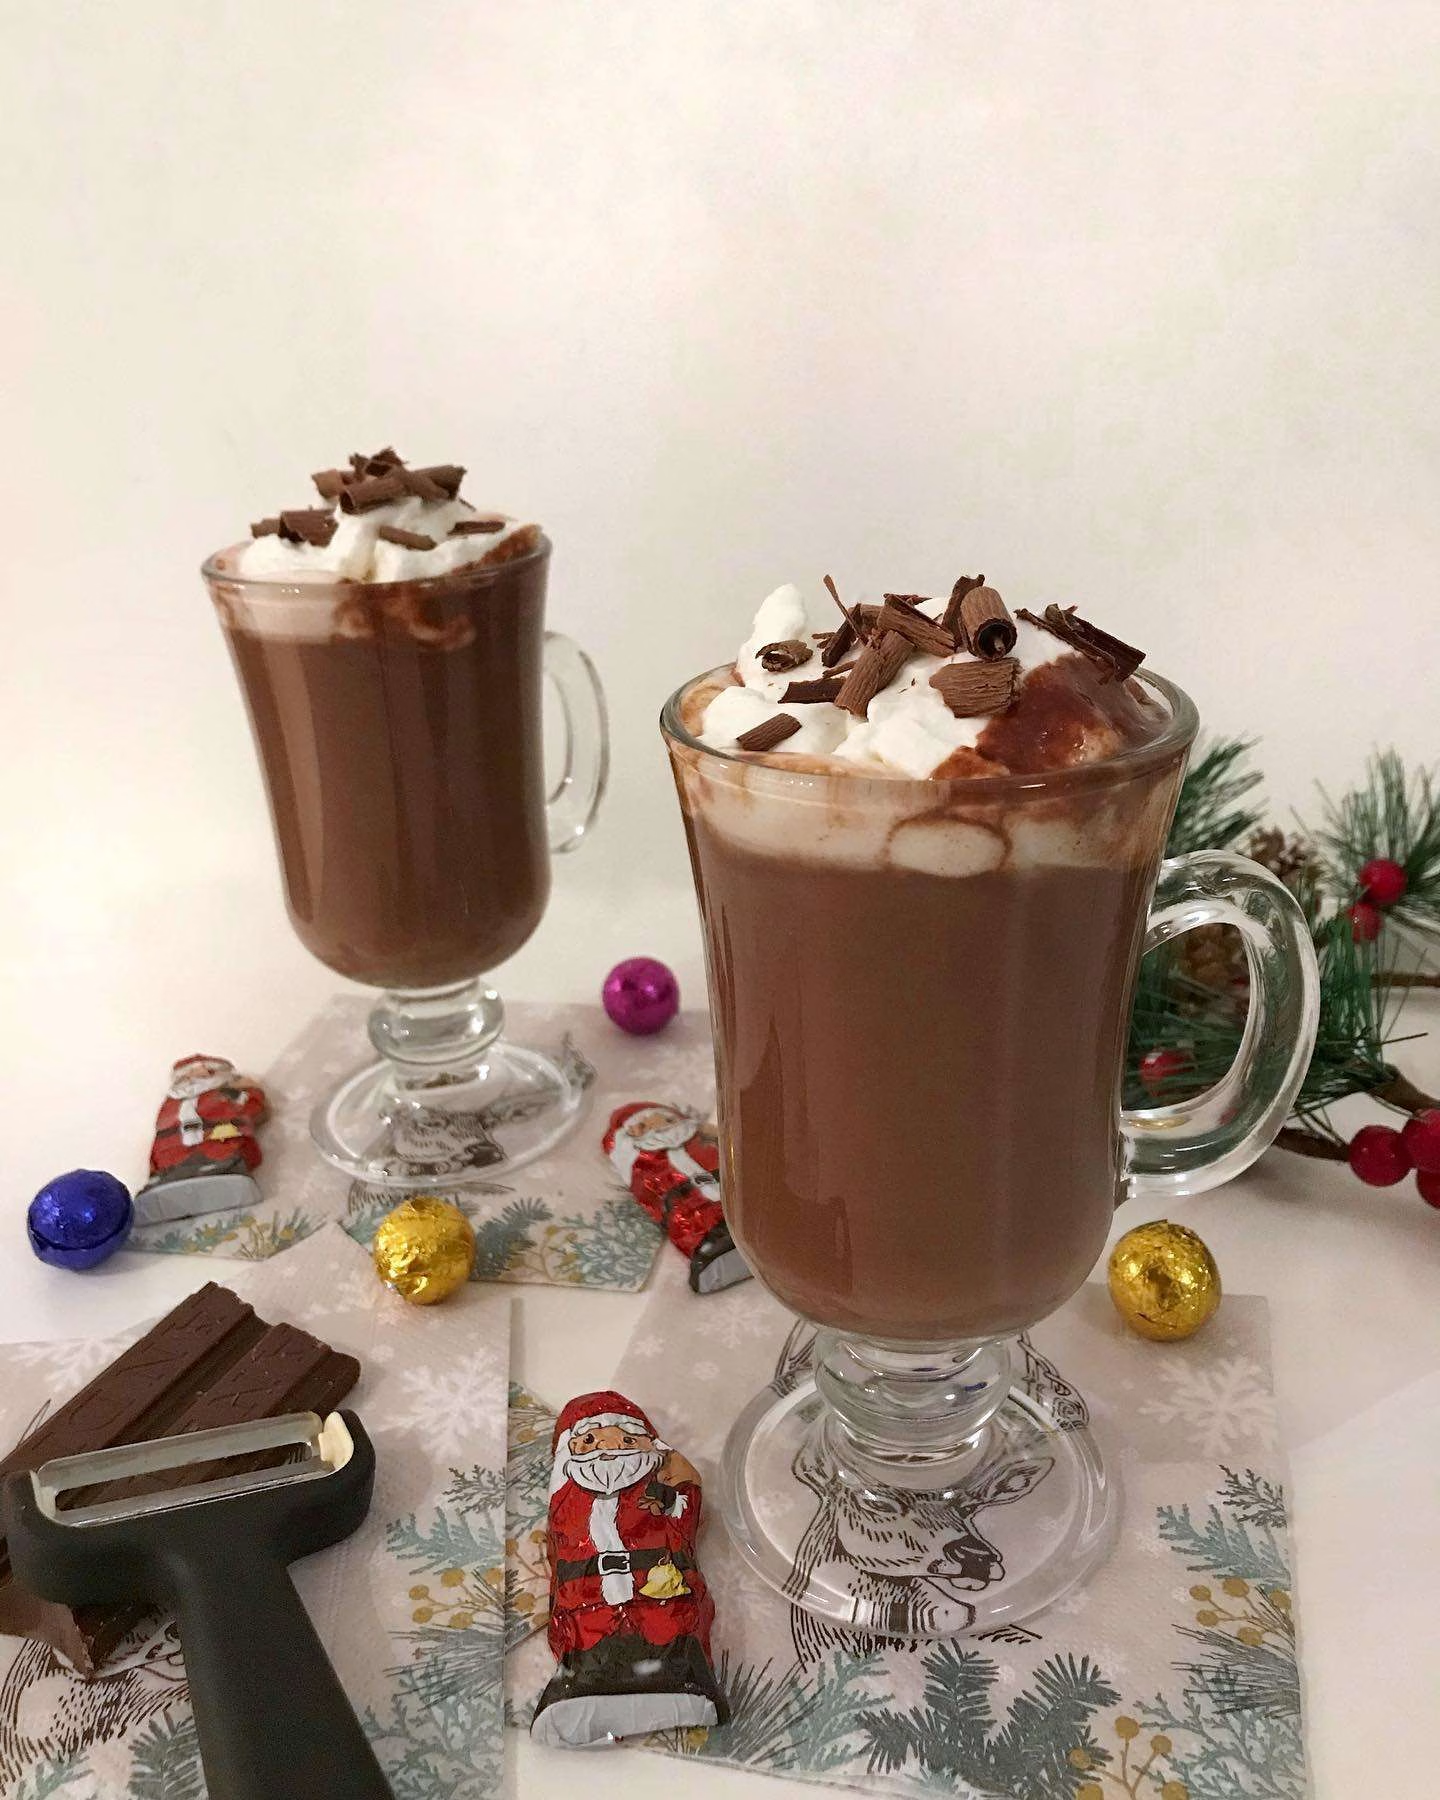
- Pour into tall, clear glasses for a layered effect (cream, chocolate, toppings).
- Garnish with chocolate shavings, a dusting of cocoa, or a cinnamon stick.
- Drizzle caramel or chocolate sauce over the whipped cream for extra flair.
- Offer a side of mini marshmallows or crushed peppermint pieces for guests to add themselves.
Nutritional Information
Here’s a rough breakdown per serving (based on the Blondelish nutrition for this version):
In one serving you’ll get approximately:
- Calories: 287 kcal
- Protein: 9 g
- Carbohydrates: 43 g
- Fat: 10 g
Make Ahead and Storage
Refrigeration & restoring
You can store leftover hot chocolate in a sealed container in the fridge for 2–3 days. When ready, gently reheat on the stove over low heat, stirring until it’s smooth again.
Freezing
I don’t usually freeze it because milk-based drinks change texture after freezing. But in a pinch, you could freeze in individual portions—thaw overnight in the fridge, then reheat while stirring to restore consistency.
Reheating
Always warm it slowly over medium-low heat (never high heat). Stir continuously so it doesn’t separate or burn. If it thickens too much, add a splash of milk to loosen it.
Why You’ll Love This Recipe
Here are a few reasons I fell in love with this version:
- Simple ingredients — You likely already have everything in your pantry.
- Quick to make — In about 10 minutes, you’re sipping creamy, rich chocolate.
- Highly customizable — Swap milk types or sweeteners, add spices or extracts.
- Deep, real chocolate flavor — No powdered mix aftertaste—just genuine cocoa richness.
- Beautiful presentation — The whipped cream and shavings make it look café-worthy.
Homemade Hot Chocolate Recipe
Ingredients
Method
- I start by placing the cocoa powder, cinnamon, nutmeg, brown sugar, and vanilla in the saucepan. Then I add a small splash of milk and whisk until it forms a smooth paste without lumps.
- Once the paste is smooth, I pour in the remaining milk and keep stirring over medium heat. I watch carefully so it doesn’t boil over or scald. Continue whisking until it’s hot, but not at a full rolling boil.
- I remove from the heat and immediately pour into mugs. On top, I add whipped cream if using, and sprinkle the dark chocolate shavings for that finishing flourish.
Notes
- Use a fine mesh sieve to sift your cocoa and spices first so nothing clumps when whisking.
- I always keep the heat moderate—never too high—so the milk doesn’t scorch or create a skin.
- If the drink separates a bit, I whisk vigorously or use a handheld frother for a few seconds.
- Taste and adjust sweetness near the end: sometimes I add a tiny pinch more sugar (or a drop of vanilla) to balance.
- Warm your mugs ahead of time so the hot chocolate stays hotter longer.