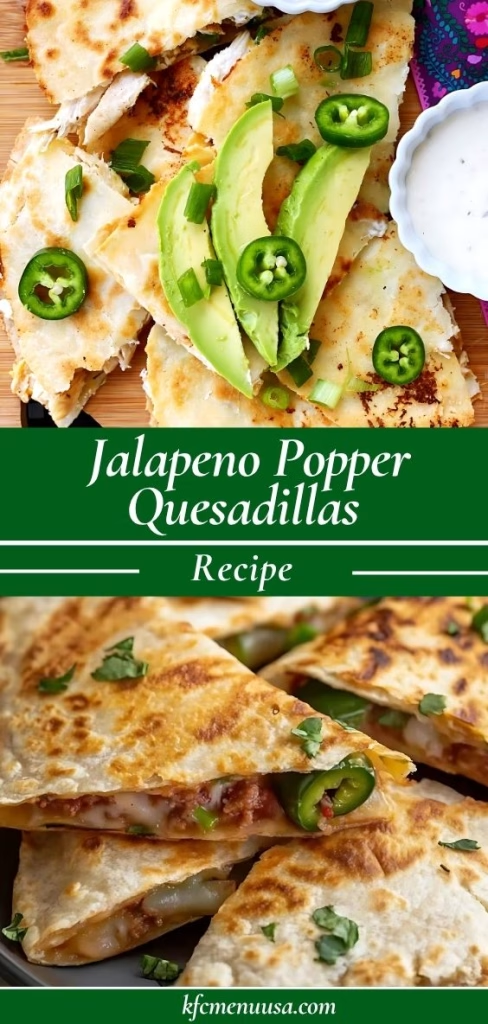
Jalapeno Popper Quesadillas Recipe You’ll Crave Every Time
I made these Jalapeno Popper Quesadillas the other night, and I honestly can’t stop thinking about them! The combination of crispy tortillas, creamy cheese, spicy jalapenos, and smoky bacon is absolutely addictive.
It’s like all the goodness of jalapeno poppers stuffed inside a melty, golden quesadilla.
I love how quick they are to make, and they’re perfect for dinner, snacks, or game night treats. Trust me, if you love bold flavors with a cheesy twist, this one’s for you!
Ingredients
Here’s everything I used to make these crispy, cheesy quesadillas with a kick:
- Flour tortillas (8-inch): Soft and foldable—perfect for crisping up without cracking.
- 4 oz cream cheese (softened): Makes the filling rich and creamy. Use room temperature for easy mixing.
- ½ cup shredded mozzarella: Melts beautifully and gives that signature cheese pull.
- ½ cup Monterey Jack: Adds mild spice and creamy texture.
- 2 jalapenos (fresh, deseeded, finely chopped): Adds the classic heat. Fresh jalapenos give more crunch than pickled ones.
- 4 slices bacon (cooked & crumbled): Smoky, salty, and the perfect savory bite.
- ½ tsp garlic powder: Boosts the overall savory flavor.
- ½ tsp onion powder: Adds depth to the cheesy mixture.
- ½ tsp kosher salt: Balances all the creamy ingredients.
- ¼ tsp black pepper: A mild bite to enhance the jalapenos.
- Butter or oil (for toasting): Helps crisp the tortilla to golden perfection.
- Crushed tortilla chips (optional): Sprinkle inside for an unexpected crunchy layer.
Note: This recipe makes 2–3 full quesadillas, perfect for 2–4 servings depending on how hungry you are.
Variations
Want to mix things up? Try these easy swaps or additions:
- Dairy-Free: Use plant-based cream cheese and shredded vegan cheese.
- Meat-Free: Skip the bacon and add sautéed mushrooms or black beans.
- Spice Level Control: For less heat, use poblano peppers or pickled jalapenos. For more heat, toss in serrano or chipotle.
- Extra Flavor: Add chopped green onions or a spoonful of salsa inside the filling.
Cooking Time
This cheesy delight comes together fast!
- Prep Time: 10 minutes
- Cooking Time: 20 minutes
- Total Time: 30 minutes
Equipment You Need
Here’s what I used in my kitchen to make this come together with ease:
- Cutting board & knife – For prepping jalapenos and bacon.
- Mixing bowl – To combine all the creamy cheese filling.
- Spatula – Helps press and flip the quesadillas neatly.
- Non-stick skillet or griddle – For golden, crisp tortillas.
- Air fryer (optional) – A faster, less greasy method.
- Paper towels – For draining bacon or pressing out excess filling moisture.
How to Make Jalapeno Popper Quesadillas?
Making these quesadillas is simple and so satisfying. I start by prepping everything in advance, which makes cooking a breeze. It’s all about layering bold flavors into crispy, melty perfection.
From stovetop to air fryer, there’s no wrong way to cook them. I’ve tried all three methods, and each brings a little something different. The stovetop gives you classic crisp, while the air fryer is clean and quick. Ready to dive in? Here’s how I do it:
Cook the Bacon
I start by heating a skillet over medium heat. I lay in the bacon strips and cook them until they’re perfectly crispy, about 6–8 minutes. Once done, I drain them on paper towels and chop them into small pieces for the filling.
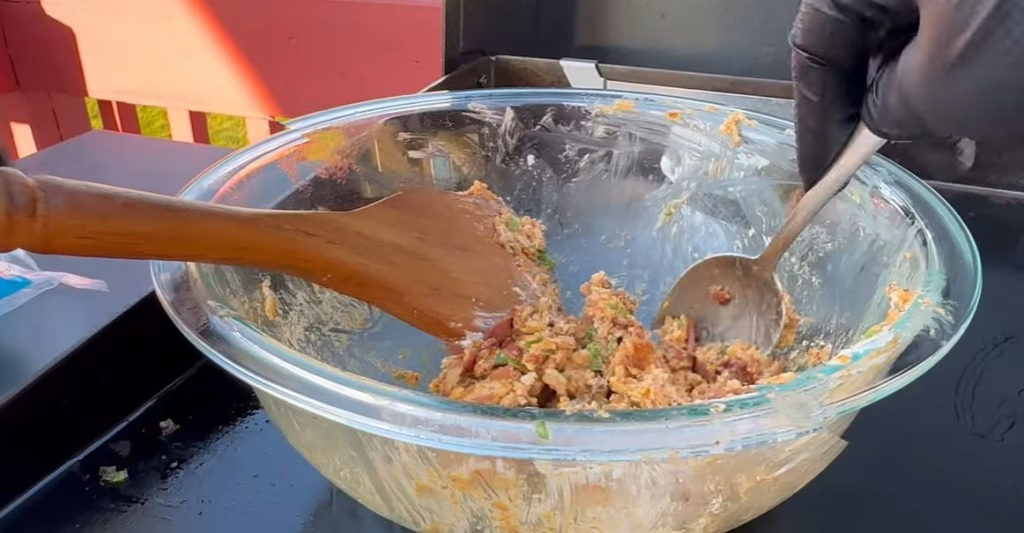
Make the Creamy Filling
In a mixing bowl, I add softened cream cheese, shredded mozzarella, and Monterey Jack. Then I fold in the diced jalapenos, crumbled bacon, garlic powder, onion powder, salt, and black pepper. The mixture should be smooth, thick, and totally irresistible—I usually sneak a spoonful!
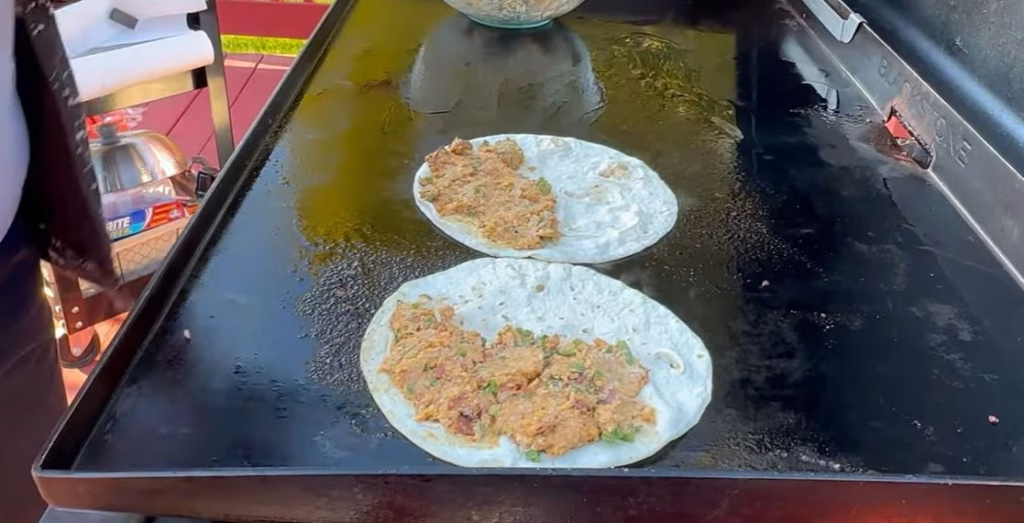
Assemble the Quesadillas
Next, I take one tortilla and spread a generous layer of the filling evenly across it. If I want extra crunch, I sprinkle crushed tortilla chips on top. Then I press another tortilla over it or fold it in half if I’m using large ones. A gentle press ensures everything stays together while cooking.
Cook on the Stovetop
To cook, I melt a little butter in a pan over medium heat and lay in the quesadilla. I let it cook for 2–3 minutes per side, pressing lightly with a spatula, until it’s golden and crisp. Then I let it rest for a minute before slicing into wedges.
Air Fryer Option
If I’m short on time, I spray the quesadilla with oil on both sides and pop it into the air fryer at 400°F for 6–8 minutes, flipping halfway through. It comes out super crispy!
Grill Option
For a smoky flavor, I lightly oil the outside and grill the quesadilla over medium heat, flipping after 2–3 minutes. It adds an amazing char that pairs perfectly with the creamy filling.
Additional Tips for Making This Recipe Better
After a few rounds of testing, here’s what worked best for me:
- Use room temperature cream cheese so it blends easier with the other cheeses.
- Don’t overstuff the quesadilla—it can get messy and hard to flip.
- Toast the tortillas slightly before filling to prevent sogginess.
- I always press gently with a spatula while cooking to ensure an even, crispy surface.
- Let them rest for 1 minute before slicing—it keeps the cheesy goodness inside!
How to Serve Jalapeno Popper Quesadillas?
I like slicing them into triangles and stacking them on a platter for sharing. A dollop of sour cream or avocado crema on top looks great and adds cool contrast. For garnish, I sprinkle chopped cilantro and a few jalapeno rings. Add some lime wedges for a fresh, tangy squeeze!

Nutritional Information
Here’s a quick look at what each serving offers:
- Calories: 473 kcal
- Protein: 15g
- Carbohydrates: 41g
- Fat: 28g
Make Ahead and Storage
- Make Ahead: I often prep the cheese filling and cook the bacon a day in advance. Just store them separately in the fridge and assemble when ready to cook.
- Storage: Leftover quesadillas keep well in an airtight container in the fridge for up to 3 days. I wrap them in foil with a paper towel to keep them crisp.
- Freezing: You can assemble uncooked quesadillas, wrap them in parchment, and freeze them in a sealed bag. They last up to 2 months and can be cooked straight from frozen.
- Reheating: For best results, reheat in a skillet or air fryer to restore the crispiness. The microwave works but softens the texture.
Why You’ll Love This Recipe?
If you’re anything like me and love cheesy comfort food with a spicy twist, here’s why you’ll make this again and again:
- Quick and simple to make: You only need a handful of ingredients and 30 minutes—perfect for weeknights or unexpected guests.
- Customizable to your liking: You can go mild or wild, vegetarian or meat-loaded—it’s up to you!
- Perfectly crispy and creamy: That contrast of golden crunch with gooey cheese is next-level satisfying.
- Ideal for any occasion: Whether it’s game day, dinner, or just a snack attack, this recipe always fits.
- Reheats like a charm: Make extra, and enjoy the leftovers just as much the next day.
Jalapeno Popper Quesadillas Recipe
Ingredients
Method
- I start by heating a skillet over medium heat. I lay in the bacon strips and cook them until they’re perfectly crispy, about 6–8 minutes. Once done, I drain them on paper towels and chop them into small pieces for the filling.
- In a mixing bowl, I add softened cream cheese, shredded mozzarella, and Monterey Jack. Then I fold in the diced jalapenos, crumbled bacon, garlic powder, onion powder, salt, and black pepper. The mixture should be smooth, thick, and totally irresistible—I usually sneak a spoonful!
- Next, I take one tortilla and spread a generous layer of the filling evenly across it. If I want extra crunch, I sprinkle crushed tortilla chips on top. Then I press another tortilla over it or fold it in half if I’m using large ones. A gentle press ensures everything stays together while cooking.
- To cook, I melt a little butter in a pan over medium heat and lay in the quesadilla. I let it cook for 2–3 minutes per side, pressing lightly with a spatula, until it’s golden and crisp. Then I let it rest for a minute before slicing into wedges.
- If I’m short on time, I spray the quesadilla with oil on both sides and pop it into the air fryer at 400°F for 6–8 minutes, flipping halfway through. It comes out super crispy!
- For a smoky flavor, I lightly oil the outside and grill the quesadilla over medium heat, flipping after 2–3 minutes. It adds an amazing char that pairs perfectly with the creamy filling.
Notes
- Use room temperature cream cheese so it blends easier with the other cheeses.
- Don’t overstuff the quesadilla—it can get messy and hard to flip.
- Toast the tortillas slightly before filling to prevent sogginess.
- I always press gently with a spatula while cooking to ensure an even, crispy surface.
- Let them rest for 1 minute before slicing—it keeps the cheesy goodness inside!