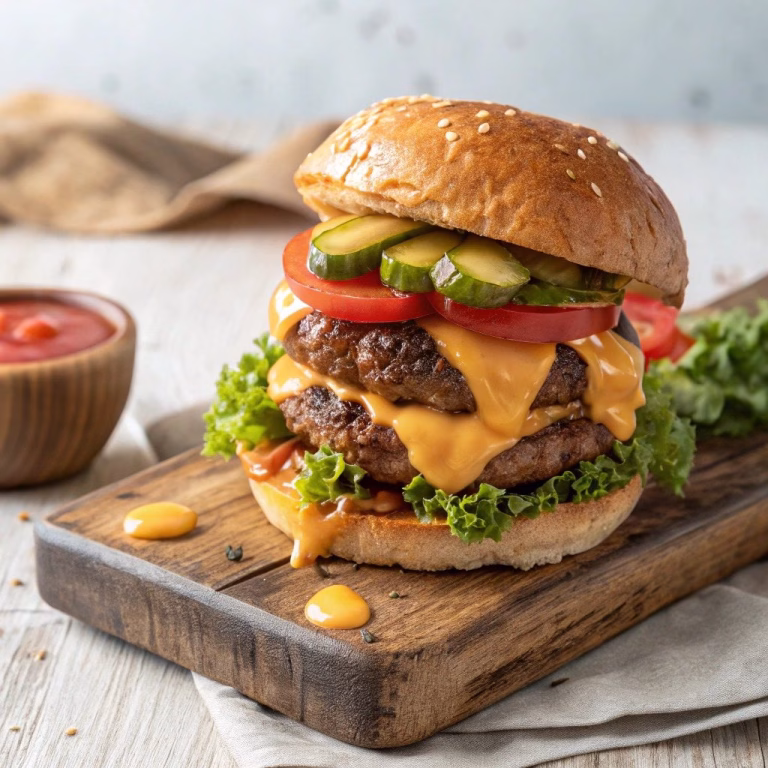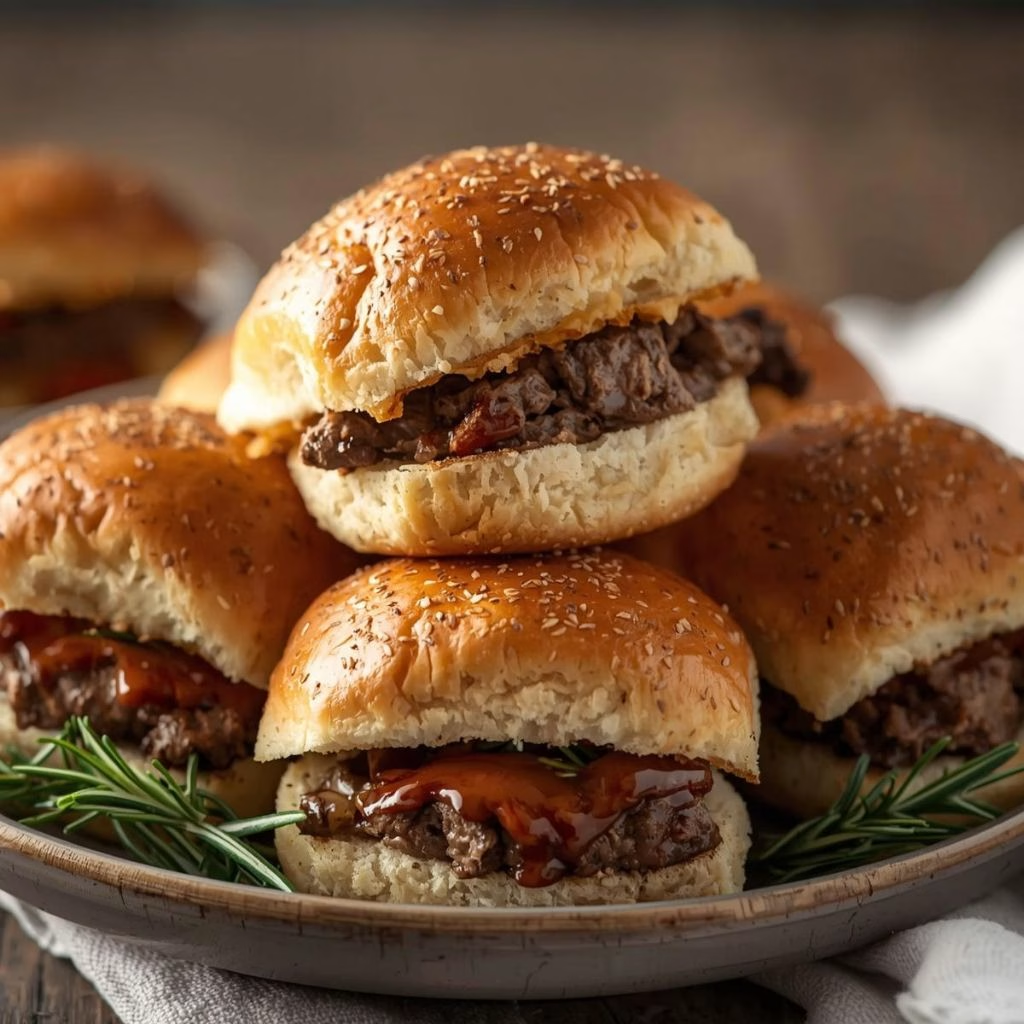
I recently tried making this Lamb Sliders Recipe, and honestly, they turned out better than I expected. The juicy texture, combined with bold Mediterranean-style flavors, made every bite irresistible. I love how simple ingredients can create something so rich and satisfying.
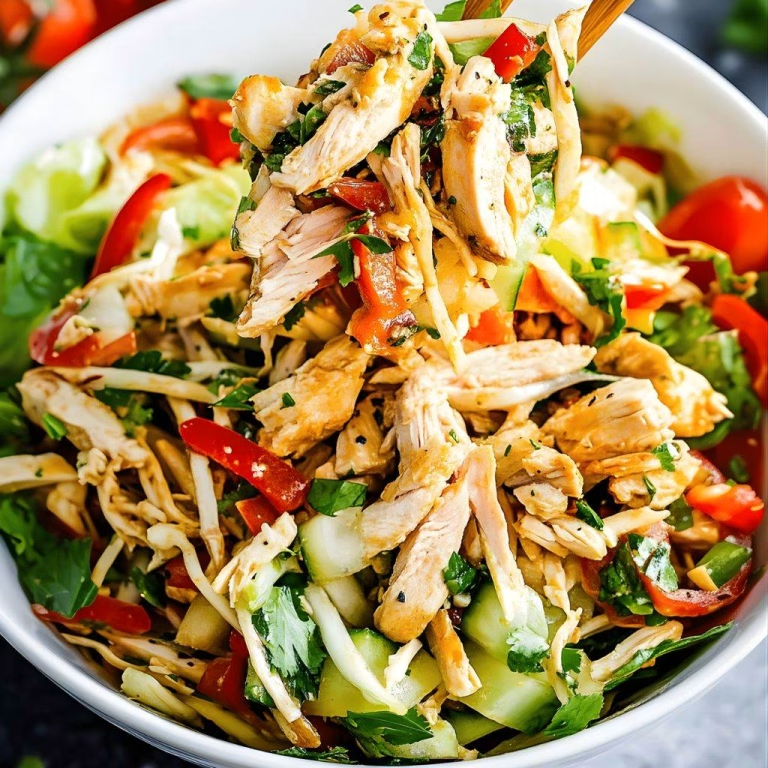
These sliders are perfect for gatherings or even a cozy meal at home. Let me walk you through how I made them so you can enjoy them too! You can also enjoy similar flavors with a crab salad recipe as a fresh side dish.

Ingredients
Here’s everything you’ll need, along with a few helpful tips to get the best flavor:
- ground lamb (1 pound) – choose fresh, not frozen, for better flavor and texture
- garlic (2 cloves, minced) – fresh garlic adds a deeper, more aromatic taste
- fresh rosemary (1 teaspoon, chopped) – enhances the earthy flavor of lamb
- fresh thyme (1 teaspoon, chopped) – adds a subtle herbal note
- salt (1 teaspoon) – balances all the flavors perfectly
- black pepper (½ teaspoon) – gives a mild heat
- olive oil (2 tablespoons) – helps keep sliders moist and prevents sticking
- slider buns (8 small buns) – soft buns work best for texture contrast
- arugula or greens (1 cup) – adds freshness and a slight peppery bite
- sliced tomatoes (1 large) – for juiciness and color
- cheese slices (optional, 4–8 pieces) – adds creaminess if desired
Note: These quantities make about 8 sliders, perfect for 3–4 servings depending on appetite. For a slightly different take, you can try making cowboy sliders recipe with a beefy twist.
Variations
You can easily customize this recipe based on your preferences:
- Use ground beef instead of lamb for a milder flavor
- Add feta cheese crumbles for a Mediterranean twist
- Make it dairy-free by skipping cheese or using plant-based cheese
- Add caramelized onions for extra sweetness and depth
- Use lettuce wraps instead of buns for a low-carb option

Cooking Time
Here’s how long it takes to prepare these delicious sliders:
- Prep Time: 15 minutes
- Cooking Time: 10–12 minutes
- Total Time: 25–30 minutes
Equipment You Need
- mixing bowl – to combine all ingredients evenly
- grill pan or skillet – for cooking the sliders perfectly
- spatula – to flip sliders without breaking them
- knife – for chopping herbs and slicing vegetables
- cutting board – for safe and easy prep work
How to Make Lamb Sliders Recipe?
Let me guide you step-by-step through the process so it’s super easy to follow.
Prepare the Lamb Mixture
Start by placing the ground lamb in a mixing bowl along with garlic, rosemary, thyme, salt, and pepper. I gently mix everything using my hands to avoid overworking the meat. Overmixing can make the sliders tough, so keep it light.
Shape the Sliders
Divide the mixture into equal portions and shape them into small patties. I like to keep them slightly thinner in the center so they cook evenly. Make sure they’re similar in size so they cook at the same rate.
Heat the Cooking Surface
Heat olive oil in a skillet or grill pan over medium heat. I wait until the pan is hot but not smoking before adding the patties. This helps create a nice sear while keeping the inside juicy.
Cook the Lamb Patties
Place the patties in the pan and cook for about 4–5 minutes per side. I avoid pressing them down, as that can release juices. The goal is to get a golden crust while keeping the inside tender.
Add Cheese (Optional)
If using cheese, place a slice on each patty during the last minute of cooking. I cover the pan briefly to help it melt perfectly. This step adds a creamy layer that complements the lamb beautifully.
Toast the Slider Buns
Lightly toast the buns in the same pan or separately. I love doing this because it adds a slight crunch and prevents sogginess. It also enhances the overall flavor.
Assemble the Sliders
Place each patty on a bun and top with arugula and tomato slices. I sometimes add a drizzle of olive oil or a simple sauce for extra flavor. Then, close the buns and serve immediately.
Additional Tips for Making this Recipe Better
Here are a few things I learned while making these sliders:
- I always use fresh herbs instead of dried ones for a brighter flavor
- Letting the patties rest for a couple of minutes after cooking keeps them juicy
- I avoid overcrowding the pan to ensure even cooking
- Adding a small pinch of extra salt just before serving enhances taste
- I sometimes brush buns with olive oil before toasting for extra richness
How to Serve Lamb Sliders Recipe?
These sliders are incredibly versatile when it comes to serving. I like arranging them on a platter with fresh greens for a colorful presentation. You can serve them with fries, roasted vegetables, or even a light salad. Adding a dipping sauce like garlic yogurt or spicy mayo makes them even more enjoyable. For gatherings, I recommend securing them with toothpicks for easy serving.
Nutritional Information
Here’s a quick look at the approximate nutrition per serving:
- Calories: 280–320 kcal
- Protein: 18–20g
- Carbohydrates: 18–22g
- Fat: 15–18g
Make Ahead and Storage
Storing
You can store cooked lamb sliders in an airtight container in the refrigerator. I usually keep them for up to 3 days, and they stay quite flavorful. Make sure they cool completely before storing.
Freezing
If you want to freeze them, wrap each patty individually and place them in a freezer-safe bag. I’ve found they last well for up to 2 months. Thaw them overnight in the fridge before reheating.
Reheating
To reheat, warm the patties in a skillet over low heat or in the oven. I avoid microwaving too much as it can dry them out. Adding a splash of water or oil helps retain moisture.
Why You’ll Love This Recipe?
There are so many reasons why this recipe is worth trying:
- It’s quick and easy to prepare, making it perfect for busy days
- The flavors are rich, savory, and slightly herby, which I absolutely love
- You can customize it with different toppings and ingredients
- It’s great for parties, snacks, or even a main meal
- The sliders are juicy, tender, and always a crowd-pleaser
These lamb sliders are one of those recipes I keep coming back to. They’re simple, flavorful, and always impress anyone who tries them. Once you make them, I’m sure they’ll become a favorite in your kitchen too!