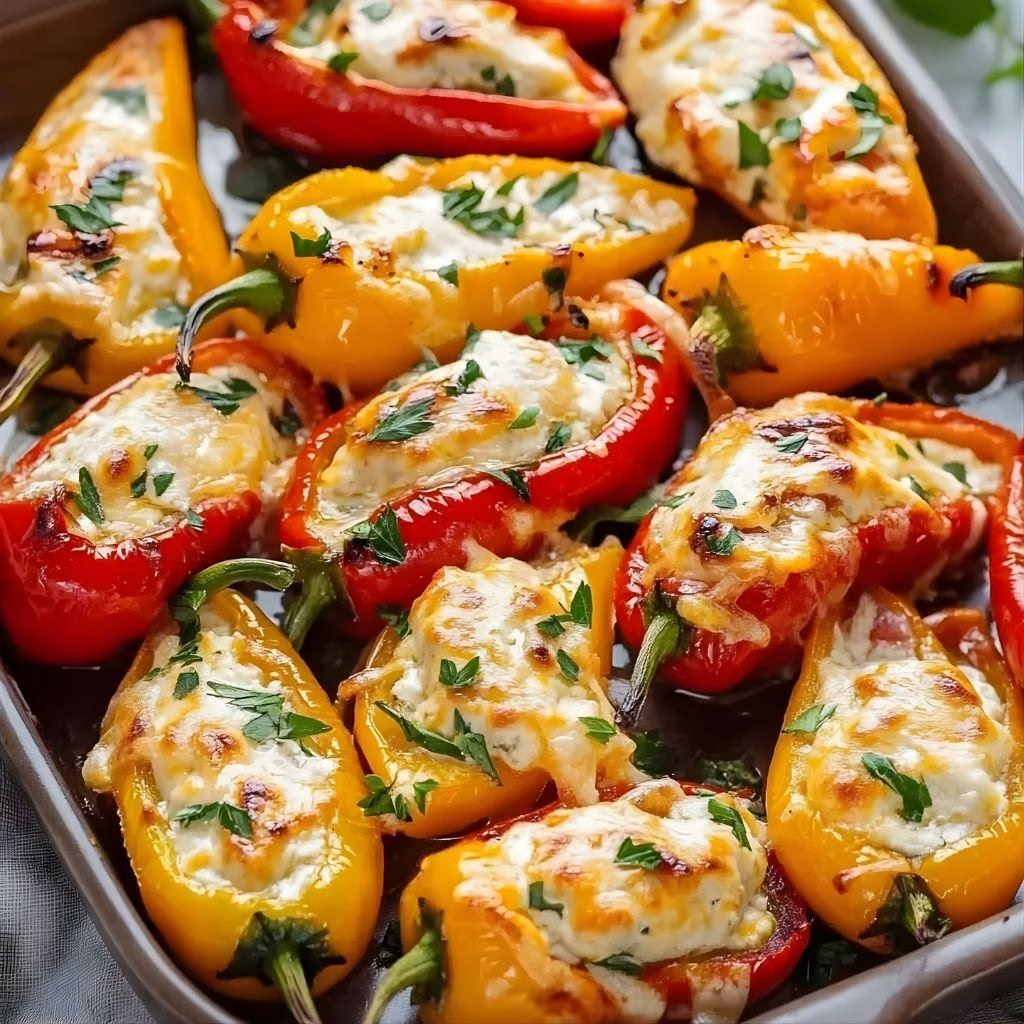
I still remember the first time I made these stuffed mini peppers with cream cheese Recipe. It was one of those recipes that surprised me with how easy and addictive it turned out. I wanted something quick, colorful, and comforting, and these little peppers delivered more than I expected. After pulling them out of the oven, I couldn’t stop sneaking “taste tests” straight from the tray.
They’re creamy, slightly sweet, and just savory enough to keep you reaching for another. Every time I make them now, they disappear within minutes, and I always get asked for the recipe. For breakfast twists, I sometimes combine flavors inspired by my Instant Pot Breakfast Enchiladas Recipe for a hearty morning treat.

Ingredients
Here’s everything you’ll need to make these creamy, flavor-packed stuffed mini peppers, along with tips from my own kitchen experience.
- Mini sweet peppers – 1 pound (choose fresh, firm peppers for the best sweetness and texture; avoid wrinkled ones)
- Cream cheese – 8 ounces, softened (softened cream cheese blends smoothly and creates a rich, creamy filling)
- Shredded cheddar or Colby Jack cheese – 1 cup (freshly grated cheese melts better and tastes richer than pre-shredded)
- Garlic powder – ½ teaspoon (adds even garlic flavor without overpowering the filling)
- Onion powder – ½ teaspoon (brings mild savory depth that complements the cheese)
- Salt – ½ teaspoon (enhances all the flavors and balances the sweetness of the peppers)
- Black pepper – ¼ teaspoon (adds subtle warmth and prevents the filling from tasting flat)
- Optional garnish: chopped green onions or everything bagel seasoning (adds freshness, crunch, and visual appeal)
Note: This recipe makes approximately 24 stuffed pepper halves and serves 6–8 people as an appetizer. You can serve them with a side of Buttered Steak Bites with Mushrooms Recipe for a complete, savory meal.
Variations
One of the things I love about this recipe is how flexible it is. You can easily adjust it to suit different tastes or dietary needs.
- For a dairy-free version, use dairy-free cream cheese and plant-based shredded cheese. The texture stays creamy, and the peppers still bake beautifully.
- For extra protein, mix in finely chopped cooked bacon or shredded chicken into the filling.
- For a spicy twist, add a pinch of crushed red pepper flakes or a small amount of finely diced jalapeño.
- For extra flavor, try mixing in everything bagel seasoning or smoked paprika into the cheese mixture.
- For a lighter option, use reduced-fat cream cheese, though the filling will be slightly less rich.
Cooking Time
This recipe comes together quickly, which makes it perfect for busy days or last-minute gatherings.
- Prep Time: 15 minutes
- Cooking Time: 20 minutes
- Total Time: 35 minutes
Equipment You Need
Having the right tools makes preparation smooth and stress-free.
- Baking sheet – for arranging and baking the stuffed peppers evenly
- Parchment paper or foil – prevents sticking and makes cleanup easy
- Mixing bowl – to combine the creamy filling ingredients
- Spoon or small spatula – for filling the pepper halves neatly
- Knife and cutting board – for slicing the peppers and optional garnishes
How to Make Stuffed Mini Peppers with Cream Cheese?
This recipe is simple, but breaking it into steps ensures perfect results every time.
Prepare the Peppers
Start by washing the mini peppers thoroughly and drying them well. Slice each pepper in half lengthwise and gently remove the seeds and membranes. I like keeping the stems on because they add charm and make the peppers easier to handle.
Make the Cream Cheese Filling
In a mixing bowl, combine the softened cream cheese, shredded cheese, garlic powder, onion powder, salt, and pepper. Mix until everything is smooth and evenly blended. I usually taste the mixture at this point and adjust seasoning if needed.
Fill the Peppers
Using a spoon or small spatula, generously fill each pepper half with the cream cheese mixture. Make sure the filling is slightly mounded so it stays creamy after baking. Arrange the stuffed peppers cut-side up on the baking sheet.
Bake the Peppers
Place the baking sheet in a preheated oven at 375°F (190°C). Bake for about 20 minutes, or until the peppers are tender and the filling is hot and lightly golden on top. Keep an eye on them to avoid overbrowning.
Garnish and Serve
Once baked, remove the peppers from the oven and let them cool for a few minutes. Sprinkle with chopped green onions or everything bagel seasoning if desired. Serve warm for the best flavor and texture.
Additional Tips for Making This Recipe Better
After making this recipe many times, I’ve picked up a few small tricks that really improve the final result.
- I always let the cream cheese soften fully at room temperature; it makes mixing much easier and smoother.
- I’ve learned not to overbake the peppers, because I like them tender but still slightly crisp.
- I sometimes line the baking sheet with parchment paper, which helps prevent sticking and browning too quickly.
- I like adding a small pinch of extra shredded cheese on top for a golden, bubbly finish.
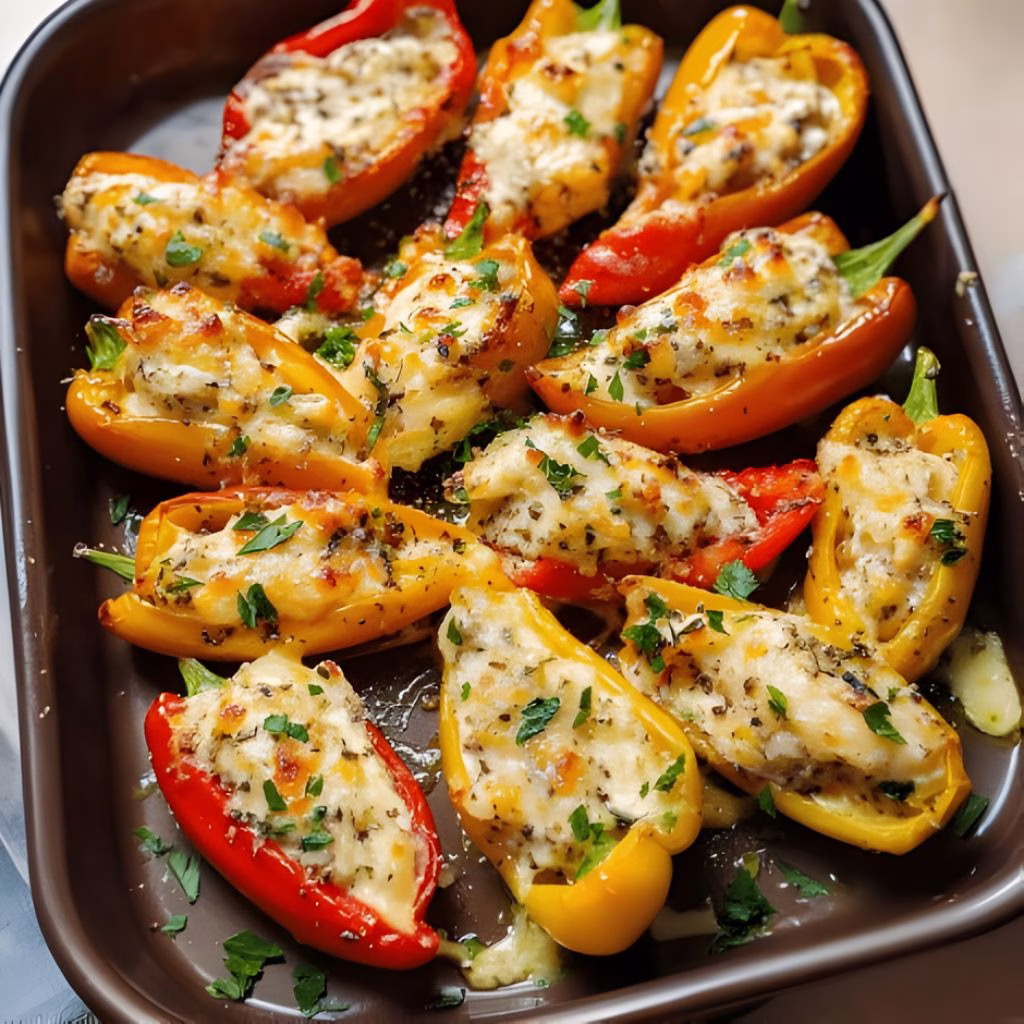
How to Serve Stuffed Mini Peppers with Cream Cheese?
These stuffed mini peppers are incredibly versatile when it comes to serving. I love placing them on a large platter with fresh herbs sprinkled around for color. They’re perfect as an appetizer for parties, game nights, or holiday gatherings.
You can also serve them alongside a simple salad or grilled meats for a balanced meal. A drizzle of balsamic glaze or a sprinkle of fresh parsley can instantly elevate their presentation.
Nutritional Information
These values are approximate and may vary based on the ingredients used.
- Calories: Around 90 per stuffed pepper half
- Protein: About 3 grams per serving
- Carbohydrates: Approximately 3 grams per serving
- Fat: Around 7 grams per serving
Make Ahead and Storage
Planning ahead with this recipe is easy and convenient.
You can prepare the peppers and filling up to one day in advance. Store the stuffed, unbaked peppers in an airtight container in the refrigerator until ready to bake.
Leftover baked peppers can be stored in the refrigerator for up to 3 days. I recommend reheating them in the oven to maintain their texture.
Freezing is possible, but I’ve found the texture is best when enjoyed fresh. If freezing, do so before baking and thaw overnight in the fridge before cooking.
Why You’ll Love This Recipe?
There are so many reasons these stuffed mini peppers have become one of my go-to recipes.
- They’re incredibly easy to prepare, even for beginner cooks, and don’t require fancy ingredients.
- The recipe is versatile and easy to customize with different cheeses and seasonings.
- They work well for many occasions, from casual snacks to party appetizers.
- The balance of creamy filling and sweet peppers makes them irresistible.
If you’re looking for a simple yet crowd-pleasing dish, these stuffed mini peppers with cream cheese are always a winning choice.
Stuffed Mini Peppers with Cream Cheese Recipe
Ingredients
Method
- Start by washing the mini peppers thoroughly and drying them well. Slice each pepper in half lengthwise and gently remove the seeds and membranes. I like keeping the stems on because they add charm and make the peppers easier to handle.
- In a mixing bowl, combine the softened cream cheese, shredded cheese, garlic powder, onion powder, salt, and pepper. Mix until everything is smooth and evenly blended. I usually taste the mixture at this point and adjust seasoning if needed.
- Using a spoon or small spatula, generously fill each pepper half with the cream cheese mixture. Make sure the filling is slightly mounded so it stays creamy after baking. Arrange the stuffed peppers cut-side up on the baking sheet.
- Place the baking sheet in a preheated oven at 375°F (190°C). Bake for about 20 minutes, or until the peppers are tender and the filling is hot and lightly golden on top. Keep an eye on them to avoid overbrowning.
- Once baked, remove the peppers from the oven and let them cool for a few minutes. Sprinkle with chopped green onions or everything bagel seasoning if desired. Serve warm for the best flavor and texture.
Notes
- I always let the cream cheese soften fully at room temperature; it makes mixing much easier and smoother.
- I’ve learned not to overbake the peppers, because I like them tender but still slightly crisp.
- I sometimes line the baking sheet with parchment paper, which helps prevent sticking and browning too quickly.
- I like adding a small pinch of extra shredded cheese on top for a golden, bubbly finish.