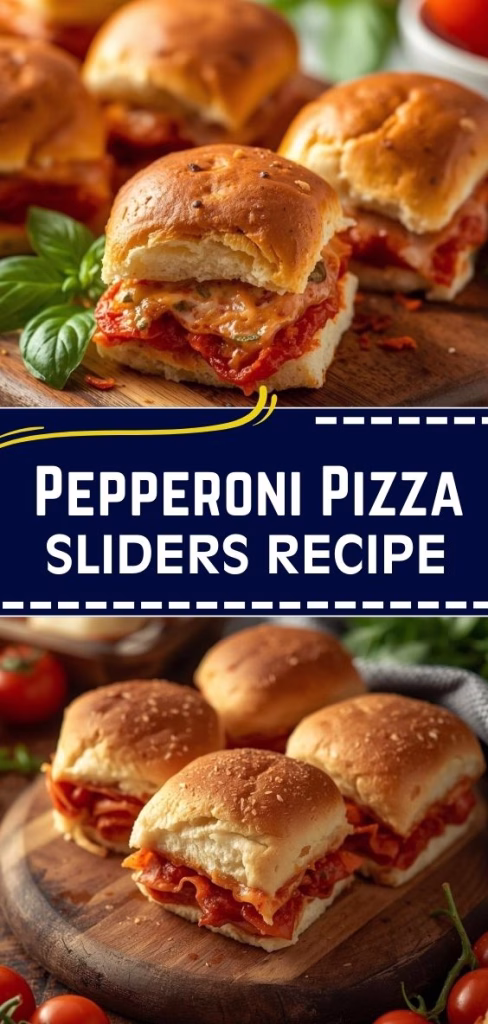
I made this pepperoni pizza slider Recipe on a busy evening when I wanted something fun, cheesy, and comforting without spending hours in the kitchen. From the first bite, I knew this recipe was a keeper because it tasted just like pizza night but in a soft, buttery slider form.
I loved how easy they were to assemble, especially when cooking the Pepperoni Pizza Sliders Recipe for family or friends. The smell of baked rolls, melted cheese, and pepperoni filled my kitchen in the best way. You can also enjoy similar quick and flavorful meals like Pesto Grilled Shrimp Recipe for busy evenings. Trust me, once you make these sliders, you’ll want them on repeat for game days and casual dinners.
Ingredients
Here’s a quick look at everything you’ll need, along with why each ingredient matters and how to get the best results.
- Hawaiian sweet rolls – 12 rolls (soft and slightly sweet, they balance the savory pepperoni and cheese better than regular rolls)
- Pepperoni slices – 24 to 30 slices (classic pizza flavor; use a good-quality pepperoni for less grease and better taste)
- Mozzarella cheese – 2 cups, freshly shredded (freshly grated cheese melts smoother and creamier than pre-shredded varieties)
- Marinara or pizza sauce – ½ cup (a thick pizza-style sauce prevents soggy sliders and keeps flavors bold)
- Unsalted butter – 4 tablespoons, melted (adds richness and helps the tops bake golden without excess salt)
- Italian seasoning – 1 teaspoon (brings that familiar pizza aroma with oregano, basil, and herbs)
- Garlic powder – ½ teaspoon (blends evenly into the butter topping without overpowering the sliders)
- Grated Parmesan cheese – 2 tablespoons (adds a salty, nutty finish and helps create a lightly crisp topping)
Note: This ingredient quantity serves about 4 to 6 people as an appetizer or 3 to 4 people as a main dish. You might also enjoy preparing a quick meal like 30-Minute Mongolian Beef Recipe if you want another fast dinner option.
Variations
These sliders are easy to customize depending on your taste or dietary needs.
For a dairy-free version, use dairy-free mozzarella shreds and plant-based butter.
For a low-sugar option, swap Hawaiian rolls with regular slider buns.
Add sautéed mushrooms, olives, or bell peppers for extra veggie flavor.
Use turkey pepperoni or chicken pepperoni for a lighter protein option.
Sprinkle red pepper flakes inside for a spicy kick.
Cooking Time
Knowing the timing makes this recipe stress-free and perfect for planning.
- Prep Time: 10 minutes
- Cooking Time: 15–18 minutes
- Total Time: About 25–30 minutes
Equipment You Need
Having the right tools makes assembly quick and easy.
- Baking dish – Holds the sliders snugly so they bake evenly
- Serrated knife – Helps slice the rolls cleanly without tearing
- Small bowl – Used for mixing the butter topping
- Pastry brush – Makes spreading the butter mixture easy and even
- Aluminum foil – Prevents over-browning during baking
How to Make Pepperoni Pizza Sliders Recipe?
These steps are simple and beginner-friendly, even if you don’t cook often.
Prepare the Rolls
Preheat your oven and lightly grease your baking dish. I carefully slice the rolls in half horizontally, keeping them connected so they’re easier to layer. Place the bottom half into the dish, making sure it fits snugly.
Add the Sauce
I spread the marinara sauce evenly over the bottom layer of rolls. This creates a pizza-style base and keeps every bite flavorful. Don’t overdo it, or the sliders may turn soggy.
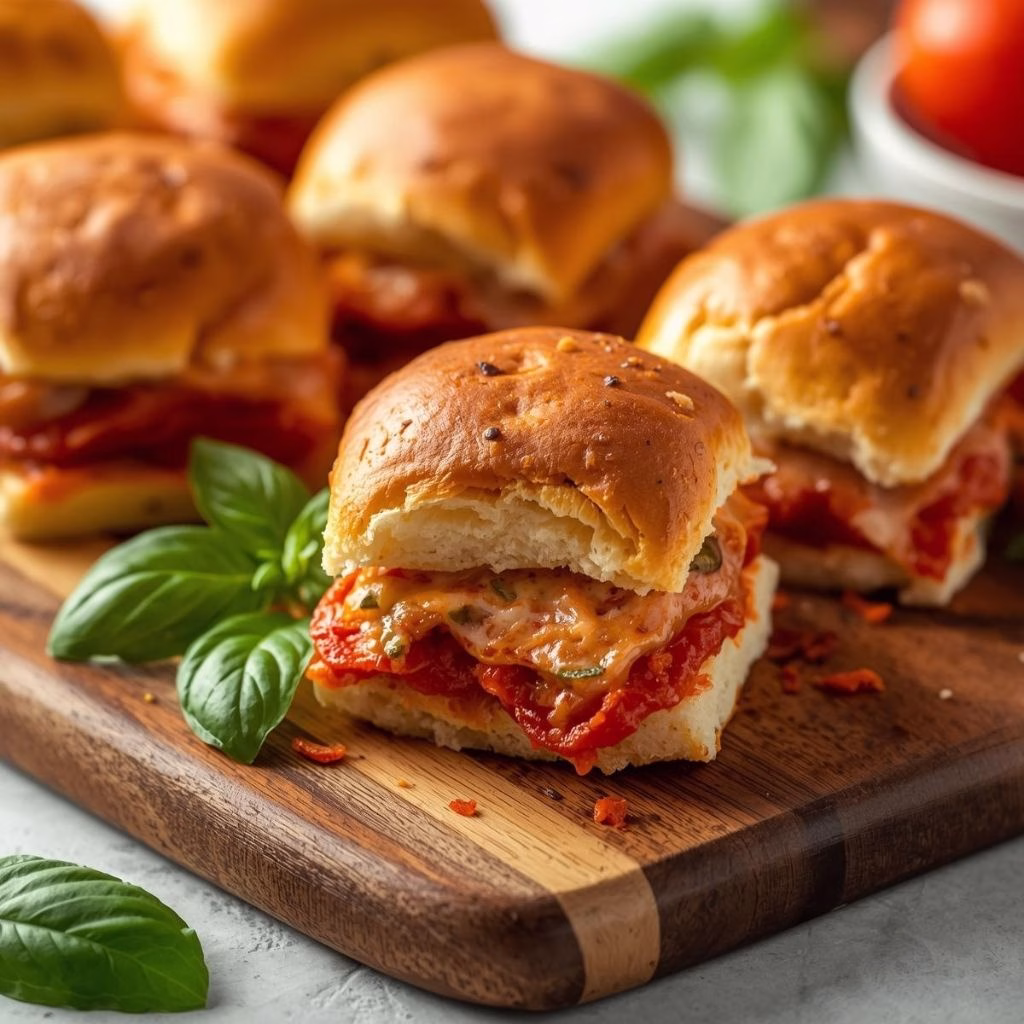
Layer the Cheese and Pepperoni
Next, I sprinkle half of the mozzarella cheese over the sauce. Then I add a generous layer of pepperoni slices, followed by the remaining cheese to lock everything together.
Close the Sliders
I gently place the top half of the rolls back on, pressing lightly so the layers stick. This step helps the sliders bake evenly and hold their shape.
Make the Butter Topping
In a small bowl, I mix melted butter with Italian seasoning, garlic powder, and Parmesan cheese. This mixture gives the sliders that irresistible golden crust.
Brush and Bake
I brush the butter mixture generously over the tops of the rolls. Then I cover the dish with foil and bake until the cheese is melted, removing the foil at the end for browning.
Rest and Serve
Once baked, I let the sliders rest for a couple of minutes. This helps the cheese set slightly and makes slicing easier before serving.
Additional Tips for Making This Recipe Better
After making these sliders a few times, I’ve picked up some helpful tricks.
- I always grate cheese fresh because it melts smoother and tastes creamier.
- I line the baking dish tightly so the sliders don’t spread apart while baking.
- I add a few extra pepperoni slices on the edges for more flavor in every corner.
- I let them cool slightly before cutting to keep the layers intact.
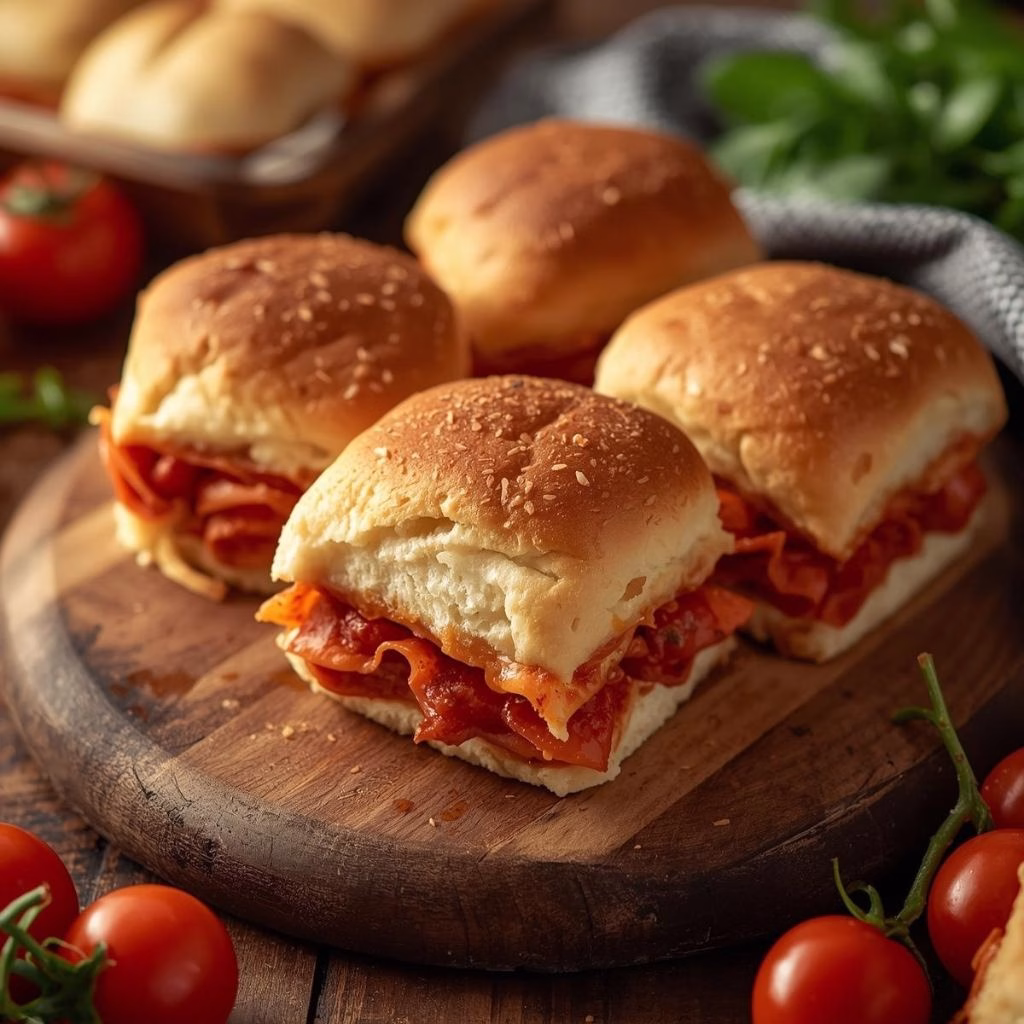
How to Serve Pepperoni Pizza Sliders Recipe?
These sliders look great served straight from the baking dish or arranged on a wooden board. I like to garnish them with a sprinkle of chopped parsley or basil for a fresh pop of color. Serve them with extra warm marinara sauce on the side for dipping. They pair perfectly with a simple green salad, fries, or even a bowl of soup for a complete meal.
Nutritional Information
Here’s a general nutritional overview per serving, depending on portion size.
- Calories – A satisfying amount for an appetizer or light meal
- Protein – Comes mainly from cheese and pepperoni
- Carbohydrates – Provided by the rolls and sauce
- Fat – From cheese, butter, and pepperoni
Make Ahead and Storage
Make Ahead
You can assemble the sliders a few hours in advance and store them covered in the refrigerator. I wait to add the butter topping until just before baking for the best texture.
Storage
Leftover sliders stay fresh in an airtight container in the fridge for up to 3 days. I usually reheat only what I need to keep them from drying out.
Freezing and Reheating
You can freeze baked sliders for up to 1 month. To reheat, I thaw them in the fridge overnight and warm them in the oven until heated through.
Why You’ll Love This Recipe?
There are so many reasons these sliders have become one of my favorites.
- They’re incredibly easy to make and come together fast, even on busy days.
- The flavors are classic and loved by both kids and adults.
- You can customize them endlessly with different toppings and cheeses.
- They’re perfect for parties, game nights, or simple family dinners.
Once you try these pepperoni pizza sliders, you’ll see why they’re such a crowd-pleaser. They’re cozy, flavorful, and always disappear fast from the table.
Pepperoni Pizza Sliders Recipe
Ingredients
Method
- Preheat your oven and lightly grease your baking dish. I carefully slice the rolls in half horizontally, keeping them connected so they’re easier to layer. Place the bottom half into the dish, making sure it fits snugly.
- I spread the marinara sauce evenly over the bottom layer of rolls. This creates a pizza-style base and keeps every bite flavorful. Don’t overdo it, or the sliders may turn soggy.
- Next, I sprinkle half of the mozzarella cheese over the sauce. Then I add a generous layer of pepperoni slices, followed by the remaining cheese to lock everything together.
- I gently place the top half of the rolls back on, pressing lightly so the layers stick. This step helps the sliders bake evenly and hold their shape.
- In a small bowl, I mix melted butter with Italian seasoning, garlic powder, and Parmesan cheese. This mixture gives the sliders that irresistible golden crust.
- I brush the butter mixture generously over the tops of the rolls. Then I cover the dish with foil and bake until the cheese is melted, removing the foil at the end for browning.
- Once baked, I let the sliders rest for a couple of minutes. This helps the cheese set slightly and makes slicing easier before serving.
Notes
- I always grate cheese fresh because it melts smoother and tastes creamier.
- I line the baking dish tightly so the sliders don’t spread apart while baking.
- I add a few extra pepperoni slices on the edges for more flavor in every corner.
- I let them cool slightly before cutting to keep the layers intact.