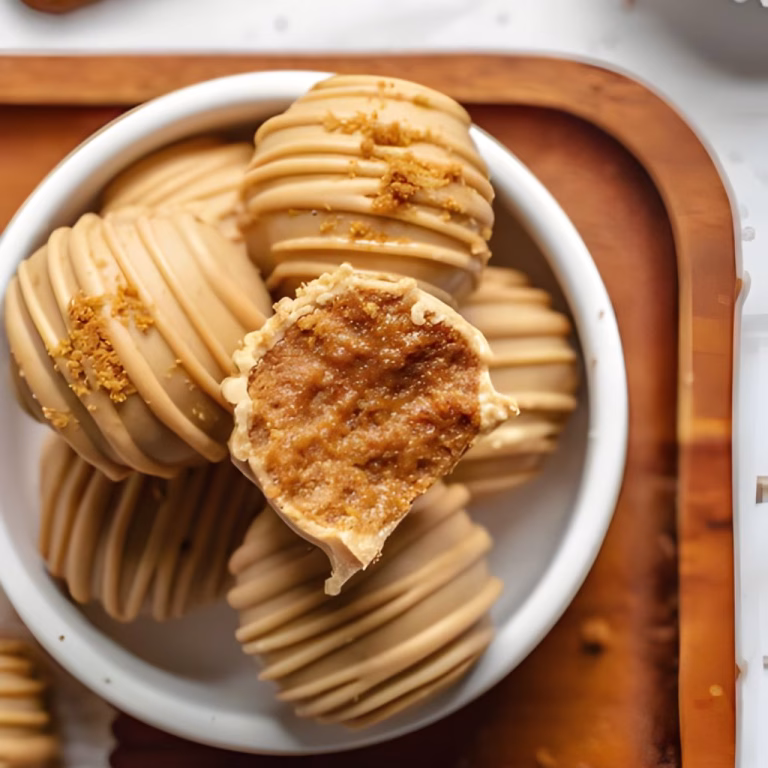
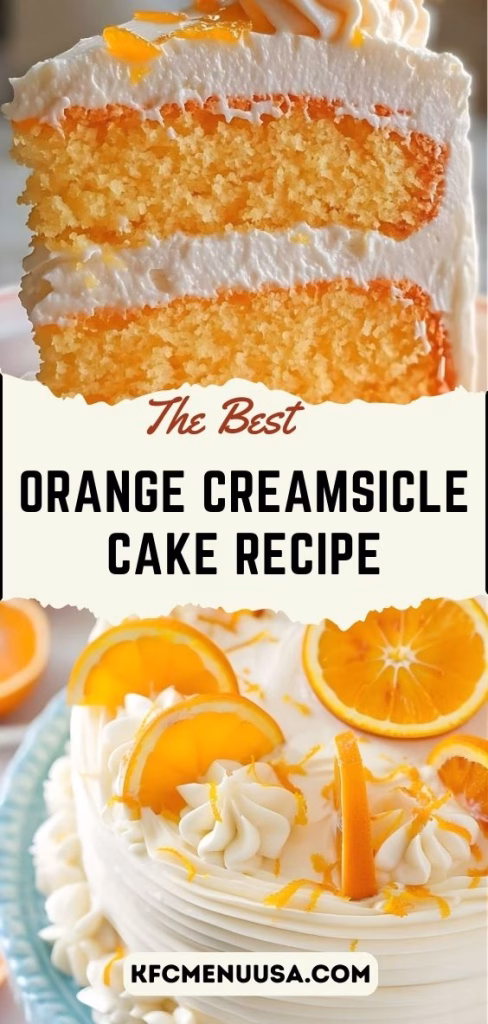
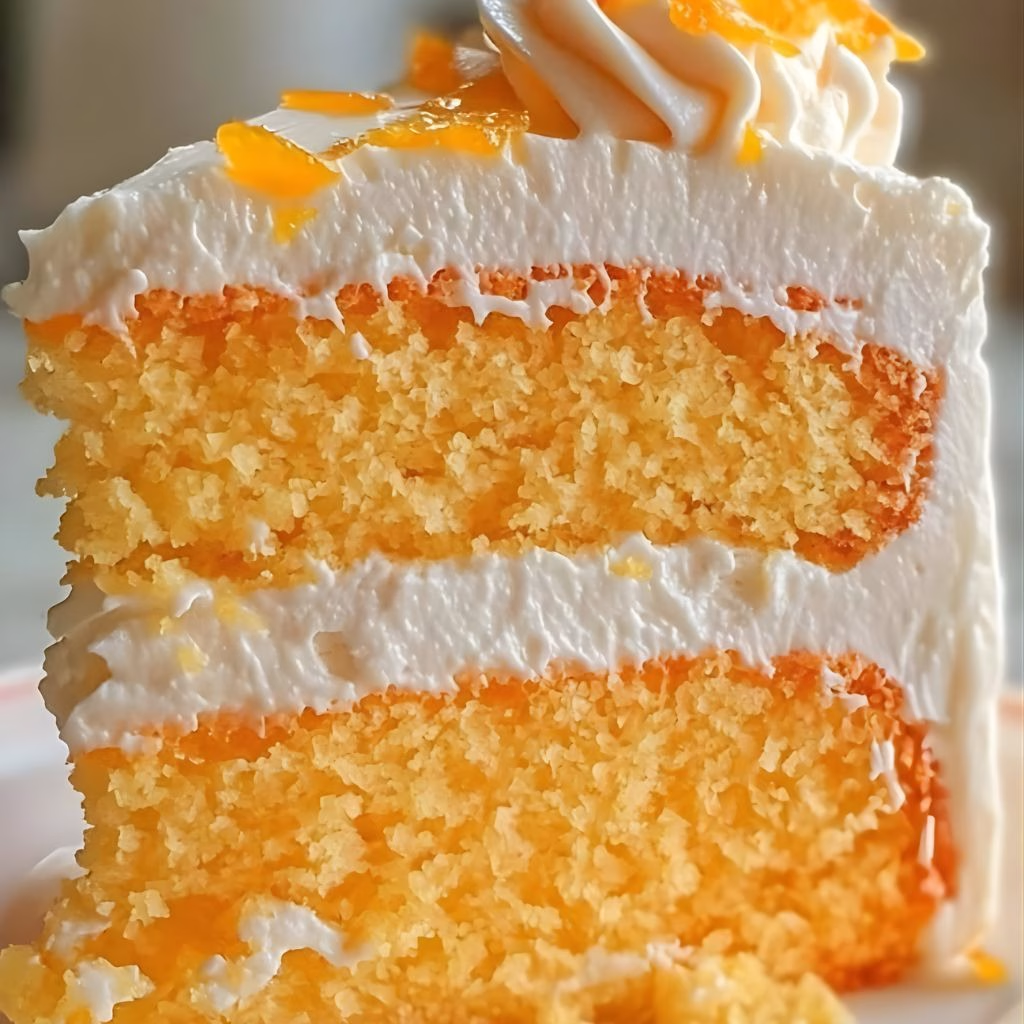
I have to tell you—I was instantly hooked the first time I made this Orange Creamsicle Cake Recipe. There’s something magical about the creamy frosting paired with the bright, citrusy cake that takes me straight back to summer days. I love how soft and moist the cake turns out, with just the right amount of sweetness.
Every bite tastes like a nostalgic creamsicle, but in cake form! After making it a few times, I finally nailed a version that’s as fun to make as it is to eat. You can also enjoy variations inspired by the Philly Cheesesteak Meatloaf Recipe for a savory twist at brunch or gatherings.
Ingredients
Here’s everything you need to make this dreamy, orange-flavored cake. I like to focus on fresh ingredients whenever possible, as it really makes a difference in flavor.
- All-purpose flour – 2 ½ cups, sifted to keep the cake light and fluffy
- Baking powder – 2 ½ teaspoons, to help the cake rise perfectly
- Salt – ½ teaspoon, balances the sweetness
- Unsalted butter – 1 cup (2 sticks), softened for easy creaming
- Granulated sugar – 2 cups, for sweetness and structure
- Eggs – 4 large, room temperature, for richness and texture
- Vanilla extract – 1 tablespoon, enhances the citrus flavor
- Orange zest – 2 tablespoons, freshly grated for a vibrant taste
- Buttermilk – 1 cup, makes the cake moist and tender
- Orange juice – ½ cup, freshly squeezed for natural sweetness
- Heavy cream – 1 cup, for the frosting’s creamy texture
- Powdered sugar – 4 cups, sifted to prevent lumps in frosting
- Cream cheese – 8 oz, softened, adds tanginess and creaminess
Note: several servings
Variations
I love experimenting with this cake, and there are so many ways to make it your own:
- Dairy-free: Swap butter for coconut oil and use a non-dairy cream cheese
- Sugar-free: Use a natural sweetener like erythritol or monk fruit
- Flavor add-ins: Fold in orange extract for a more intense flavor or mix in a handful of white chocolate chips for extra sweetness
- Gluten-free: Use a 1:1 gluten-free flour blend instead of all-purpose flour.
Cooking Time
Here’s a quick breakdown so you can plan ahead:
- Prep Time: 25 minutes
- Cooking Time: 35-40 minutes
- Total Time: 1 hour 5 minutes
Equipment You Need
- 9-inch round cake pans – for baking evenly
- Electric mixer – to cream butter and sugar effortlessly
- Mixing bowls – for combining dry and wet ingredients separately
- Zester – to get fresh orange zest
- Spatula – for folding ingredients gently
- Cooling rack – to cool the cake completely before frosting
How to Make Orange Creamsicle Cake
Prepare the Ingredients
Start by gathering all your ingredients and preheating the oven to 350°F. I always zest my oranges first so I don’t forget. Softening butter and cream cheese at room temperature makes mixing so much easier.
Mix the Dry Ingredients
In a large bowl, whisk together the flour, baking powder, and salt. I like to sift the flour first; it keeps the cake airy. This step ensures your leavening is evenly distributed.
Cream Butter and Sugar
Use an electric mixer to cream the butter and sugar until light and fluffy. I usually let it go for 3-4 minutes—it really makes a difference in texture. Add eggs one at a time for a smooth mixture.
Add Flavorings and Liquids
Mix in vanilla, orange zest, and orange juice. Then alternate adding the dry ingredients with buttermilk. I do this slowly to avoid overmixing, which can make the cake dense.
Bake the Cake
Divide the batter between two prepared pans and bake for 35-40 minutes. I always check with a toothpick in the center—it should come out clean. Let the cakes cool completely on a wire rack before frosting.
Make the Frosting
Beat cream cheese and butter until creamy, then gradually add powdered sugar. Pour in heavy cream and a little orange juice for extra flavor. I like to whip it until it’s light and fluffy—it spreads beautifully.
Assemble the Cake
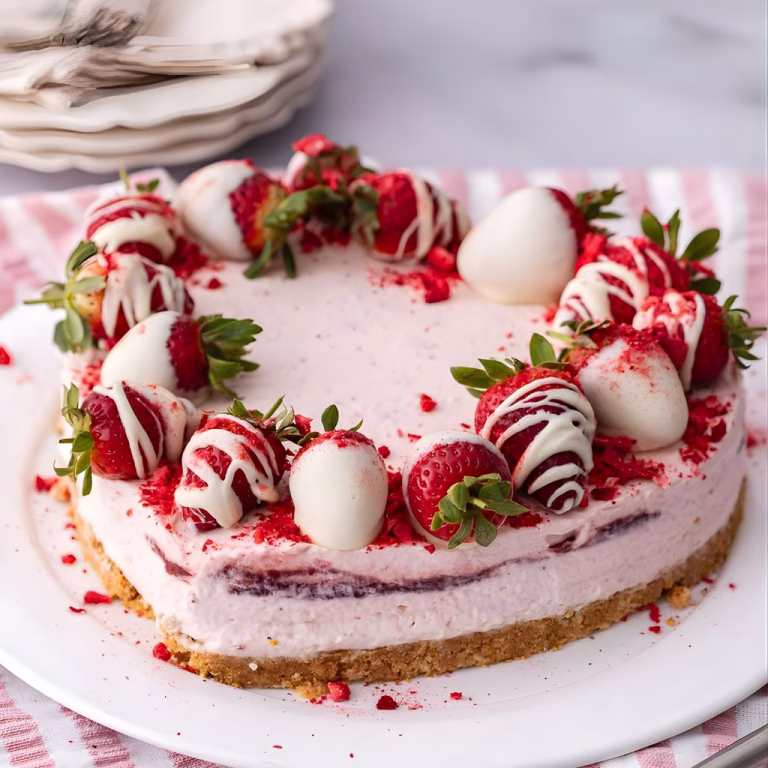
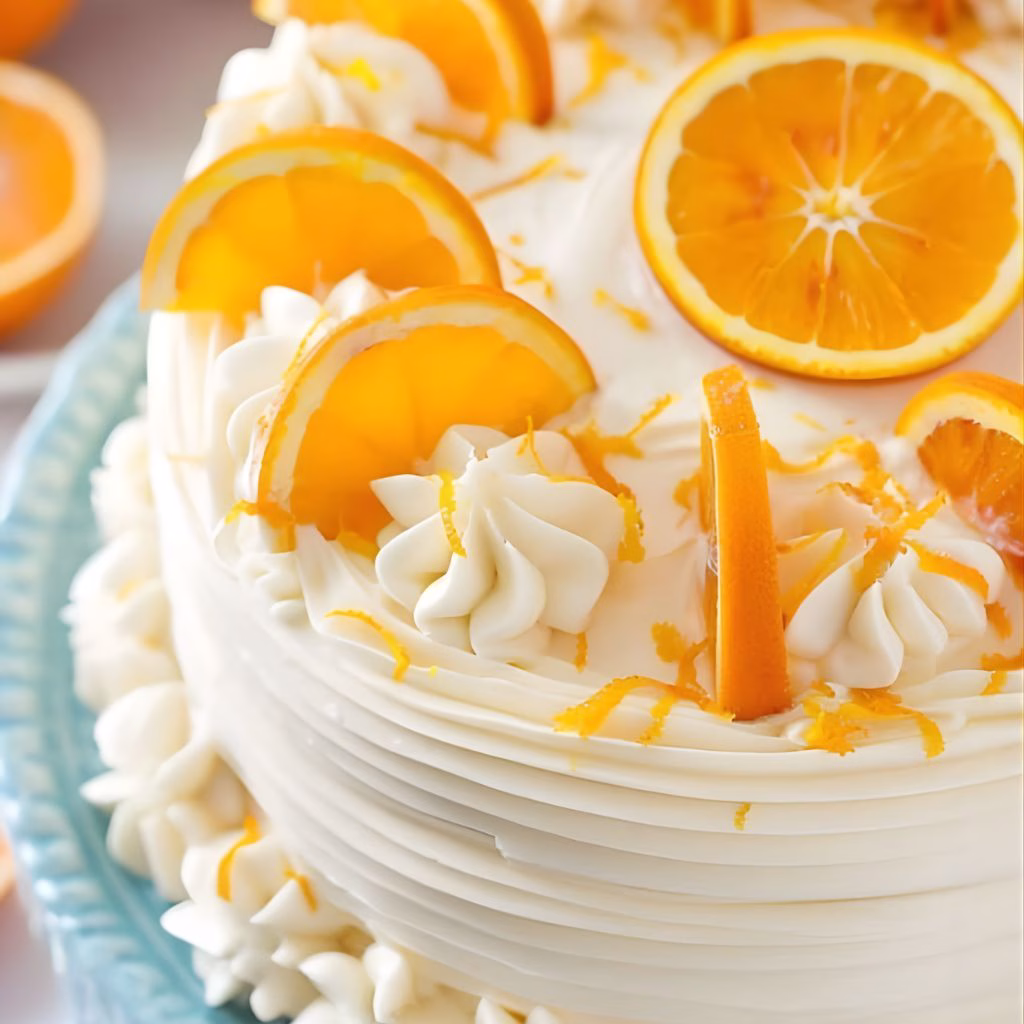
Place one cake layer on a serving plate, spread frosting, add the second layer, and frost the top and sides. I usually add a sprinkle of orange zest or thin slices on top for a pop of color. Chill slightly before slicing.
Additional Tips for Making This Recipe Better
From my experience, these tips really elevate the cake:
- I always use fresh orange juice and zest—it’s far more vibrant than store-bought
- Let the cake cool completely before frosting to avoid melty messes
- I like to lightly brush the cake layers with orange syrup for extra moistness
- Using room-temperature ingredients makes mixing smoother and the cake fluffier
How to Serve Orange Creamsicle Cake
Serving this cake is just as fun as making it. I love slicing it into generous wedges and garnishing with fresh orange slices. A dollop of whipped cream or a drizzle of white chocolate makes it look bakery-worthy. I also like to sprinkle a little extra zest for that sunny, citrusy vibe. It pairs perfectly with a cup of tea or a cold glass of milk.
Nutritional Information
Here’s a quick snapshot per serving:
- Calories: 420 – a sweet but satisfying treat
- Protein: 5g – thanks to the eggs and cream cheese
- Carbohydrates: 55g – from sugar and flour
- Fat: 20g – from butter and cream cheese
Make Ahead and Storage
Storing the Cake
I like to cover the cake tightly and keep it in the fridge. It stays fresh for up to 4-5 days without losing flavor.
Freezing the Cake
You can freeze the unfrosted layers for up to 2 months. I wrap each layer in plastic wrap and foil to protect against freezer burn.
Reheating the Cake
I usually let frozen slices thaw in the fridge overnight. For a slightly warm slice, I pop a piece in the microwave for 10-15 seconds—it’s perfect.
Why You’ll Love This Recipe
Here’s why I always come back to this cake:
- Easy to Make – Simple ingredients and straightforward steps, even for beginners
- Nostalgic Flavor – Tastes just like a classic orange creamsicle
- Versatile – Can be customized for dietary preferences like dairy-free or sugar-free
- Perfect for Parties – Bright and cheerful, a guaranteed crowd-pleaser
- Creamy, Moist Texture – Every bite melts in your mouth, thanks to the cream cheese frosting
Orange Creamsicle Cake Recipe
Ingredients
Method
- Start by gathering all your ingredients and preheating the oven to 350°F. I always zest my oranges first so I don’t forget. Softening butter and cream cheese at room temperature makes mixing so much easier.
- In a large bowl, whisk together the flour, baking powder, and salt. I like to sift the flour first; it keeps the cake airy. This step ensures your leavening is evenly distributed.
- Use an electric mixer to cream the butter and sugar until light and fluffy. I usually let it go for 3-4 minutes—it really makes a difference in texture. Add eggs one at a time for a smooth mixture.
- Mix in vanilla, orange zest, and orange juice. Then alternate adding the dry ingredients with buttermilk. I do this slowly to avoid overmixing, which can make the cake dense.
- Divide the batter between two prepared pans and bake for 35-40 minutes. I always check with a toothpick in the center—it should come out clean. Let the cakes cool completely on a wire rack before frosting.
- Beat cream cheese and butter until creamy, then gradually add powdered sugar. Pour in heavy cream and a little orange juice for extra flavor. I like to whip it until it’s light and fluffy—it spreads beautifully.
- Place one cake layer on a serving plate, spread frosting, add the second layer, and frost the top and sides. I usually add a sprinkle of orange zest or thin slices on top for a pop of color. Chill slightly before slicing.
Notes
- I always use fresh orange juice and zest—it’s far more vibrant than store-bought
- Let the cake cool completely before frosting to avoid melty messes
- I like to lightly brush the cake layers with orange syrup for extra moistness
- Using room-temperature ingredients makes mixing smoother and the cake fluffier