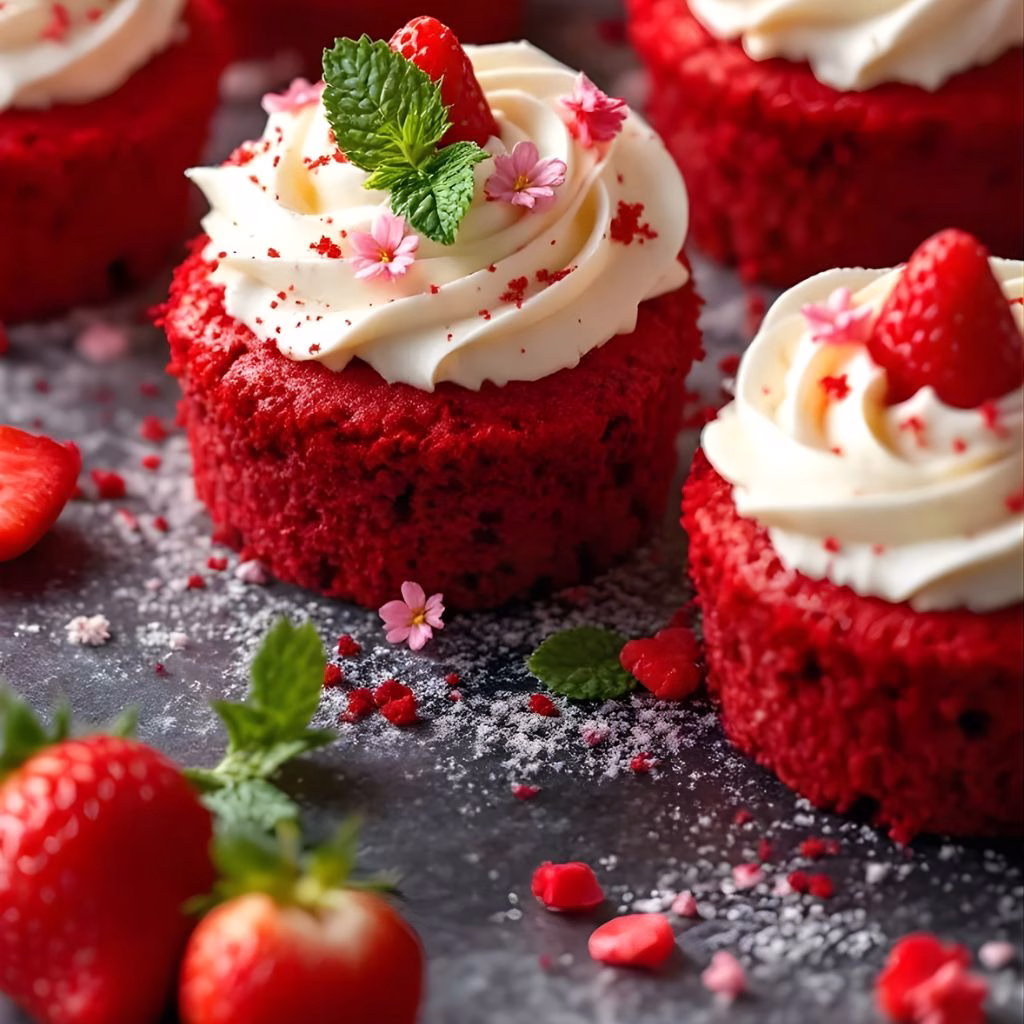
I have to admit, I’ve fallen in love with these Mini Red Velvet Cheesecakes Recipe. The first time I made them, I couldn’t stop tasting the creamy cheesecake paired with the soft, sweet red velvet base. Making them in small, individual portions adds such a fun touch—perfect for parties or just treating myself without committing to a whole cake.
I love how each bite melts in your mouth and delivers that classic red velvet flavor with a hint of tangy cream cheese. Honestly, they’re surprisingly simple to make, similar to how the Cheesy Mozzarella Chicken Bake Recipe is easy to prepare, and I’m excited to share how you can make them too!

Ingredients
I always find that using fresh, high-quality ingredients makes a world of difference in desserts like these. Here’s what you’ll need:
- Cream cheese, 8 ounces, softened – For that smooth, creamy base. Make sure it’s room temperature so it blends easily.
- Granulated sugar, 1/3 cup – Sweetens the cheesecake without overpowering the flavor.
- Egg, 1 large – Helps the cheesecake set perfectly and gives structure.
- Vanilla extract, 1 teaspoon – Adds warmth and depth to the flavor.
- Sour cream, 1/2 cup – Makes the cheesecake extra creamy and slightly tangy.
- Red velvet cake mix, 1 box (about 15.25 ounces) – Use your favorite brand for a classic red velvet flavor.
- Butter, 1/2 cup, melted – Mix with cake crumbs to create a rich, flavorful crust, just like the crust in the Easy Baked Shrimp Parmesan Recipe that gives it a perfect base.
Note: Several servings
Variations
I love experimenting with variations, and these mini cheesecakes are perfect for customization:
- Dairy-free: Use vegan cream cheese and plant-based butter to make this dessert suitable for dairy-free diets.
- Sugar-free: Swap regular sugar with a natural sweetener like erythritol or stevia for a low-sugar treat.
- Flavor add-ins: Sprinkle in chocolate chips, crushed peppermint, or a hint of espresso to elevate the flavor.
- Alternative crust: Swap the red velvet cake crumbs with crushed graham crackers, digestive biscuits, or even Oreo crumbs for a fun twist.

Cooking Time
Here’s a quick overview of how long this recipe takes:
- Prep Time: 20 minutes
- Cooking Time: 18–20 minutes
- Total Time: 40 minutes
Equipment You Need
Here’s what I used, and why each item matters:
- Muffin tin – Essential for shaping each cheesecake into perfect mini portions.
- Paper cupcake liners – Keeps cheesecakes from sticking and makes serving easier.
- Mixing bowls – One for the cheesecake filling, one for the cake crumbs.
- Electric mixer – Helps create a smooth, creamy cheesecake batter without lumps.
- Measuring cups and spoons – Ensures accurate measurements for consistent results.
How to Make Mini Red Velvet Cheesecakes
I love breaking down recipes into simple steps—it makes baking stress-free.
Prepare the Crust
First, mix the red velvet cake crumbs with melted butter until well combined. Press the mixture firmly into the bottom of each lined muffin cup. I like to use the back of a spoon or a small glass to get an even crust layer.
Make the Cheesecake Filling
Next, beat softened cream cheese and sugar until smooth using an electric mixer. Add the egg, sour cream, and vanilla extract, mixing until everything is creamy and uniform. I always scrape the sides of the bowl to make sure no lumps remain.
Assemble the Cheesecakes
Spoon the cheesecake mixture over the red velvet crusts in each muffin cup. Fill each about three-quarters full so they have a nice dome when baked. Smooth the tops gently with a spoon for an even finish.
Bake to Perfection
Bake the mini cheesecakes in a preheated oven at 350°F (175°C) for 18–20 minutes. I check them by gently shaking the pan—the centers should be slightly jiggly but not liquid.
Chill Before Serving
Allow the cheesecakes to cool completely at room temperature, then refrigerate for at least 2 hours. I’ve found that chilling helps them set perfectly and enhances the flavors.
Additional Tips for Making this Recipe Better
From my experience, a few small adjustments can make a huge difference:
- I always use room temperature cream cheese—it blends smoother and prevents lumps.
- Press the crust firmly so the cheesecake doesn’t slide when served.
- Chill the cheesecakes overnight for a firmer texture and richer flavor.
- I sometimes sprinkle a tiny bit of cocoa powder or chocolate shavings on top for extra flair.
- Don’t overbake; the mini cheesecakes will firm up as they cool.
How to Serve Mini Red Velvet Cheesecakes
Serving mini cheesecakes can be as fun as making them:
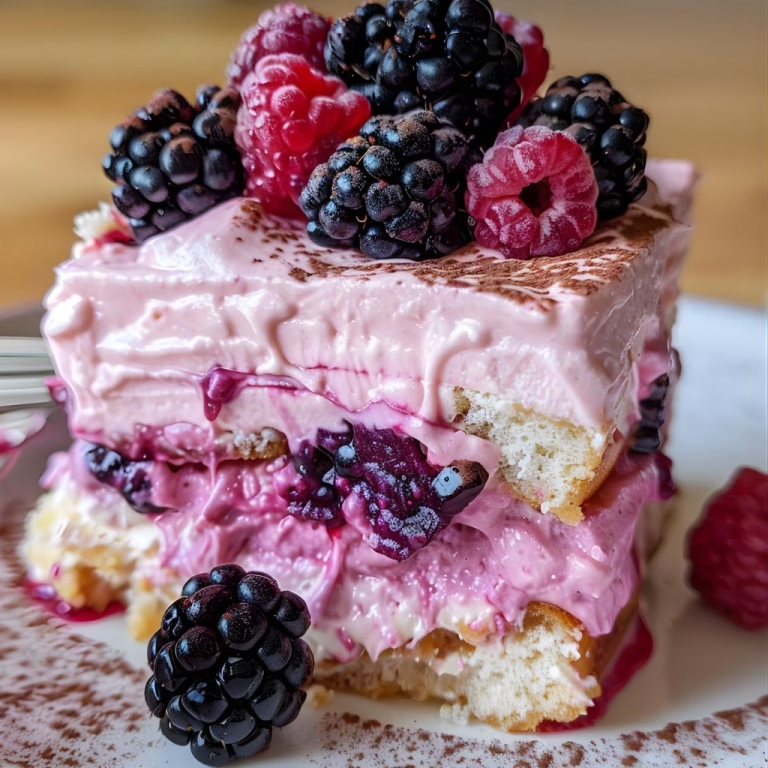
I like to remove the liners and serve them on a decorative platter. Add a dollop of whipped cream or cream cheese frosting for extra indulgence. Garnish with chocolate shavings, fresh berries, or a drizzle of raspberry sauce to make them visually stunning. They also pair wonderfully with a cup of coffee or hot cocoa.
Nutritional Information
Here’s a quick look at the nutrition for each mini cheesecake:
- Calories: 220 per serving
- Protein: 4 grams
- Carbohydrates: 26 grams
- Fat: 12 grams
These are approximate values, but they give a good sense of the indulgent yet manageable treat.
Make Ahead and Storage
I like to prepare these ahead of time for parties or gatherings:
Refrigerating: Store in an airtight container in the fridge for up to 3–4 days. They taste even better when chilled.
Freezing: Freeze the mini cheesecakes in a single layer on a baking sheet, then transfer to a freezer-safe container for up to 2 months.
Reheating: No need to reheat; enjoy chilled or at room temperature for the perfect texture.
Why You’ll Love This Recipe
If you’re wondering why you should make these mini red velvet cheesecakes, here’s why:
- Easy to prepare: The steps are straightforward, making this recipe beginner-friendly.
- Perfect portion control: Mini size means you can indulge without overdoing it.
- Versatile: Customize with dairy-free, sugar-free, or flavor variations.
- Beautiful presentation: Individually portioned cheesecakes look elegant on any dessert table.
- Rich flavor: The combination of red velvet and creamy cheesecake is irresistibly delicious.
Mini Red Velvet Cheesecakes Recipe
Ingredients
Method
- First, mix the red velvet cake crumbs with melted butter until well combined. Press the mixture firmly into the bottom of each lined muffin cup. I like to use the back of a spoon or a small glass to get an even crust layer.
- Next, beat softened cream cheese and sugar until smooth using an electric mixer. Add the egg, sour cream, and vanilla extract, mixing until everything is creamy and uniform. I always scrape the sides of the bowl to make sure no lumps remain.
- Spoon the cheesecake mixture over the red velvet crusts in each muffin cup. Fill each about three-quarters full so they have a nice dome when baked. Smooth the tops gently with a spoon for an even finish.
- Bake the mini cheesecakes in a preheated oven at 350°F (175°C) for 18–20 minutes. I check them by gently shaking the pan—the centers should be slightly jiggly but not liquid.
- Allow the cheesecakes to cool completely at room temperature, then refrigerate for at least 2 hours. I’ve found that chilling helps them set perfectly and enhances the flavors.
Notes
- I always use room temperature cream cheese—it blends smoother and prevents lumps.
- Press the crust firmly so the cheesecake doesn’t slide when served.
- Chill the cheesecakes overnight for a firmer texture and richer flavor.
- I sometimes sprinkle a tiny bit of cocoa powder or chocolate shavings on top for extra flair.
- Don’t overbake; the mini cheesecakes will firm up as they cool.