When I first discovered how easy it was to make a canned chicken pot pie, I couldn’t believe I hadn’t tried it sooner. It’s one of those dishes that feels homemade and comforting without requiring a full day’s commitment in the kitchen.
If you’re anything like me—always on the lookout for shortcuts that don’t sacrifice flavor—this might just become your new go-to dinner recipe. The beauty of using canned chicken is that it’s affordable, shelf-stable, and surprisingly tender when paired with creamy fillings and flaky crusts.
Why Canned Chicken Works So Well?
Let me be honest—before I tried it, I was a little skeptical. But canned chicken holds up really well in recipes like pot pie, where it’s surrounded by rich sauces and vegetables.
You don’t need to worry about cooking it through, seasoning it perfectly, or shredding it to the right consistency. It’s already ready to go. That alone saves me a good 20 to 30 minutes every time I make this dish.
Making It Taste Like Homemade
Even though you’re using shortcuts, there are a few little tricks I swear by to give the pot pie that “made from scratch” taste.
I always start by seasoning the filling a bit more than usual. Even though canned chicken is pre-cooked, I toss it with garlic powder, onion powder, and a dash of black pepper. A small splash of Worcestershire sauce or a sprinkle of poultry seasoning brings extra depth.
And if you’re up for a fun variation, I’ve had great results with a chicken pot pie recipe with crescent rolls. It’s a clever twist that adds a golden, slightly sweet crust on top and is super kid-friendly too.
Tips for the Perfect Creamy Filling
I know a lot of people love that rich, creamy center in pot pie. I do too, but I don’t want it to feel overly heavy. That’s why I mix canned cream of chicken soup with either milk or chicken broth. It helps lighten the texture while keeping it silky and smooth.
Sometimes, I’ll stir in a tablespoon of sour cream or cream cheese for a little tang. If you’re dairy-free, unsweetened almond or oat milk also works great as a substitute.
My Secret to a Crispy Crust
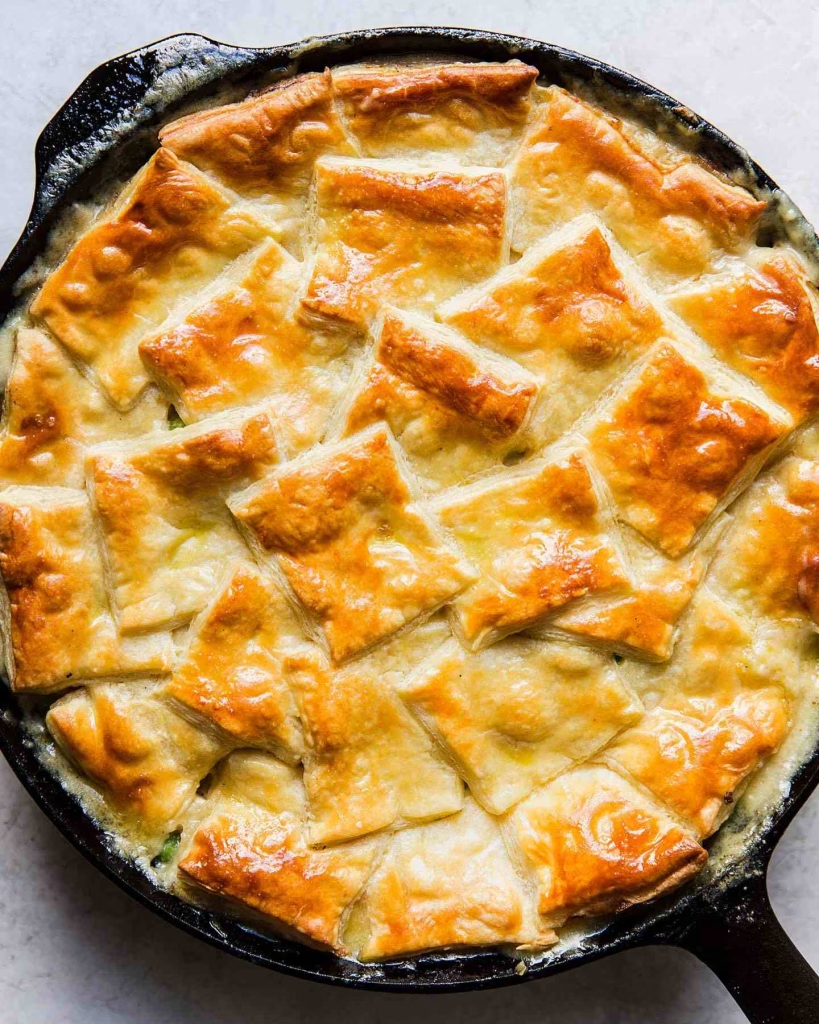
Let’s talk about crust—because nobody wants a soggy bottom, right? One thing I always do is pre-bake the bottom crust for about 5–7 minutes before adding the filling. That small step keeps things crisp and flaky all the way through.
If you’re trying to perfect your own base, you might find this chicken pot pie crust recipe helpful. It walks you through how to get that perfect golden bottom without overcooking or drying it out.
Can You Make It Ahead of Time?
Absolutely! This canned chicken pot pie recipe is perfect for prepping ahead. I usually assemble the full pie and cover it tightly with foil. It stays fresh in the fridge for up to 2 days before baking.
You can also freeze the unbaked pie. Just wrap it well in plastic wrap and foil, then freeze it flat. When you’re ready to bake, toss it right into the oven—just add 15 to 20 minutes to the baking time.
Storage and Reheating Tips
Leftovers never go to waste in my house. I store them in airtight containers in the fridge, and they stay good for 3 to 4 days. The best way to reheat is using a toaster oven or regular oven to bring back the crust’s crispiness. I usually go with 350°F for about 15 minutes. If you’re using the microwave, just know the crust will soften a bit.
And yes, this dish freezes well too—even individual slices. I wrap them tightly in foil and keep them in the freezer for busy days. Just thaw overnight and heat in the oven until hot and bubbly.
Easy Variations I Love
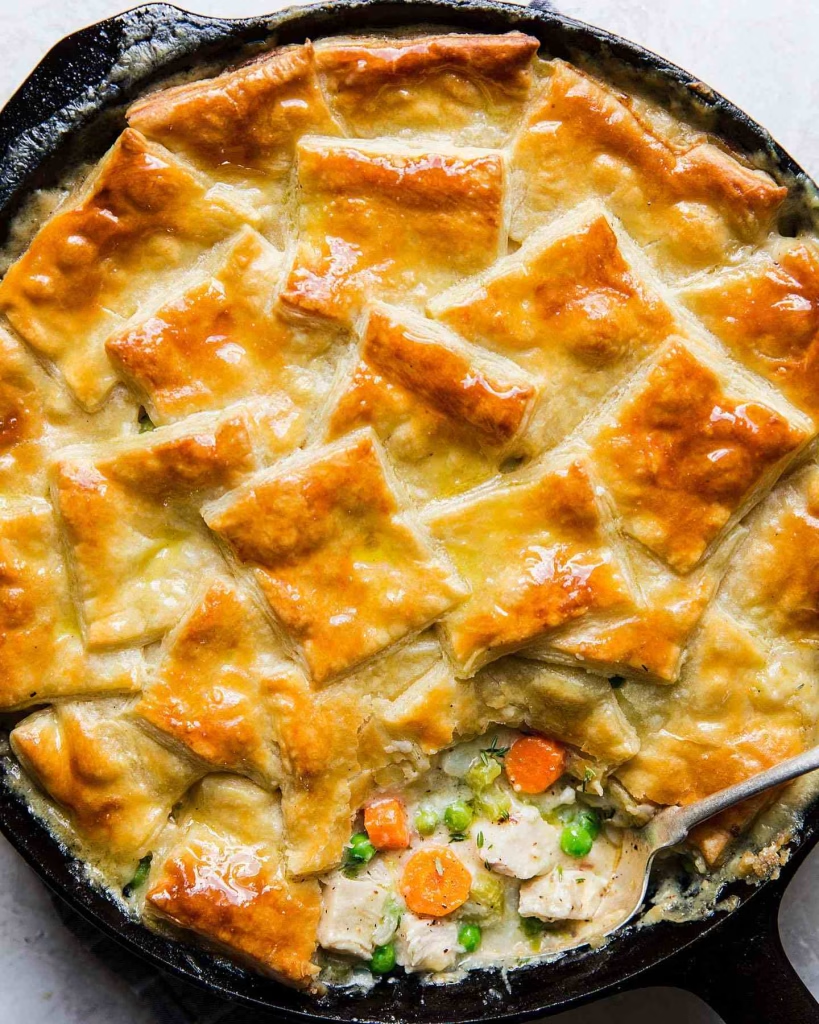
One of the best things about this recipe is how flexible it is. I sometimes switch up the vegetable mix depending on what I have in the fridge—mushrooms, green beans, chopped broccoli, even roasted sweet potatoes have all found their way into my pot pie.
You can also add shredded cheddar or a pinch of Parmesan to the filling for a cheesy twist. And if you like a little spice, a dash of hot sauce or a pinch of cayenne goes a long way.
A True Comfort Food Classic
Whether it’s a weeknight dinner, a potluck dish, or just something warm and cozy to lift your spirits, this canned chicken pot pie recipe checks all the boxes. It’s fast, affordable, and full of flavor—and the best part is, nobody will guess you used canned meat.
I’ve made this dish more times than I can count, and I still find little ways to make it better each time. From experimenting with crust types to tweaking the seasoning, it’s one of those recipes that keeps evolving with you.
So next time you find a can of chicken in your pantry and wonder what to make—trust me, this is the answer.

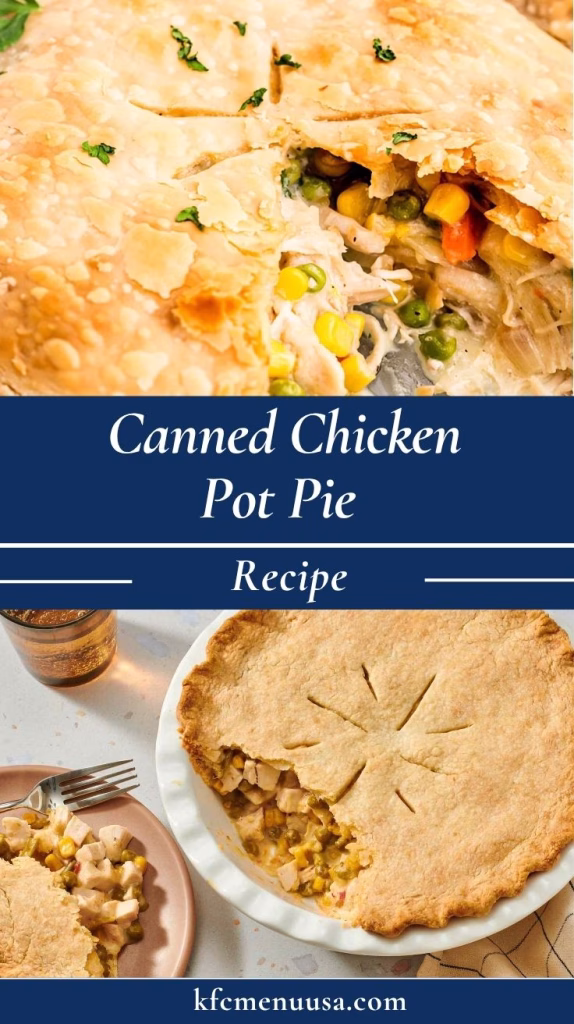
Canned Chicken Pot Pie Recipe
Ingredients
Method
- First, take one crust from the package and line your pie plate. If it feels too stiff, let it sit at room temperature for 10 minutes so it’s easier to shape. Gently trim any excess dough along the edges. Having a well-fitted crust helps hold your filling without gaps or overhangs.
- In a bowl, stir together the thawed vegetables, shredded chicken, cream of potato and chicken soups, milk, and seasoning salt until everything is evenly coated. The milk ensures the mixture isn’t too thick, while the soups give that creamy, rich base. Taste it—adjust salt or add pepper if needed—so your flavors are balanced before going into the pie crust.
- Pour the filling into your prepared bottom crust. Lay the second crust on top, pressing the edges to seal—pinch or flute them for a decorative touch. Slice small vents in the top crust so steam can escape and prevent sogginess. This little step helps ensure a flaky, crisp finish.
- Preheat your oven to 375 °F. Place the assembled pie in the center and bake for 45 to 50 minutes, until the crust is golden brown and the filling bubbles at the vents. If the edges brown too quickly, loosely tent them with foil near the end. Once done, let the pie rest for 10 minutes before slicing to allow the filling to set up.