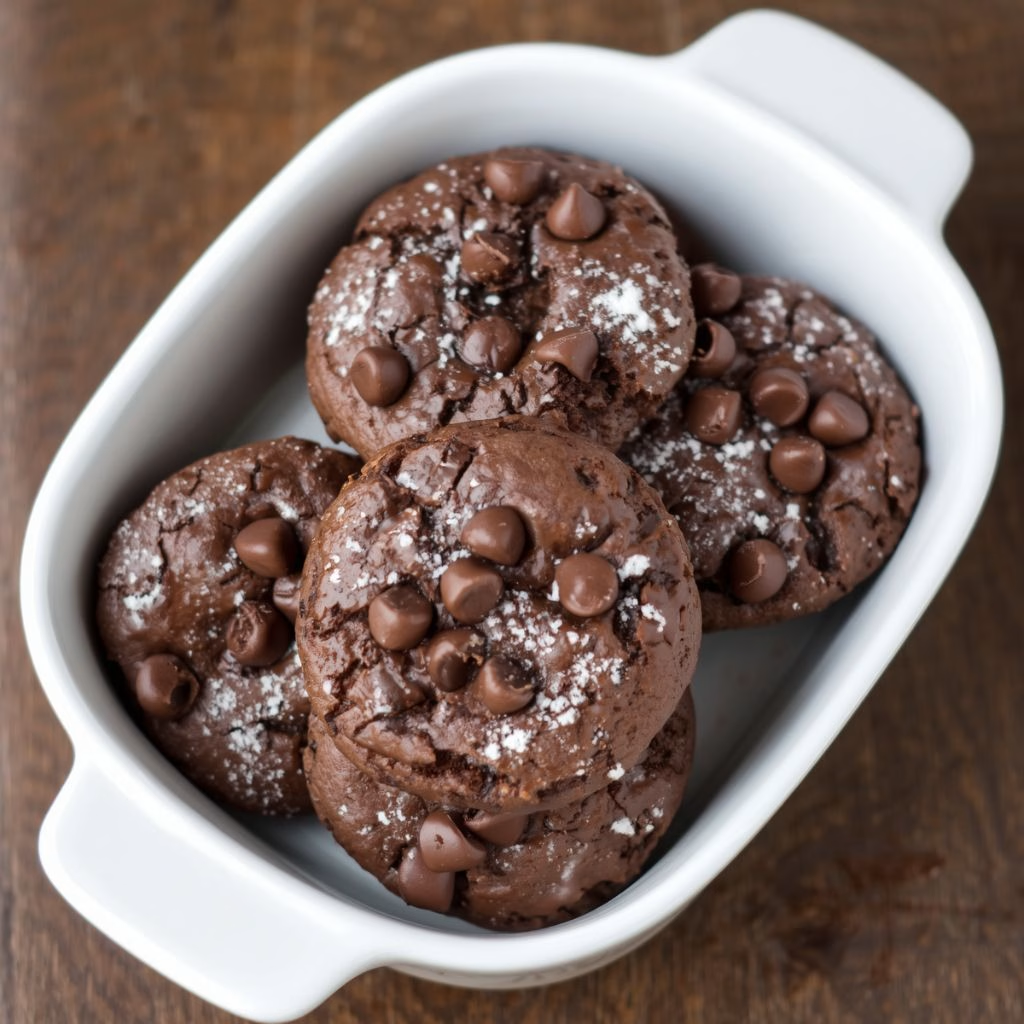
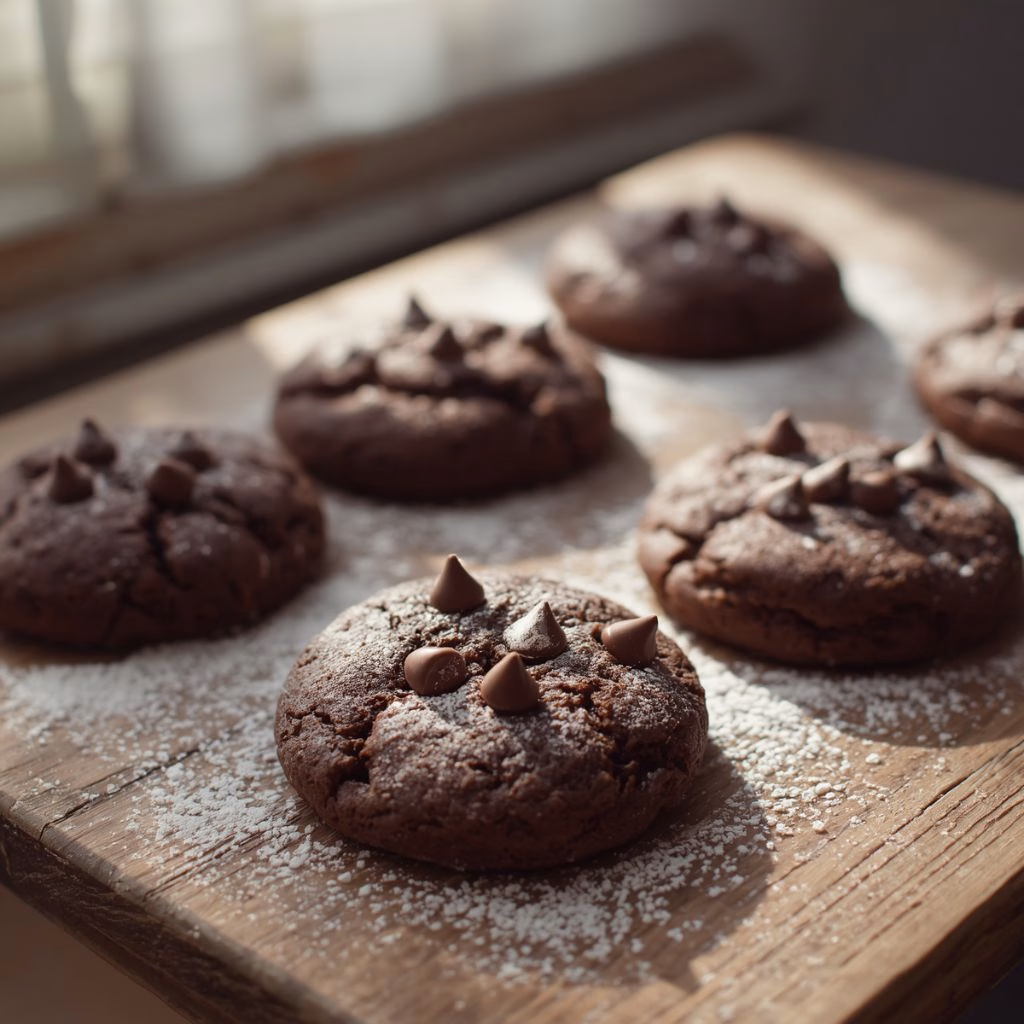
I still remember the first time I pulled a tray of this Chocolate Brownie Cookies Recipe out of the oven and watched the tops crackle as they cooled. I honestly couldn’t believe a cookie could taste this much like a brownie.
Ever since, this has become the recipe my friends beg me to bring to every gathering. It’s rich, it’s gooey in the middle, and it has just the right amount of crisp edge to make each bite interesting. If you love chocolate the way I do, you’re going to want to bookmark this one.

Ingredients
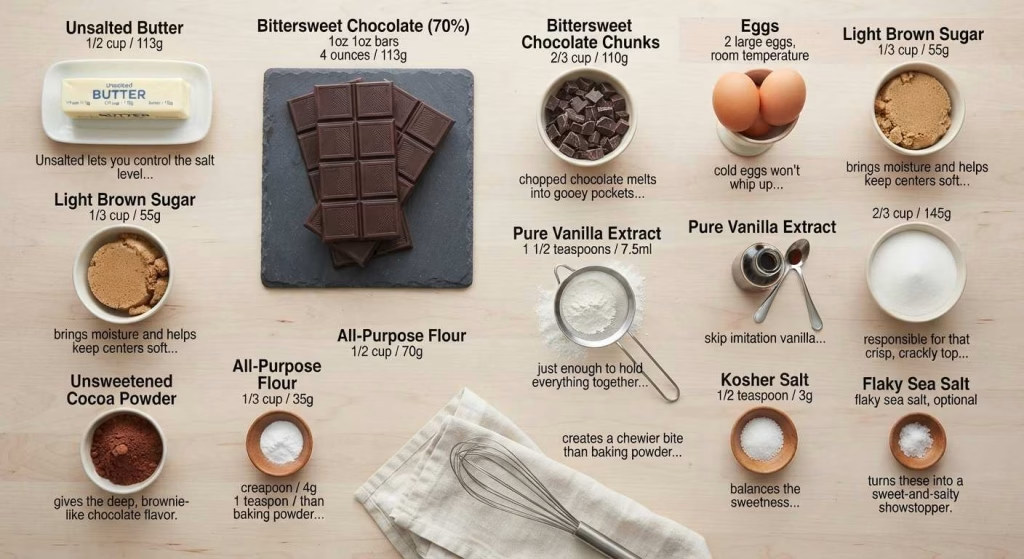
- 1/2 cup (113g) unsalted butter – unsalted lets you control the salt level so the chocolate flavor stays balanced.
- 4 ounces (113g) bittersweet chocolate, 70% cocoa – go for real dark chocolate here, not milk chocolate, so the cookies don’t end up cloying.
- 2/3 cup (110g) bittersweet chocolate, chopped into chunks – chopped chocolate melts into gooey pockets, unlike chips, which tend to keep their shape.
- 2 large eggs, room temperature – cold eggs won’t whip up to the same volume, so let them sit out or warm them in water for a few minutes first.
- 1/3 cup (55g) light brown sugar – brings moisture and helps keep the centers soft and chewy.
- 2/3 cup (145g) granulated white sugar – responsible for that crisp, crackly top everyone loves.
- 1 1/2 teaspoons (7.5ml) pure vanilla extract – skip imitation vanilla; the real thing makes a noticeable difference in flavor.
- 1/2 cup (70g) all-purpose flour – just enough to hold everything together without making the cookie cakey.
- 1/3 cup (35g) unsweetened cocoa powder – this is what gives the deep, brownie-like chocolate flavor.
- 1 teaspoon (4g) baking soda – creates a chewier bite than baking powder would.
- 1/2 teaspoon (3g) kosher salt – balances the sweetness and rounds out the chocolate flavor.
- A small sprinkle of flaky sea salt, like Maldon – optional, but it turns these into a sweet-and-salty showstopper.
Note: These measurements make about 12 large bakery-style cookies, so scale up if you’re feeding a crowd or want extras to freeze.
Variations
- Swap the butter for a plant-based alternative and use dairy-free dark chocolate to make these completely dairy-free.
- Use a granulated sugar substitute formulated for baking if you want a lower-sugar version.
- Stir in 1/3 cup of chopped walnuts or pecans for a little crunch against the fudgy centers.
- Add 1/3 cup of dried cranberries for a tart contrast to the rich chocolate.
- Sprinkle crushed candy canes on top before baking for a festive holiday twist.
- Toss in a handful of espresso powder with the dry ingredients to deepen the chocolate flavor even more. If you enjoy comforting baked side dishes alongside desserts, the Cheesy Tennessee Onions Bake Recipe is another delicious option for family meals.
Cooking Time
- Prep Time: 30 minutes
- Chill Time: 1 hour
- Cook Time: 10-12 minutes
- Total Time: About 1 hour 42 minutes
Equipment You Need
- Medium saucepan – for melting the butter and chocolate together gently on the stovetop.
- Stand mixer or hand mixer with whisk attachment – to whip the eggs and sugar into a thick, pale mixture.
- Fine mesh sieve – for sifting the cocoa powder and flour so the batter stays light.
- Rubber spatula – for folding ingredients together without deflating the batter.
- Medium cookie scoop – to portion even, bakery-style cookie dough balls.
- Baking sheet and parchment paper – for baking the cookies without sticking.
- Wire cooling rack – lets air circulate so the cookies finish setting properly.
How to Make Chocolate Brownie Cookies?
Making these cookies is really about layering flavor and texture in stages, from melting the chocolate to chilling the finished dough. Each step builds on the last, so it helps to have everything measured out before you start. Here’s exactly how I do it in my own kitchen.
Step 1: Melt the Butter and Chocolate
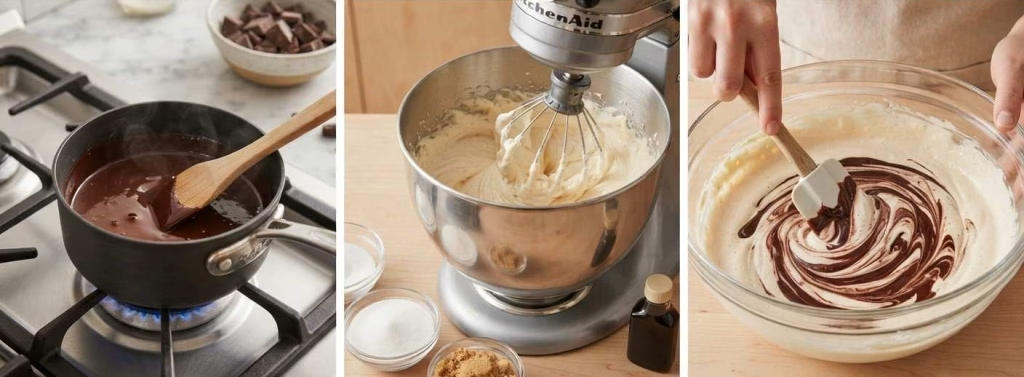
I start by melting the butter alone in a saucepan over low heat before adding the chocolate. This creates a buttery layer that protects the chocolate from scorching against the hot pan. Once it’s smooth, I set it aside to cool while I move on to the next step.
Step 2: Whip the Eggs and Sugar
Next, I add the eggs, both sugars, and vanilla to a stand mixer and whip on high for about 5 minutes. The mixture should turn thick, pale, and almost mousse-like. This trapped air is what gives the cookies their signature crackly tops later on.
Step 3: Fold in the Melted Chocolate
Once the chocolate mixture has cooled, I drizzle a small amount into the egg mixture first to temper it gently. Then I fold in the rest slowly, being careful not to knock out the air. A few streaks are totally fine at this point.
Step 4: Sift and Fold in the Dry Ingredients
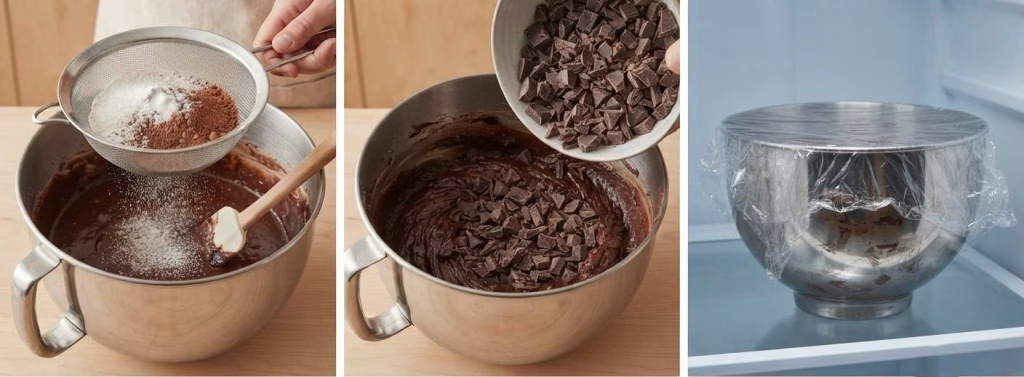
I sift the flour, cocoa powder, baking soda, and salt together before folding them into the wet mixture. Cocoa powder clumps easily, so sifting keeps the batter smooth. Fold gently just until no dry streaks remain.
Step 5: Add the Chocolate Chunks
I chop extra chocolate into rough chunks and fold them into the batter. At this stage, the mixture looks more like brownie batter than cookie dough, and that’s exactly right. Chilling it afterward is what gives it structure.
Step 6: Chill the Dough
Covering the bowl and refrigerating the dough for at least an hour is non-negotiable for me. Skipping this step means the cookies will spread too thin and lose that thick, fudgy shape. Patience really pays off here.
Step 7: Scoop and Bake
I scoop the chilled dough into balls using a medium cookie scoop and space them out on a parchment-lined tray, since they do spread a bit while baking. They go into a 350°F oven for 10 to 12 minutes, just until the tops look set but the centers are still soft.
Step 8: Cool and Finish
Once out of the oven, I let the cookies rest on the tray for about 2 minutes before moving them to a wire rack. That short resting time lets the residual heat firm them up so they don’t fall apart. A light sprinkle of flaky sea salt on top finishes them perfectly.
Additional Tips for Making This Recipe Better
I’ve made this recipe more times than I can count, and these small adjustments have made a real difference for me.
- I always use room-temperature eggs because they whip up fluffier, and that extra air is what gives me those beautiful cracks on top.
- I never skip the chilling step, even when I’m short on time, because warm dough always spreads into thin, greasy cookies for me.
- I bake only six cookies per tray so they have room to spread evenly without merging into one another.
- I pull the cookies out slightly underbaked, since they continue cooking on the hot tray after they come out of the oven.
- I like using two different chocolates, one melted into the batter and one chopped into chunks, because it gives every bite a slightly different chocolate texture.
How to Serve Chocolate Brownie Cookies?
I love serving these cookies while they’re still just a touch warm, when the chocolate chunks are melty and soft. A small scoop of vanilla ice cream sandwiched between two cookies turns this into an incredible dessert for guests.
For presentation, I like stacking a few on a wooden board with a light dusting of cocoa powder and a few extra flakes of sea salt scattered around. They also pair beautifully with a glass of cold milk or a warm cup of coffee for an everyday treat.
For a comforting homemade menu, these cookies also go surprisingly well after a serving of Crispy Potato Pie Recipe.
Nutritional Information
Here’s a general idea of what you can expect per cookie, though exact values will vary depending on the exact brands and portion sizes you use.
- Calories: approximately 180-210 kcal
- Protein: approximately 3g
- Carbohydrates: approximately 22g
- Fat: approximately 10g
Make Ahead and Storage
Room Temperature: I store baked cookies in an airtight container on the counter, and they stay soft and fresh for up to 3 days. Keeping them sealed tightly is key to preventing them from drying out.
Freezing: Baked cookies freeze beautifully for up to a month when wrapped individually in wax paper and placed in a freezer bag. To reheat, I wrap one in a paper towel and microwave it for about 30 seconds, and it tastes freshly baked again.
Unbaked Dough: You can also refrigerate the raw dough for up to 3 days before baking. Personally, I find freezing the baked cookies gives better texture than freezing the dough, since the fudgy centers hold up more reliably that way.
Why You’ll Love This Recipe
This cookie has earned a permanent spot in my regular baking rotation, and here’s why I think you’ll feel the same way.
- These cookies come together with pantry staples you likely already have, so there’s no special shopping trip required.
- The texture is genuinely unbeatable, with a fudgy, chewy center and crisp, delicate edges in every single bite.
- They’re endlessly customizable, whether you want to add nuts, dried fruit, or a festive holiday touch.
- The finishing sprinkle of flaky sea salt takes them from great to unforgettable with almost no extra effort.
- They freeze and reheat wonderfully, so you can always have a warm, fresh-tasting cookie ready in under a minute.

Chocolate Brownie Cookies Recipe
Ingredients
Method
- I start by melting the butter alone in a saucepan over low heat before adding the chocolate. This creates a buttery layer that protects the chocolate from scorching against the hot pan. Once it’s smooth, I set it aside to cool while I move on to the next step.
- Next, I add the eggs, both sugars, and vanilla to a stand mixer and whip on high for about 5 minutes. The mixture should turn thick, pale, and almost mousse-like. This trapped air is what gives the cookies their signature crackly tops later on.
- Once the chocolate mixture has cooled, I drizzle a small amount into the egg mixture first to temper it gently. Then I fold in the rest slowly, being careful not to knock out the air. A few streaks are totally fine at this point.
- I sift the flour, cocoa powder, baking soda, and salt together before folding them into the wet mixture. Cocoa powder clumps easily, so sifting keeps the batter smooth. Fold gently just until no dry streaks remain.
- I chop extra chocolate into rough chunks and fold them into the batter. At this stage, the mixture looks more like brownie batter than cookie dough, and that’s exactly right. Chilling it afterward is what gives it structure.
- Covering the bowl and refrigerating the dough for at least an hour is non-negotiable for me. Skipping this step means the cookies will spread too thin and lose that thick, fudgy shape. Patience really pays off here.
- I scoop the chilled dough into balls using a medium cookie scoop and space them out on a parchment-lined tray, since they do spread a bit while baking. They go into a 350°F oven for 10 to 12 minutes, just until the tops look set but the centers are still soft.
- Once out of the oven, I let the cookies rest on the tray for about 2 minutes before moving them to a wire rack. That short resting time lets the residual heat firm them up so they don’t fall apart. A light sprinkle of flaky sea salt on top finishes them perfectly.
Notes
- I always use room-temperature eggs because they whip up fluffier, and that extra air is what gives me those beautiful cracks on top.
- I never skip the chilling step, even when I’m short on time, because warm dough always spreads into thin, greasy cookies for me.
- I bake only six cookies per tray so they have room to spread evenly without merging into one another.
- I pull the cookies out slightly underbaked, since they continue cooking on the hot tray after they come out of the oven.
- I like using two different chocolates, one melted into the batter and one chopped into chunks, because it gives every bite a slightly different chocolate texture.