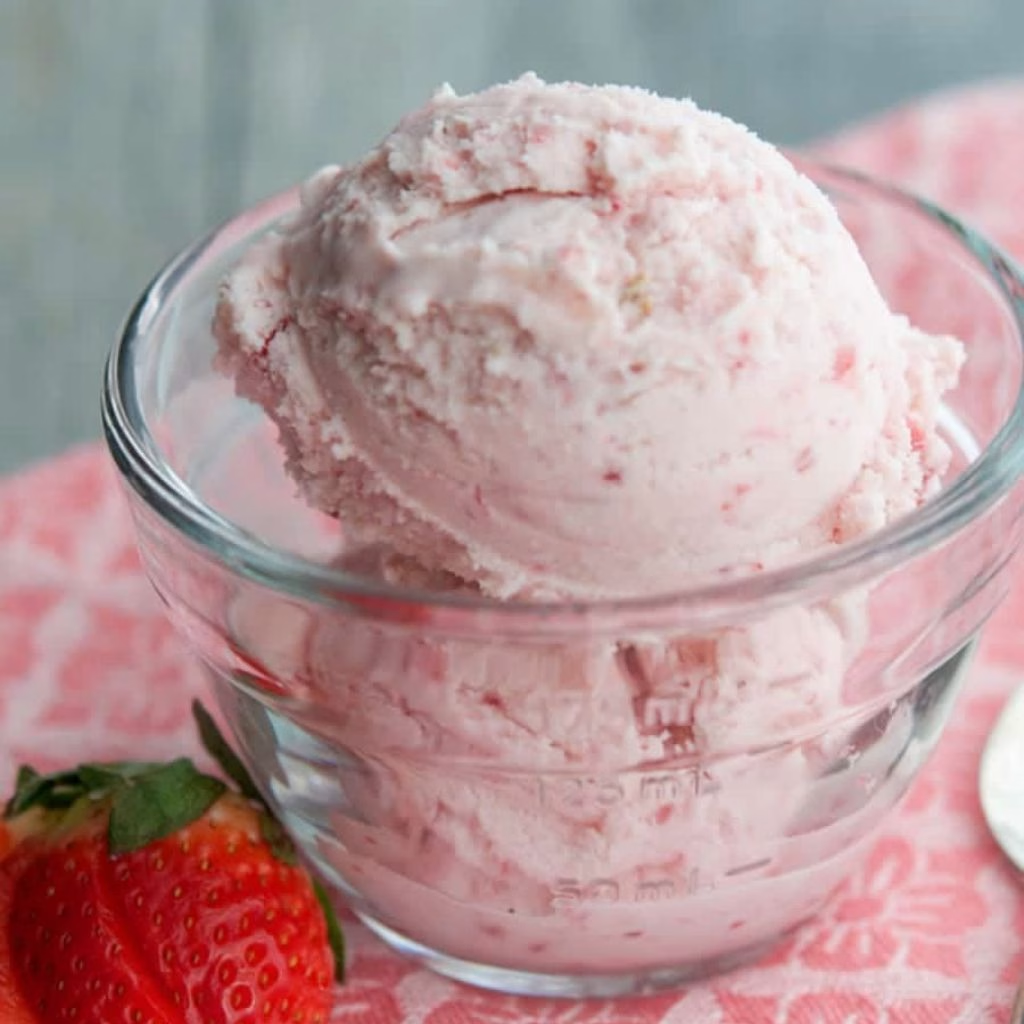
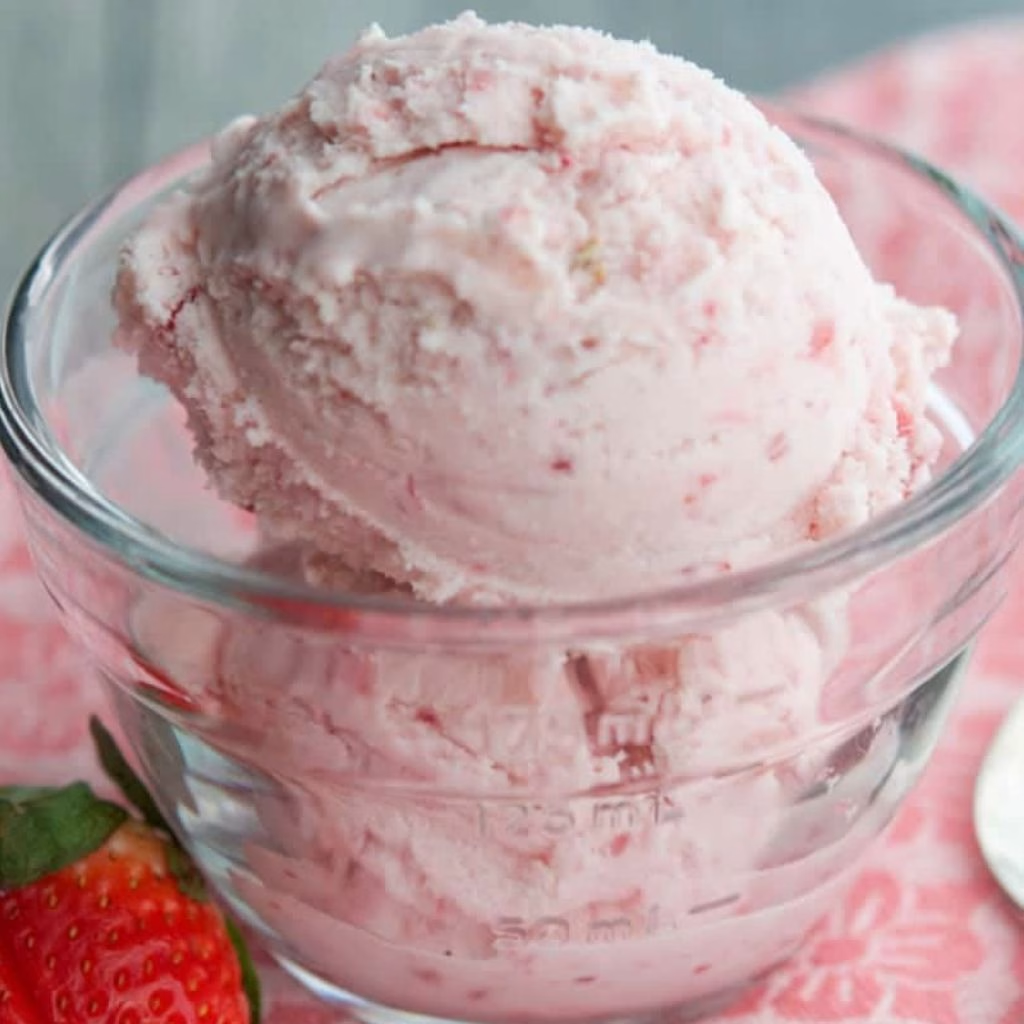
The first time I made this at home, I honestly couldn’t believe how little effort it took. I skipped the stovetop custard fuss entirely and still ended up with a scoop that tasted like it came from a proper creamery.
I used strawberries that were almost too ripe to slice neatly, and that turned out to be exactly what the recipe wanted. By the next morning, when I finally dug into the tub, I knew this one was staying in my regular rotation.
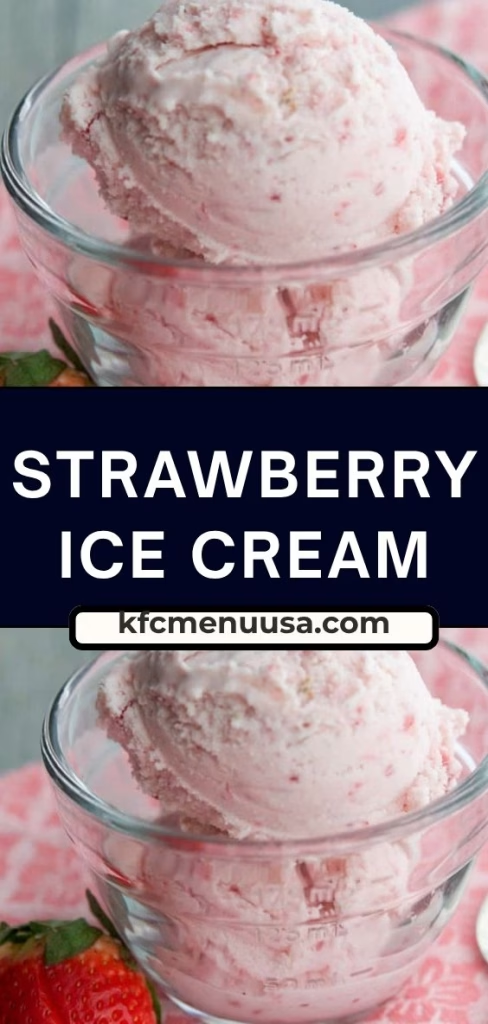
Ingredients You’ll Need
You only need a small handful of everyday ingredients for this one, and every single one earns its place in the bowl.
- Fresh strawberries, 2 cups, roughly chopped: pick the ripest, reddest berries you can find for the deepest flavor; frozen strawberries work too if fresh ones aren’t in season
- Heavy cream, 2 cups, chilled: keeping it cold before mixing helps the base churn faster and smoother
- Whole milk, 1 cup, chilled: half and half is a good swap here if you want an even richer texture
- Granulated sugar, 3/4 cup: use a full cup if you like your ice cream on the sweeter side
- Pure vanilla extract, 2 teaspoons: go for a good quality brand since it’s doing a lot of the background flavor work
- Kosher salt, 1/8 teaspoon: a tiny pinch like this actually makes the sweetness taste brighter, not salty
Note: These quantities make about a quart of ice cream, which comfortably serves 8 people as a single scoop each.
Variations to Try
Once you’ve made the base recipe a time or two, it’s fun to play around with it.
- Swap the dairy for full-fat coconut milk and coconut cream for a dairy-free version
- Use a granulated sugar substitute like a monk fruit or erythritol blend for a lower-sugar batch
- Fold in mini chocolate chips or crushed graham crackers just before the ice cream finishes churning
- Add a swirl of strawberry jam or a splash of balsamic reduction for a grown-up flavor twist
- Mix in chopped fresh basil or mint for an unexpected herbal note
Cooking Time
Here’s exactly how much time to set aside for this recipe.
- Prep Time: 10 minutes
- Chill and Churn Time: about 4 to 5 hours (plus overnight in the freezer for the best texture)
- Total Time: roughly 4 to 5 hours active, or closer to 24 hours if you wait the full overnight freeze
Equipment You Need
- Ice cream maker: churns the base while freezing it evenly so it doesn’t turn into a solid ice block
- Blender: purees the strawberries into a smooth, juicy mixture
- Large mixing bowl: holds the cream mixture while it chills
- Freezer-safe container with a lid: stores the finished ice cream and protects it from freezer odors
- Rubber spatula: scrapes every bit of the mixture out of the bowl and blender
How to Make Strawberry Ice Cream Recipe?
Making this ice cream comes down to three simple stages: preparing the fruit, chilling the base, and churning it. None of it requires any cooking, which is what makes this version so approachable for a weekday treat.
Macerate the Strawberries
Toss your chopped strawberries with half of the sugar in a bowl and let them sit for about 15 minutes. This step draws out the natural juices and concentrates the berry flavor before anything gets blended.
Blend for Your Preferred Texture
Pour the juicy strawberries into a blender and puree until smooth. If you like a bit of fruit texture in the final scoop, hold back about a third of the chopped berries and blend only the rest.
Combine the Base
In a large bowl, stir together the pureed strawberries, heavy cream, whole milk, the remaining sugar, vanilla extract, and salt. Mix well so nothing separates and every scoop tastes consistent later.
Chill the Mixture
Cover the bowl and refrigerate it for at least an hour. This chilling step matters because a cold base churns faster and produces a creamier finished texture in the machine.
Churn in the Ice Cream Maker
Give the chilled mixture one more good stir to make sure the sugar has fully dissolved. Pour it into your ice cream maker and run it according to your machine’s instructions until it thickens. If you’re planning a complete comfort-food meal, Buttermilk Fried Chicken Cutlets with Creamy Pan Gravy and Slaw pairs surprisingly well as a savory main before this refreshing dessert.
Freeze Until Firm
Transfer the churned ice cream into a freezer-safe container and freeze for at least 4 hours, or until it’s firm enough to scoop. Waiting overnight gives you the best flavor and the smoothest texture.
Additional Tips for Making This Recipe Better
After making this a handful of times, I’ve picked up a few small habits that make a real difference.
- I always chill my mixing bowl and blender jar in the fridge beforehand, since a cold base seems to churn faster for me
- I never skip the maceration step, because that’s where most of the strawberry flavor actually develops
- I taste the base before it goes into the machine and adjust the sugar slightly depending on how sweet my berries already are
- I press plastic wrap directly onto the surface before sealing the lid, which keeps my ice cream from turning icy
- I try to be patient and wait the full overnight freeze, since the texture the next day is noticeably better than eating it straight from the machine
How to Serve Strawberry Ice Cream Recipe?
This ice cream is simple enough to enjoy on its own, but a little presentation goes a long way.
Scoop it into chilled bowls or crisp waffle cones so it doesn’t melt too quickly the moment it hits the dish. A few fresh strawberry slices fanned on top add color and hint at the flavor inside.
For something a bit more special, drizzle on a little warmed strawberry jam or a thin stream of chocolate sauce, and if you’re serving it alongside a light meal, Lemony Lentil Soup with Cumin makes a refreshing combination before dessert. Finish with a sprig of mint for a pop of green against all that pink.
Nutritional Information
Here’s a general breakdown of what you can expect per serving of this recipe.
- Calories: about 298 per serving
- Protein: about 3 grams per serving
- Carbohydrates: about 25 grams per serving
- Fat: about 23 grams per serving
Make Ahead and Storage
Make Ahead: You can prepare the strawberry base a day in advance and keep it covered in the fridge until you’re ready to churn. This actually works in your favor, since the base needs to chill anyway before it goes into the machine.
Freezing: Once churned, transfer the ice cream to a freezer-safe container, press plastic wrap directly against the surface, and seal with the lid. Store it toward the back of the freezer rather than the door, since that spot stays at a steadier temperature and helps prevent ice crystals.
Storage Life: This ice cream is best enjoyed within about two weeks. After that point, the texture starts to lose its smoothness even if it’s still safe to eat.
Why You’ll Love This Recipe
This one has earned a permanent spot in my freezer rotation for a few clear reasons.
- It comes together with no eggs and no cooking, so there’s no custard to babysit on the stove
- It uses simple pantry and fridge staples, so you’re not hunting down anything unusual
- It’s easy to adapt, whether you want it dairy-free, lower in sugar, or loaded with mix-ins
- It has genuine fresh strawberry flavor in every bite instead of tasting artificial
- It’s simple enough for a beginner to make on a first try, yet tastes like something from a specialty shop