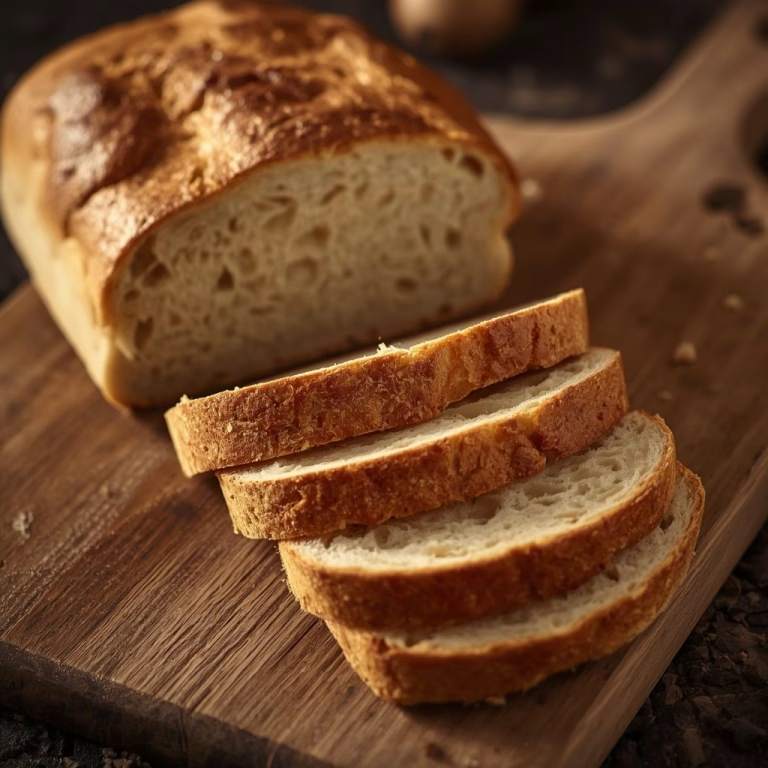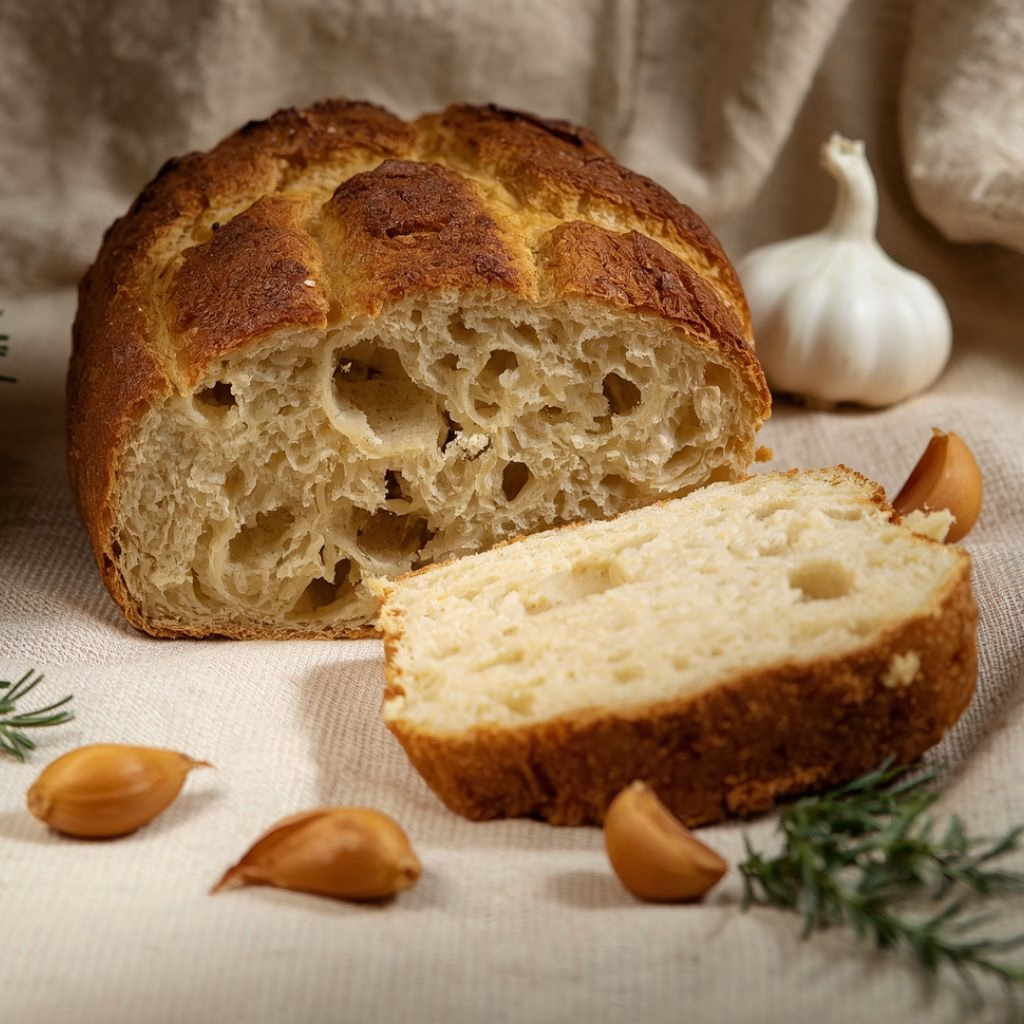
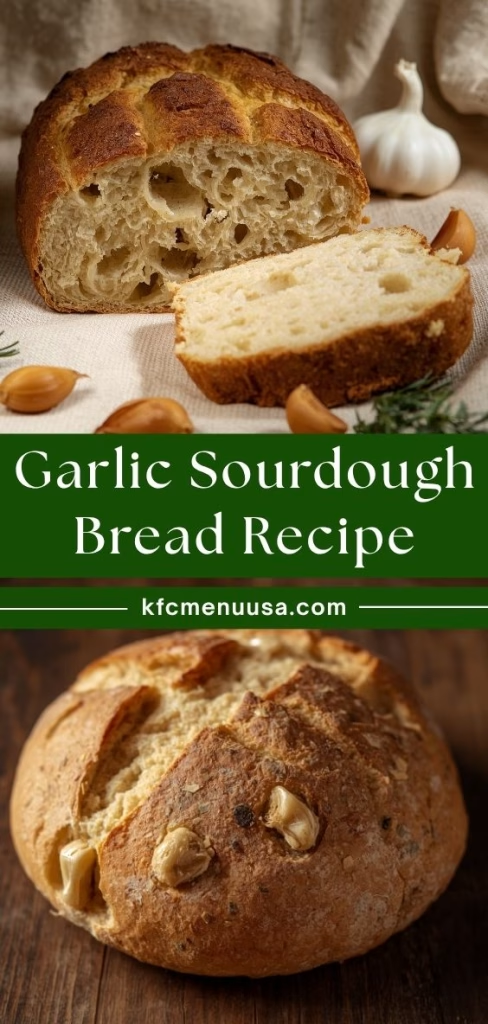
I still remember pulling my first Garlic Sourdough Bread Recipe out of the oven and having my whole kitchen smell like a bakery. I had roasted the garlic ahead of time, and the second it hit the warm dough, I knew this was going to be something special. This bread has since become one of my most requested bakes.
It is tangy, savory, and just a little sweet from the roasted garlic. I love that it works with soup, sandwiches, or just a swipe of butter. If you enjoy comforting homemade dishes, Southern Red Beans and Rice Recipe also makes a hearty pairing for a rustic loaf like this.
Ingredients
- 250 grams all purpose flour, unbleached or organic gives the cleanest flavor
- 100 grams whole wheat flour, adds a nutty depth and a boost of nutrition
- 125 grams bread flour, the higher protein content helps build good structure
- 100 grams active sourdough starter, it should be bubbly, doubled, and pass the float test
- 325 grams filtered water, room temperature so it does not shock the starter
- 10 grams salt, sea salt brings out the best flavor without overpowering the garlic
- 2 whole heads of garlic, roasted and cooled before using
- 1 tablespoon fresh rosemary, finely chopped, dried rosemary works in a pinch but fresh has more fragrance
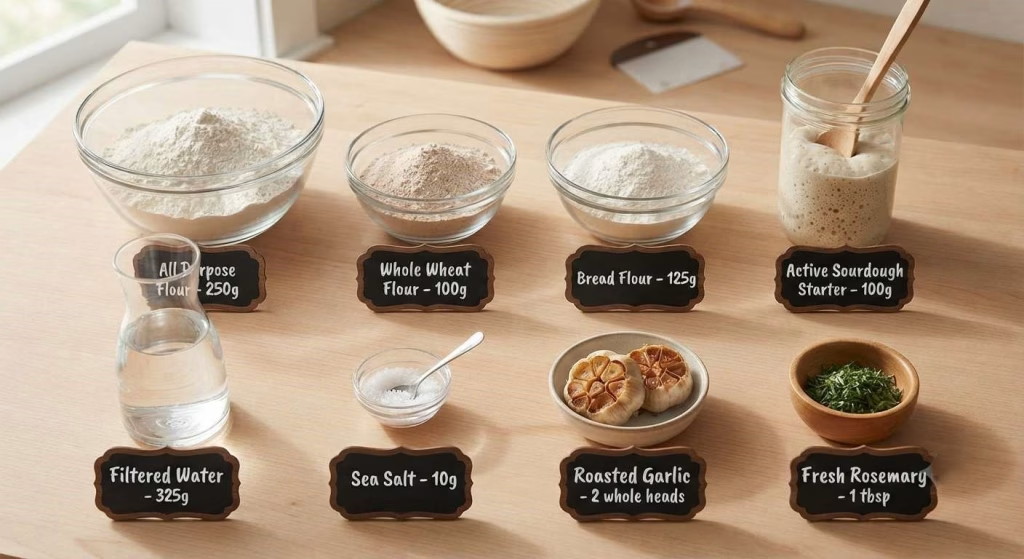
Note: These quantities make one loaf that serves about 10 people, so double everything if you want two loaves or a larger gathering.
Variations
- Swap rosemary for fresh thyme, basil, or parsley if you want a different herb profile
- Use garlic powder toasted in olive oil if you do not have fresh garlic on hand
- Add a handful of dairy-free vegan cheese shreds for a cheesy garlic loaf
- Fold in red pepper flakes for a spicy kick alongside the roasted garlic
- Try roasted shallots in place of half the garlic for a milder, sweeter flavor
- Mix in chopped sun-dried tomatoes for a Mediterranean twist
Cooking Time
- Prep Time: 1 hour
- Cooking Time: 40 minutes
- Total Time: about 21 hours 40 minutes, including fermentation and chilling
Equipment You Need
- Kitchen scale, for accurate, consistent measurements
- Large mixing bowl, for combining and resting the dough
- Banneton or a bowl lined with a tea towel, to hold the shape during the final rise
- Razor blade or bread lame, for scoring the top before baking
- Dutch oven, to trap steam and create a crisp, golden crust
- Baking sheet and parchment paper, for roasting the garlic and transferring the dough
How to Make Garlic Sourdough Bread?
This recipe comes together in stages, starting with roasting the garlic and finishing with a long, slow fermentation. Each step is simple on its own, even though the whole process takes time. Here is exactly how I put it all together.
Roast the Garlic
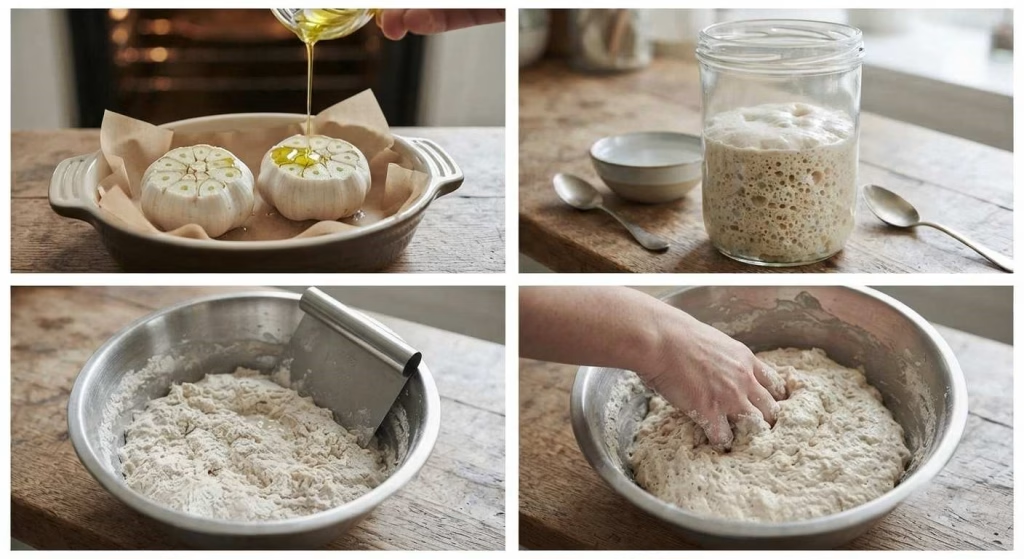
I start by preheating my oven to 375°F and lining a tray with parchment paper. I slice the tops off two heads of garlic so the cloves are exposed, then drizzle them generously with olive oil. They go into the oven for about an hour, until soft and golden. Once cooled, I squeeze the cloves right out of their papery skins.
Feed Your Starter
Before I do anything else with the dough, I make sure my sourdough starter has been fed four to twelve hours earlier. It should look bubbly, active, and roughly doubled. A sluggish starter will slow down the entire fermentation, so this step really matters.
Autolyse the Dough
I mix my water and flour together first and let the mixture rest for 30 minutes. This is called autolyse, and it simply lets the flour fully absorb the water. It makes the dough easier to work with once the starter and salt are added.
Mix in Starter and Salt
Next, I add the active starter to the rested dough and sprinkle the salt on top. I mix everything by hand for about five minutes until it feels combined. Then I cover the bowl with a damp towel and let it rest for 30 minutes before the stretch and fold stage begins.
Stretch and Fold
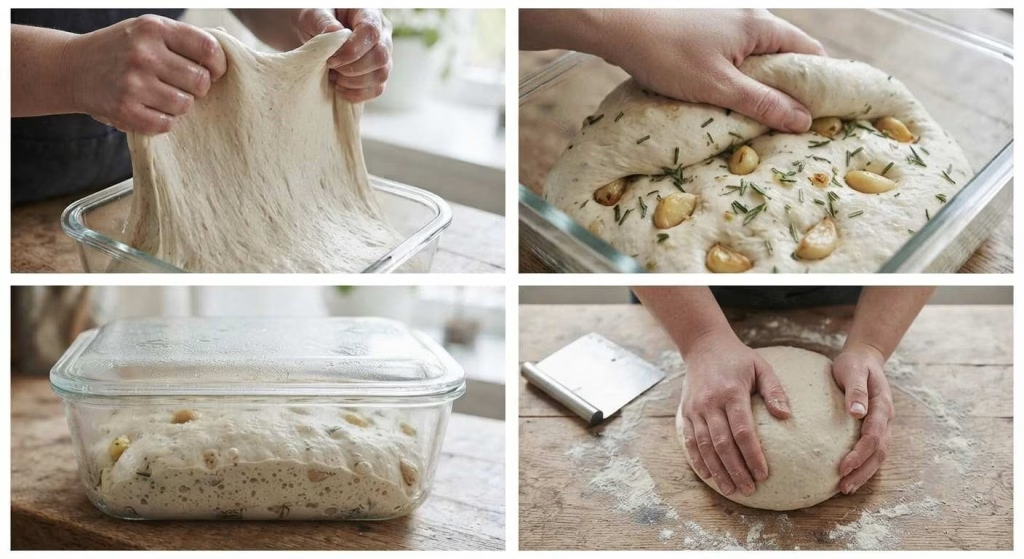
Over the next couple of hours, I do a series of six stretch and folds to build strength in the dough. I pull one edge up and over the center, turn the bowl, and repeat a few times each round. The first three rounds happen every 15 minutes, and the last three happen every 30 minutes.
Add the Garlic and Rosemary
During the second to last stretch and fold, I gently work in the cooled roasted garlic and chopped rosemary. The remaining folds distribute the flavor evenly through the dough without breaking it down too much.
Bulk Ferment
Once the folds are done, I cover the dough and let it rise until doubled. This can take anywhere from six to twelve hours depending on the room temperature and how mature my starter is. A warmer spot speeds things up, while a cooler pantry slows the process down.
Shape the Dough
When the dough has doubled, I turn it onto a lightly floured counter and shape it into a ball. I let it rest uncovered for 15 to 20 minutes so a thin skin forms on the surface, which keeps it from sticking later.
Final Shape and Chill
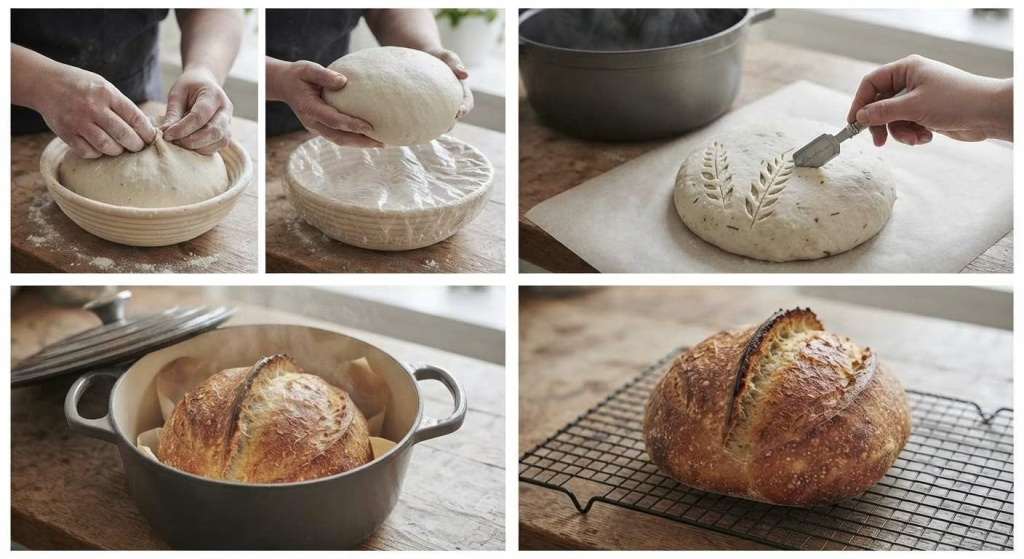
I shape the dough into a tight boule and place it seam side up into a floured banneton. Then I cover it and refrigerate for 12 to 15 hours. This long, cold rest is what gives the crust that beautiful scoring pattern later.
Score and Bake
I preheat my Dutch oven at 500°F for a full hour before baking. The cold dough goes in on parchment paper, gets a quick dusting of flour, and I score the top with a lame. I bake covered for 20 minutes, then uncovered at 475°F for another 25 minutes until deeply golden.
Cool Completely
As tempting as it is, I always let the loaf cool completely on a wire rack before slicing. Cutting too early lets steam escape and can leave the crumb gummy instead of light and airy.
Additional Tips for Making This Recipe Better
- I always use roasted garlic instead of raw, since raw garlic can actually slow down the rise
- I place my dough in a warm spot, like on top of the fridge, when I want a faster fermentation
- I never skip the fridge rest, since chilled dough scores so much more cleanly
- I keep a kitchen scale nearby, because gram measurements give me the most consistent loaf every time
- I dip my hands in water during stretch and folds if the dough feels too sticky to handle
How to Serve Garlic Sourdough Bread?
I love slicing this bread thick and serving it warm alongside a bowl of soup or stew. It also makes a fantastic sandwich base, especially with roasted vegetables or deli meats.
For a simple appetizer, I lay out slices with a small dish of good olive oil and a sprinkle of flaky salt for dipping. A pat of garlic herb butter melting into a warm slice is one of my favorite ways to enjoy it fresh from the oven. It also pairs wonderfully with comforting pasta dishes like Orecchiette with Sausage and Broccoli Recipe.
Nutritional Information
Here is roughly what you can expect per serving of this loaf, based on ten slices total.
- Calories: 188
- Protein: 6 grams
- Carbohydrates: 39 grams
- Fat: 1 gram
Make Ahead and Storage
Once the loaf has cooled completely, I wrap it tightly or store it in an airtight container on the counter. It stays fresh for about three to four days this way.
If I want to save it longer, I slice the whole loaf and freeze the pieces in a freezer bag. It holds up well in the freezer for up to two months without losing flavor.
To bring it back to life, I either let a whole frozen loaf thaw at room temperature or pop frozen slices straight into the toaster for a quick, crisp reheat.
Why You’ll Love This Recipe
This garlic sourdough loaf has earned a permanent spot in my baking rotation, and here is why I think you will feel the same way.
- Incredible flavor: Roasted garlic brings a sweet, mellow depth that pairs beautifully with classic sourdough tang.
- Versatile: I use it for soup dipping, sandwiches, or just toasted with butter, and it works every time.
- Simple ingredients: Just a few flours, starter, water, salt, and fresh herbs go into this humble but delicious loaf.
- Naturally fermented: The long rise means better digestibility and more of that classic sourdough character.
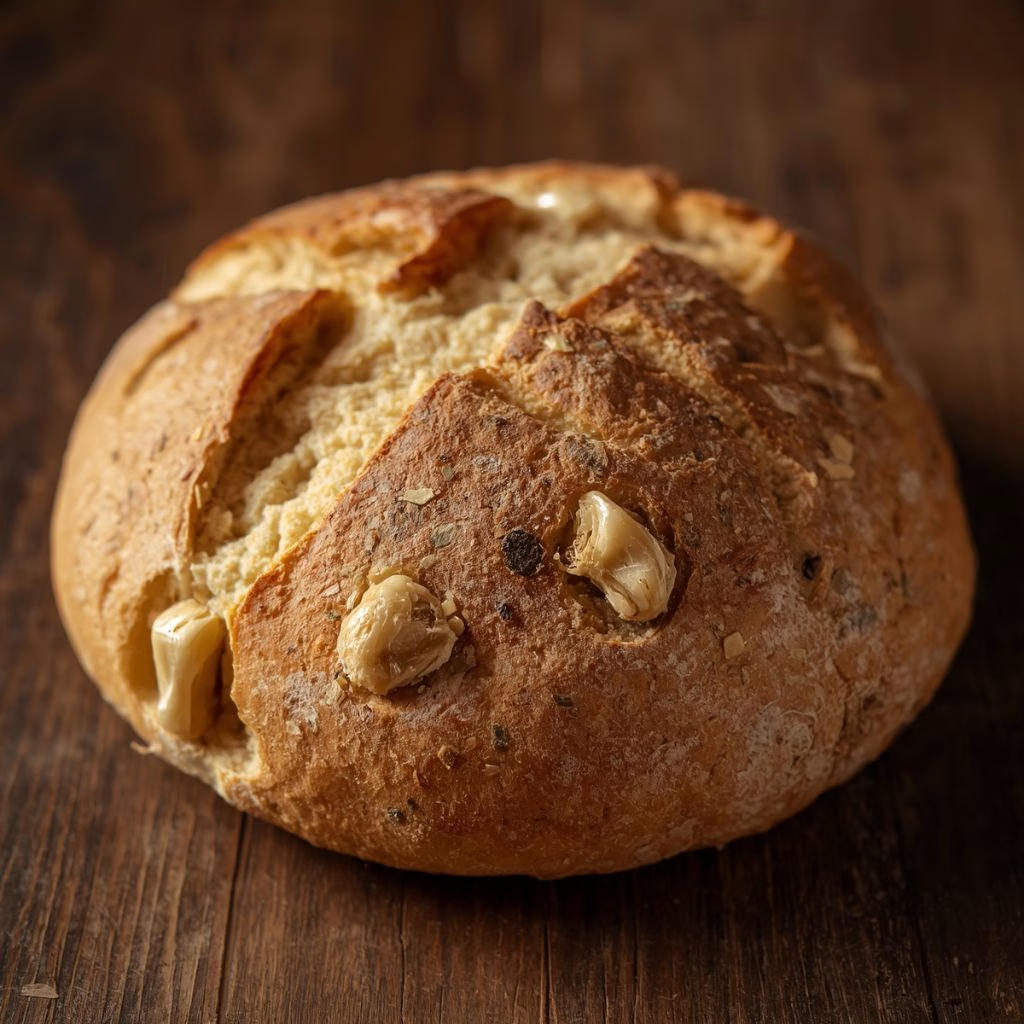
- Beautiful presentation: The herb flecks and golden crust make this loaf as pretty as it is tasty.

Garlic Sourdough Bread Recipe
Ingredients
Method
- I start by preheating my oven to 375°F and lining a tray with parchment paper. I slice the tops off two heads of garlic so the cloves are exposed, then drizzle them generously with olive oil. They go into the oven for about an hour, until soft and golden. Once cooled, I squeeze the cloves right out of their papery skins.
- Before I do anything else with the dough, I make sure my sourdough starter has been fed four to twelve hours earlier. It should look bubbly, active, and roughly doubled. A sluggish starter will slow down the entire fermentation, so this step really matters.
- I mix my water and flour together first and let the mixture rest for 30 minutes. This is called autolyse, and it simply lets the flour fully absorb the water. It makes the dough easier to work with once the starter and salt are added.
- Next, I add the active starter to the rested dough and sprinkle the salt on top. I mix everything by hand for about five minutes until it feels combined. Then I cover the bowl with a damp towel and let it rest for 30 minutes before the stretch and fold stage begins.
- Over the next couple of hours, I do a series of six stretch and folds to build strength in the dough. I pull one edge up and over the center, turn the bowl, and repeat a few times each round. The first three rounds happen every 15 minutes, and the last three happen every 30 minutes.
- During the second to last stretch and fold, I gently work in the cooled roasted garlic and chopped rosemary. The remaining folds distribute the flavor evenly through the dough without breaking it down too much.
- Once the folds are done, I cover the dough and let it rise until doubled. This can take anywhere from six to twelve hours depending on the room temperature and how mature my starter is. A warmer spot speeds things up, while a cooler pantry slows the process down.
- When the dough has doubled, I turn it onto a lightly floured counter and shape it into a ball. I let it rest uncovered for 15 to 20 minutes so a thin skin forms on the surface, which keeps it from sticking later.
- I shape the dough into a tight boule and place it seam side up into a floured banneton. Then I cover it and refrigerate for 12 to 15 hours. This long, cold rest is what gives the crust that beautiful scoring pattern later.
- I preheat my Dutch oven at 500°F for a full hour before baking. The cold dough goes in on parchment paper, gets a quick dusting of flour, and I score the top with a lame. I bake covered for 20 minutes, then uncovered at 475°F for another 25 minutes until deeply golden.
- As tempting as it is, I always let the loaf cool completely on a wire rack before slicing. Cutting too early lets steam escape and can leave the crumb gummy instead of light and airy.
Notes
- I always use roasted garlic instead of raw, since raw garlic can actually slow down the rise
- I place my dough in a warm spot, like on top of the fridge, when I want a faster fermentation
- I never skip the fridge rest, since chilled dough scores so much more cleanly
- I keep a kitchen scale nearby, because gram measurements give me the most consistent loaf every time
- I dip my hands in water during stretch and folds if the dough feels too sticky to handle