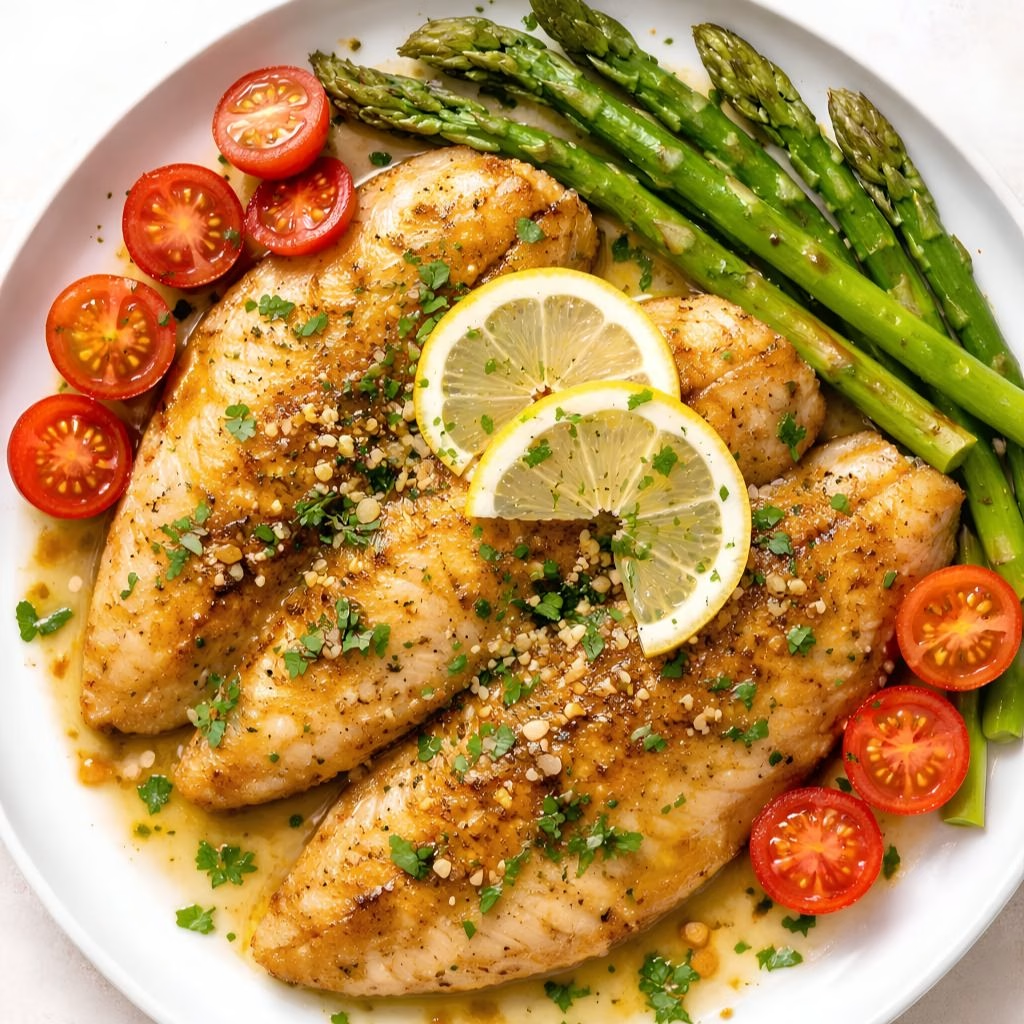
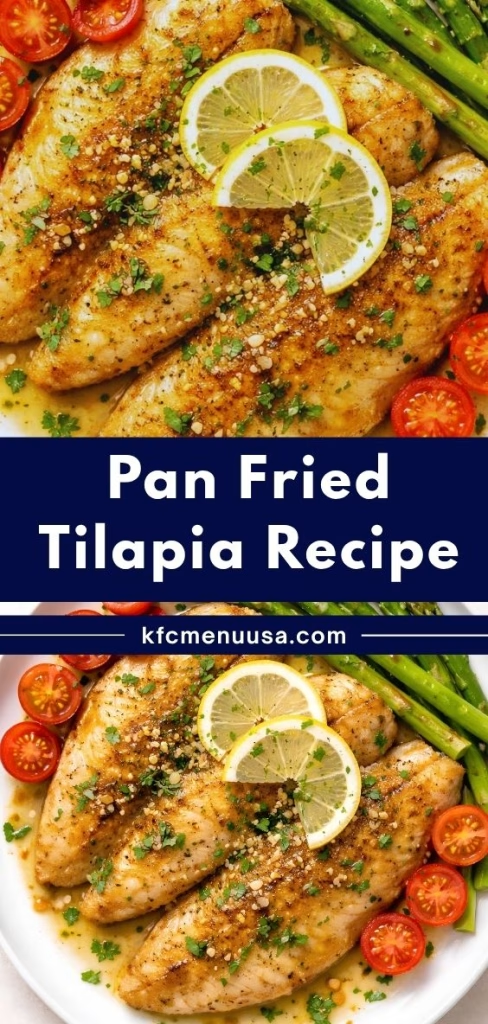
I still remember the first time I made this Pan Fried Tilapia Recipe for a weeknight dinner when I had almost nothing left in my fridge. I grabbed a few fillets, some flour, and pantry spices, and within fifteen minutes I had a golden, flaky dinner on the table.
My family loved it so much that I’ve made it at least once a week ever since. It’s one of those recipes that feels fancy but takes almost no effort, and I love that it works for busy weeknights or a relaxed weekend meal.
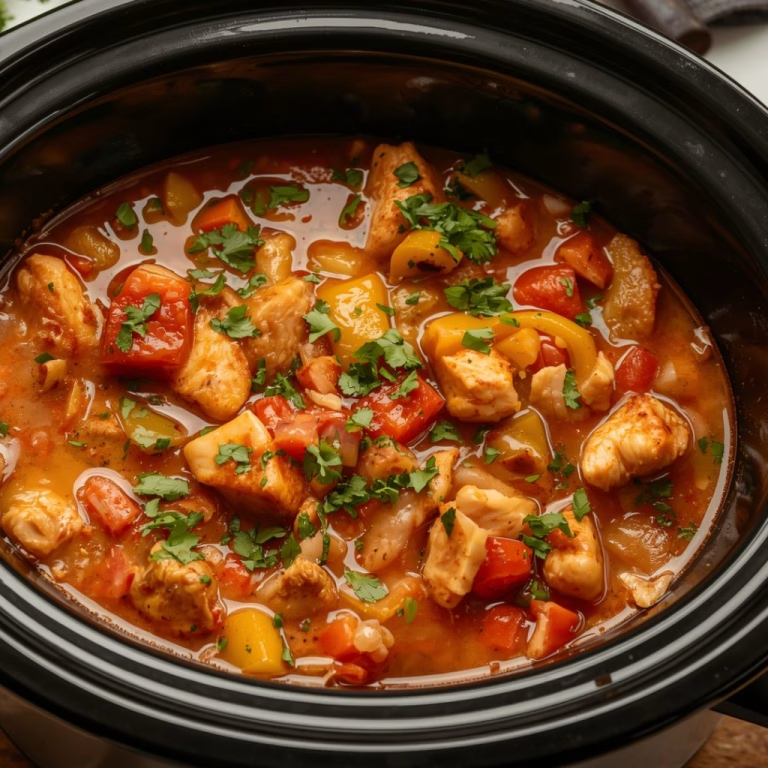
If you’re looking for an easy, foolproof way to cook tilapia, this is the recipe I keep coming back to. On cooler evenings, I also enjoy making Creamy Southwest Chicken Soup with Cream Cheese Recipe for another comforting homemade meal.
Cooking Time
- Prep Time: 10 minutes
- Cooking Time: 8 minutes
- Total Time: 18 minutes
Ingredients
- 4 tilapia fillets (4 oz each) – the star of the dish, mild and flaky, so it soaks up whatever seasoning you use
- Salt and pepper, to taste – the base seasoning that brings out the natural flavor of the fish
- 1 tsp paprika – adds a warm color and a subtle smoky depth
- 1 tsp garlic powder – gives a savory punch without overpowering the delicate fish
- ½ cup all-purpose flour – creates that light, crispy crust when fried
- 1 tbsp olive oil – helps the fish crisp evenly and adds a light fruity flavor
- 2 tbsp butter – adds richness and helps the crust turn a beautiful golden brown
- 1 lemon, for juice – brightens the whole dish with a fresh citrusy finish
- Fresh parsley, chopped, for garnish – adds color and a light herby freshness
Note: This recipe serves 4 people.
Equipment You Need
- Large skillet – for pan frying the fillets evenly
- Shallow plate or dish – for dredging the fish in flour
- Fish spatula or thin turner – for flipping delicate fillets without breaking them
- Paper towels – for patting the fish dry before cooking
- Tongs – for handling hot fillets safely
- Meat thermometer (optional) – for checking the fish is cooked through
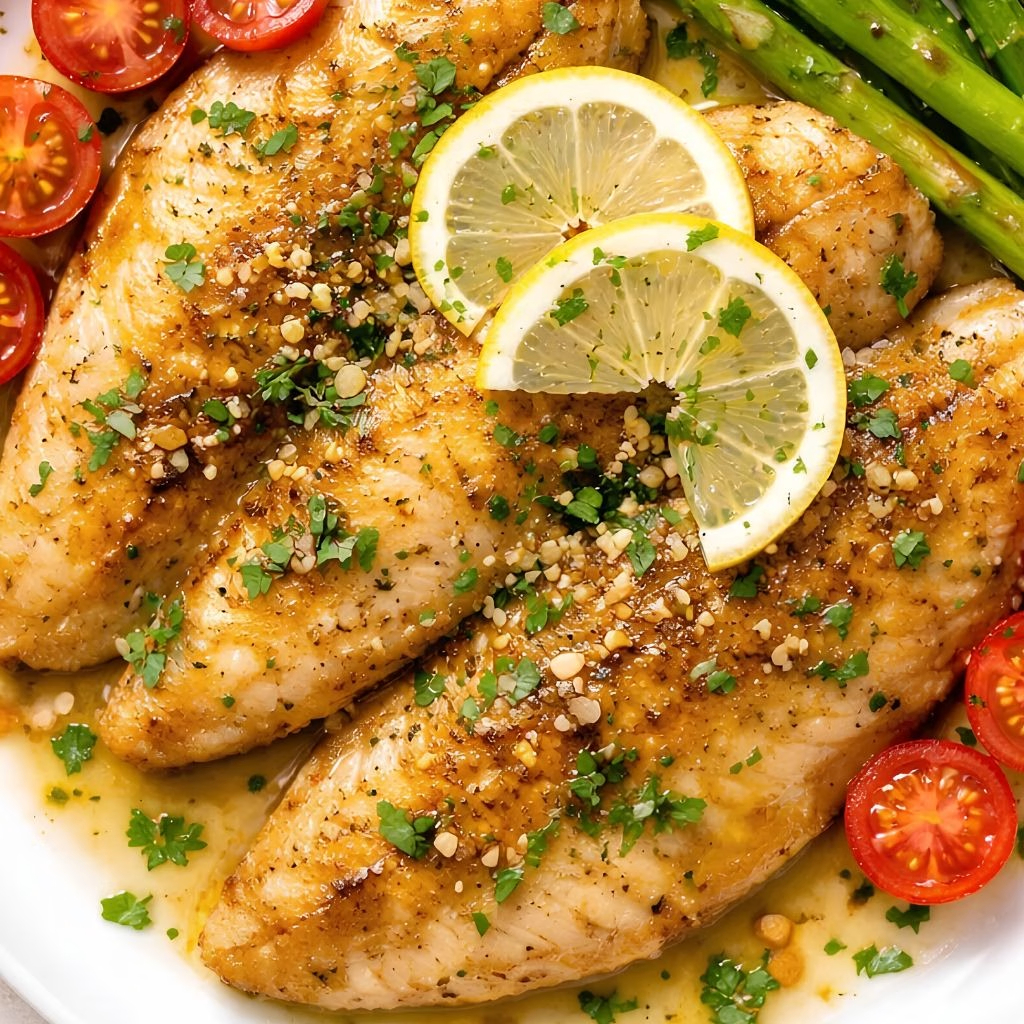
How to Make a Pan Fried Tilapia Recipe?
Making this dish is honestly one of the easiest things you can do on a weeknight. You just season, coat, and fry the fish until it turns golden and crisp. Here’s exactly how I do it every single time.
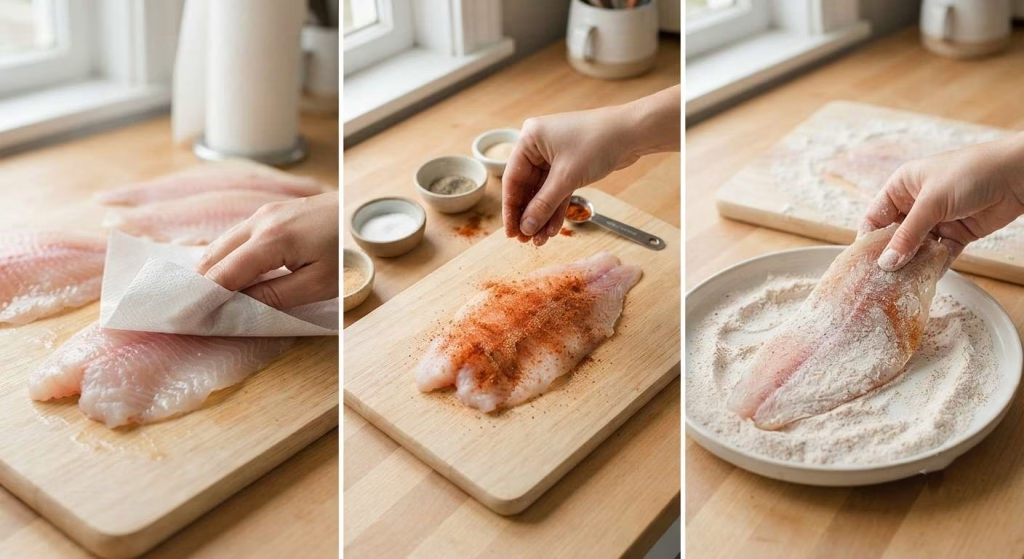
Step 1: Pat the Fillets Dry
Before anything else, I pat each tilapia fillet dry with a paper towel. Removing extra moisture helps the seasoning stick and lets the flour form a crisp crust instead of turning gummy. This small step makes a noticeable difference in texture once the fish hits the pan.
Step 2: Season the Fish
I sprinkle salt, pepper, paprika, and garlic powder evenly over both sides of each fillet. I like to use my hands to gently press the seasoning in so it doesn’t fall off. This step builds the base flavor that carries through the whole dish.
Step 3: Dredge in Flour
Next, I spread the flour on a shallow plate and coat each fillet lightly on both sides. I shake off any excess flour because too much can make the crust heavy or clumpy instead of light and crisp.
Step 4: Heat the Pan
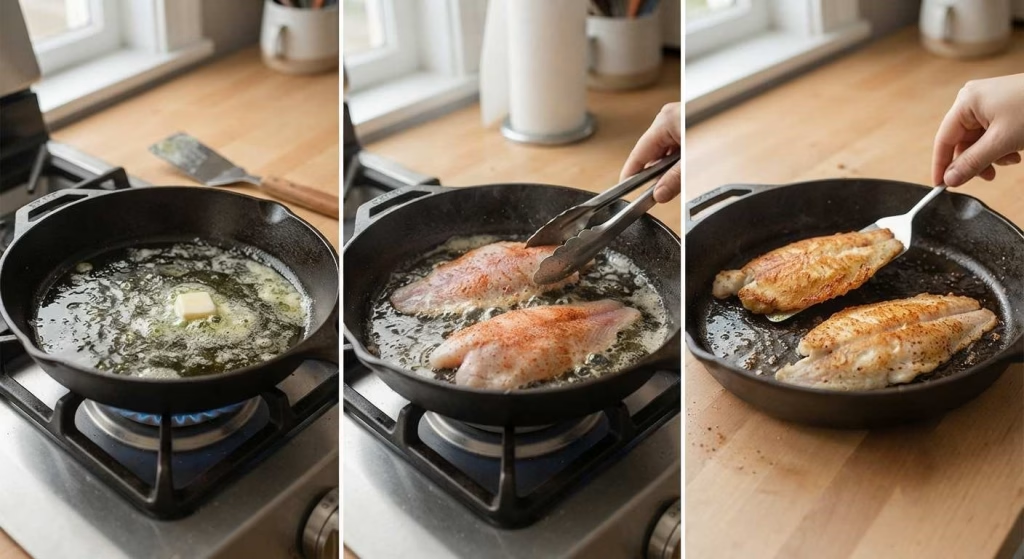
I heat olive oil and butter together in a skillet over medium-high heat until the butter is fully melted and slightly bubbling. Giving the pan enough time to heat properly is key, since a cold pan leads to soggy, oily fish instead of a crisp crust.
Step 5: Fry the Fillets
I carefully place one or two fillets into the hot pan at a time, depending on the size of my skillet. Cooking in batches keeps the pan from overcrowding, which helps the fish crisp up instead of steaming.
Step 6: Flip and Finish Cooking
I let each fillet cook for about 2 to 3 minutes per side until it turns golden brown and flakes easily with a fork. I flip gently using a thin spatula since tilapia is delicate and can break apart if handled roughly.
Step 7: Garnish and Serve
Once cooked, I squeeze fresh lemon juice over the fillets and sprinkle chopped parsley on top. This final touch adds brightness and a fresh, restaurant-style finish to the dish.
Additional Tips for Making This Recipe Better
I’ve made this recipe more times than I can count, and here are a few things I’ve learned along the way that really make a difference.
- I always pat my fillets completely dry before seasoning, since wet fish never gets that crisp golden crust I’m after.
- I never skip preheating my pan properly, because a cold pan is the number one reason my fish used to turn soggy instead of crispy.
- I like using a stainless steel or nonstick skillet instead of cast iron, since tilapia is delicate and sticks less on a smoother surface.
- I add a pinch of cayenne pepper to my seasoning mix when I want a little heat without changing the overall flavor too much.
- I let my fillets rest for a minute or two after cooking, which helps them stay moist instead of drying out.
Common Mistakes to Avoid
- I used to skip drying the fish, and it always resulted in a soft, floury coating instead of a crisp one.
- I once overcrowded my pan with too many fillets, and they steamed instead of frying properly.
- I learned the hard way that flipping too early tears the fish apart, so now I wait until it releases easily from the pan.
- I used to cook tilapia too long since I was worried about it being raw, but overcooking just makes it tough and dry.
- I forgot to reheat my pan between batches once, and the second batch turned out greasy instead of crispy.
How to Serve Pan Fried Tilapia?
I love serving this tilapia fresh off the skillet while it’s still hot and crisp. A simple squeeze of lemon and a sprinkle of parsley makes it look restaurant-worthy in seconds. For a complete meal, I usually pair it with a light salad, roasted vegetables, or fluffy rice.
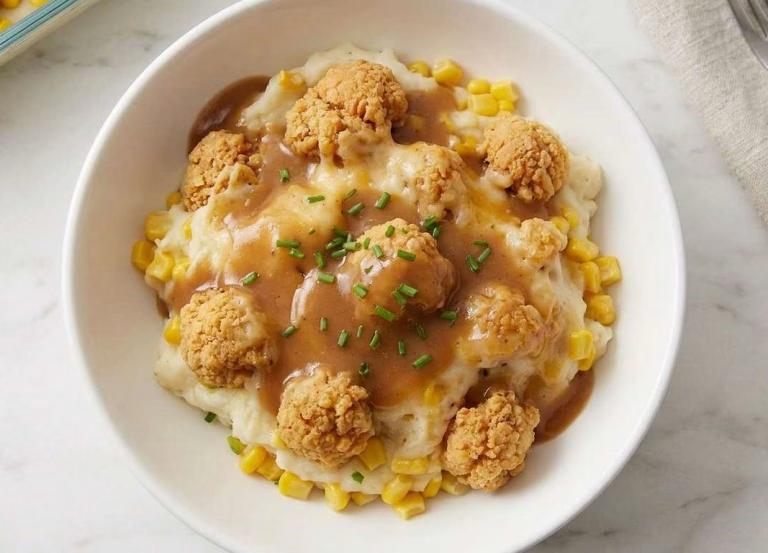
If I’m hosting, I like plating it on a white dish with lemon wedges on the side and a small drizzle of olive oil for extra shine. It also pairs beautifully with a tangy salsa or a creamy garlic sauce for added flavor. When I’m planning a heartier meal, I sometimes serve it alongside Cheesy Beefy Burrito Delight Recipe for family gatherings.
Variations
- Swap all-purpose flour for gluten-free flour if you need this dish to be gluten-free.
- Use panko breadcrumbs instead of flour for an extra crispy, crunchy pan fried tilapia panko style crust.
- Add Cajun seasoning instead of paprika and garlic powder for a spicier, bolder flavor profile.
- Try an Indian-style version with turmeric, cumin, and chili powder for a pan fried tilapia recipes Indian twist.
- Use ghee instead of butter for a slightly nutty flavor and richer aroma.
- Make it dairy-free by using only olive oil instead of butter for frying.
Nutritional Information
Here’s a quick look at the nutrition per serving for this recipe, based on one fillet.
- Calories: 251
- Protein: 25g
- Carbohydrates: 13g
- Fat: 11g
Make Ahead and Storage
You can season and flour the tilapia fillets a few hours ahead of time and keep them covered in the fridge until you’re ready to cook. This saves time on busy evenings without affecting the texture.
Store leftover pan fried tilapia in an airtight container in the fridge for up to 3 days. Keep it away from strong-smelling foods since fish tends to absorb odors easily.
To reheat, warm the fillets in a skillet over medium heat for a few minutes on each side to help restore some crispiness. Freezing is not recommended, since the fried coating tends to turn soggy once thawed.
Why You’ll Love This Recipe?
This pan fried tilapia recipe has become a staple in my kitchen, and here’s why I think you’ll love it just as much as I do.
- It’s incredibly quick to make, so I can have a full dinner ready in under 20 minutes on my busiest nights.
- It uses simple pantry ingredients, meaning I rarely have to make a special trip to the store just to make it.
- It’s easy to customize, since I can add different spices or swap the coating depending on my mood or what I have on hand.
- It’s a healthier option compared to deep frying, since it uses just a small amount of oil and butter.
- It’s family-friendly, because the mild flavor of tilapia makes it a hit even with picky eaters at my table.
FAQs
Can I make pan fried tilapia recipes Indian style?
Yes, I simply swap the paprika and garlic powder for turmeric, cumin, and chili powder to give it a warm, Indian-inspired flavor.
How do I get crispy fried tilapia with flour?
Pat the fish completely dry, coat it lightly in flour, and fry it in a properly heated pan with oil and butter for a crisp texture.
Can I make pan fried tilapia panko instead of flour?
Yes, panko breadcrumbs work great and give you an even crunchier, crispy pan fried tilapia compared to a flour coating.
Are there easy pan fried tilapia recipes for beginners?
Yes, this recipe is one of the easiest pan fried tilapia recipes since it only needs a few ingredients and about 20 minutes total.
What is the difference between this and baked tilapia?
Pan fried tilapia has a crispier crust from the skillet, while baked tilapia is cooked in the oven and has a softer, lighter texture overall.

Pan Fried Tilapia Recipe
Ingredients
Method
- Before anything else, I pat each tilapia fillet dry with a paper towel. Removing extra moisture helps the seasoning stick and lets the flour form a crisp crust instead of turning gummy. This small step makes a noticeable difference in texture once the fish hits the pan.
- I sprinkle salt, pepper, paprika, and garlic powder evenly over both sides of each fillet. I like to use my hands to gently press the seasoning in so it doesn’t fall off. This step builds the base flavor that carries through the whole dish.
- Next, I spread the flour on a shallow plate and coat each fillet lightly on both sides. I shake off any excess flour because too much can make the crust heavy or clumpy instead of light and crisp.
- I heat olive oil and butter together in a skillet over medium-high heat until the butter is fully melted and slightly bubbling. Giving the pan enough time to heat properly is key, since a cold pan leads to soggy, oily fish instead of a crisp crust.
- I carefully place one or two fillets into the hot pan at a time, depending on the size of my skillet. Cooking in batches keeps the pan from overcrowding, which helps the fish crisp up instead of steaming.
- I let each fillet cook for about 2 to 3 minutes per side until it turns golden brown and flakes easily with a fork. I flip gently using a thin spatula since tilapia is delicate and can break apart if handled roughly.
- Once cooked, I squeeze fresh lemon juice over the fillets and sprinkle chopped parsley on top. This final touch adds brightness and a fresh, restaurant-style finish to the dish.
Notes
- I always pat my fillets completely dry before seasoning, since wet fish never gets that crisp golden crust I’m after.
- I never skip preheating my pan properly, because a cold pan is the number one reason my fish used to turn soggy instead of crispy.
- I like using a stainless steel or nonstick skillet instead of cast iron, since tilapia is delicate and sticks less on a smoother surface.
- I add a pinch of cayenne pepper to my seasoning mix when I want a little heat without changing the overall flavor too much.
- I let my fillets rest for a minute or two after cooking, which helps them stay moist instead of drying out.