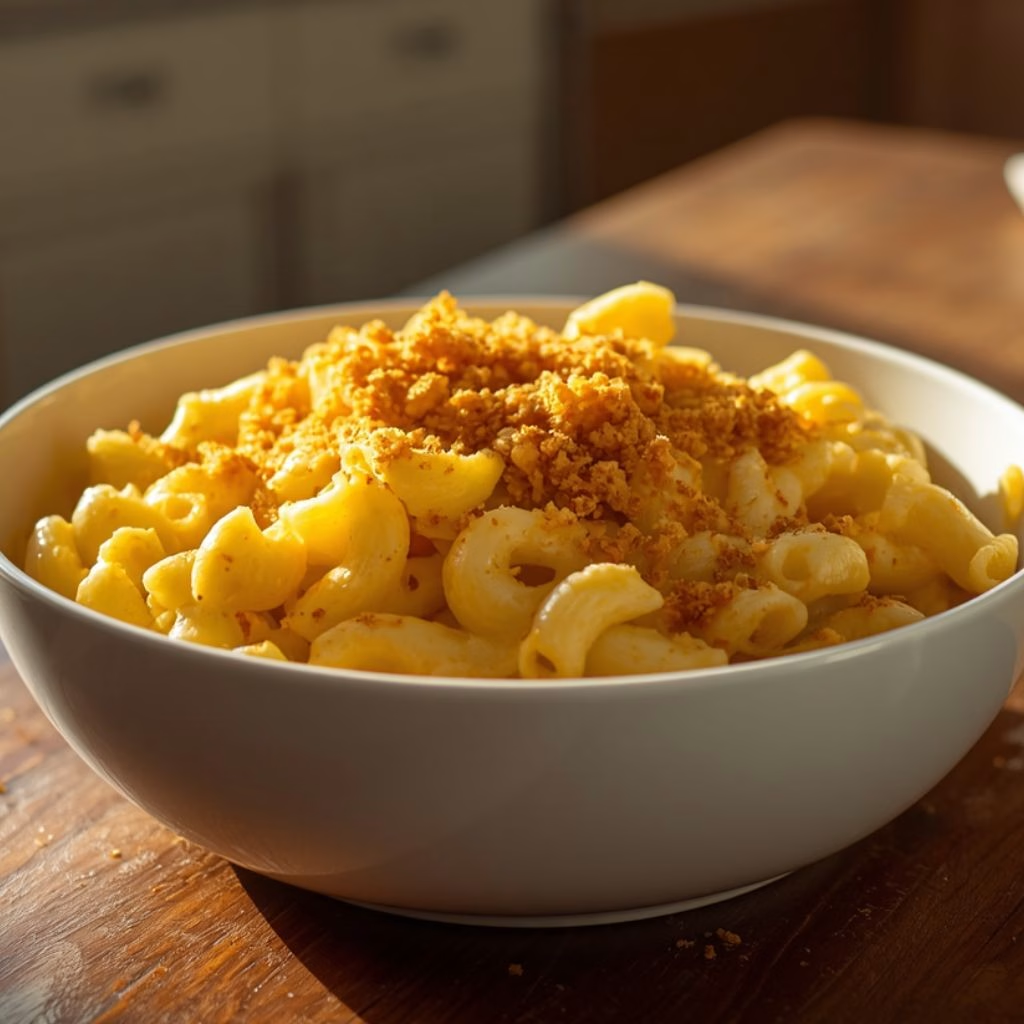
I’ve been chasing that creamy, gooey Costco Copycat Mac and Cheese Recipe flavor for years, and I finally cracked it. I skipped the alfredo-sauce shortcut everyone else uses and built my own cheese sauce from scratch instead.
Once I pulled this out of the oven, bubbling and golden on top, I knew I’d nailed it. It tastes just like the tub from the food court, only fresher and even cheesier. If you love Costco’s mac and cheese as much as I do, you’re going to want to bookmark this one.
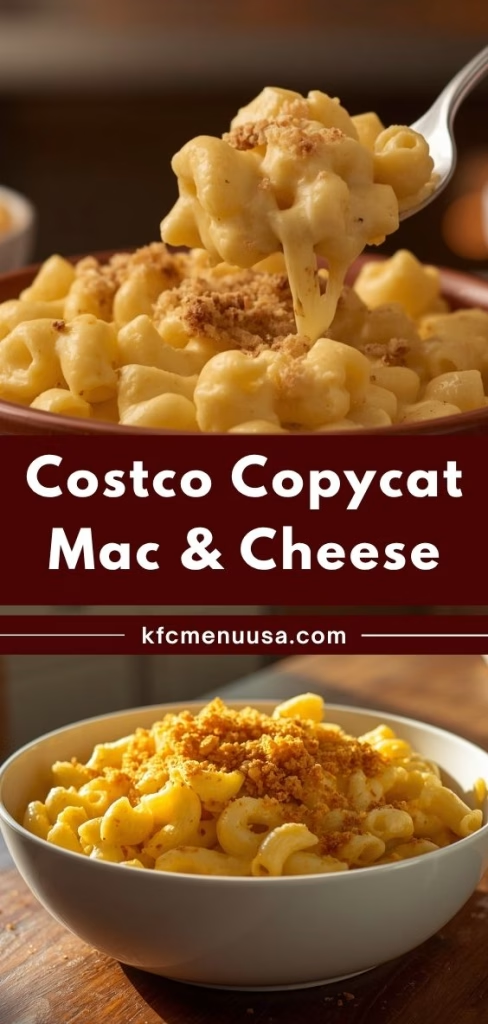
Cooking Time
- Prep Time: 20 minutes
- Cook Time: 15 minutes
- Total Time: 35 minutes
Ingredients
- 1 lb cavatappi pasta – the corkscrew shape holds sauce better than plain elbow macaroni
- 1 tablespoon olive oil – tossed with drained pasta so it doesn’t clump while you make the sauce
- 1/2 cup salted butter – the base of your roux, don’t swap for margarine if you want real flavor
- 1/2 cup all-purpose flour – thickens the sauce into a silky béchamel
- 1 cup cream – adds richness, heavy cream works best here
- 3 cups milk – whole milk gives the creamiest texture
- 3 1/2 cups white cheddar cheese, grated and divided – the main flavor backbone of the sauce
- 2 cups Gruyere cheese, grated and divided – melts beautifully and adds that nutty depth
- 3/4 cup Romano cheese, grated and divided – brings a sharp, salty kick
- 1/2 cup Parmesan cheese, grated and divided – rounds out the flavor with a nutty finish
- 1/2 cup medium cheddar cheese, grated – sprinkled on top mostly for that golden color
- 1/2 tablespoon salt – balances all that rich cheese
- 1/2 teaspoon pepper – just enough for a little warmth
- 1/4 teaspoon paprika – adds subtle color and smokiness
- 1/4 teaspoon garlic powder – gives the sauce that signature Costco-style savoriness
Note: this recipe serves 8 people generously.
Equipment You Need
- Large pot – for boiling the pasta
- Colander – to drain the cooked pasta
- Large saucepan – to make the cheese sauce
- Whisk – keeps the roux and sauce smooth and lump-free
- Box grater or food processor – for freshly grating all that cheese
- 9×13-inch baking dish – to layer and bake the finished mac and cheese
- Measuring cups and spoons – for accurate ingredient amounts
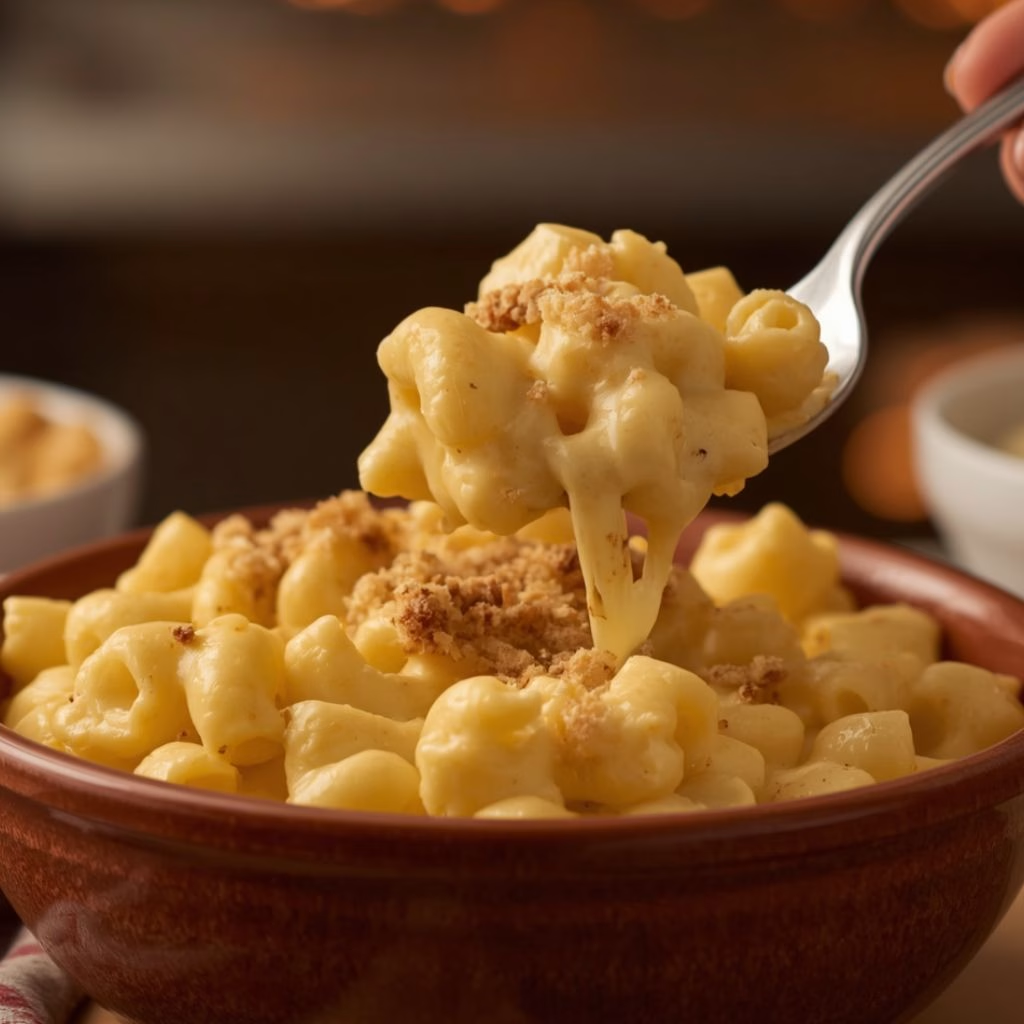
How to Make a Costco Copycat Mac and Cheese Recipe?
This recipe comes together in three simple stages: boil the pasta, build a cheesy béchamel sauce, then layer and bake everything until bubbly. None of the steps are complicated, but a little attention to timing makes a big difference in the final texture. Here’s exactly how I do it every single time.
Preheat and Prep
I start by preheating my oven to 325°F so it’s ready to go the moment my baking dish is assembled. While that heats up, I grate all five cheeses and divide each one into fourths, which makes layering so much easier later. Getting this done early keeps the rest of the process moving quickly.
Cook the Pasta Just Shy of Done
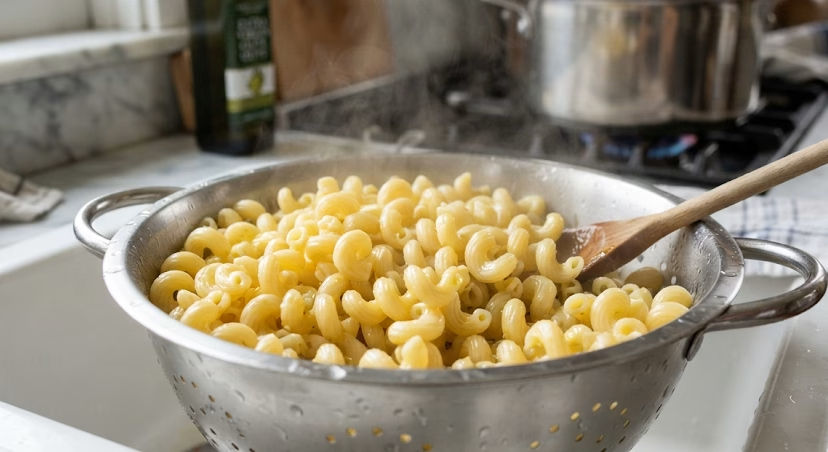
I bring a big pot of salted water to a boil and cook the cavatappi about one minute short of the package’s al dente time. Since the pasta finishes cooking in the oven, slightly underdone noodles turn out perfect instead of mushy. I drain it well and toss it with olive oil so it doesn’t stick together while I finish the sauce.
Build the Roux
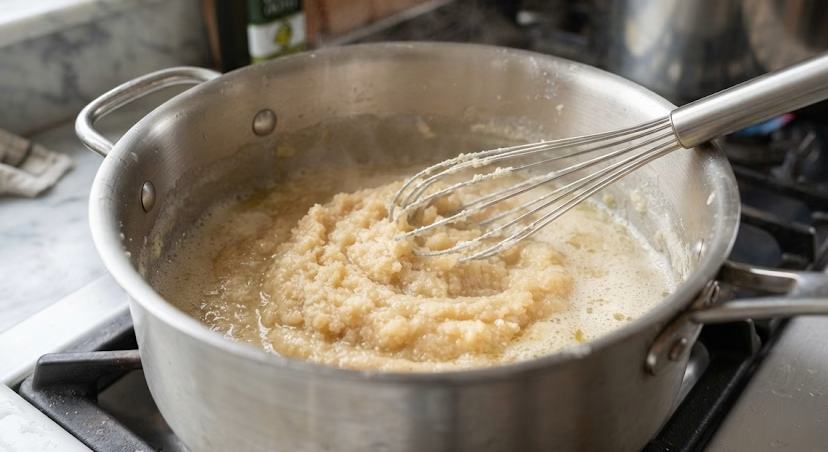
In a large saucepan, I melt the butter over medium heat, then whisk in the flour until it looks like wet sand, cooking it for about a minute. This roux is what gives the sauce its thick, velvety base, so I don’t rush this step or let it scorch.
Whisk in the Cream and Milk
Next, I slowly pour in the cream and one cup of milk, whisking constantly until smooth. Then I add the remaining milk and keep whisking over medium heat for three to four minutes until the sauce visibly thickens. Patience here means no lumps later.
Melt in the Cheese
I stir in the salt, pepper, paprika, and garlic powder, then add a quarter of each grated cheese except the medium cheddar, which I’m saving for the topping. Once that melts smoothly, I stir in another quarter of cheese until it’s fully incorporated into the sauce.
Combine and Layer
I pour the cheese sauce over the cooked pasta and stir everything together. Then I add half of that mixture into my baking dish, sprinkle a quarter of the remaining cheese over top, add the rest of the pasta, and finish with another cheese layer plus the reserved medium cheddar on top.
Bake Until Bubbly
Finally, I slide the dish into the oven, uncovered, for about 15 minutes until the cheese is fully melted and bubbling around the edges. I like to broil it for the last minute if I want a slightly golden top, then I serve it immediately while it’s still gooey.
Additional Tips for Making This Recipe Better
I’ve made this recipe more times than I can count, and here’s what actually makes a difference for me.
- I always grate my own cheese instead of buying pre-shredded bags, because it melts so much smoother into the sauce.
- I slightly undercook my pasta on purpose since it keeps cooking in the oven and I don’t want mushy noodles.
- I whisk constantly while adding the milk so my sauce never turns lumpy or grainy.
- I like adding a pinch of cayenne if I want a subtle kick for the adults at the table.
- I sometimes top mine with buttered panko breadcrumbs for a bit of crunch against all that creaminess.
Common Mistakes to Avoid
I’ve made every one of these mistakes at least once, so learn from my trial and error.
- I overcooked my pasta the first time I made this, and it turned into mush after baking, so now I always pull it early.
- I used pre-shredded cheese once to save time, and my sauce turned grainy instead of silky smooth.
- I rushed my roux and ended up with a floury taste, so now I always cook it for the full minute.
- I dumped all my milk in at once early on, and I got lumps everywhere, so I add it slowly while whisking.
- I skipped the resting time between sauce stages once, and the cheese didn’t melt evenly, so I always add it gradually.
How to Serve Costco Copycat Mac and Cheese?
I love serving this straight out of the baking dish while it’s still bubbling, with a sprinkle of fresh chopped chives or parsley on top for a pop of color. It works beautifully as a hearty meatless main dish on its own, or as a rich side next to a smoky brisket or roasted chicken.
For a fun presentation, I sometimes portion it into individual ramekins and broil each one for a few minutes so everyone gets their own crispy, golden top. You can also enjoy similar comfort-food favorites like Easy Lasagna Cups Recipe.
Variations
- Swap in Gouda or Emmental if Gruyere isn’t available for a similarly creamy melt.
- Use gluten-free pasta and a 1:1 gluten-free flour blend for a celiac-friendly version.
- Try a lactose-free milk and cream alternative along with lactose-free cheese for a dairy-sensitive version.
- Mix in cooked bacon bits or diced ham for extra protein and smoky flavor.
- Add a handful of caramelized onions or roasted garlic for a deeper, sweeter savory note.
- Stir in a diced jalapeño or a dash of hot sauce if you like things spicy.
Nutritional Information
Here’s roughly what you can expect per serving of this rich, cheesy bake.
- Calories: about 1157 kcal
- Protein: about 54g
- Carbohydrates: about 55g
- Fat: about 48g (saturated)
Make Ahead and Storage
You can absolutely make this ahead of time. I recommend cooling the sauce slightly before mixing it with the pasta so the noodles don’t soak up too much liquid and turn mushy while sitting in the fridge overnight.
For leftovers, store the mac and cheese in an airtight container in the refrigerator for up to 4 days. Reheat individual portions in the microwave, or warm the whole dish in a 325°F oven until heated through.
To freeze, portion cooled mac and cheese into freezer-safe containers and freeze for up to 2 months. Thaw overnight in the fridge, then bake at 325°F for about 30 to 40 minutes until hot and bubbly again.
Why You’ll Love This Recipe?
This copycat version brings the food court favorite right into your own kitchen, and here’s why it’s earned a permanent spot in my rotation.
- It’s incredibly easy to make. Even with five cheeses and a homemade sauce, the whole process takes just 35 minutes from start to finish.
- It’s endlessly versatile. You can serve it as a main dish, a hearty side, or dress it up with mix-ins like bacon or jalapeños.
- It reheats and freezes beautifully. I can make a big batch and always have comfort food ready to go on a busy night.
- It tastes better than the original. Freshly grated cheese and a homemade béchamel give it a richness that pre-packaged versions just can’t match.
- It’s a guaranteed crowd-pleaser. I’ve never brought this to a potluck or family dinner without someone asking for the recipe. For another fun comfort-food option, Homemade Corn Dog Bites Recipe fits nicely alongside casual family meals.
FAQs
What cheese does Costco mac and cheese use?
The Costco version leans on a blend of cheddar and other melty cheeses, and some customers report the packaged one uses an alfredo base. This copycat recipe uses five cheeses—white cheddar, Gruyere, Romano, Parmesan, and medium cheddar—for a homemade version of that same flavor.
Does Costco mac and cheese recipe use alfredo sauce?
Some reports suggest Costco’s food court version does include alfredo sauce as a base, but this recipe skips that shortcut entirely. Instead, it builds a from-scratch cheese sauce that many readers find even richer and more flavorful.
How much does Costco mac and cheese cost?
Pricing for Costco’s prepared mac and cheese, including the bulk bucket size, varies by location and time, so it’s best to check with your local warehouse or the Costco website for current pricing.
Can I make this mac and cheese in a slow cooker instead of the oven?
Yes, you can pour the finished pasta and sauce mixture into a slow cooker instead of a baking dish and heat it through on low until warm. Just keep an eye on it since slow cookers can dry out cheese sauce if left too long.
Can I use a different pasta shape instead of cavatappi?
Absolutely, elbow macaroni, shells, or any short pasta shape will work just fine here. Cavatappi is simply what Costco’s version uses, but the sauce clings well to almost any short-cut pasta.

Costco Copycat Mac and Cheese Recipe
Ingredients
Method
- I start by preheating my oven to 325°F so it’s ready to go the moment my baking dish is assembled. While that heats up, I grate all five cheeses and divide each one into fourths, which makes layering so much easier later. Getting this done early keeps the rest of the process moving quickly.
- I bring a big pot of salted water to a boil and cook the cavatappi about one minute short of the package’s al dente time. Since the pasta finishes cooking in the oven, slightly underdone noodles turn out perfect instead of mushy. I drain it well and toss it with olive oil so it doesn’t stick together while I finish the sauce.
- In a large saucepan, I melt the butter over medium heat, then whisk in the flour until it looks like wet sand, cooking it for about a minute. This roux is what gives the sauce its thick, velvety base, so I don’t rush this step or let it scorch.
- Next, I slowly pour in the cream and one cup of milk, whisking constantly until smooth. Then I add the remaining milk and keep whisking over medium heat for three to four minutes until the sauce visibly thickens. Patience here means no lumps later.
- I stir in the salt, pepper, paprika, and garlic powder, then add a quarter of each grated cheese except the medium cheddar, which I’m saving for the topping. Once that melts smoothly, I stir in another quarter of cheese until it’s fully incorporated into the sauce.
- I pour the cheese sauce over the cooked pasta and stir everything together. Then I add half of that mixture into my baking dish, sprinkle a quarter of the remaining cheese over top, add the rest of the pasta, and finish with another cheese layer plus the reserved medium cheddar on top.
- Finally, I slide the dish into the oven, uncovered, for about 15 minutes until the cheese is fully melted and bubbling around the edges. I like to broil it for the last minute if I want a slightly golden top, then I serve it immediately while it’s still gooey
Notes
- I always grate my own cheese instead of buying pre-shredded bags, because it melts so much smoother into the sauce.
- I slightly undercook my pasta on purpose since it keeps cooking in the oven and I don’t want mushy noodles.
- I whisk constantly while adding the milk so my sauce never turns lumpy or grainy.
- I like adding a pinch of cayenne if I want a subtle kick for the adults at the table.
- I sometimes top mine with buttered panko breadcrumbs for a bit of crunch against all that creaminess.