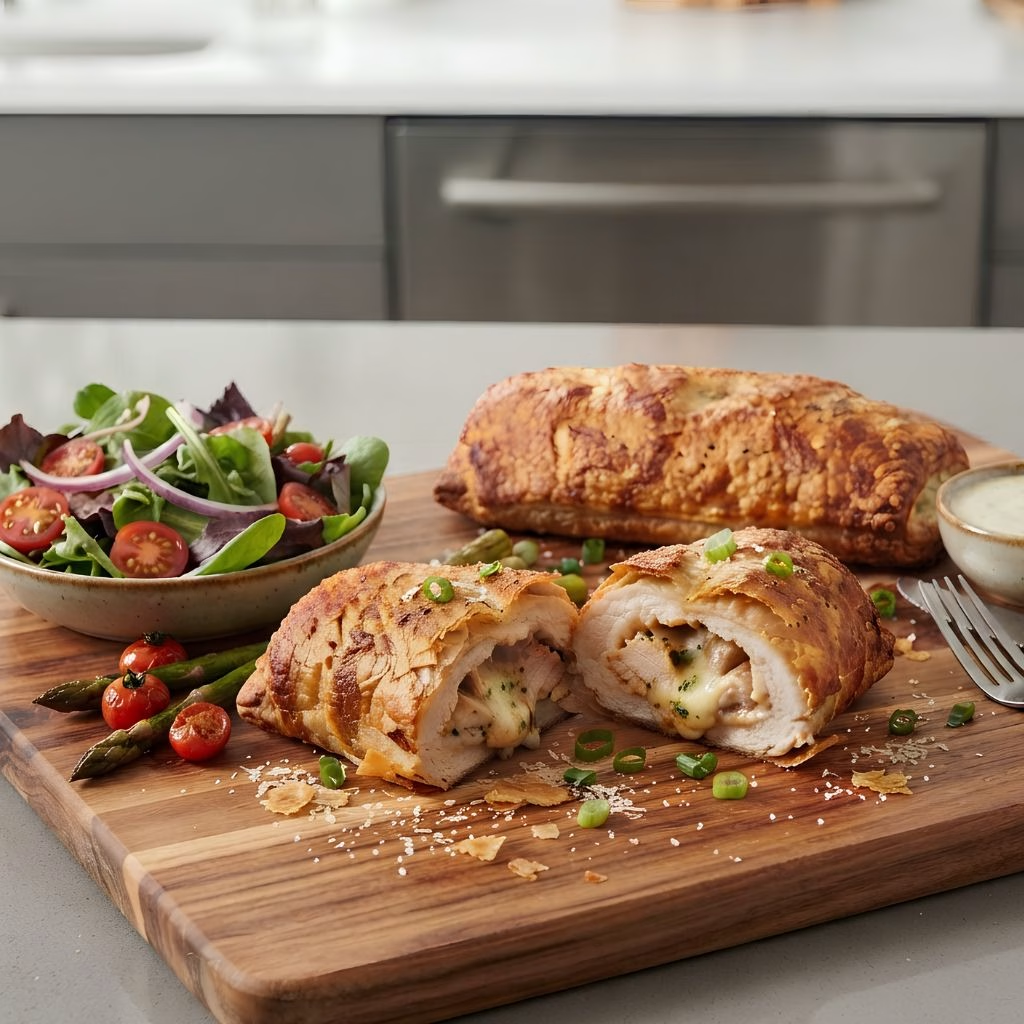
I still remember the first time I skipped the Costco food court line and made my chicken bake at home instead. I popped it straight into my air fryer, and honestly, the crust came out even crispier than the store version.
Now I keep a couple of boxes in my freezer at all times for busy weeknights. If you love that cheesy, bacon-studded, Caesar-flavored pocket of goodness, I’m walking you through exactly how I make it. Trust me, once you try this method, you won’t go back to the oven.
Cooking Time
- Prep Time: 1 minute
- Cook Time: 16-17 minutes
- Total Time: about 18 minutes
Ingredients
- 2 frozen Costco chicken bakes – no need to thaw, they cook perfectly straight from frozen
- Oil spray – a light coating helps the dough crust turn golden and crisp instead of pale
Note: This recipe serves 2 people, with one chicken bake per person.
Equipment You Need
- Air fryer – does all the work here, giving you a crispy crust without heating up your whole kitchen
- Tongs – makes it easy to flip or reposition the bakes halfway through without burning your fingers
- Meat thermometer – helps confirm the inside hits a safe temperature before you dig in
- Cutting board and knife – handy for slicing the bake in half once it’s done cooking
How to Make Costco Chicken Bake in the Air Fryer?
This recipe couldn’t be simpler, which is exactly why I make it so often. There’s no thawing, no marinating, and barely any cleanup involved. Just a few quick steps and you’re eating in under 20 minutes.
Step 1: Unwrap the Chicken Bakes
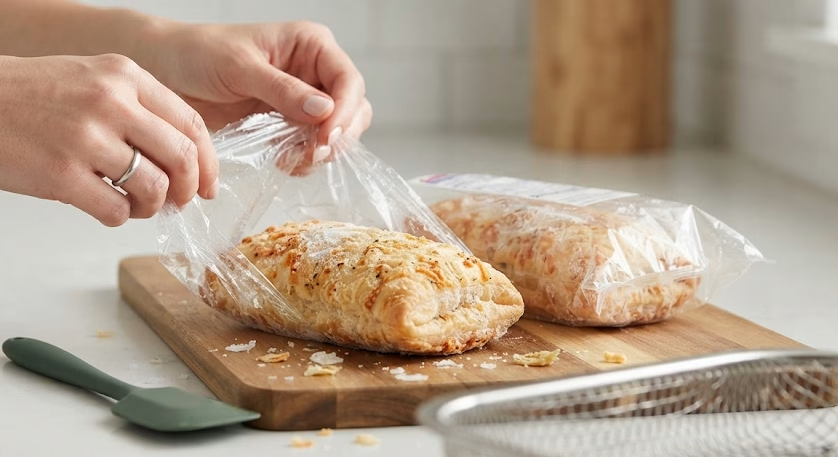
Pull your frozen chicken bakes out of the freezer and remove all the plastic wrapping. I always double-check that every bit of plastic is off before it goes anywhere near the basket, since leftover wrap can melt onto the food.
Step 2: Arrange Them in the Basket
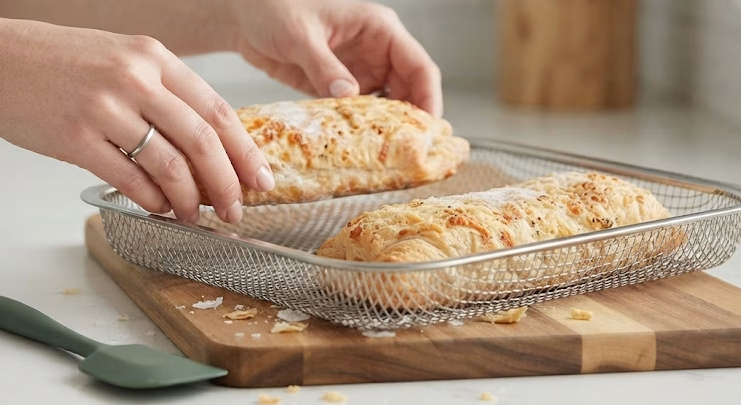
Place the chicken bakes directly into your air fryer basket, leaving a little space between each one. I’ve found that giving them room lets the hot air circulate evenly, so the crust cooks all the way around instead of staying soggy underneath.
Step 3: Spray with Oil
Lightly spritz the tops of the chicken bakes with oil spray. This small step makes a noticeable difference in how golden and crisp the dough turns out, so don’t skip it even if you’re in a rush.
Step 4: Air Fry Until Golden
Set your air fryer to 320 degrees Fahrenheit and cook for 16 to 17 minutes. I like to peek in around the 12-minute mark just to see how the color is developing, then let it finish the rest of the way.
Step 5: Check the Temperature
Before serving, insert a meat thermometer into the center to confirm it has reached 165 degrees Fahrenheit. This is the step I never skip, since it guarantees the chicken inside is fully and safely reheated.
Step 6: Rest, Slice, and Serve
Let the chicken bake sit for a minute or two after cooking so the cheese inside can set slightly. Then slice it in half and serve it warm while that melty center is still gooey and inviting.
Additional Tips for Making This Recipe Better
After making this more times than I can count, I’ve picked up a few small tricks that genuinely improve the results.
- I always use oil spray instead of skipping it, since it’s the difference between a flat crust and a nicely browned one.
- I never overcrowd my basket, because the bakes touching each other steam instead of crisp.
- I like flipping mine gently around the 10-minute mark for even browning on both sides.
- I let it rest for a minute before cutting so the filling doesn’t spill everywhere.
- I keep my air fryer preheated for a minute before adding the bakes, which seems to speed up crisping.
Common Mistakes to Avoid
I’ve made a few of these mistakes myself, so I’m sharing them here to save you the trouble.
- I once forgot to check the internal temperature and ended up with a cold center, so now I always use a thermometer.
- I’ve overcrowded the basket before, and the crust never crisped up properly on the sides that touched.
- I tried cooking at too high a temperature once, and the outside burned before the inside warmed through.
- I skipped the oil spray one time out of laziness, and the crust came out noticeably paler and less crisp.
- I cut into it too soon once and lost a good bit of the cheesy filling onto the cutting board.
How to Serve Costco Chicken Bake?
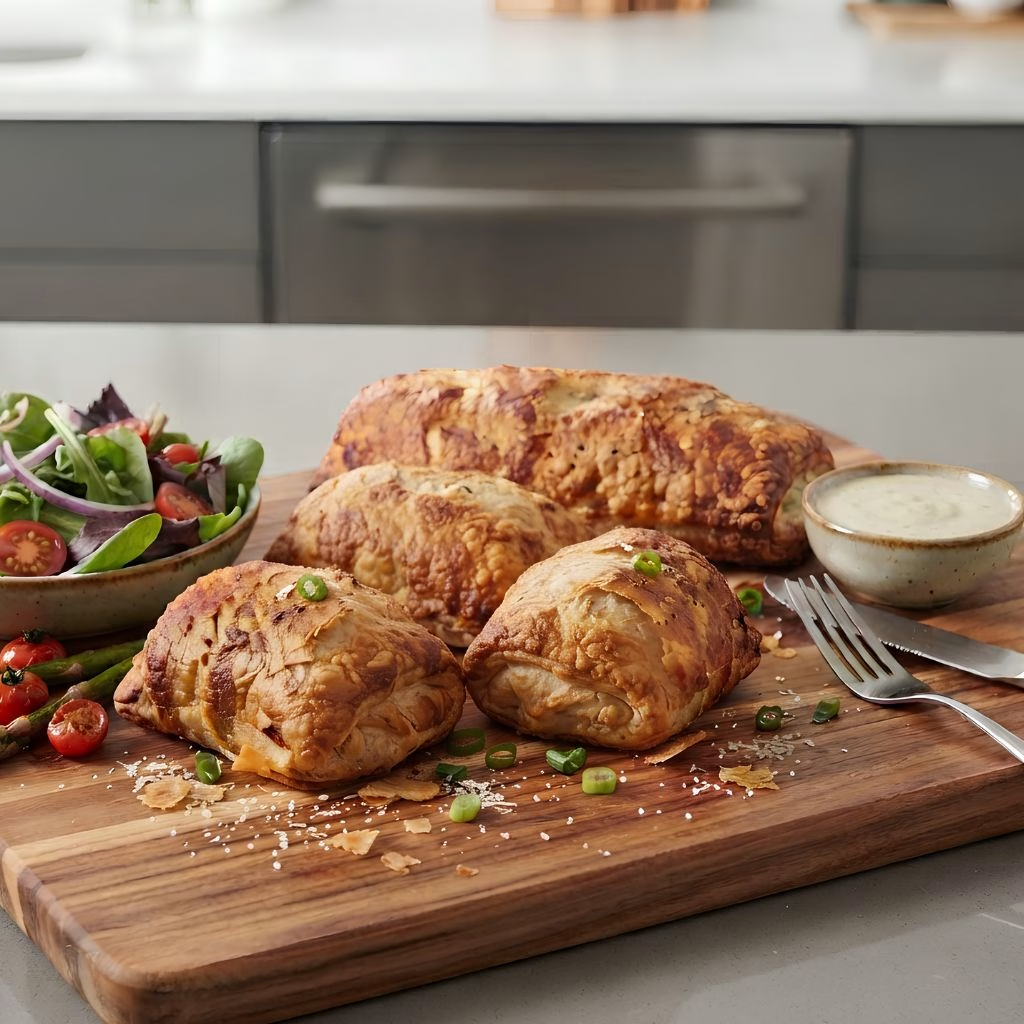
I like slicing my chicken bake diagonally in half so you can see that cheesy, bacon-flecked center peeking out. For the presentation, I set it on a wooden board with a small ramekin of Caesar dressing on the side for dipping. If I’m serving it as more of a meal, I add a simple side salad or some roasted vegetables to balance out the richness.
A sprinkle of extra chopped green onion or a light dusting of parmesan right before serving also makes it look and taste like it just came out of a proper Italian kitchen. For another easy seafood option on a different meal, you can also enjoy Shrimp Tacos with Ginger Lime Slaw Recipe or Pan Fried Tilapia Recipe.
Variations
- Swap the standard chicken bake for a spicy version if your store carries one, for an extra kick.
- Add a side of marinara or Alfredo sauce for dipping instead of Caesar dressing.
- Pair with garlic bread or breadsticks for a heartier, pizzeria-style meal.
- Try a light drizzle of hot honey on top after cooking for a sweet-and-savory twist.
- Serve alongside a Mediterranean-style chopped salad for a fresher, lighter pairing.
Nutritional Information
Here’s a general idea of what one chicken bake typically provides, though exact values can vary by brand and batch.
- Calories: approximately 640-680 per bake
- Protein: approximately 26-30 grams per bake
- Carbohydrates: approximately 45-50 grams per bake
- Fat: approximately 38-42 grams per bake
Make Ahead and Storage
You can keep uncooked chicken bakes frozen in their original packaging for several months, which is exactly why I always have a couple on hand.
Leftover cooked chicken bakes stay fresh in the fridge for up to 2 days when stored in an airtight container.
To reheat, place leftovers in the air fryer at 320 degrees for 5 to 8 minutes, or in a 350 degree oven for 8 to 10 minutes, until warmed through.
Why You’ll Love This Recipe
This has become one of my go-to meals for a reason, and I think you’ll feel the same once you try it.
- It’s incredibly quick, since there’s no thawing or prep work involved before cooking.
- It gives you that same cheesy, savory Costco food court flavor without leaving the house.
- It’s easy to customize with different dips and side dishes depending on your mood.
- It reheats well, so leftovers still taste great the next day.
- It’s a satisfying meal on its own, packed with protein and comforting, melty cheese.
FAQs
How long to cook Costco chicken bake in air fryer?
I cook mine at 320 degrees Fahrenheit for 16 to 17 minutes straight from frozen, checking that the center reaches 165 degrees before serving.
How long to cook chicken bake in air fryer at 400?
I don’t recommend going that high, since it tends to burn the crust before the inside warms through. Stick to 320 degrees for the best results.
How long to cook frozen chicken bake in air fryer, including in a Ninja model?
Whether I’m using a basket-style or a Ninja air fryer, 320 degrees for about 16 to 17 minutes works well, since the cooking method is basically the same.
How do I reheat a Costco chicken bake in the air fryer?
I reheat leftovers at 320 degrees for 5 to 8 minutes, just until they’re warmed through and the crust is crisp again.
What are the basic chicken bake air fryer instructions?
I simply unwrap it, place it in the basket with some space around it, spray lightly with oil, and cook at 320 degrees for 16 to 17 minutes.

Costco Chicken Bake Air Fryer Recipe
Ingredients
Method
- Pull your frozen chicken bakes out of the freezer and remove all the plastic wrapping. I always double-check that every bit of plastic is off before it goes anywhere near the basket, since leftover wrap can melt onto the food.
- Place the chicken bakes directly into your air fryer basket, leaving a little space between each one. I’ve found that giving them room lets the hot air circulate evenly, so the crust cooks all the way around instead of staying soggy underneath.
- Lightly spritz the tops of the chicken bakes with oil spray. This small step makes a noticeable difference in how golden and crisp the dough turns out, so don’t skip it even if you’re in a rush.
- Set your air fryer to 320 degrees Fahrenheit and cook for 16 to 17 minutes. I like to peek in around the 12-minute mark just to see how the color is developing, then let it finish the rest of the way.
- Before serving, insert a meat thermometer into the center to confirm it has reached 165 degrees Fahrenheit. This is the step I never skip, since it guarantees the chicken inside is fully and safely reheated.
- Let the chicken bake sit for a minute or two after cooking so the cheese inside can set slightly. Then slice it in half and serve it warm while that melty center is still gooey and inviting.
Notes
- I always use oil spray instead of skipping it, since it’s the difference between a flat crust and a nicely browned one.
- I never overcrowd my basket, because the bakes touching each other steam instead of crisp.
- I like flipping mine gently around the 10-minute mark for even browning on both sides.
- I let it rest for a minute before cutting so the filling doesn’t spill everywhere.
- I keep my air fryer preheated for a minute before adding the bakes, which seems to speed up crisping.