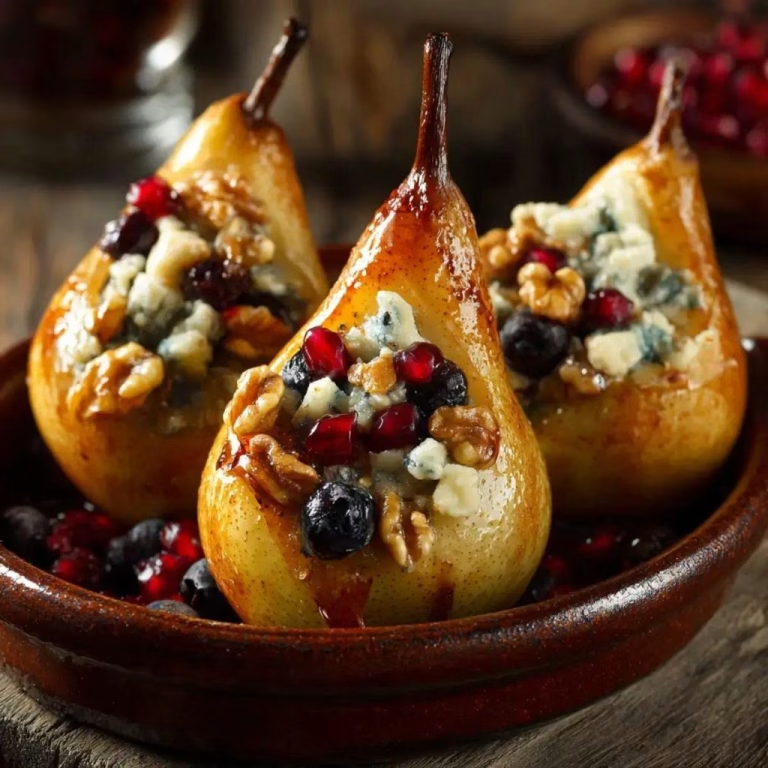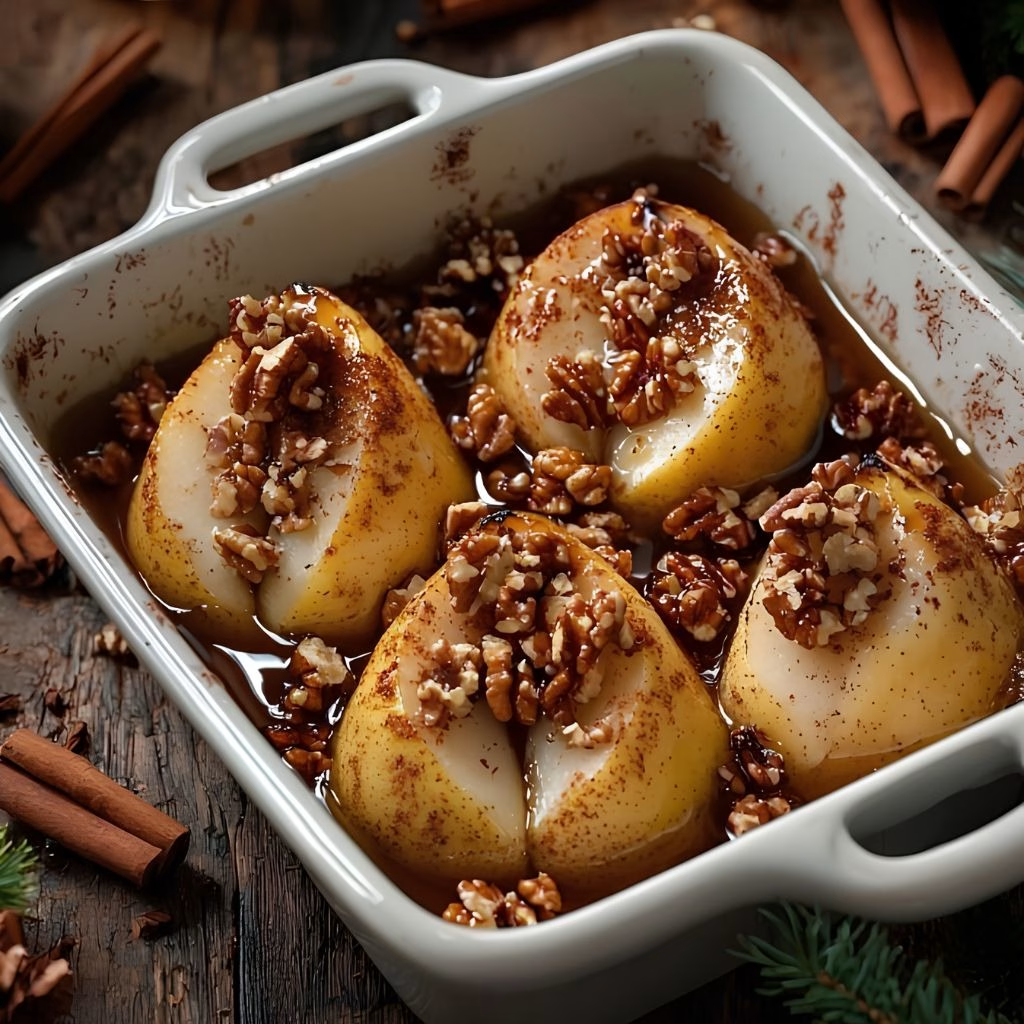
I stumbled onto this Baked Pears with Honey and Walnuts Recipe on a lazy Sunday morning when I had a bowl of ripe pears sitting on my counter and didn’t want them to go to waste. I cut them in half, scooped out the seeds, and tossed them in the oven with just a handful of pantry staples.
Thirty minutes later, my whole kitchen smelled like cinnamon and caramelized fruit. Honestly, I couldn’t believe how something this simple could taste this good. I ended up eating one half for breakfast with a spoonful of yogurt and saved the rest for dessert that night.
Cooking Time
- Prep Time: 10 minutes
- Cooking Time: 30 minutes
- Total Time: 40 minutes
Ingredients
- 2 large ripe pears – I go for Bosc or Anjou since they hold their shape well when baked
- 1/4 teaspoon ground cinnamon – warms up the flavor without overpowering the fruit
- 2 teaspoons honey – use a good quality raw honey for the best natural sweetness
- 1/4 cup crushed walnuts – adds crunch and a nutty contrast to the soft pear
- Yogurt or frozen yogurt (optional) – I like adding a scoop on top for a creamier bite
Note: This recipe serves 2 to 4, depending on whether you serve a half or whole pear per person.
Equipment You Need
- Baking sheet – holds the pear halves while they roast in the oven
- Parchment paper – keeps the pears from sticking and makes cleanup easy
- Measuring spoons – for portioning the cinnamon and honey accurately
- Small spoon or melon baller – scoops out the pear core cleanly
- Sharp knife – for slicing the pears in half
How to Make Baked Pears with Honey and Walnuts?
This recipe comes together in just a few easy steps. I promise you don’t need any fancy skills or equipment to pull this off. Let’s walk through exactly how I make mine every time.
Preheat and Prep the Baking Sheet
I always start by preheating my oven to 350°F so it’s fully heated by the time my pears are ready. While it warms up, I line a baking sheet with parchment paper. This little step saves me from scrubbing sticky honey residue later.
Cut and Core the Pears
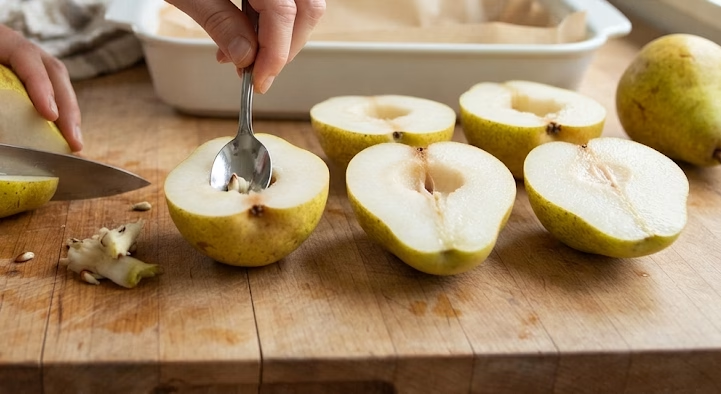
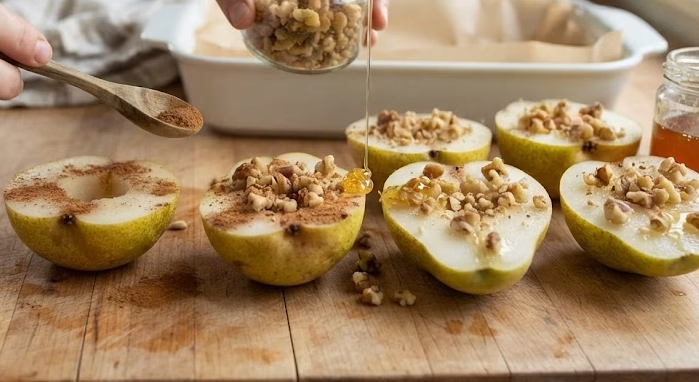
Next, I slice each pear in half lengthwise. I like to trim a thin sliver off the rounded back of each half so they sit flat and upright on the tray. Then I use a small spoon to scoop out the seeds and core.
Add the Toppings
Once my pears are prepped, I sprinkle a little cinnamon over each half. Then I scatter the crushed walnuts on top and finish with a light drizzle of honey. This combination caramelizes beautifully in the oven.
Bake Until Tender
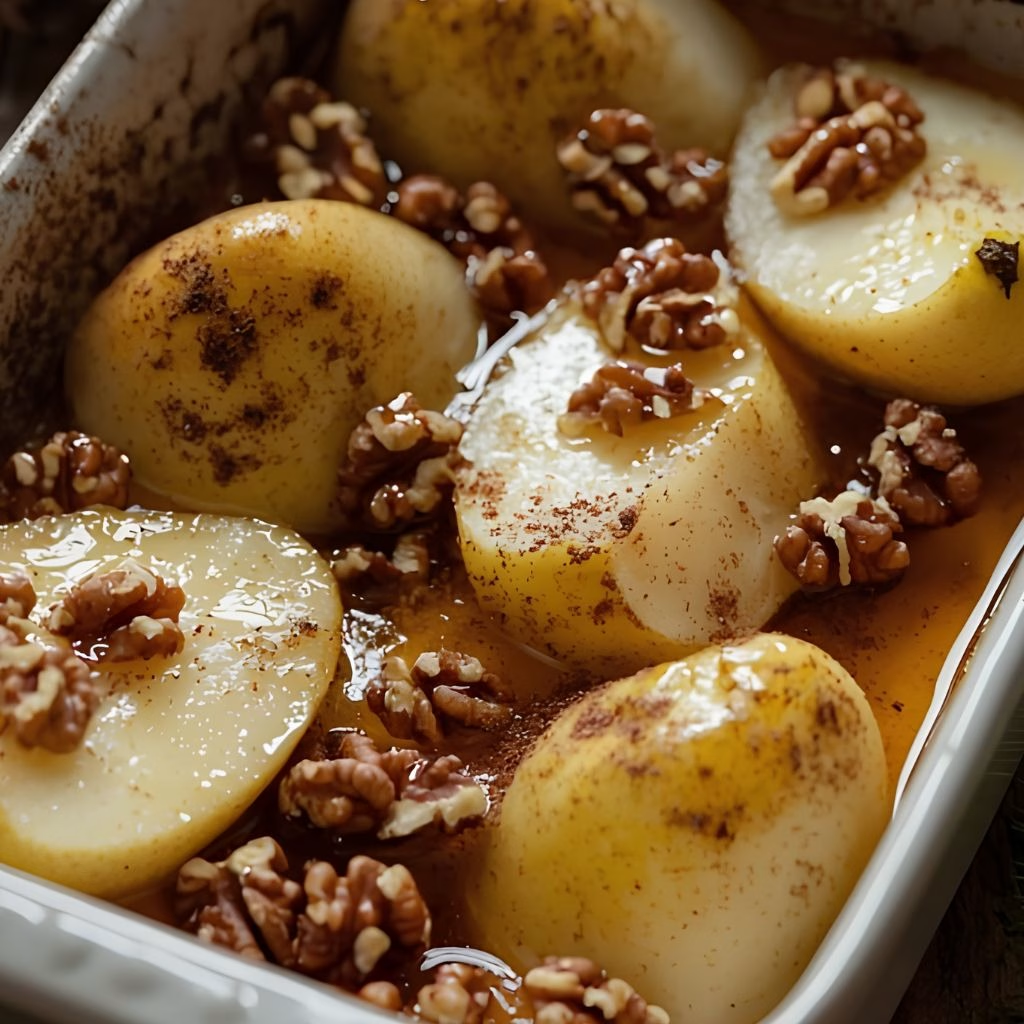
I place the tray in the oven and bake for about 30 minutes, until the pears are soft when pierced with a fork. The honey bubbles slightly and the walnuts turn a lovely golden brown.
Cool and Serve
I let the pears rest for a few minutes after pulling them from the oven since the honey stays hot. Then I serve them warm, sometimes with a dollop of yogurt or a scoop of frozen yogurt on the side.
Additional Tips for Making This Recipe Better
I’ve made this recipe more times than I can count, and here’s what I’ve learned along the way:
- I always choose pears that are ripe but still firm, since overly soft ones turn mushy in the oven
- I toast my walnuts in a dry pan for a minute before adding them, and it makes a huge flavor difference
- I don’t skip trimming the bottoms flat, or my pear halves tip over and the honey spills everywhere
- I sometimes add a pinch of nutmeg along with the cinnamon for extra warmth
- I check my pears around the 25-minute mark, since oven times can vary a bit
Common Mistakes to Avoid
- I once used pears that were too ripe and they turned into mush halfway through baking, so now I always pick ones that give slightly to pressure but aren’t soft
- I forgot to trim the bottoms flat once, and my pears rolled around and dumped the honey on the tray
- I over-poured the honey the first time I made this, and it burned onto the pan, so now I stick to a light drizzle
- I didn’t check on my pears near the end of baking once, and the walnuts got a little too dark, so I keep an eye on them after 25 minutes
- I skipped lining my baking sheet early on, and cleanup took forever because of the sticky honey
How to Serve Baked Pears with Honey and Walnuts?
I love plating these pears cut-side up on a small dessert plate, with the walnuts and honey glaze visible on top. A light dusting of extra cinnamon right before serving makes them look freshly made. For breakfast, I add a spoonful of plain or vanilla yogurt right into the hollow where the core used to be.
For dessert, a small scoop of vanilla ice cream or frozen yogurt melting slightly over the warm pear makes it feel special. A few extra crushed walnuts scattered around the plate also adds a nice finishing touch. You could also pair the sweet and savory flavors with Keto Crispy Reuben Roll Ups when putting together a spread.
Variations
- Dairy-free option – skip the yogurt or use a coconut or almond milk yogurt instead
- Sugar-free option – swap the honey for a sugar-free maple-flavored syrup
- Maple twist – use maple syrup instead of honey for a deeper, earthier sweetness
- Cheese board style – add a few crumbles of blue cheese or goat cheese before baking for a savory-sweet combination, much like the sweet-and-savory contrast you get with Corned Beef and Cabbage Casserole
- Extra crunch – mix in some pecans or almonds along with the walnuts
- Spiced version – add a pinch of ground ginger or cardamom for a different warm flavor
Nutritional Information
Here’s a general idea of what one serving (one pear half) looks like nutritionally:
- Calories: around 120 kcal
- Protein: around 1.5 g
- Carbohydrates: around 20 g
- Fat: around 5 g
Make Ahead and Storage
You can prep the pears ahead of time by slicing and coring them, then storing them in an airtight container in the fridge for up to a day before baking. This saves time if you’re serving them for a brunch or gathering.
Once baked, leftover pears keep well in the refrigerator for up to 3 days in a sealed container. I usually just cover the tray with foil if I’m storing them the same day.
To reheat, I pop them in the microwave for about 30 seconds or warm them in a 300°F oven for 10 minutes. Freezing isn’t ideal here since the texture of the pear gets watery once thawed.
Why You’ll Love This Recipe
This baked pears recipe has become one of my go-to options whenever I want something simple but impressive. Here’s why I keep coming back to it:
- It’s incredibly easy to make – with just a handful of ingredients and one baking sheet, there’s barely any cleanup involved
- It works for breakfast or dessert – I’ve served it both ways and it fits either meal perfectly
- It’s naturally gluten-free – so I can serve it to guests without worrying about dietary restrictions
- It’s easy to customize – I can swap ingredients based on what I have on hand or what flavors I’m craving
- It feels special without much effort – it looks like a fancy dessert but takes barely any hands-on time
FAQs
Can I use other types of pears for this recipe?
Yes, I’ve used Bosc, Anjou, and Royal Riviera pears with great results. Just make sure they’re ripe but still firm enough to hold their shape while baking.
Can I make simple baked pears without the walnuts?
Absolutely, I’ve made a simple baked pears version without any nuts when serving someone with an allergy, and it still tastes great with just cinnamon and honey.
Can I add blue cheese to this recipe?
Yes, baked pears with blue cheese, walnuts and honey is one of my favorite variations, especially when serving them as an appetizer for guests.
Can I use maple syrup instead of honey?
Definitely, baked pears with walnuts and maple syrup is a wonderful swap if you want a slightly deeper, earthier sweetness instead of honey.
Do I need brown sugar for this recipe?
No, this recipe doesn’t need brown sugar, but if you prefer a recipe for baked pears with brown sugar, you can swap the honey for a light sprinkle of it before baking.

Baked Pears with Honey and Walnuts Recipe
Ingredients
Method
- I always start by preheating my oven to 350°F so it’s fully heated by the time my pears are ready. While it warms up, I line a baking sheet with parchment paper. This little step saves me from scrubbing sticky honey residue later.
- Next, I slice each pear in half lengthwise. I like to trim a thin sliver off the rounded back of each half so they sit flat and upright on the tray. Then I use a small spoon to scoop out the seeds and core.
- Once my pears are prepped, I sprinkle a little cinnamon over each half. Then I scatter the crushed walnuts on top and finish with a light drizzle of honey. This combination caramelizes beautifully in the oven.
- I place the tray in the oven and bake for about 30 minutes, until the pears are soft when pierced with a fork. The honey bubbles slightly and the walnuts turn a lovely golden brown.
- I let the pears rest for a few minutes after pulling them from the oven since the honey stays hot. Then I serve them warm, sometimes with a dollop of yogurt or a scoop of frozen yogurt on the side.
Notes
- I always choose pears that are ripe but still firm, since overly soft ones turn mushy in the oven
- I toast my walnuts in a dry pan for a minute before adding them, and it makes a huge flavor difference
- I don’t skip trimming the bottoms flat, or my pear halves tip over and the honey spills everywhere
- I sometimes add a pinch of nutmeg along with the cinnamon for extra warmth
- I check my pears around the 25-minute mark, since oven times can vary a bit