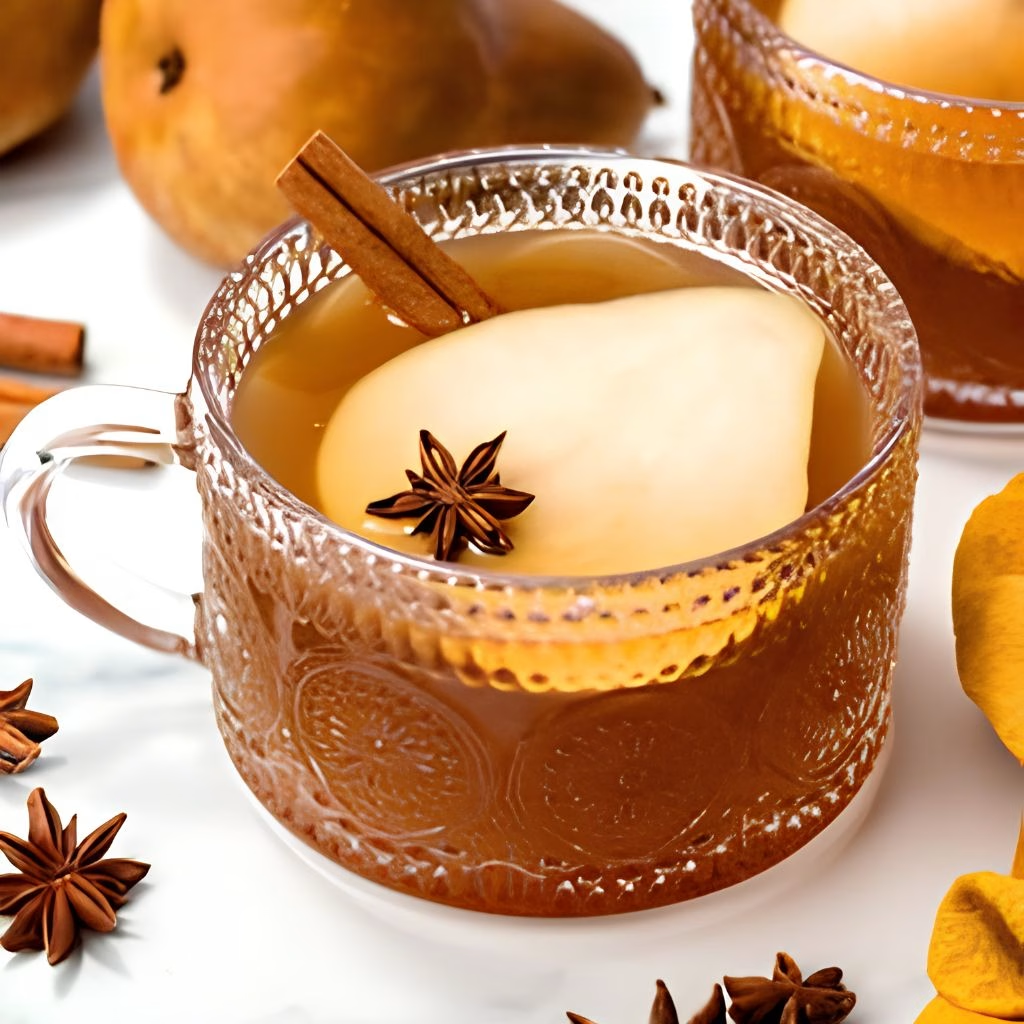
I made this Spiced Pear Cider Recipe for the first time on a chilly Saturday when I had way too many ripe pears sitting on my counter, and I haven’t looked back since. The whole house smelled like cinnamon and citrus within the hour, and I remember standing over the pot just breathing it in.
It’s a slow, simmer-all-afternoon kind of recipe, and I love that about it. If you’re putting together a cozy spread with a mix of homemade dishes, a Mixed Bean Salad Recipe can also add a fresh, lighter option alongside richer foods. If you’ve only ever had apple cider, this pear version is going to surprise you with how soft and mellow it tastes.
Cooking Time
- Prep Time: 10 minutes
- Cooking Time: 3 hours
- Total Time: 3 hours 10 minutes
Ingredients
- 12 cups water — this is your base, so use filtered water if your tap water has a strong taste
- 10 ripe pears, halved with the ends trimmed off — go for pears that are fragrant and slightly soft, since underripe ones give a flat flavor
- 1 orange, sliced — adds brightness that keeps the cider from tasting one-note sweet
- 5 cinnamon sticks — whole sticks give a warmer, less bitter flavor than ground cinnamon
- 2 teaspoons allspice — this is what gives the cider that cozy, mulled-drink flavor
- 3 whole star anise — a little goes a long way, so don’t be tempted to add more
- 1/2 cup honey — pick a mild honey so it doesn’t compete with the pear flavor
- 5 to 6 whole cloves — stick to this amount, since cloves turn bitter fast if you overdo them
- 1 Granny Smith apple, sliced — the tartness balances out all that pear sweetness
Note: This recipe makes enough cider to serve 4 to 6 people, depending on your mug size.
Equipment You Need
- Large stockpot — needs to be big enough to hold 12 cups of water plus all the fruit
- Potato masher — for breaking down the softened fruit after simmering
- Fine mesh sieve or cheesecloth — to strain out the pulp and spices
- Large bowl or second pot — to catch the strained cider
- Ladle — makes serving warm cider much easier and mess-free

How to Make Spiced Pear Cider Recipe?
This part is honestly more about patience than skill. You’re just building layers of flavor low and slow, so there’s no need to rush any of these steps.
Combine Everything in the Pot
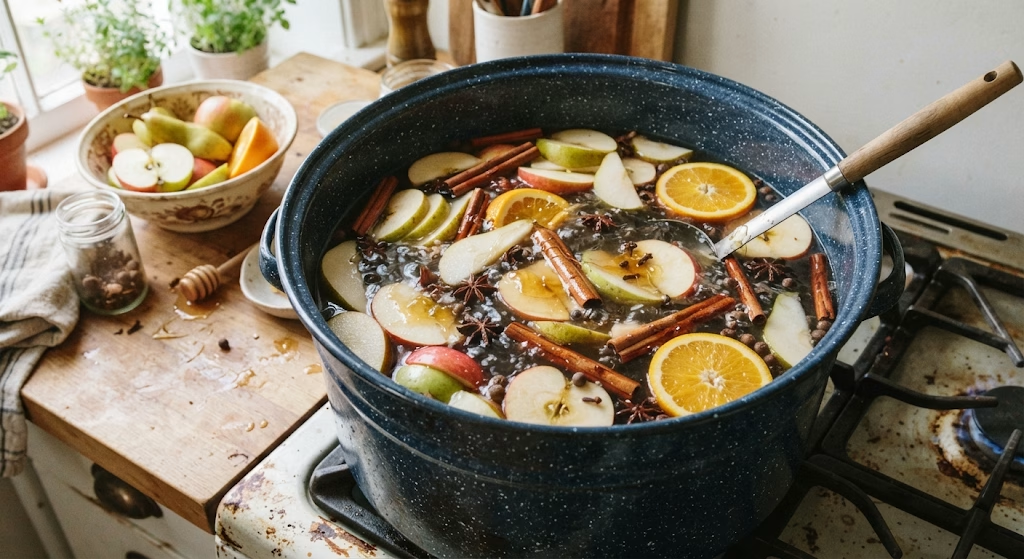
Add the water, pears, orange slices, cinnamon sticks, allspice, star anise, honey, cloves, and apple slices all into your large stockpot at once. There’s no need to layer anything in a specific order here.
Bring It to a Boil
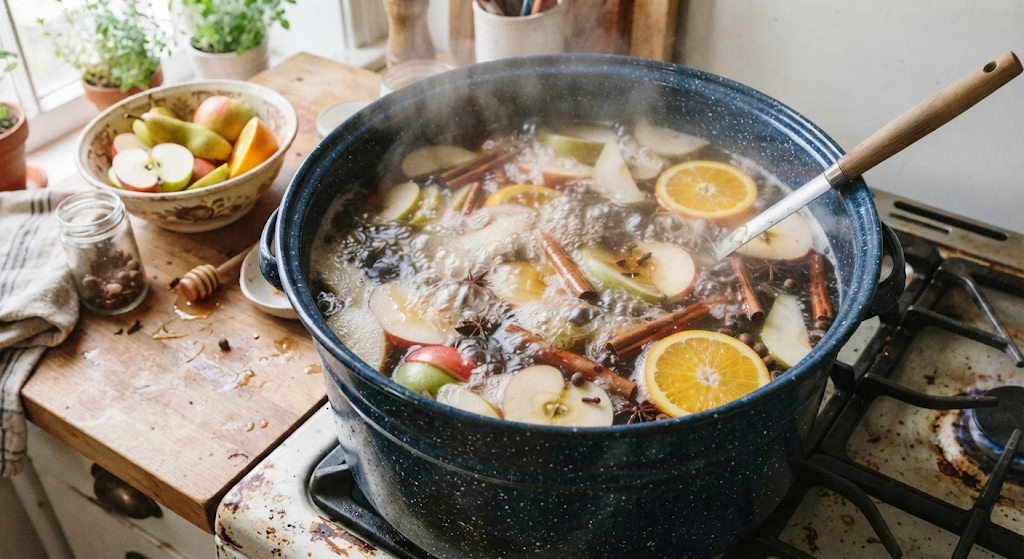
Set the pot over medium-high heat and let it come up to a full boil. This usually takes about 10 to 15 minutes depending on your stove, so keep an eye on it so it doesn’t boil over.
Simmer Covered
Once it’s boiling, cover the pot and drop the heat down to low. Let it simmer gently for a full hour so the fruit has time to soften and release its juices into the water.
Uncover and Continue Boiling
Take the lid off and let the cider boil, uncovered, for 2 more hours. This step reduces the liquid a bit and really concentrates all that pear and spice flavor.
Mash the Fruit
Once the time is up, pull the pot off the heat. Use a potato masher to break down the softened pears, orange, and apple right in the pot until everything is chunky and broken apart.
Strain It Well
Pour the mixture through a fine mesh sieve or cheesecloth into a clean bowl or pot. Press down gently on the solids with a spoon to squeeze out every bit of liquid you can.
Strain a Second Time
Run the cider through the sieve one more time. This second pass catches any leftover spice bits or fruit pulp that snuck through the first time.
Serve It Up
Ladle the cider into mugs while it’s warm, or pour it over ice if you’d rather have it cold. Either way, this cider is ready to drink as soon as it’s strained.
Additional Tips for Making This Recipe Better
I’ve made this cider more times than I can count now, and these are the little things that made a real difference for me.
- I always use the ripest pears I can find, because underripe ones make the cider taste watery instead of rich.
- I let the cider cool for about 10 minutes before straining, since scorching-hot liquid through cheesecloth is asking for a mess.
- I tie my cinnamon sticks and star anise into a cheesecloth pouch now, which makes straining faster since there’s less loose debris.
- I taste the cider right after straining and stir in a bit more honey if I need it, since pear sweetness varies a lot from batch to batch.
- I keep the heat on low during the long simmer, because a rolling boil the whole time makes the spices taste harsh.
Common Mistakes to Avoid
- I once used pears that were still firm and the cider came out thin and bland, so I always wait until mine are fragrant and give slightly when pressed.
- I skipped the second strain once and ended up with gritty bits at the bottom of my mug, so now I never skip that step.
- I added the honey too early during a rushed batch and couldn’t tell if the sweetness was right, so I taste and adjust it only after straining.
- I let the cider boil uncovered on high heat once thinking it would speed things up, but it just reduced too fast and tasted overly concentrated.
- I forgot to trim the pear ends on my first try, and the little woody bits made the cider harder to strain cleanly.
How to Serve Spiced Pear Cider
I like serving this cider warm in clear glass mugs so you can actually see that soft amber color come through. A cinnamon stick propped in each mug looks nice and doubles as a stirrer. For a cold version, I pour it over ice with a few thin apple or pear slices floating on top.
If I’m hosting, I keep the pot on low heat on the stove so people can help themselves throughout the evening, with a small bowl of extra cinnamon sticks and orange slices set out nearby for garnish. A savory dish such as a Sesame Chicken Meatball Bowls Recipe can also fit nicely alongside the cider when you’re serving a more substantial spread.
Variations
- Swap the honey for maple syrup if you want a deeper, slightly smoky sweetness.
- Add a splash of bourbon or spiced rum to individual mugs for an adults-only version.
- Use Bosc or Anjou pears if that’s what you have on hand, since both hold up well to the long simmer.
- Toss in a few slices of fresh ginger for extra warmth if you like a spicier cider.
- Leave out the honey entirely and sweeten with a sugar-free syrup if you’re watching your sugar intake.
- Skip the apple and use two extra pears instead for an all-pear version.
Nutritional Information
Here’s a general breakdown per serving, though this will shift a bit depending on how ripe your fruit is and how much honey you use.
- Calories: around 180 per cup
- Protein: less than 1 gram
- Carbohydrates: approximately 47 grams
- Fat: 0 grams
Make Ahead and Storage
You can make this cider up to 4 days ahead of time and store it in an airtight container or pitcher in the refrigerator. It actually tastes even better the next day once the spices have had more time to settle in.
To reheat, warm it gently on the stovetop over low heat, or microwave individual mugs in 30-second bursts until hot. Avoid boiling it again, since that can dull the fresh pear flavor.
For longer storage, pour the cooled cider into freezer-safe containers, leaving a bit of room at the top for expansion, and freeze for up to 3 months. Thaw it in the fridge overnight before reheating.
Why You’ll Love This Recipe?
This cider has become one of my go-to fall drinks, and here’s why I keep coming back to it.
- It’s genuinely easy to make. Once everything is in the pot, you’re mostly just waiting and stirring occasionally.
- It fills the whole house with a cozy, spiced smell that instantly makes it feel like fall, even before you take a sip.
- It’s naturally dairy-free and easy to adapt for different diets, so it works for pretty much anyone at a gathering.
- It’s just as good served warm in winter as it is poured over ice in early fall, so it stretches across the whole season.
- It reheats and stores beautifully, which means one big batch can last you the better part of a week.
FAQs
Can I make this into a mulled pear cider recipe?
Yes, just add a cinnamon stick and orange slice to each mug when serving, and warm the cider gently before pouring for that classic mulled feel.
Is this a hot pear cider or can I serve it cold?
Both work well. Serve it hot straight after straining, or chill it and pour over ice for a refreshing cold version.
Can I turn this into pear cider alcohol at home?
You can stir a splash of bourbon, rum, or brandy into individual mugs after straining, rather than adding alcohol to the whole pot.
What’s the difference between this and a perry pear cider recipe?
Perry is a fermented, alcoholic pear drink similar to hard cider, while this recipe is a non-fermented, spiced pear juice meant to be enjoyed warm or cold.
Can I make this an apple pear cider recipe instead?
Yes, just use a mix of half pears and half apples instead of mostly pears, and the rest of the method stays exactly the same.
How sweet is this, and can I make a sweet pear cider version?
It’s mildly sweet as written, but you can stir in extra honey or maple syrup after straining if you prefer a sweeter cup.
How to make pear cider without a press?
This stovetop method skips a press entirely. Simmering and mashing the fruit, then straining through cheesecloth, pulls out plenty of juice without any special equipment.
Is this a pear non-alcoholic cider?
Yes, this recipe as written contains no alcohol at all, making it a safe, warm drink for the whole family.

Spiced Pear Cider Recipe
Ingredients
Method
- Add the water, pears, orange slices, cinnamon sticks, allspice, star anise, honey, cloves, and apple slices all into your large stockpot at once. There’s no need to layer anything in a specific order here.
- Set the pot over medium-high heat and let it come up to a full boil. This usually takes about 10 to 15 minutes depending on your stove, so keep an eye on it so it doesn’t boil over.
- Once it’s boiling, cover the pot and drop the heat down to low. Let it simmer gently for a full hour so the fruit has time to soften and release its juices into the water.
- Take the lid off and let the cider boil, uncovered, for 2 more hours. This step reduces the liquid a bit and really concentrates all that pear and spice flavor.
- Once the time is up, pull the pot off the heat. Use a potato masher to break down the softened pears, orange, and apple right in the pot until everything is chunky and broken apart.
- Pour the mixture through a fine mesh sieve or cheesecloth into a clean bowl or pot. Press down gently on the solids with a spoon to squeeze out every bit of liquid you can.
- Run the cider through the sieve one more time. This second pass catches any leftover spice bits or fruit pulp that snuck through the first time.
- Ladle the cider into mugs while it’s warm, or pour it over ice if you’d rather have it cold. Either way, this cider is ready to drink as soon as it’s strained.
Notes
- I always use the ripest pears I can find, because underripe ones make the cider taste watery instead of rich.
- I let the cider cool for about 10 minutes before straining, since scorching-hot liquid through cheesecloth is asking for a mess.
- I tie my cinnamon sticks and star anise into a cheesecloth pouch now, which makes straining faster since there’s less loose debris.
- I taste the cider right after straining and stir in a bit more honey if I need it, since pear sweetness varies a lot from batch to batch.
- I keep the heat on low during the long simmer, because a rolling boil the whole time makes the spices taste harsh.