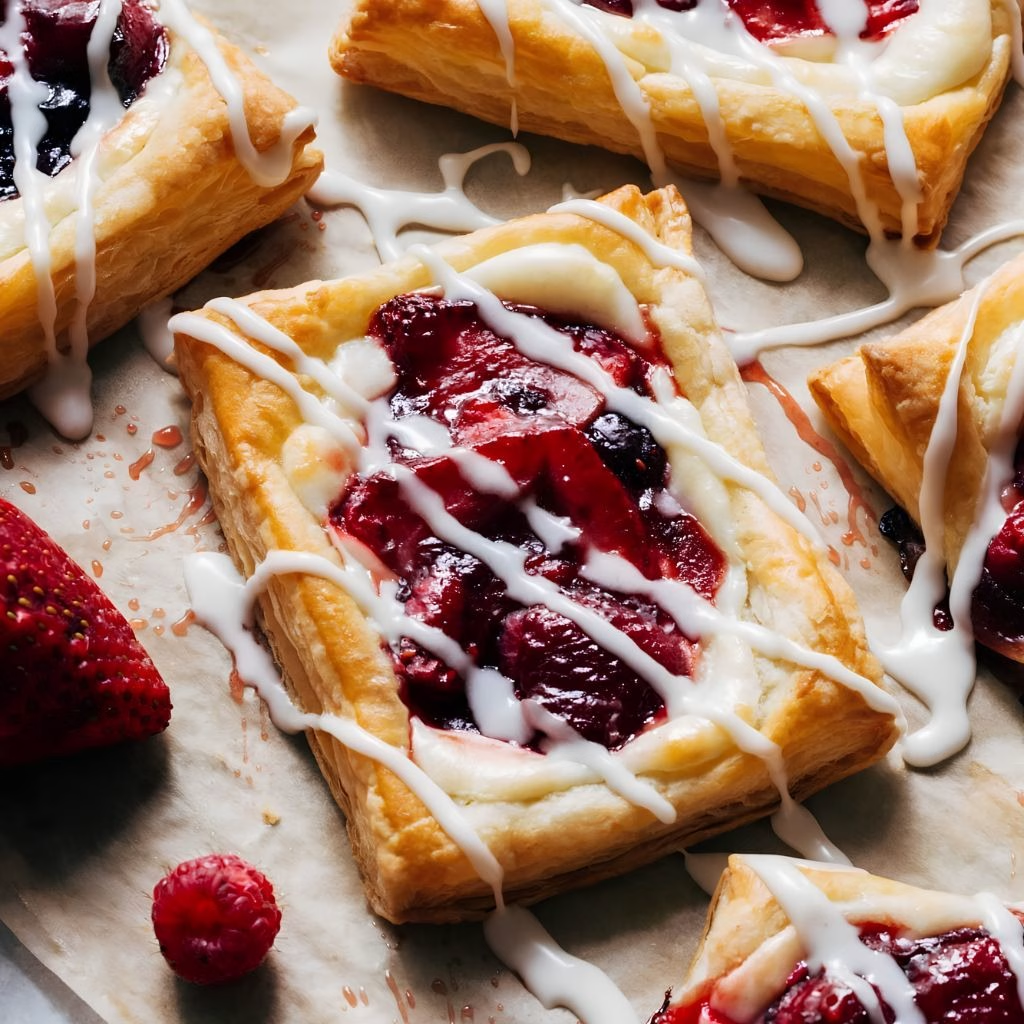
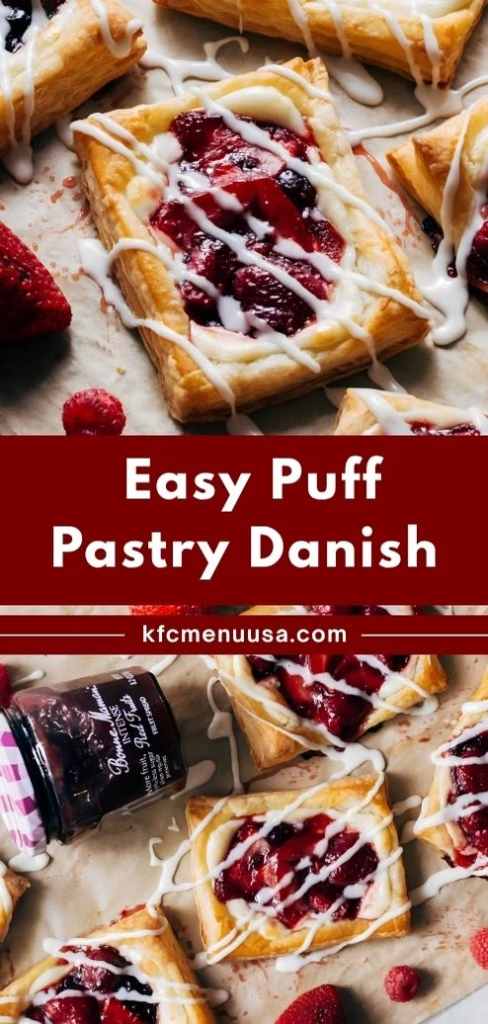
I still remember the first time I pulled a tray of this Easy Puff Pastry Danish Recipe out of the oven golden, puffed up, and smelling like a real bakery. I couldn’t believe something this pretty came from a box of frozen dough and a handful of pantry staples. Once I saw how little effort it actually took, this became my go-to for lazy weekend mornings and last-minute brunch guests.
If you’re putting together a comforting brunch spread, a Broccoli Chicken Spaghetti Pasta Recipe can also make a delicious savory option alongside these sweet pastries. If you’ve ever wanted to fake being a pastry chef without the stress, this is the recipe I’d hand you. Let me walk you through exactly how I make it.
Cooking Time
- Prep Time: 15 minutes
- Cook Time: 15 minutes
- Total Time: 30 minutes
Ingredients
- 1 box puff pastry (2 sheets), thawed in the fridge overnight – cold, properly thawed dough puffs up much better than dough that’s been rushed at room temperature
- 8 ounces cream cheese, softened – softening it first is the secret to a lump-free, silky filling
- 1 egg yolk – gives the filling extra richness and a smoother texture
- 3 tablespoons granulated sugar – just enough to sweeten the cheese layer without overpowering the jam
- 1/4 teaspoon vanilla extract – adds warmth and rounds out the flavor
- 1/2 teaspoon almond extract – my favorite trick for making the filling taste bakery-style
- 6 tablespoons berry jam or preserves – use your favorite flavor, homemade or store-bought both work great
- 3/4 cup powdered sugar – the base for the glaze that goes on top once everything cools
- 1/4 teaspoon almond or vanilla extract – flavors the glaze to match the filling
- Water, as needed – added a little at a time to get the glaze to the right consistency
- 1 egg – whisked with water for the egg wash that gives the edges a shiny, golden finish
- 2 tablespoons water – thins the egg for an easy, even brush-on wash
- Coarse sugar, optional – sprinkled on the edges for a little sparkle and crunch
Note: This recipe makes about 12 pastries and comfortably serves 6 people.
Equipment You Need
- Rimmed baking sheet – holds the pastries and catches any filling that bubbles over
- Parchment paper – keeps the pastries from sticking and makes cleanup easy
- Rolling pin – smooths out the puff pastry sheets before cutting
- Mixing bowl – for whipping up the cream cheese filling
- Hand mixer or whisk – helps get the filling completely smooth
- Small paring knife – used to score the dough and cut it into rectangles
- Pastry brush – applies the egg wash evenly around the edges
- Cooling rack – lets the pastries cool evenly without getting soggy on the bottom
How to Make an Easy Puff Pastry Danish Recipe?
This recipe comes together in four simple stages, and none of them are complicated. I promise you don’t need any special pastry skills to pull this off. Here’s exactly how I do it every single time.
Step 1: Whip Up the Cheese Filling
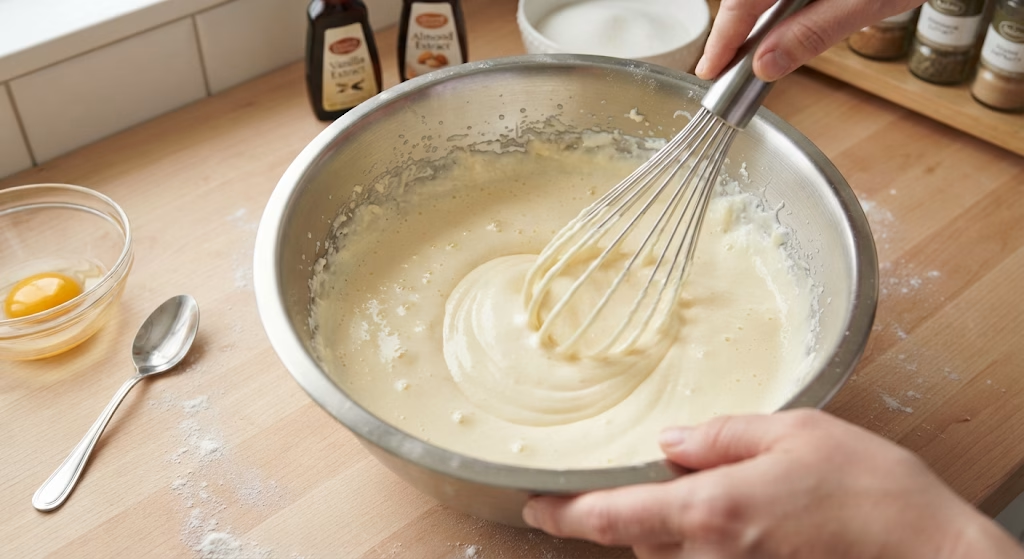
I start by beating the softened cream cheese until it’s light and fluffy, then mix in the egg yolk, sugar, and both extracts. Everything should come together into one smooth, creamy mixture with no lumps. I set this bowl aside while I work on the dough.
Step 2: Roll and Cut the Puff Pastry
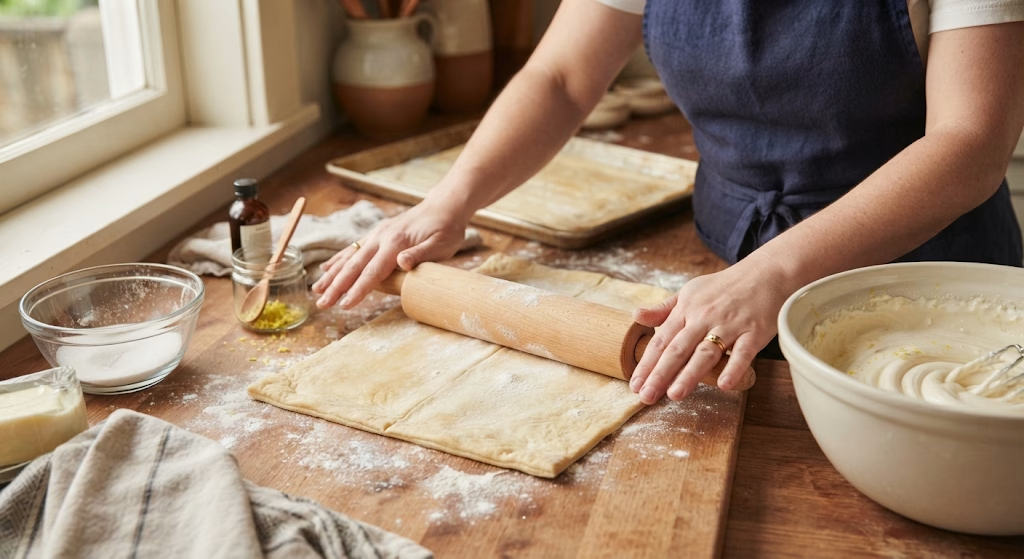
I unfold one sheet of pastry onto a lightly floured counter and gently roll it out so it’s even, without stretching it too far. Then I cut along the natural fold lines to make three strips, and slice those in half to get six neat rectangles per sheet.
Step 3: Score, Fill, and Egg Wash
Using my paring knife, I lightly score a border around each rectangle without cutting all the way through this helps the edges puff up around the filling. I spoon cream cheese filling into the center, add a small well of jam, then brush the edges with egg wash and a sprinkle of coarse sugar.
Step 4: Bake, Cool, and Glaze
I bake the pastries at 400°F for about 14 to 16 minutes until they’re puffed and golden brown. They’ll deflate slightly as they cool, which is completely normal. Once cooled, I finish them with a simple powdered sugar glaze drizzled on top.
Additional Tips for Making This Recipe Better
After making these more times than I can count, here are the little things I’ve learned along the way.
- I always thaw my puff pastry in the fridge overnight instead of on the counter it keeps the butter cold, which is what makes the layers puff up properly.
- I go light on the jam because it spreads and bubbles as it bakes, and too much can overflow the edges.
- I make sure my cream cheese and egg yolk are truly at room temperature before mixing, or the filling ends up lumpy.
- I like brushing the egg wash only on the outer border, not the filling, so the middle stays soft and doesn’t get a weird sheen.
- I let the pastries cool almost completely before glazing, otherwise the glaze just melts and disappears into the pastry.
Common Mistakes to Avoid
I’ve made plenty of mistakes with this recipe, so here’s what I try to avoid now.
- Rushing the thawing process: I learned the hard way that a warm, soft sheet of pastry doesn’t puff nearly as well as one that’s been chilled overnight.
- Overfilling with jam: I used to pile it on, and it always spilled over the sides and burned onto the pan.
- Cutting all the way through when scoring: I try to only go about halfway through the dough so the border stays intact and puffs upward.
- Skipping the egg wash: I once skipped it to save time, and the pastries came out pale instead of that beautiful golden brown.
- Glazing while still warm: I’ve ruined more than one batch by glazing too early. Patience really does pay off here.
How to Serve Easy Puff Pastry Danish Recipe?
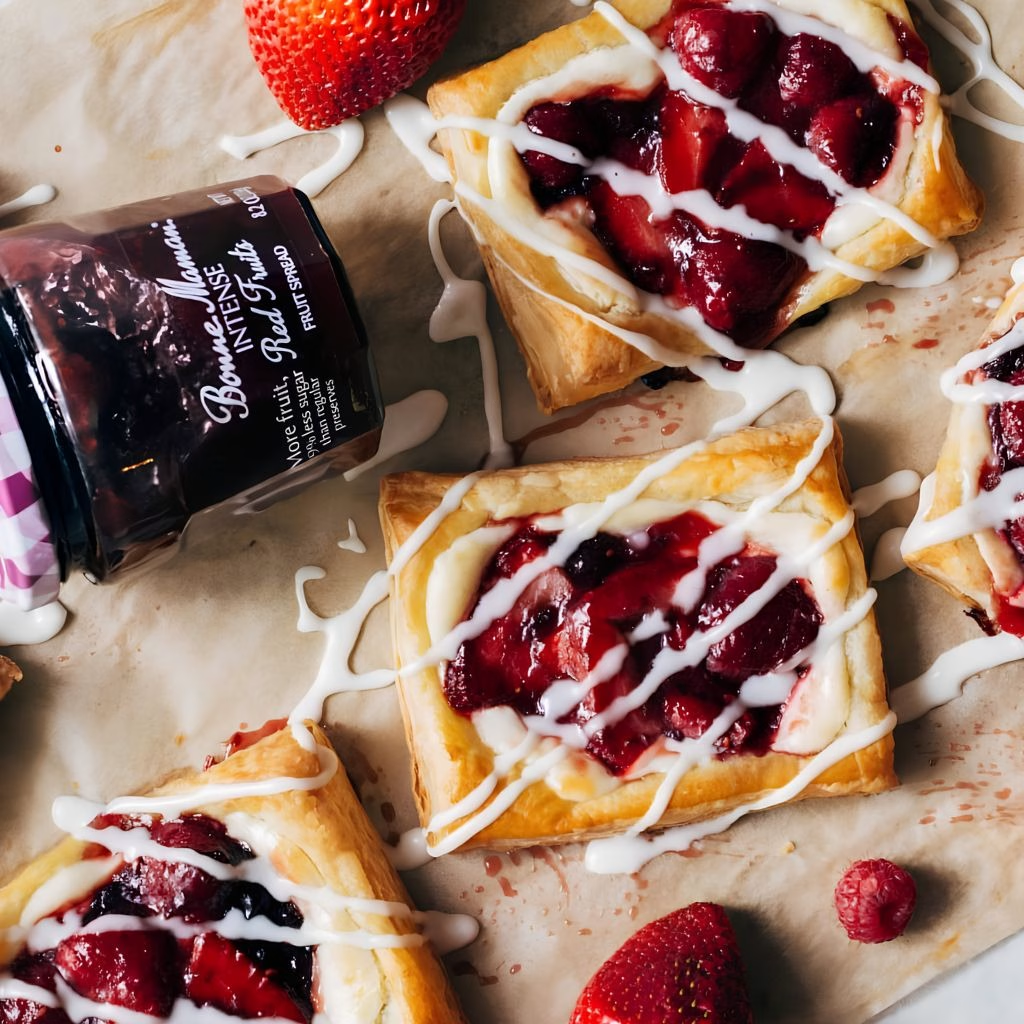
I love setting these out on a large platter or wooden board for brunch. They look so impressive with almost no extra effort. A light dusting of powdered sugar or a few extra drizzles of glaze right before serving makes them look extra polished. I sometimes scatter a few fresh berries around the platter to match the jam flavor and add a pop of color.
They’re best served slightly warm or at room temperature alongside coffee, tea, or a mimosa if it’s a special brunch. For a savory addition to the same spread, I sometimes serve Smoky Salmon and Potato Salad Delight alongside the pastries.
Variations
- Swap the berry jam for lemon curd, apple butter, or apricot preserves for a different flavor twist.
- Use a dairy-free cream cheese alternative if you want a dairy-free version of the filling.
- Try a reduced-sugar jam or skip the glaze for a lighter, less sweet version.
- Add a pinch of cinnamon or orange zest to the filling for extra flavor depth.
- Swap almond extract for lemon zest if you’re not a fan of almond flavoring.
- Use chocolate hazelnut spread instead of jam for a dessert-style Danish.
Nutritional Information
Here’s a rough idea of what’s in each pastry, based on a batch of 12.
- Calories: About 220 per pastry
- Protein: Around 3 grams
- Carbohydrates: Approximately 20 grams
- Fat: Roughly 14 grams
Make Ahead and Storage
You can prepare the cream cheese filling up to a day in advance and keep it covered in the fridge until you’re ready to assemble and bake. I don’t recommend assembling the pastries too far ahead, since the raw dough is best worked with soon after cutting.
Once baked, these keep well in an airtight container in the fridge for up to 3 days. I like warming them slightly in the oven or toaster oven before serving again so the pastry crisps back up.
For freezing, baked pastries can be frozen for up to a month; just thaw and reheat gently in the oven. I haven’t tried freezing the unbaked assembled pastries myself, but it’s worth experimenting with if you want a make-ahead breakfast option.
Why You’ll Love This Recipe?
This one earns a permanent spot in my recipe rotation for so many reasons.
- It’s incredibly easy: With store-bought puff pastry, there’s no dough-making involved, so even beginners can pull this off with confidence.
- It’s endlessly customizable: I can swap the jam flavor depending on the season or what I have in the fridge, so it never feels repetitive.
- It looks impressive with barely any effort: These always get compliments, even though they take just 30 minutes start to finish.
- It’s perfect for a crowd: I can easily double the batch for brunch parties or holiday mornings without much extra work.
- It satisfies both sweet tooth and comfort food cravings: The tangy cream cheese balanced with sweet jam hits that perfect Danish flavor every time.
FAQs
Can I make a simple puff pastry Danish without cream cheese?
Yes, you can skip the cheese filling completely and just fill the scored center with jam, fruit preserves, or a spoonful of pie filling instead.
Can I make an easy Danish pastry recipe with puff pastry from a BBC Good Food style approach?
Yes, most versions follow the same basic method: thawed puff pastry, a simple filling, and a hot oven — so this recipe works the same way regardless of which method inspired it.
Can I make an easy blueberry Danish with puff pastry instead of berry jam?
Absolutely, you can swap the berry jam for blueberry pie filling or blueberry preserves for a similar result.
Can I make an easy apple Danish using this puff pastry method?
Yes, just replace the jam with a spoonful of apple pie filling or homemade cinnamon apple compote for a cozy fall twist.
Can I make an easy cheese Danish recipe without puff pastry?
Yes, you can use crescent roll dough or a simple pastry dough instead, though the texture will be less flaky than puff pastry.
Can I make a puff pastry custard Danish version of this recipe?
Yes, swap the jam for a spoonful of vanilla pastry cream or custard for a classic custard-style Danish.
Can these Danishes be frozen after baking?
Yes, baked pastries freeze well for up to a month; just reheat gently in the oven after thawing.

Easy Puff Pastry Danish Recipe
Ingredients
Method
- I start by beating the softened cream cheese until it’s light and fluffy, then mix in the egg yolk, sugar, and both extracts. Everything should come together into one smooth, creamy mixture with no lumps. I set this bowl aside while I work on the dough.
- I unfold one sheet of pastry onto a lightly floured counter and gently roll it out so it’s even, without stretching it too far. Then I cut along the natural fold lines to make three strips, and slice those in half to get six neat rectangles per sheet.
- Using my paring knife, I lightly score a border around each rectangle without cutting all the way through this helps the edges puff up around the filling. I spoon cream cheese filling into the center, add a small well of jam, then brush the edges with egg wash and a sprinkle of coarse sugar.
- I bake the pastries at 400°F for about 14 to 16 minutes until they’re puffed and golden brown. They’ll deflate slightly as they cool, which is completely normal. Once cooled, I finish them with a simple powdered sugar glaze drizzled on top.
Notes
- I always thaw my puff pastry in the fridge overnight instead of on the counter it keeps the butter cold, which is what makes the layers puff up properly.
- I go light on the jam because it spreads and bubbles as it bakes, and too much can overflow the edges.
- I make sure my cream cheese and egg yolk are truly at room temperature before mixing, or the filling ends up lumpy.
- I like brushing the egg wash only on the outer border, not the filling, so the middle stays soft and doesn’t get a weird sheen.
- I let the pastries cool almost completely before glazing, otherwise the glaze just melts and disappears into the pastry.