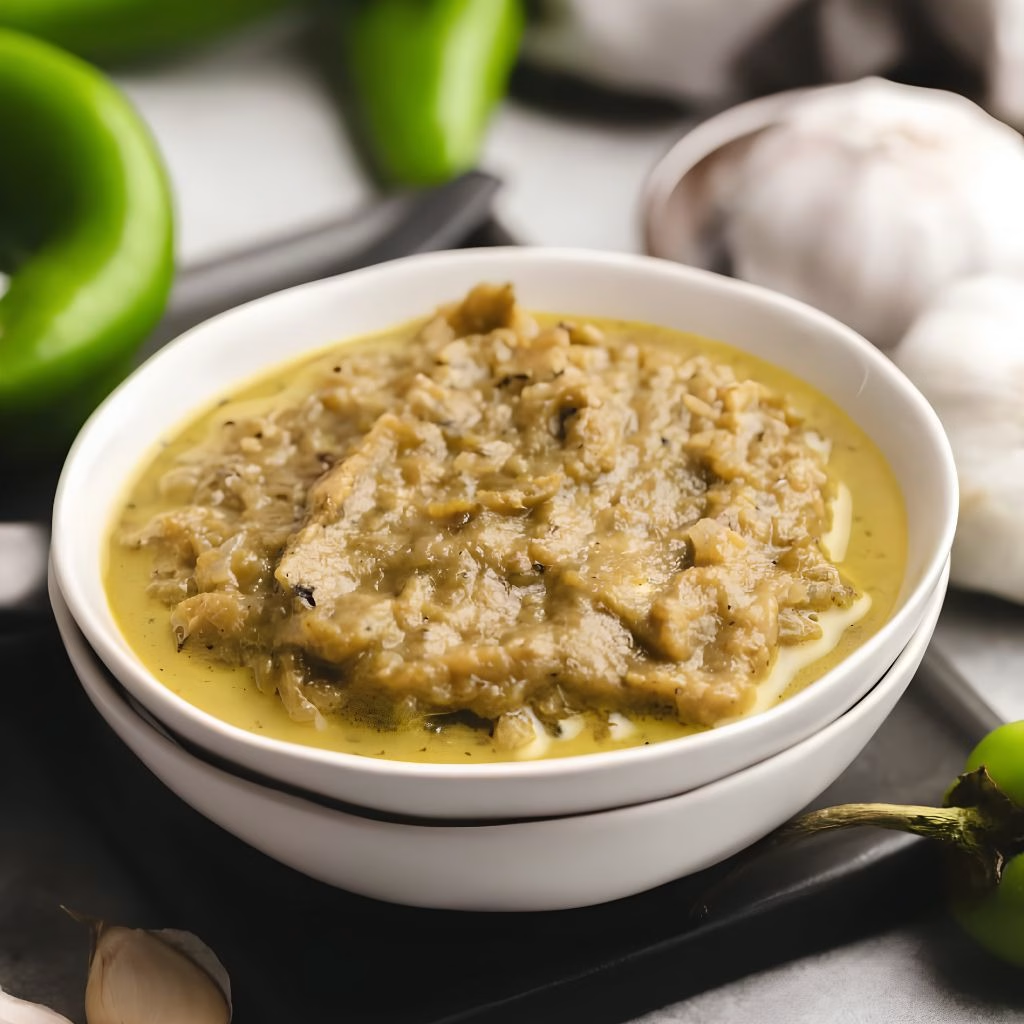
I first made this Hatch Green Chile Sauce Recipe after a friend handed me a bag of fire-roasted chiles straight from a roadside roaster, and I honestly didn’t know what to do with all of them. I blended a batch together with onion, garlic, lime and a little honey, and it turned into the smoky, tangy sauce I now keep in my fridge at all times.
It takes fifteen minutes, tastes like something from a Southwestern restaurant, and works on almost everything I cook. Once you try spooning it over a bean burrito, you’ll understand why I never let this sauce run out. If you love bold, roasted flavors, this is going to become one of your regulars too.
Cooking Time
- Prep Time: 10 minutes
- Cook Time: 5 minutes
- Total Time: 15 minutes
Equipment You’ll Need
- Food processor – blends the chiles, onion and garlic into a smooth, pourable sauce
- Medium skillet – sweats the onion and garlic to soften their sharp edges
- Cutting board and knife – for chopping the onion, garlic and cilantro
- Measuring cups and spoons – keeps the vinegar, honey and salt balanced
- Rubber spatula – scrapes down the food processor so nothing gets left behind
- Airtight container or jar – stores the finished sauce in the fridge
Ingredients
- 1 cup fire-roasted hatch green chiles, stemmed and seeded – the star of the sauce, so use good quality roasted chiles for the best smoky flavor
- 1 tablespoon olive oil – softens the onion and garlic without adding a heavy taste
- 1 medium yellow onion, chopped – sweeten this in the skillet first, don’t add it raw or it will overpower the sauce
- 3 cloves garlic, minced – fresh garlic makes a real difference here, skip the jarred kind if you can
- ½ cup cilantro, stems and leaves, roughly chopped – adds a fresh, herby lift that balances the smoky chiles
- 1 lime, zested and juiced – use fresh lime, not bottled juice, for the brightest flavor
- ¼ cup apple cider vinegar – gives the sauce its tang and helps it keep longer
- ¼ cup honey – tames the heat, so cut back slightly if your chiles are on the mild side
- 1 teaspoon salt – always taste and adjust at the end, since chiles vary in saltiness
Note: this recipe makes about 2 cups of sauce, enough for 8 servings.
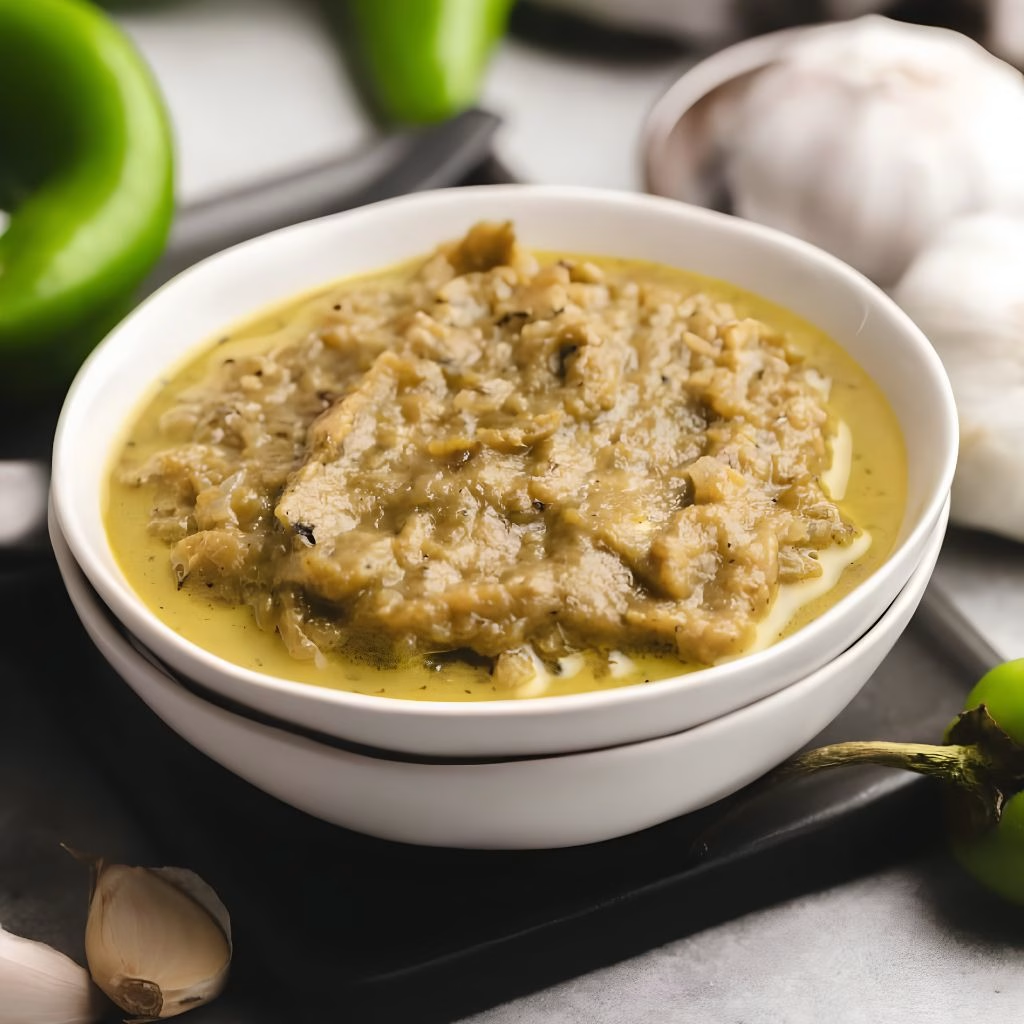
How to Make Hatch Green Chile Sauce Recipe?
This sauce comes together in two short stages: softening the aromatics, then blending everything smooth. I like to have all my ingredients prepped and measured before I start, since the actual cooking only takes a few minutes. Here’s exactly how I put it together every time.
Sweat the Onion and Garlic
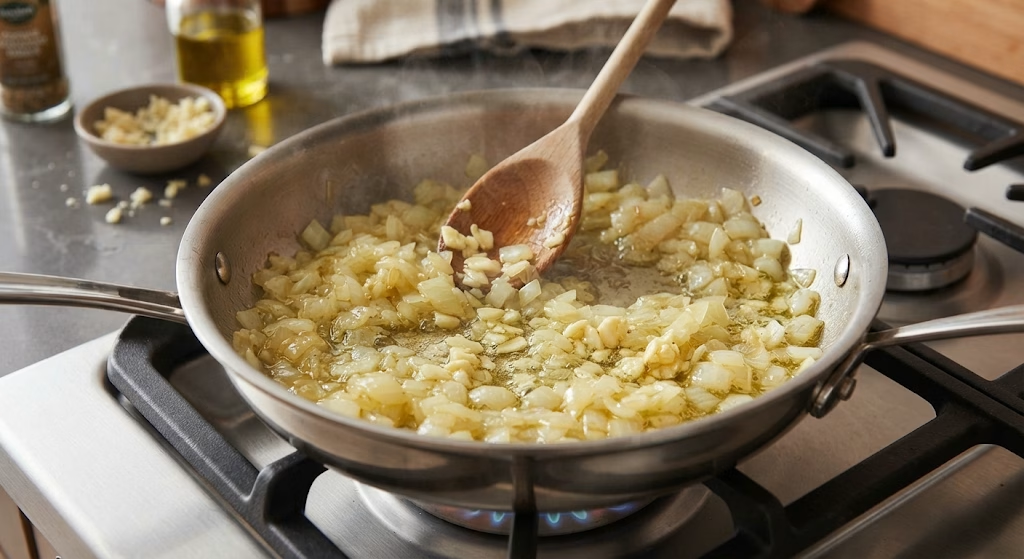
Heat the olive oil in a medium skillet over medium-high heat. Add the chopped onion and cook for about five minutes, stirring occasionally, until it turns soft and translucent. Stir in the garlic during the last minute and cook just until it smells fragrant, taking care not to let either one brown.
Blend the Chiles
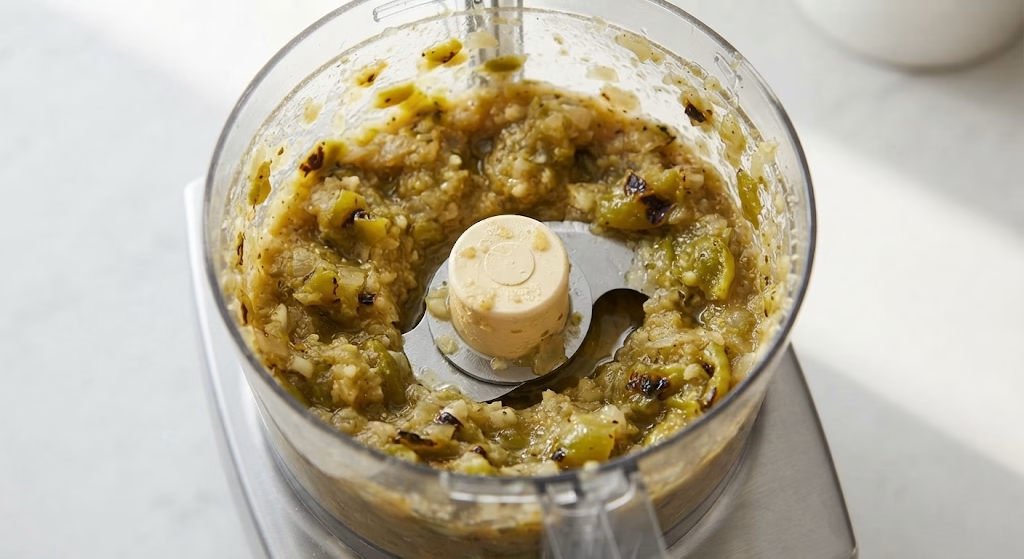
Transfer the softened onion and garlic straight into a food processor. Add the fire-roasted hatch chiles and pulse eight to ten times until everything forms a rough, thick paste. I don’t fully puree it at this stage, since it blends smoother once the wet ingredients go in.
Add the Remaining Ingredients
Add the chopped cilantro, lime zest, lime juice, cider vinegar, honey and salt to the food processor. Puree everything until smooth, stopping once or twice to scrape down the sides. This is where the sauce really comes together into that glossy, pourable texture.
Taste and Adjust
Give the sauce a taste before you call it finished, since hatch chiles can range from mild to seriously spicy. If it needs more brightness, add a touch more lime juice; if it tastes too sharp, a little extra honey mellows it right out.
Thin It Out If Needed
If you’d like a thinner, more pourable sauce, add a tablespoon or two of hot water and pulse again to combine. I do this when I’m using the sauce as a marinade or drizzling it over eggs, since a looser consistency spreads more easily.
Store and Serve
Transfer the finished sauce to an airtight container and refrigerate it until you’re ready to use it. It’s ready to eat right away, but I think the flavors settle in nicely after an hour or two in the fridge.
Additional Tips for Making This Recipe Better
I’ve made this sauce more times than I can count, and these are the small tweaks that make it better every time.
- I always taste my chiles before blending, since the heat level swings wildly and I’d rather adjust the honey early than fix it later
- I roast a big batch of onions and garlic ahead of time when I know I’ll be making this sauce often that week
- I never skip the lime zest, since it adds a brightness that plain lime juice alone can’t give
- I let the sauce sit for at least thirty minutes before serving, because the flavors blend together so much better once it rests
- I keep a small jar of hot water nearby while blending in case I need to loosen the texture
Common Mistakes to Avoid
- I once added the onion and garlic raw straight into the blender, and it made the whole sauce taste harsh and overpowering
- I’ve over-browned the onions before, and it gave the sauce a bitter, burnt edge instead of a smooth sweetness
- I forgot to seed my chiles once, and the sauce turned out far spicier than I expected
- I’ve used bottled lime juice in a pinch, and it never tastes as fresh or balanced as juicing my own lime
- I skipped tasting before storing the sauce one time, and I ended up with a batch that needed way more salt once it was already in the fridge
How to Serve Hatch Green Chile Sauce
This sauce is endlessly versatile, and I usually have a few different ways to use it at once. I love spooning it straight over scrambled eggs or breakfast tacos for a smoky kick first thing in the morning. It also makes a fantastic dip for tortilla chips, especially when you swirl in a spoonful of sour cream for a creamy green chile crema.
For dinner, I’ll drizzle it over grilled chicken or pork, or use it as the finishing sauce for a simple bean burrito when I want something quick and satisfying. For presentation, pour it into a small dish, top it with a few extra cilantro leaves and a lime wedge, and set it out alongside whatever you’re serving.
Variations
- Swap the honey for maple syrup or agave if you want a different kind of sweetness
- Leave out the honey entirely for a sugar-free version, adding a pinch more salt to balance the flavor
- Blend in a spoonful of sour cream or Greek yogurt for a creamy green chile sauce that works beautifully as a dip
- Use canned hatch chiles instead of fresh roasted ones when they’re out of season
- Add a pinch of cumin and coriander if you want the flavor to lean closer to an Indian-style green chili sauce
- Simmer the finished sauce briefly with a touch of flour and stock to turn it into a thicker hatch green chile enchilada sauce
- Add a diced jalapeño or serrano if you want extra heat beyond what the hatch chiles bring on their own
Nutritional Information
Here’s a quick look at what you’re getting per serving of this sauce, based on an 8-serving batch.
- Calories: about 78 kcal
- Protein: about 1 gram
- Carbohydrates: about 16 grams
- Fat: about 2 grams
Make Ahead and Storage
You can make this sauce a day or two ahead of time, since the flavors actually deepen the longer it sits in the fridge. Just store it in an airtight container and give it a quick stir before serving.
Refrigeration: this sauce keeps well in the refrigerator for about a week when stored in a sealed container.
Freezing: I like to freeze it in ice cube trays, then pop the frozen cubes into a freezer bag once solid. That way I can pull out just a spoonful or two whenever I need it, and it keeps well in the freezer for up to three months.
Reheating: this sauce doesn’t need to be heated, since it’s meant to be served cold or at room temperature. If you’re adding it to a hot dish, just stir it in during the last minute of cooking so the fresh lime flavor doesn’t cook off.
Why You’ll Love This Recipe?
This hatch chile sauce has earned a permanent spot in my fridge, and here’s why I think it deserves one in yours too.
- It’s ready in fifteen minutes: between the quick sauté and a few pulses in the food processor, there’s barely any real cooking involved.
- It’s incredibly versatile: I use it as a dip, a marinade, a topping and a sauce base, so one batch covers a whole week of meals.
- It’s easy to adjust the heat: since hatch chiles vary so much in spice, I can dial the flavor up or down depending on what I have on hand.
- It keeps beautifully: whether I refrigerate or freeze it, this sauce holds its flavor for weeks without losing that fresh, smoky taste.
- It’s naturally dairy-free and gluten-free: I can serve it to pretty much anyone at the table without worrying about dietary restrictions.
FAQs
Can I use canned hatch chiles instead of fresh roasted ones?
Yes, canned hatch chiles work well here. Just look for a medium to hot variety, since canned chiles tend to be milder than fresh roasted ones.
Is this the best hatch green chile sauce recipe for enchiladas?
It works wonderfully as an enchilada sauce base. Simmer it briefly with a little stock and flour if you want a thicker, more traditional hatch green chile enchilada sauce.
How does this compare to 505 hatch green chile sauce?
Store-bought jars like 505 are convenient, but this homemade version lets you control the heat, sweetness and freshness completely, which I personally prefer.
Can I make this a mexican green chili sauce with a smokier flavor?
Absolutely. Roasting your chiles a little longer before peeling them gives the sauce an even deeper, smokier taste that leans more traditional.
Is this sauce vegan?
Technically no, since it contains honey. Swap in maple syrup or agave if you want a fully plant-based version.

Hatch Green Chile Sauce Recipe
Ingredients
Method
- Heat the olive oil in a medium skillet over medium-high heat. Add the chopped onion and cook for about five minutes, stirring occasionally, until it turns soft and translucent. Stir in the garlic during the last minute and cook just until it smells fragrant, taking care not to let either one brown.
- Transfer the softened onion and garlic straight into a food processor. Add the fire-roasted hatch chiles and pulse eight to ten times until everything forms a rough, thick paste. I don’t fully puree it at this stage, since it blends smoother once the wet ingredients go in.
- Add the chopped cilantro, lime zest, lime juice, cider vinegar, honey and salt to the food processor. Puree everything until smooth, stopping once or twice to scrape down the sides. This is where the sauce really comes together into that glossy, pourable texture.
- Give the sauce a taste before you call it finished, since hatch chiles can range from mild to seriously spicy. If it needs more brightness, add a touch more lime juice; if it tastes too sharp, a little extra honey mellows it right out.
- If you’d like a thinner, more pourable sauce, add a tablespoon or two of hot water and pulse again to combine. I do this when I’m using the sauce as a marinade or drizzling it over eggs, since a looser consistency spreads more easily.
- Transfer the finished sauce to an airtight container and refrigerate it until you’re ready to use it. It’s ready to eat right away, but I think the flavors settle in nicely after an hour or two in the fridge.
Notes
- I always taste my chiles before blending, since the heat level swings wildly and I’d rather adjust the honey early than fix it later
- I roast a big batch of onions and garlic ahead of time when I know I’ll be making this sauce often that week
- I never skip the lime zest, since it adds a brightness that plain lime juice alone can’t give
- I let the sauce sit for at least thirty minutes before serving, because the flavors blend together so much better once it rests
- I keep a small jar of hot water nearby while blending in case I need to loosen the texture