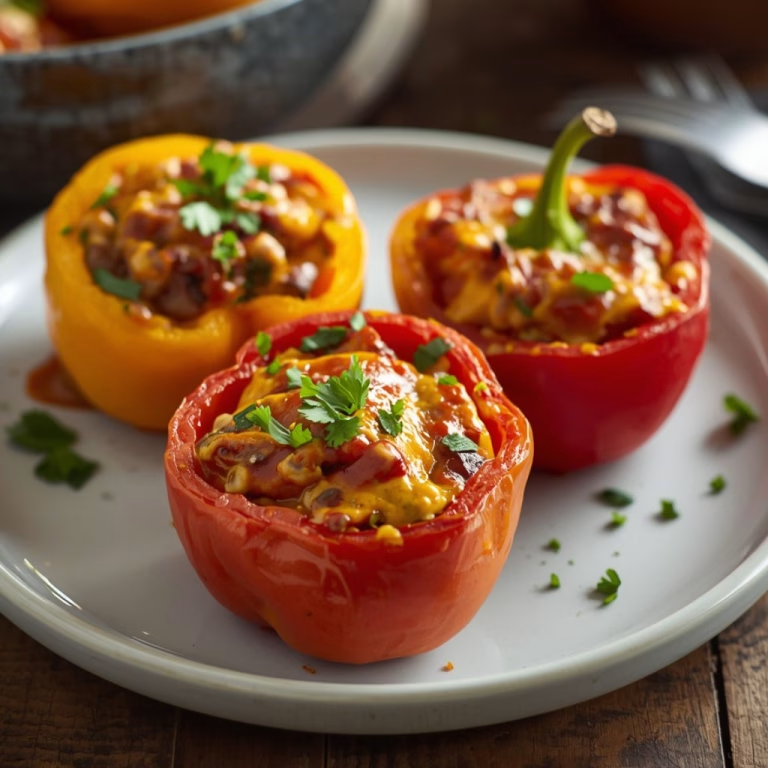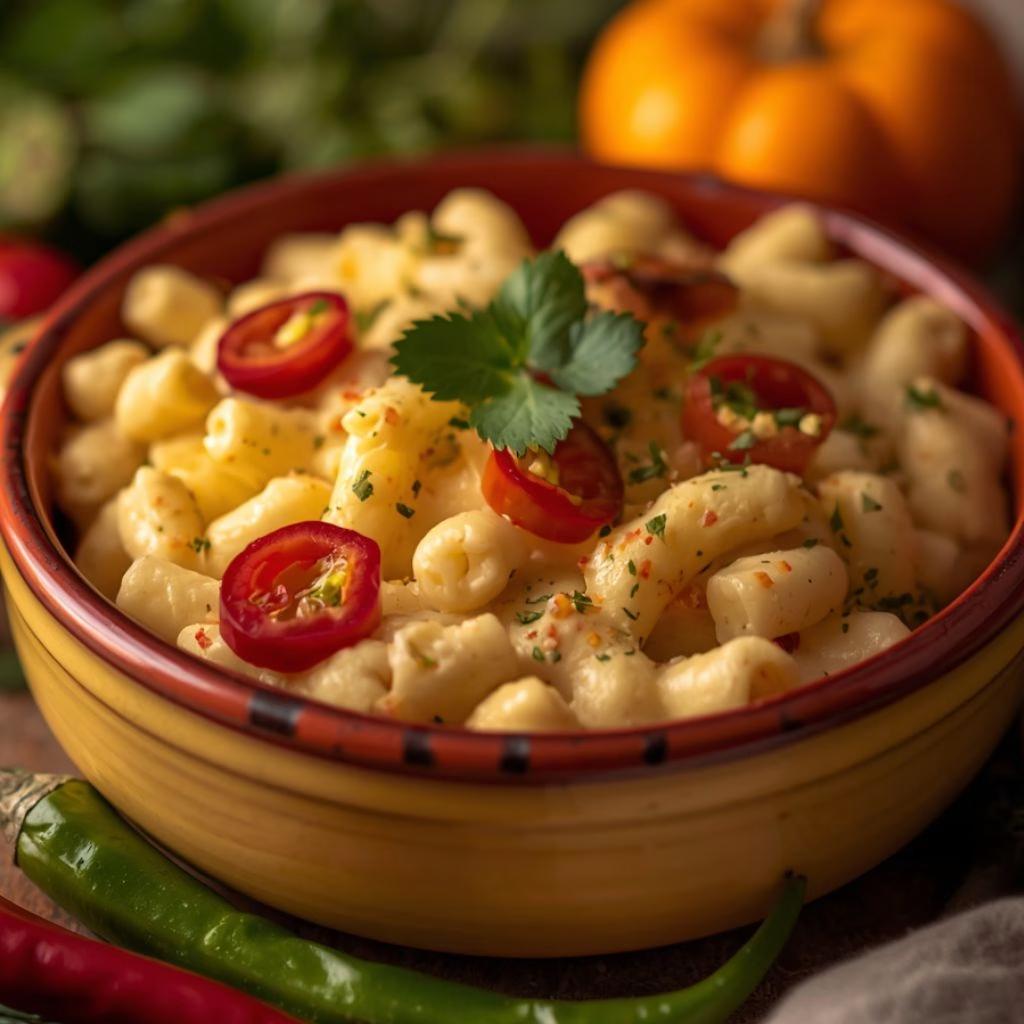
I stumbled onto this Hatch Chile Mac and Cheese Recipe during my annual chile stock-up, and it turned into one of the best decisions I’ve made in my kitchen all year. I wanted a macaroni and cheese that felt a little more grown-up than the usual, so I roasted a batch of hatch chiles and folded them straight into my go-to béchamel sauce.
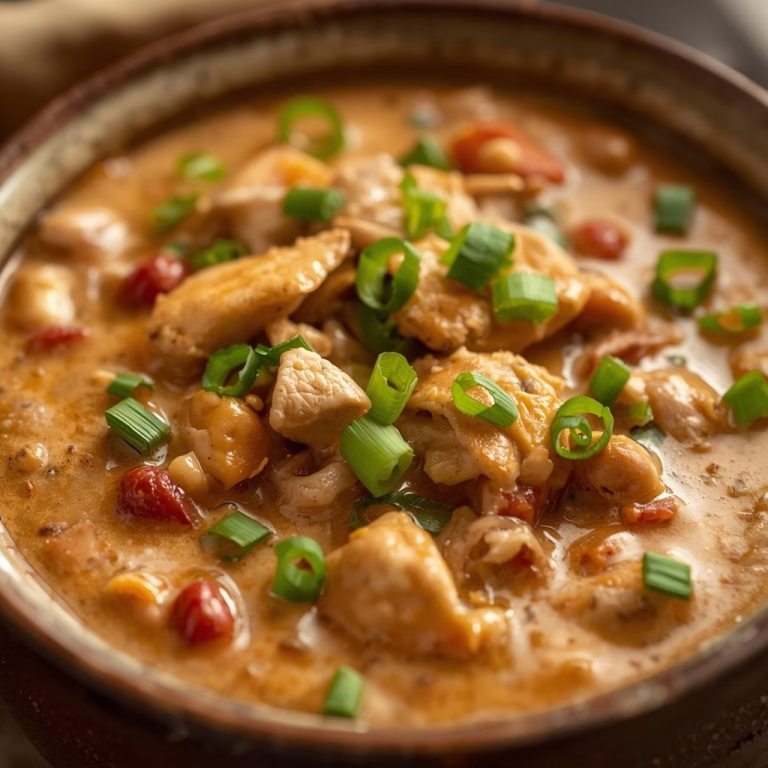
The smoky, mild heat cuts through all that cheese in the best possible way, and on chillier nights it pairs so well with a bowl of Slow Cooker White Chicken Chili on the side. I topped mine with buttery breadcrumbs and baked it until the top turned golden and crackly. Once you try this version, plain mac and cheese is going to feel like it’s missing something.

Cooking Time
- Prep Time: 20 minutes
- Cooking Time: 30 minutes
- Total Time: 50 minutes
Ingredients
- 1 pound elbow macaroni or cavatappi – cavatappi’s ridges hold onto the cheese sauce better than smooth macaroni
- 4 to 6 fresh hatch chiles – roast and peel your own if you can find them in season for the best smoky flavor
- 4 tablespoons unsalted butter, divided – half goes into the sauce, half into the breadcrumb topping
- 4 tablespoons all-purpose flour – this thickens the béchamel, so measure it rather than eyeballing it
- 3 cups whole milk, warmed – warming the milk first helps the sauce come together without lumps
- 3 cups sharp cheddar cheese, freshly shredded – pre-shredded cheese has anti-caking coatings that make the sauce grainy
- 1 cup Monterey Jack cheese, freshly shredded – melts beautifully and balances the sharpness of the cheddar
- 1/2 teaspoon garlic powder – adds background flavor without overpowering the chiles
- 1/2 teaspoon salt, plus more to taste – season in layers, not all at once
- 1/4 teaspoon black pepper – freshly ground makes a noticeable difference here
- 1 cup plain breadcrumbs – panko works too if you want extra crunch
- Note: this recipe serves 6 to 8 people as a hearty side or 4 to 5 as a main dish.
Equipment You Need
- Large pot – for boiling the macaroni until just tender
- Baking sheet – for roasting or broiling the hatch chiles until blistered
- Medium saucepan – for building the butter-and-flour béchamel base
- Whisk – for keeping the cheese sauce smooth and lump-free
- 9×13-inch baking dish – for baking the mac and cheese to a golden finish
- Box grater – for shredding cheese fresh so the sauce melts evenly
- Mixing bowl – for tossing the breadcrumb topping with melted butter
How to Make Hatch Chile Mac and Cheese Recipe?
This recipe comes together in three simple stages: roasting the chiles, building the cheese sauce, and bringing it all together in the oven. None of these steps are complicated, but a little patience with the sauce goes a long way toward that perfectly creamy texture. Here’s exactly how I do it every time.
Roast and Prep the Hatch Chiles
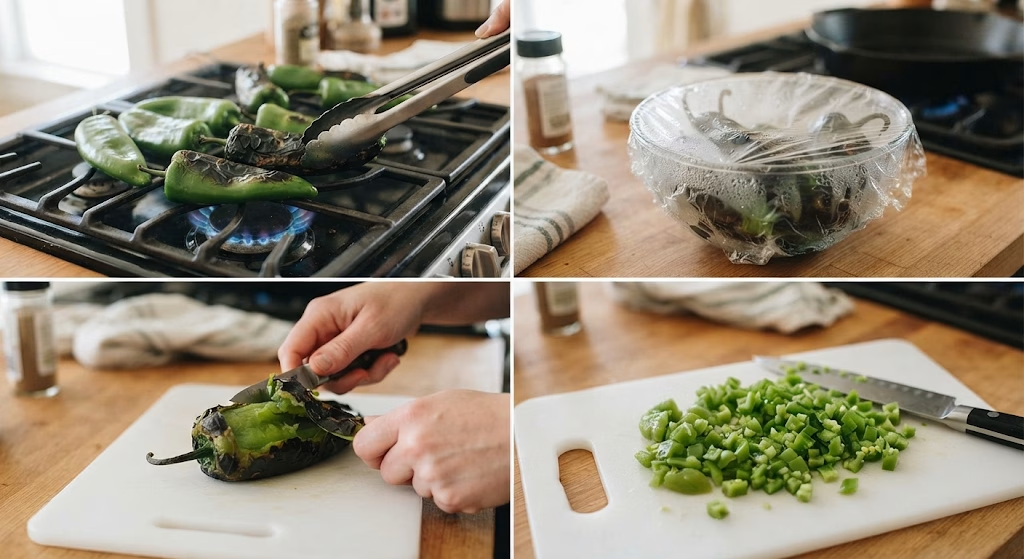
Place the whole hatch chiles under a broiler or directly over a gas flame, turning them every couple of minutes until the skins blister and blacken on all sides. Transfer them to a bowl and cover with plastic wrap to steam for about ten minutes, which makes the skins slide right off. Peel, deseed, and dice the chiles into small pieces, then set them aside while you tackle the pasta and sauce.
Cook the Pasta
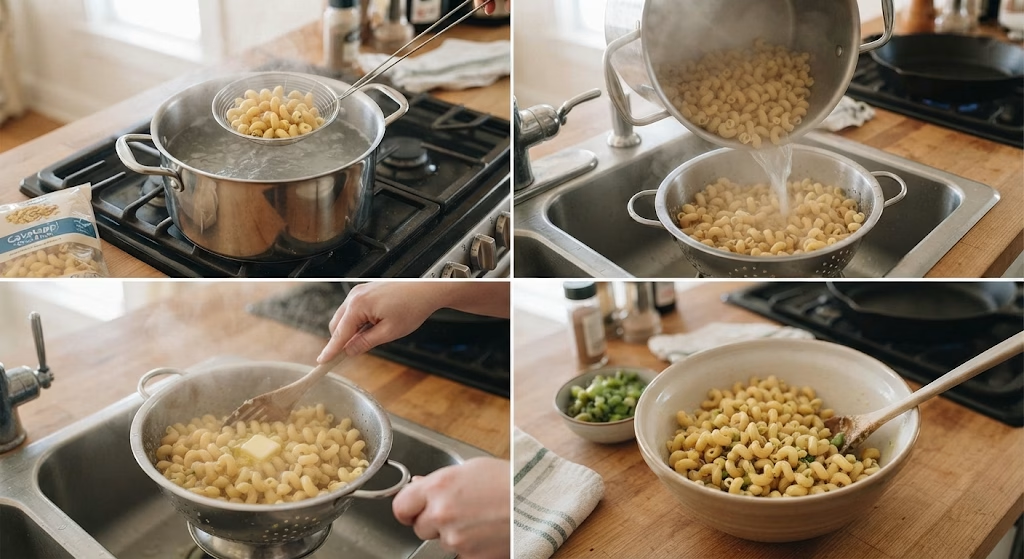
Bring a large pot of generously salted water to a boil and add your macaroni or cavatappi. Cook it about a minute less than the package directs so it stays slightly firm, since it will keep cooking in the oven later. Drain the pasta and set it aside, giving it a light toss with a bit of butter so it doesn’t stick together while you finish the sauce.
Build the Béchamel Sauce
Melt two tablespoons of butter in a medium saucepan over medium heat, then whisk in the flour and cook for about a minute until it smells slightly nutty. Slowly pour in the warmed milk while whisking constantly, and keep stirring until the mixture thickens enough to coat the back of a spoon. This usually takes five to seven minutes of steady whisking, so don’t walk away from the stove.
Melt in the Cheese
Reduce the heat to low and add the shredded cheddar and Monterey Jack a handful at a time, stirring after each addition until fully melted before adding more. This gradual approach keeps the sauce silky instead of clumpy or greasy. Stir in the garlic powder, salt, and pepper, tasting as you go to make sure the seasoning feels balanced.
Combine the Chiles and Pasta
Fold the diced hatch chiles into the cheese sauce, then add the cooked pasta and stir everything together until every piece is coated. Pour the mixture into a buttered 9×13-inch baking dish, spreading it out into an even layer so it bakes uniformly. At this point the kitchen should already smell incredible.
Add the Topping and Bake
Melt the remaining two tablespoons of butter and toss it with the breadcrumbs until evenly coated, then sprinkle the mixture over the top of the pasta. Bake in a preheated 375°F oven for 20 to 25 minutes, until the topping turns golden brown and the sauce is bubbling around the edges. Let it rest for five minutes before serving so the sauce has time to set slightly.
Additional Tips for Making This Recipe Better
I’ve made this hatch chile mac and cheese more times than I can count, and these small adjustments have made the biggest difference for me.
- I always taste one of my roasted chiles before adding them all in, since heat levels can vary a lot even within the same batch.
- I shred my own cheese instead of buying pre-shredded, and I can genuinely taste the difference in how smooth my sauce turns out.
- I warm my milk in the microwave for about a minute before adding it to the roux, which speeds up thickening and helps avoid lumps.
- I like adding a pinch of smoked paprika to my breadcrumb topping for a little extra depth of flavor.
- I let my baked mac and cheese rest for a few minutes before digging in, since it holds together much better once the sauce settles.
Common Mistakes to Avoid
- I overcooked my pasta the first time I made this, and it turned mushy after baking, so now I always pull it a minute early.
- I once used cold milk straight from the fridge and ended up with a lumpy sauce, so I warm mine every time now.
- I’ve learned not to rush the cheese-melting step, since dumping it all in at once can make the sauce oily and separated.
- I skipped seasoning the pasta water once and regretted it, because the salt really needs to season the noodles from the inside out.
- I forgot to deseed my chiles one time and it turned out far spicier than I expected, so I’m careful about that step now.
How to Serve Hatch Chile Mac and Cheese
I love serving this straight out of the baking dish while the top is still bubbling, with a sprinkle of extra shredded cheese melting on top for good measure. A scattering of chopped scallions or fresh cilantro adds a pop of color and a little brightness against all that richness.
For a heartier plate, I’ll pair it alongside a simple green salad or my Crock Pot Chicken Soup for a cozy, low-effort dinner spread. It also works beautifully as a side dish next to grilled or roasted meats, especially anything with a smoky char that echoes the roasted chiles.

Variations
- Swap in poblano or Anaheim peppers if hatch chiles aren’t in season where you live.
- Stir in shredded rotisserie chicken for a heartier green chile mac and cheese with chicken.
- Use gouda or pepper jack in place of Monterey Jack for a different flavor profile.
- Make it dairy-free by using plant-based butter, a dairy-free milk alternative, and vegan shredded cheese.
- Add crumbled cooked bacon or chorizo for a smoky, savory twist.
- Char the chiles over an open flame or on a grill for a smoked green chile mac and cheese with even deeper flavor.
- Mix in a can of diced green chiles for a quicker, easy green chile mac and cheese recipe when fresh hatch chiles aren’t available.
Nutritional Information
Here’s a general idea of what one serving of this hatch chile mac and cheese looks like, based on eight servings per batch.
- Calories: approximately 480 per serving
- Protein: approximately 20 grams per serving
- Carbohydrates: approximately 42 grams per serving
- Fat: approximately 26 grams per serving
Make Ahead and Storage
You can assemble this hatch chile mac and cheese up to a day ahead of time, cover it tightly, and refrigerate it unbaked until you’re ready to pop it in the oven. Just add a few extra minutes to the bake time since it will be starting from cold.
Leftovers keep well in an airtight container in the refrigerator for up to four days. Reheat individual portions in the microwave with a splash of milk stirred in to loosen the sauce back up.
To freeze, portion the cooled mac and cheese into freezer-safe containers and store for up to two months. Thaw it overnight in the refrigerator before reheating in the oven at 350°F until warmed through.
Why You’ll Love This Recipe?
This hatch chile mac and cheese has earned a permanent spot in my regular dinner rotation, and here’s why I think you’ll feel the same way.
- Easy to prepare: The steps are straightforward and don’t require any special skills, so it’s approachable even on a weeknight.
- Big flavor payoff: The smoky, mild heat from the hatch chiles takes classic mac and cheese to a whole new level without much extra effort.
- Versatile: It works as a side dish, a main course, or even a potluck contribution that always gets emptied first.
- Customizable: You can easily adjust the spice level, swap the cheese, or add protein depending on what you’re craving that day.
- Great for batch cooking: It reheats and freezes well, so I often double the recipe and tuck a second pan away for later.
FAQs
Can I use canned green chiles instead of fresh hatch chiles?
Yes, canned green chiles work as a convenient substitute and make for an easy green chile mac and cheese recipe when fresh ones aren’t in season.
Is this similar to the hatch chile mac and cheese from Trader Joe’s?
It’s in the same spirit, though homemade lets you control the heat and cheese blend more precisely than the hatch chile mac and cheese Trader Joe’s sells frozen.
How spicy is this dish?
Hatch chiles generally range from mild to medium, so this lands closer to a gentle warmth rather than a fiery green chili mac and cheese recipe, though heat levels vary by pepper.
Can I make a version similar to the green chile mac and cheese Pioneer Woman style?
Absolutely, you can stir in a bit of cream cheese or extra butter for a richer, more indulgent sauce similar to that style of comfort cooking.
Where can I find hatch chiles if I don’t see fresh ones nearby?
If you’re searching for green chili mac and cheese near me and can’t find fresh hatch chiles, most grocery stores carry roasted or canned versions during the off-season.

Hatch Chile Mac and Cheese Recipe
Ingredients
Method
- Place the whole hatch chiles under a broiler or directly over a gas flame, turning them every couple of minutes until the skins blister and blacken on all sides. Transfer them to a bowl and cover with plastic wrap to steam for about ten minutes, which makes the skins slide right off. Peel, deseed, and dice the chiles into small pieces, then set them aside while you tackle the pasta and sauce.
- Bring a large pot of generously salted water to a boil and add your macaroni or cavatappi. Cook it about a minute less than the package directs so it stays slightly firm, since it will keep cooking in the oven later. Drain the pasta and set it aside, giving it a light toss with a bit of butter so it doesn’t stick together while you finish the sauce.
- Melt two tablespoons of butter in a medium saucepan over medium heat, then whisk in the flour and cook for about a minute until it smells slightly nutty. Slowly pour in the warmed milk while whisking constantly, and keep stirring until the mixture thickens enough to coat the back of a spoon. This usually takes five to seven minutes of steady whisking, so don’t walk away from the stove.
- Reduce the heat to low and add the shredded cheddar and Monterey Jack a handful at a time, stirring after each addition until fully melted before adding more. This gradual approach keeps the sauce silky instead of clumpy or greasy. Stir in the garlic powder, salt, and pepper, tasting as you go to make sure the seasoning feels balanced.
- Fold the diced hatch chiles into the cheese sauce, then add the cooked pasta and stir everything together until every piece is coated. Pour the mixture into a buttered 9×13-inch baking dish, spreading it out into an even layer so it bakes uniformly. At this point the kitchen should already smell incredible.
- Melt the remaining two tablespoons of butter and toss it with the breadcrumbs until evenly coated, then sprinkle the mixture over the top of the pasta. Bake in a preheated 375°F oven for 20 to 25 minutes, until the topping turns golden brown and the sauce is bubbling around the edges. Let it rest for five minutes before serving so the sauce has time to set slightly.
Notes
- I always taste one of my roasted chiles before adding them all in, since heat levels can vary a lot even within the same batch.
- I shred my own cheese instead of buying pre-shredded, and I can genuinely taste the difference in how smooth my sauce turns out.
- I warm my milk in the microwave for about a minute before adding it to the roux, which speeds up thickening and helps avoid lumps.
- I like adding a pinch of smoked paprika to my breadcrumb topping for a little extra depth of flavor.
- I let my baked mac and cheese rest for a few minutes before digging in, since it holds together much better once the sauce settles.