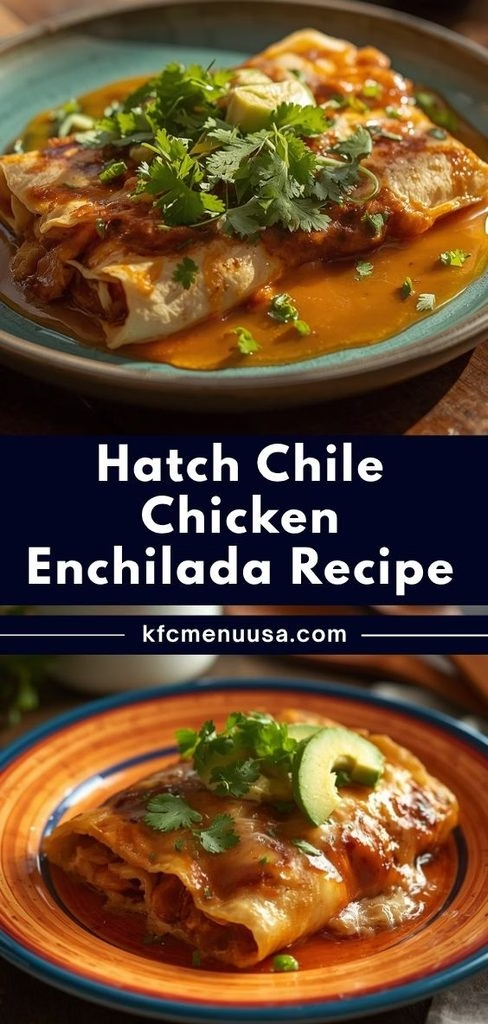
I make this Hatch Chile Chicken Enchiladas Recipe every single time hatch season rolls around, and I never get tired of them. There’s something about that smoky roasted chile smell filling the kitchen that just says comfort food is coming.
I load them up with shredded chicken, melty cheese, and a creamy green chile sauce that soaks right into the tortillas. Once you try this version, canned green chile sauce is going to feel like a downgrade. Grab a fork and let’s get into it.
Cooking Time
- Prep Time: 20 minutes
- Cooking Time: 30 minutes
- Total Time: 50 minutes
Equipment You Need
- 9×13-inch baking dish – holds all the rolled enchiladas in a single layer
- Large mixing bowl – for combining the chicken, cheese, and seasonings
- Medium saucepan – for building the creamy hatch chile sauce
- Whisk – keeps the sauce smooth and lump-free
- Sheet pan – for roasting the hatch chiles before you peel them
- Tongs – makes shredding warm chicken and flipping tortillas easier
- Aluminum foil – covers the dish so the enchiladas heat through evenly
Ingredients
- 2 cups shredded cooked chicken – rotisserie chicken saves a ton of time here
- 1 cup roasted hatch chiles, chopped – fresh roasted gives the best smoky flavor, but frozen roasted hatch chiles work too
- 8 small corn or flour tortillas – warm them first so they don’t crack while rolling
- 2 cups shredded Monterey Jack cheese, divided – grate it fresh off the block for better melting
- 4 ounces cream cheese, softened – this is what makes the sauce so rich and creamy
- 1/2 cup sour cream – stir it in off the heat so it doesn’t curdle
- 1 1/2 cups chicken broth – use low-sodium so you control the salt level
- 1/2 cup diced white onion – adds a little bite and sweetness to the filling
- 2 cloves garlic, minced – fresh garlic makes a noticeable difference over the jarred kind
- 1 tablespoon butter – used to build the base of the sauce
- 1 tablespoon all-purpose flour – thickens the sauce without any lumps if whisked well
- 1/2 teaspoon ground cumin – gives the filling that warm, earthy backbone
- 1/4 teaspoon salt, or to taste – hatch chiles vary in saltiness, so taste before adding more
- Fresh cilantro, chopped, for garnish – adds a fresh, herby finish right before serving
Note: This recipe serves 4 people generously, with 2 enchiladas per portion.
How to Make Hatch Chile Chicken Enchiladas Recipe?
This recipe comes together in three easy stages: roast the chiles, build the sauce, and assemble everything in the baking dish. I promise none of it is complicated, even if you’ve never worked with hatch chiles before. Here’s exactly how I do it every time.
Roast and Prep the Hatch Chiles
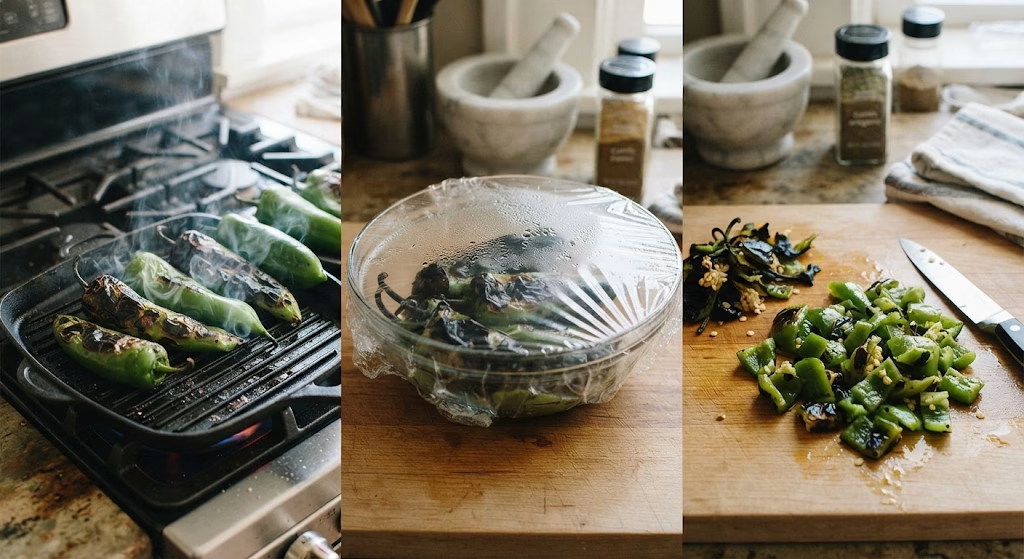
I always start by roasting my hatch chiles under the broiler or on a hot grill until the skins blister and blacken all over. Once they’re charred, I seal them in a bowl covered with plastic wrap for about ten minutes, which steams the skins loose. After that, I peel off the blackened skin, pull out the stems and seeds, and chop the flesh into small pieces for the filling and sauce.
Cook the Chicken Filling
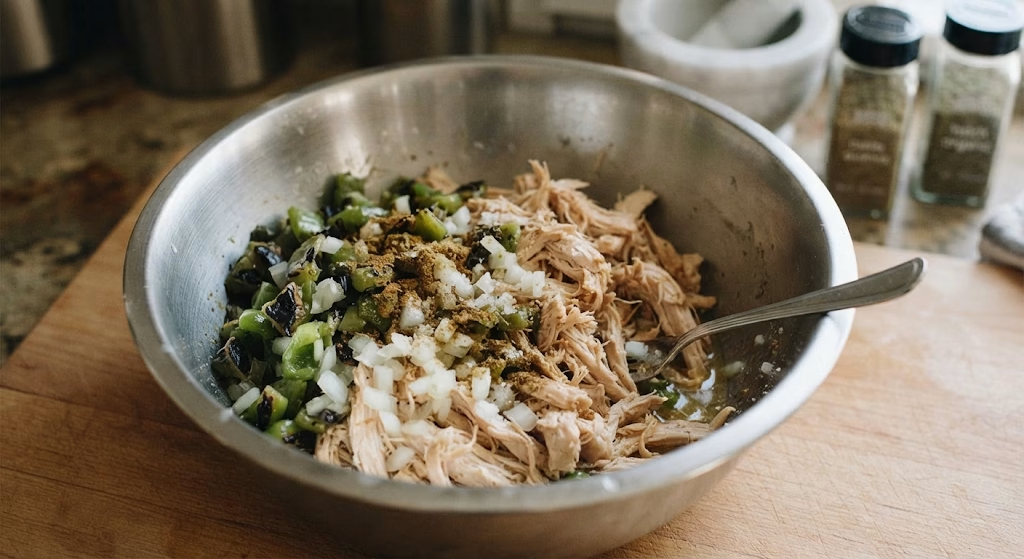
In a large bowl, I combine the shredded chicken with half of the chopped hatch chiles, the diced onion, cumin, and a pinch of salt. I like to mix this well with a fork so every bite of filling gets some chile in it. If I’m using rotisserie chicken, I shred it while it’s still warm since it pulls apart so much easier that way.
Make the Creamy Hatch Chile Sauce
I melt the butter in a saucepan over medium heat, then whisk in the flour to form a paste and let it cook for about a minute. Slowly, I pour in the chicken broth while whisking constantly so no lumps form. Once it starts to thicken, I stir in the cream cheese, sour cream, and remaining hatch chiles until the sauce turns smooth and creamy.
Assemble the Enchiladas
I spread a thin layer of the hatch chile sauce across the bottom of my baking dish so the tortillas don’t stick. Then I warm each tortilla for a few seconds so it stays pliable, spoon in the chicken filling along with a little cheese, roll it up snugly, and set it seam-side down in the dish. I repeat this until the pan is full.
Bake Until Bubbly
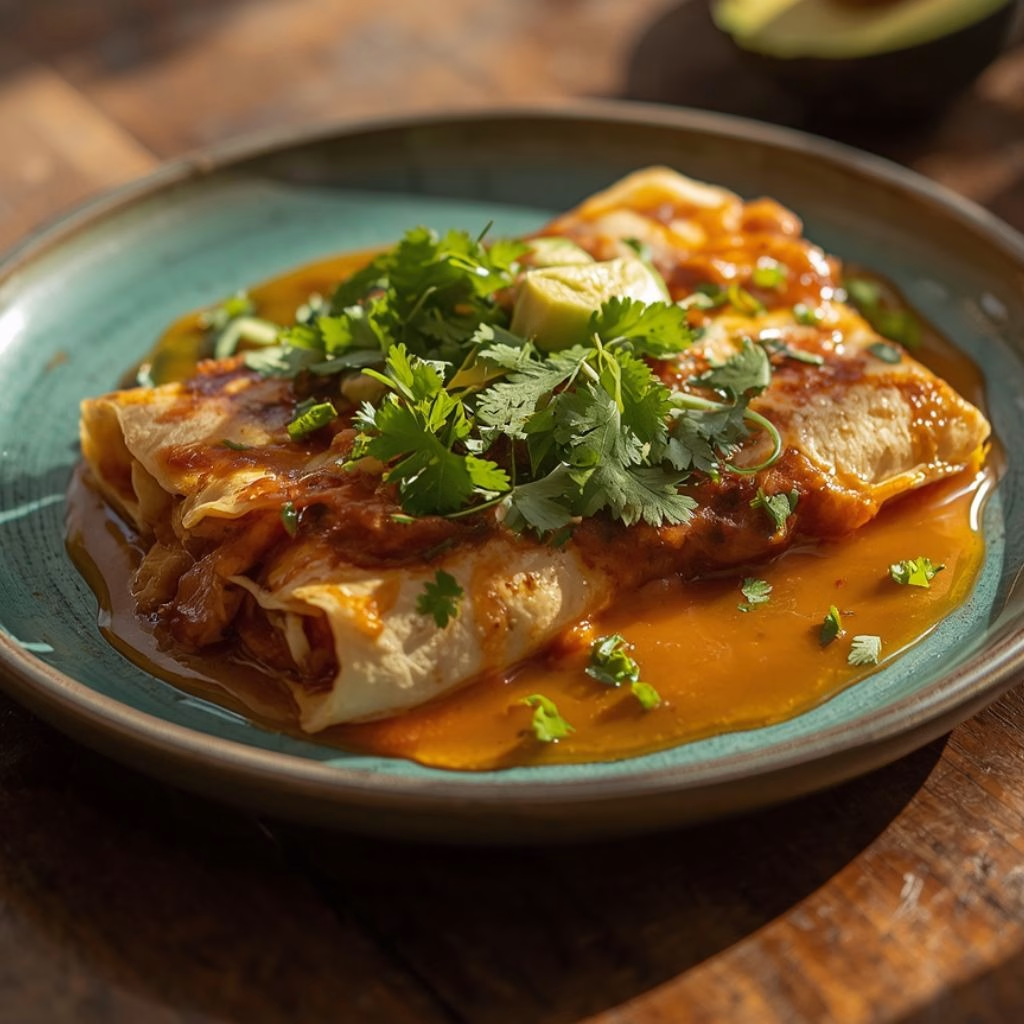
Once all the enchiladas are rolled, I pour the remaining sauce evenly over the top and sprinkle on the rest of the cheese. I cover the dish with foil and bake at 375°F for about 20 minutes, then uncover it and bake for another 10 minutes so the cheese gets golden and bubbly on top.
Rest and Garnish
I always let the enchiladas sit for about 5 minutes before serving, which helps the sauce set up so it doesn’t run all over the plate. Right before serving, I scatter fresh chopped cilantro over the top for a bright, herby finish that balances the richness of the sauce.
Additional Tips for Making This Recipe Better
I’ve made this dish more times than I can count, and these are the little things that make a real difference for me.
- I always roast a few extra hatch chiles so I have some leftovers for tacos or eggs the next day.
- I warm my tortillas in a dry skillet instead of the microwave since they hold up better while rolling.
- I let my cream cheese sit out for a bit before adding it to the sauce so it blends in smoothly instead of clumping.
- I taste my hatch chiles before adding them since the heat level can swing a lot from batch to batch.
- I grate my own cheese instead of buying pre-shredded, because it melts so much smoother into the sauce.
Common Mistakes to Avoid
I’ve made every one of these mistakes myself, so learn from my trial and error.
- I skipped warming my tortillas once, and half of them cracked apart while I was rolling them.
- I added cold cream cheese straight from the fridge, and it left little lumps in my sauce instead of blending in.
- I overfilled a few tortillas early on, and they split open in the oven and made a mess.
- I didn’t drain my roasted chiles well enough one time, and the extra liquid made my filling watery.
- I rushed the resting time after baking, and the sauce ran everywhere the moment I cut into the first enchilada.
How to Serve Hatch Chile Chicken Enchiladas?
I like to serve these enchiladas straight from the baking dish while the cheese is still bubbling, since that’s when they look their best. A drizzle of extra sour cream and a scatter of fresh cilantro on top makes the dish pop visually.
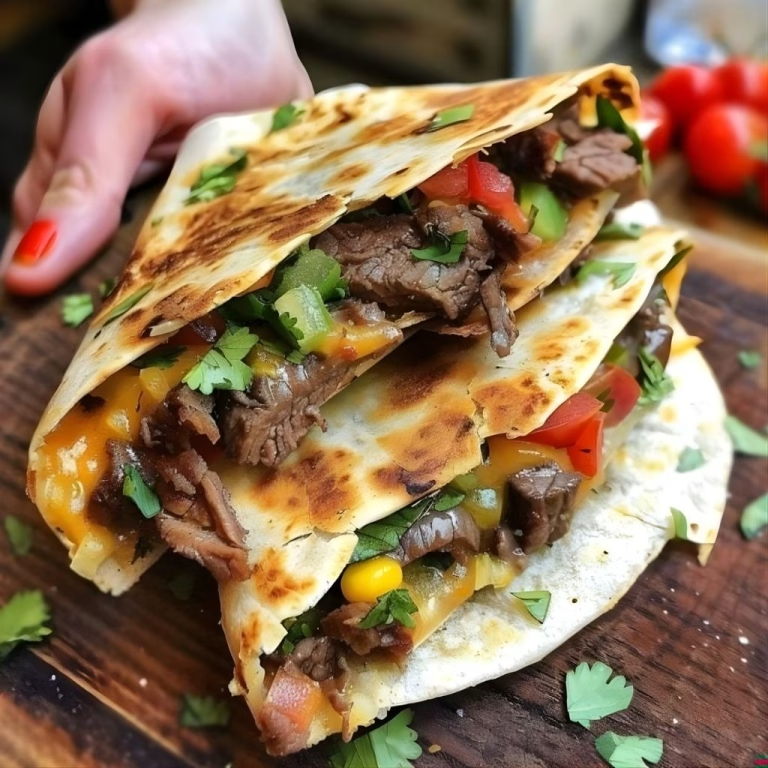
For a fuller plate, I pair these with a side of Mexican rice or these cheesy chicken quesadillas, since the flavors complement each other so well. Sliced avocado, pickled red onions, or a wedge of lime on the side also brighten up the whole plate.
Variations
- Dairy-free option: swap the cream cheese and sour cream for a dairy-free cream cheese alternative and coconut cream.
- Extra spicy version: use hot hatch chiles instead of mild, or add a diced jalapeño to the filling.
- Bean and corn add-in: stir in a half cup of black beans and corn kernels for more texture and heft.
- Beef swap: use shredded beef or ground beef in place of chicken for a heartier filling.
- Stacked style: instead of rolling, layer the tortillas, filling, and sauce like a casserole for a quicker assembly.
- Extra cheesy version: add a layer of pepper jack along with the Monterey Jack for a sharper, spicier bite.
Nutritional Information
Here’s roughly what you can expect per serving of two enchiladas, though this will vary depending on your exact ingredients.
- Calories: approximately 420 kcal
- Protein: approximately 26g
- Carbohydrates: approximately 30g
- Fat: approximately 22g
Make Ahead and Storage
You can assemble these enchiladas a day ahead and keep them covered in the fridge unbaked, then pop them straight into the oven when you’re ready to eat, adding a few extra minutes to the bake time.
Leftovers keep well in an airtight container in the refrigerator for up to 4 days. Reheat them covered with foil in a 350°F oven, or microwave individual portions for about a minute.
To freeze, wrap the unbaked or baked enchiladas tightly and store for up to 3 months. Thaw them in the fridge overnight before reheating for the best texture.
Why You’ll Love This Recipe?
This dish has earned a permanent spot in my regular dinner rotation, and here’s why I think you’ll feel the same way.
- Quick weeknight dinner: with rotisserie chicken, this comes together in under an hour from start to finish.
- Big smoky flavor: the roasted hatch chiles bring a depth of flavor that canned chiles just can’t match.
- Easy to customize: you can swap the protein, adjust the spice level, or add beans and corn without any hassle.
- Great for meal prep: the leftovers reheat beautifully, so this recipe works just as well for lunches later in the week.
- Crowd-pleasing comfort food: the creamy sauce and melted cheese make this a dish that disappears fast at the table.
FAQs
Are hatch chile chicken enchiladas spicy?
They’re usually mild to medium, but the heat depends on the batch of hatch chiles you use, so I always taste a small piece before adding them to the filling.
Can I use canned or store-bought hatch chiles?
Yes, canned or frozen roasted hatch chiles work fine if fresh ones aren’t in season, though the flavor will be slightly less smoky.
Can I make the sauce ahead of time?
Absolutely, I often make the hatch chile sauce a day in advance and store it in the fridge until I’m ready to assemble the enchiladas.
What can I use instead of chicken?
Shredded beef, pulled pork, or even sautéed mushrooms and beans work well if you want a different protein or a vegetarian version.
Why did my sauce turn out lumpy?
This usually happens when the cream cheese is too cold, so I always let mine soften at room temperature before whisking it into the warm sauce.

Hatch Chile Chicken Enchiladas Recipe
Ingredients
Method
- I always start by roasting my hatch chiles under the broiler or on a hot grill until the skins blister and blacken all over. Once they’re charred, I seal them in a bowl covered with plastic wrap for about ten minutes, which steams the skins loose. After that, I peel off the blackened skin, pull out the stems and seeds, and chop the flesh into small pieces for the filling and sauce.
- In a large bowl, I combine the shredded chicken with half of the chopped hatch chiles, the diced onion, cumin, and a pinch of salt. I like to mix this well with a fork so every bite of filling gets some chile in it. If I’m using rotisserie chicken, I shred it while it’s still warm since it pulls apart so much easier that way.
- I melt the butter in a saucepan over medium heat, then whisk in the flour to form a paste and let it cook for about a minute. Slowly, I pour in the chicken broth while whisking constantly so no lumps form. Once it starts to thicken, I stir in the cream cheese, sour cream, and remaining hatch chiles until the sauce turns smooth and creamy.
- I spread a thin layer of the hatch chile sauce across the bottom of my baking dish so the tortillas don’t stick. Then I warm each tortilla for a few seconds so it stays pliable, spoon in the chicken filling along with a little cheese, roll it up snugly, and set it seam-side down in the dish. I repeat this until the pan is full.
- Once all the enchiladas are rolled, I pour the remaining sauce evenly over the top and sprinkle on the rest of the cheese. I cover the dish with foil and bake at 375°F for about 20 minutes, then uncover it and bake for another 10 minutes so the cheese gets golden and bubbly on top.
- I always let the enchiladas sit for about 5 minutes before serving, which helps the sauce set up so it doesn’t run all over the plate. Right before serving, I scatter fresh chopped cilantro over the top for a bright, herby finish that balances the richness of the sauce
Notes
- I always roast a few extra hatch chiles so I have some leftovers for tacos or eggs the next day.
- I warm my tortillas in a dry skillet instead of the microwave since they hold up better while rolling.
- I let my cream cheese sit out for a bit before adding it to the sauce so it blends in smoothly instead of clumping.
- I taste my hatch chiles before adding them since the heat level can swing a lot from batch to batch.
- I grate my own cheese instead of buying pre-shredded, because it melts so much smoother into the sauce.