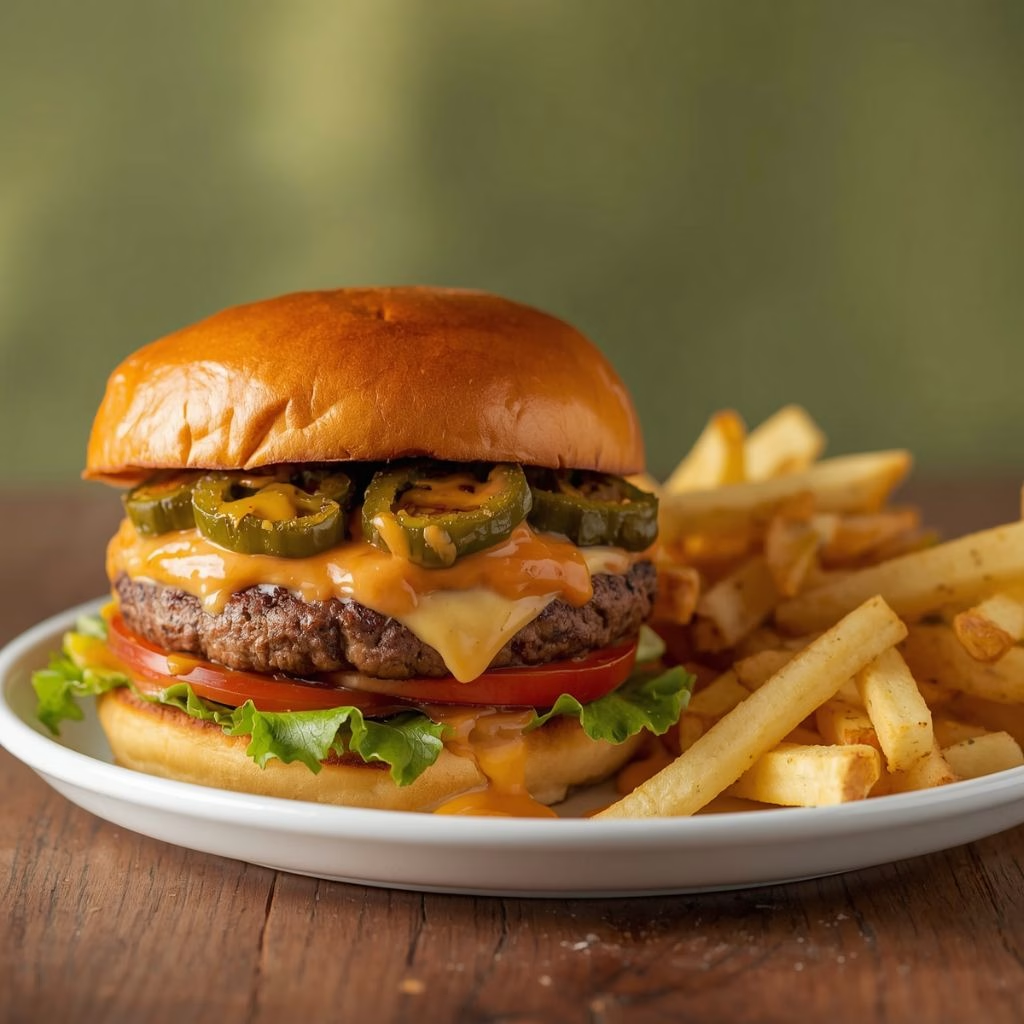
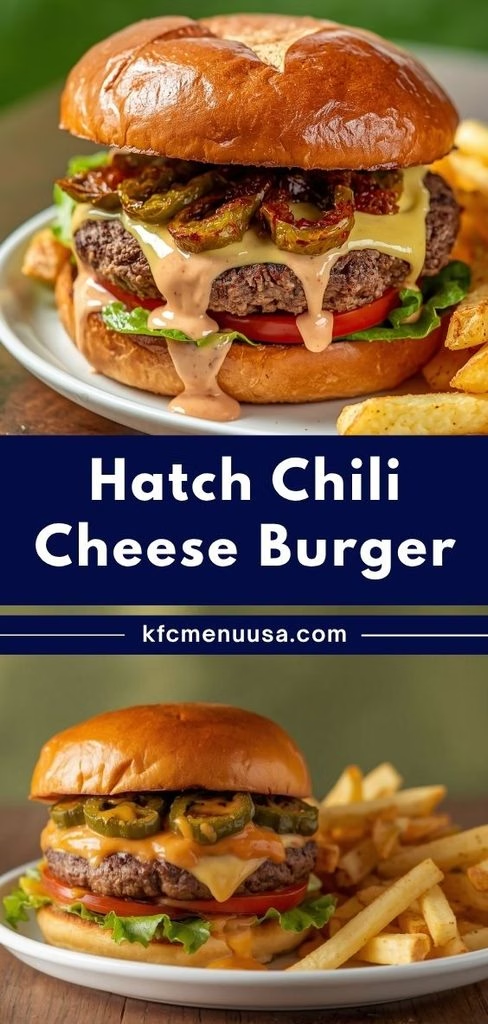
I made this Hatch Chili Cheeseburger Recipe for the first time last summer, and honestly, I haven’t gone back to a plain burger since. I love how the roasted green chile brings this smoky, almost sweet heat that just melts right into the cheese. Every time I fire up my griddle, the whole backyard smells like a New Mexico cookout, and my family comes running before I even call them.
If you’ve ever wondered why New Mexico has an entire trail dedicated to this burger, I promise this recipe will show you exactly why. Give me twenty-five minutes, and I’ll walk you through how I make mine every single time.
Cooking Time
- Prep Time: 15 minutes
- Cooking Time: 10 minutes
- Total Time: 25 minutes
Ingredients
- 1 1/2 lbs ground beef (80/20) – the fat ratio keeps the patty juicy when smashed thin
- 1 teaspoon hatch green chile powder – this is what gives the patty its earthy, smoky base flavor
- 1 teaspoon hatch red chile powder – adds a little extra warmth and color to the meat
- 1 teaspoon salt – I never skip this, it pulls out the beef’s natural flavor
- 1/2 teaspoon black pepper – for a mild background kick
- 1 cup roasted hatch green chile, chopped and warmed – use real roasted chile, not canned, for that smoky bite
- 4 slices American or cheddar cheese – American melts smoother, cheddar adds sharper flavor
- 8 slices bacon – cooked first so you can use the fat for the buns
- 4 hamburger buns – toasted buns hold up better against the juicy chile
- 1/4 cup sour cream – the base of the crema, keeps it cool and tangy
- 1 tablespoon hatch red chile sauce – this is what turns plain sour cream into a proper crema
- 1 tablespoon mayonnaise – adds richness and helps the crema cling to the burger
Note: This recipe serves 4 people, with each person getting one hearty hatch chili cheeseburger.
Equipment You Need
- Cast-iron griddle or heavy skillet – gives the patties that deep, crispy sear
- Fish spatula or burger press – helps smash the patties thin and even
- Mixing bowl – for combining the crema ingredients
- Small skillet – for cooking the bacon and toasting the buns
- Measuring spoons – to keep the chile powder and seasoning balanced
- Tongs – for flipping bacon without splattering grease
How to Make a Hatch Chili Cheeseburger Recipe?
I like to get everything prepped before the griddle gets hot, because this recipe moves fast once you start cooking. Cook the bacon first so its fat is ready for the buns later. From there, it’s really just a few quick steps until you’re eating.
Cook the Bacon First
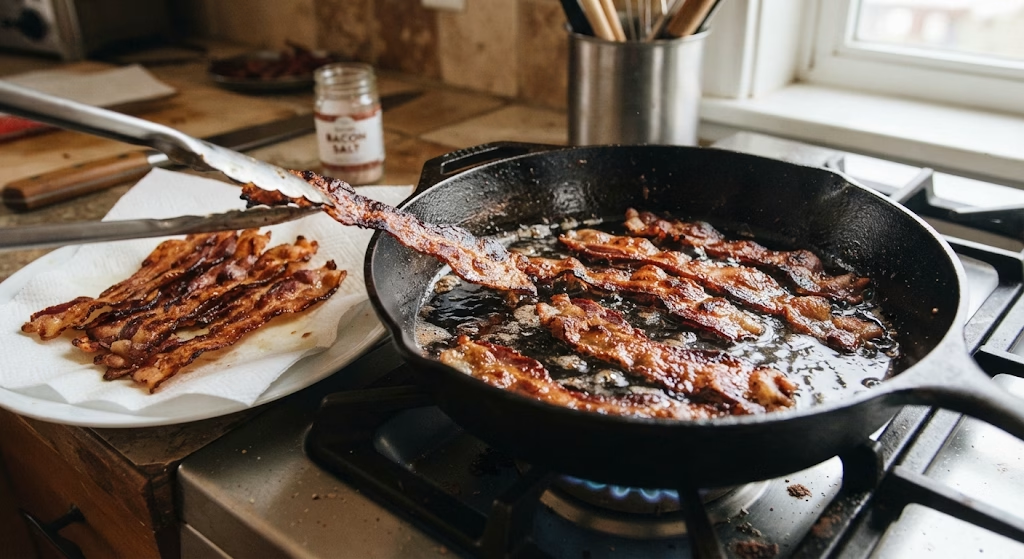
I start by laying the bacon strips in a cold skillet and letting them crisp up slowly over medium heat. Once they’re browned and crunchy, I move them to a plate lined with paper towel. I always keep the bacon fat in the pan because it makes the buns taste incredible later.
Season and Shape the Patties
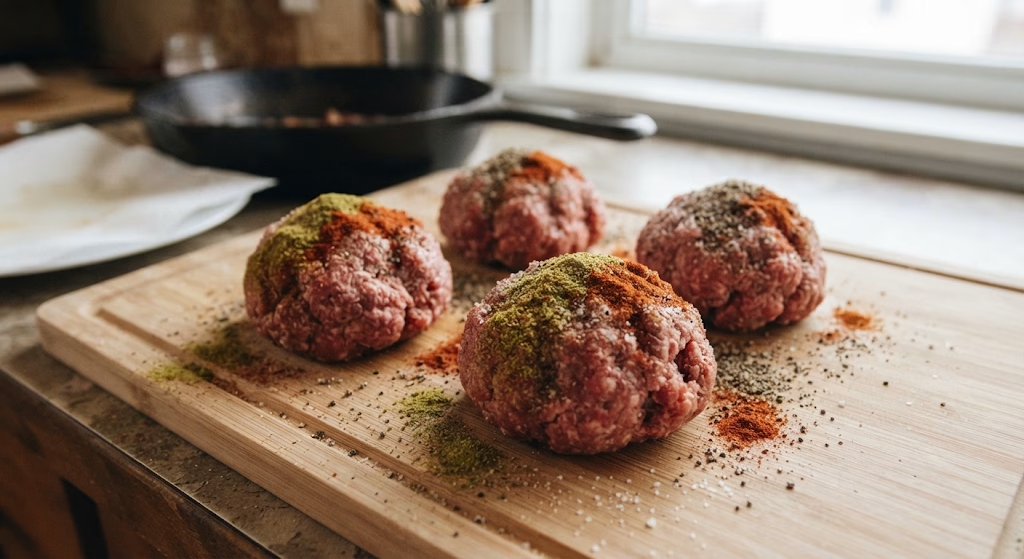
Next, I divide the ground beef into four loose balls, being careful not to compact the meat too much. I sprinkle each one with green chile powder, red chile powder, salt, and pepper. I don’t mix the seasoning in fully; I just want it dusted on before I smash it on the heat.
Mix Up the Chile Crema
While the griddle heats, I whisk together sour cream, red chile sauce, and mayonnaise in a small bowl. This crema is what ties the whole burger together, so I like to taste it and adjust the chile sauce if I want more heat.
Smash and Sear the Patties
I heat my griddle until it’s almost smoking, then place each beef ball down and smash it flat immediately with my spatula. I let it sear undisturbed for two to three minutes so a deep, crispy crust forms on the bottom before I even think about flipping it.
Add Chile and Melt the Cheese
Once I flip the patties, I pile the warmed roasted hatch green chile right on top, then lay a slice of cheese over it. I let it sit for about a minute so the cheese melts down and locks the chile in place, which is really the secret to this whole burger.
Toast the Buns in Bacon Fat
While the cheese melts, I toast my buns cut-side down in that leftover bacon grease. It only takes thirty seconds or so, but it adds so much flavor that I’d never skip this step now.
Build and Serve the Burger
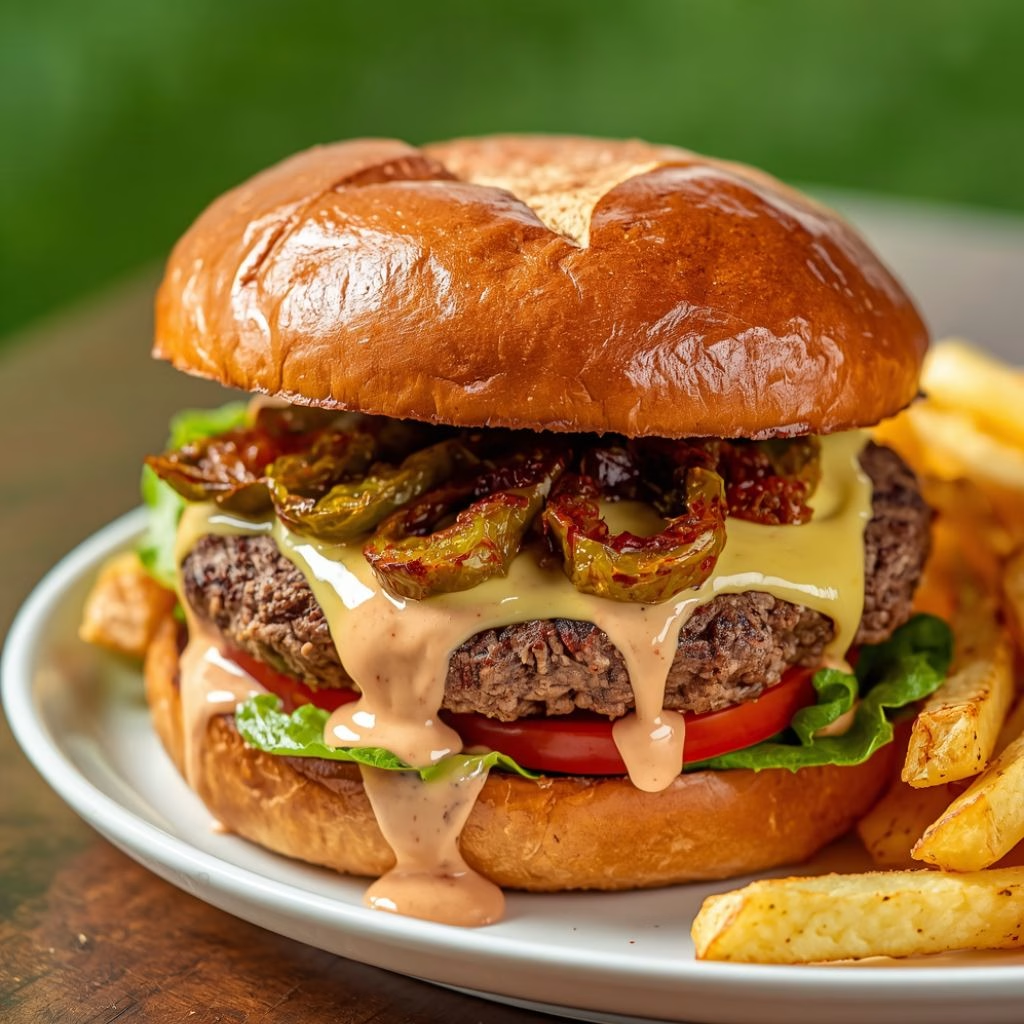
Finally, I stack everything together: bottom bun, cheesy chile patty, two strips of bacon, a generous drizzle of red chile crema, and the top bun. I serve it immediately while the cheese is still stretchy and the bun is warm.
Additional Tips for Making This Recipe Better
I’ve made this hatch chili cheeseburger more times than I can count, and here’s what actually makes a difference for me.
- I always use fresh roasted hatch green chile instead of canned, because canned chile turns watery and loses that smoky punch.
- I never press down on my patty after the first smash, since that just squeezes out all the juices I worked to keep in.
- I let my griddle get properly hot before adding the meat, otherwise I don’t get that crispy, lacy edge I love.
- I keep my chile crema a little thick so it doesn’t slide right off the burger.
- I warm my chile in a small pan before adding it to the patty, so it doesn’t cool the melted cheese down too fast.
Common Mistakes to Avoid
I made a few of these mistakes myself before I got this recipe right, so I figured I’d save you the trouble.
- I once used cold ground beef straight from the fridge, and it didn’t sear properly, so now I let it sit out for ten minutes first.
- I tried skipping the bacon fat for toasting buns once, and honestly, it just wasn’t the same burger.
- I overcrowded my griddle the first time I made a big batch, which dropped the temperature and gave me soggy patties instead of a crust.
- I forgot to season both sides of my patty once, and the flavor ended up uneven and a little bland.
- I left my cheese on too long trying to get a perfect melt, and it ended up greasy instead of gooey.
How to Serve a Hatch Chili Cheeseburger?
I like to serve my hatch chili cheeseburgers hot off the griddle, stacked high so the chile and cheese are visible from the side. A basket of crispy fries or a light, tangy slaw sits perfectly next to it on the plate.
If I’m hosting a few people, I’ll set out extra red chile crema in a small bowl so everyone can add more on their own. A cold drink on the side really helps balance out the heat from the chile, especially if you went with the hot variety.
Variations
- I sometimes swap ground beef for ground turkey if I want a lighter version of this burger.
- For a dairy-free option, I use a plant-based cheese slice, and it still melts nicely over the warm chile.
- I’ve added a slice of pepper jack instead of cheddar when I want extra spice in every bite.
- For smokier flavor, I mix a pinch of smoked paprika into the beef along with the chile powders.
- If I want it milder for the kids, I use medium roasted chile instead of hot, and it still tastes amazing.
- Sometimes I skip the bun altogether and wrap the patty in lettuce for a low-carb version.
Nutritional Information
Here’s roughly what I estimate per burger, based on standard ingredient measurements.
- Calories: 620 kcal
- Protein: 34g
- Carbohydrates: 28g
- Fat: 40g
Make Ahead and Storage
I usually make my chile crema a day ahead since it actually tastes better once the flavors sit together in the fridge. It stays fresh in an airtight container for about four days.
For the patties, I like to season and shape them ahead of time, then store them separated by parchment paper in the fridge for up to two days before cooking. I don’t recommend freezing the fully assembled burger, but the raw patties freeze well for up to three months if wrapped tightly.
When I reheat leftover cooked patties, I warm them gently in a covered skillet over low heat so the cheese doesn’t dry out or turn rubbery.
Why You’ll Love This Recipe?
I keep coming back to this hatch chili cheeseburger recipe for a handful of reasons that make it worth the extra effort.
- It’s incredibly easy to make. I can have this on the table in twenty-five minutes flat, even on a busy weeknight.
- It’s endlessly customizable. I can adjust the chile heat, swap the cheese, or even make it dairy-free without losing the flavor I love.
- It tastes better than fast food versions. Once I compared it to a hatch green chili burger from Whataburger, and homemade honestly wins for freshness every time.
- It’s great for entertaining. I can easily double or triple the recipe when I’m hosting a backyard cookout for friends.
- It brings real New Mexico flavor home. I don’t need to search “hatch green chile burger near me” anymore because I can make it myself whenever the craving hits.
If burgers are a regular thing in your kitchen, you might also like browsing through spicy chicken sandwich for another spicy, handheld favorite that pairs well with a similar flavor profile.
FAQs
What is a hatch chili cheeseburger?
It’s a beef patty seasoned with hatch chile powder, topped with roasted hatch green chile and melted cheese, then finished with a smoky red chile crema. I think of it as New Mexico’s answer to the classic cheeseburger.
Can I use canned green chile instead of roasted?
I really don’t recommend it. Canned chile tends to taste watery and flat compared to fire-roasted hatch chile, which has a much smokier, richer flavor.
Is this burger very spicy?
It depends on the chile you choose. I usually go with medium for a balanced flavor, but if you want more heat like a hatch green chile cheeseburger from Sonic, hot roasted chile works great.
Can I make this burger without a griddle?
Yes, I’ve made it in a regular cast-iron skillet plenty of times, and it works just as well as long as the pan gets very hot before you add the meat.
How do I store leftover patties?
I keep cooked leftover patties in an airtight container in the fridge for up to three days, and I reheat them gently in a covered pan so the cheese stays soft instead of turning rubbery.
If you’re planning a bigger backyard spread, you might also want to check out loaded cheese fries for a side dish that pairs perfectly with this burger’s smoky chile flavor.

Hatch Chili Cheeseburger Recipe
Ingredients
Method
- I start by laying the bacon strips in a cold skillet and letting them crisp up slowly over medium heat. Once they’re browned and crunchy, I move them to a plate lined with paper towel. I always keep the bacon fat in the pan because it makes the buns taste incredible later.
- Next, I divide the ground beef into four loose balls, being careful not to compact the meat too much. I sprinkle each one with green chile powder, red chile powder, salt, and pepper. I don’t mix the seasoning in fully; I just want it dusted on before I smash it on the heat.
- While the griddle heats, I whisk together sour cream, red chile sauce, and mayonnaise in a small bowl. This crema is what ties the whole burger together, so I like to taste it and adjust the chile sauce if I want more heat.
- I heat my griddle until it’s almost smoking, then place each beef ball down and smash it flat immediately with my spatula. I let it sear undisturbed for two to three minutes so a deep, crispy crust forms on the bottom before I even think about flipping it.
- Once I flip the patties, I pile the warmed roasted hatch green chile right on top, then lay a slice of cheese over it. I let it sit for about a minute so the cheese melts down and locks the chile in place, which is really the secret to this whole burger.
- While the cheese melts, I toast my buns cut-side down in that leftover bacon grease. It only takes thirty seconds or so, but it adds so much flavor that I’d never skip this step now.
- Finally, I stack everything together: bottom bun, cheesy chile patty, two strips of bacon, a generous drizzle of red chile crema, and the top bun. I serve it immediately while the cheese is still stretchy and the bun is warm.
Notes
- I always use fresh roasted hatch green chile instead of canned, because canned chile turns watery and loses that smoky punch.
- I never press down on my patty after the first smash, since that just squeezes out all the juices I worked to keep in.
- I let my griddle get properly hot before adding the meat, otherwise I don’t get that crispy, lacy edge I love.
- I keep my chile crema a little thick so it doesn’t slide right off the burger.
- I warm my chile in a small pan before adding it to the patty, so it doesn’t cool the melted cheese down too fast.