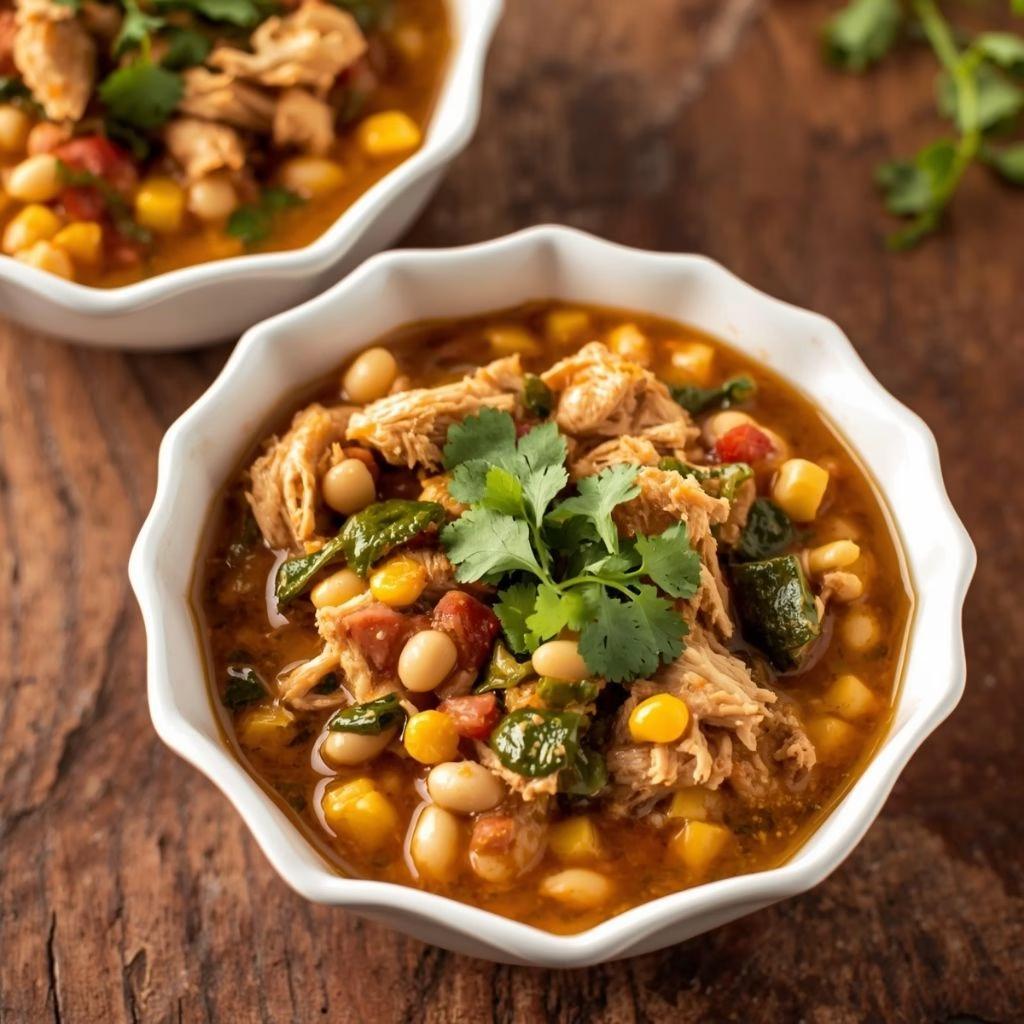
I started making this Meal Prep Chicken Chili Recipe on a Sunday when I was tired of boring grilled chicken and rice for lunch, and honestly, it changed my whole week. I wanted something warm, filling, and packed with protein that I could just reheat without thinking twice.
This turned into my go-to healthy ground chicken chili recipe whenever I need five lunches done in one pot. It’s spicy, cozy, and comes together faster than I expected. Once you try it, I promise it’ll become a regular in your own meal prep rotation too.
Cooking Time
- Prep Time: 15 minutes
- Cooking Time: 35 minutes
- Total Time: 50 minutes
Ingredients
- 2 lbs ground chicken – lean and mild, it soaks up spices better than you’d expect
- 1 tablespoon olive oil – helps the chicken brown instead of steam
- 1 medium onion, diced – builds the savory base flavor
- 1 red bell pepper, diced – adds sweetness and color
- 3 cloves garlic, minced – use fresh garlic, not the jarred kind, for real flavor
- 2 tablespoons chili powder – the backbone of this red chicken chili recipe
- 1 tablespoon ground cumin – adds warmth and smokiness
- 1 teaspoon smoked paprika – deepens the flavor without extra heat
- 1 teaspoon dried oregano – brings a subtle earthy note
- ½ teaspoon cayenne pepper – adjust up or down based on your spice tolerance
- 1 can (15 oz) black beans, drained and rinsed – adds fiber and heartiness
- 1 can (15 oz) kidney beans, drained and rinsed – classic chili texture
- 1 can (14.5 oz) diced tomatoes – use fire-roasted for extra depth
- 2 cups low-sodium chicken broth – controls saltiness while keeping the chili juicy
- 1 cup corn kernels – fresh or frozen both work fine here
- Salt and pepper, to taste – always season at the end, not just the start
- Fresh cilantro, chopped – for garnish, brightens the whole dish
- Lime wedges – a squeeze at serving time wakes up every bite
Note: This recipe serves 5-6 people, perfect for a full week of lunches or dinners.
Equipment You Need
- Large Dutch oven or heavy pot – gives even heat for browning chicken and simmering chili
- Wooden spoon – helps break up ground chicken as it cooks
- Sharp knife – for dicing onion, peppers, and garlic quickly
- Cutting board – keeps prep clean and organized
- Measuring cups and spoons – keeps seasoning and liquid ratios accurate
- Meal prep containers – for portioning and storing the chili for the week
- Can opener – needed for beans, tomatoes, and broth
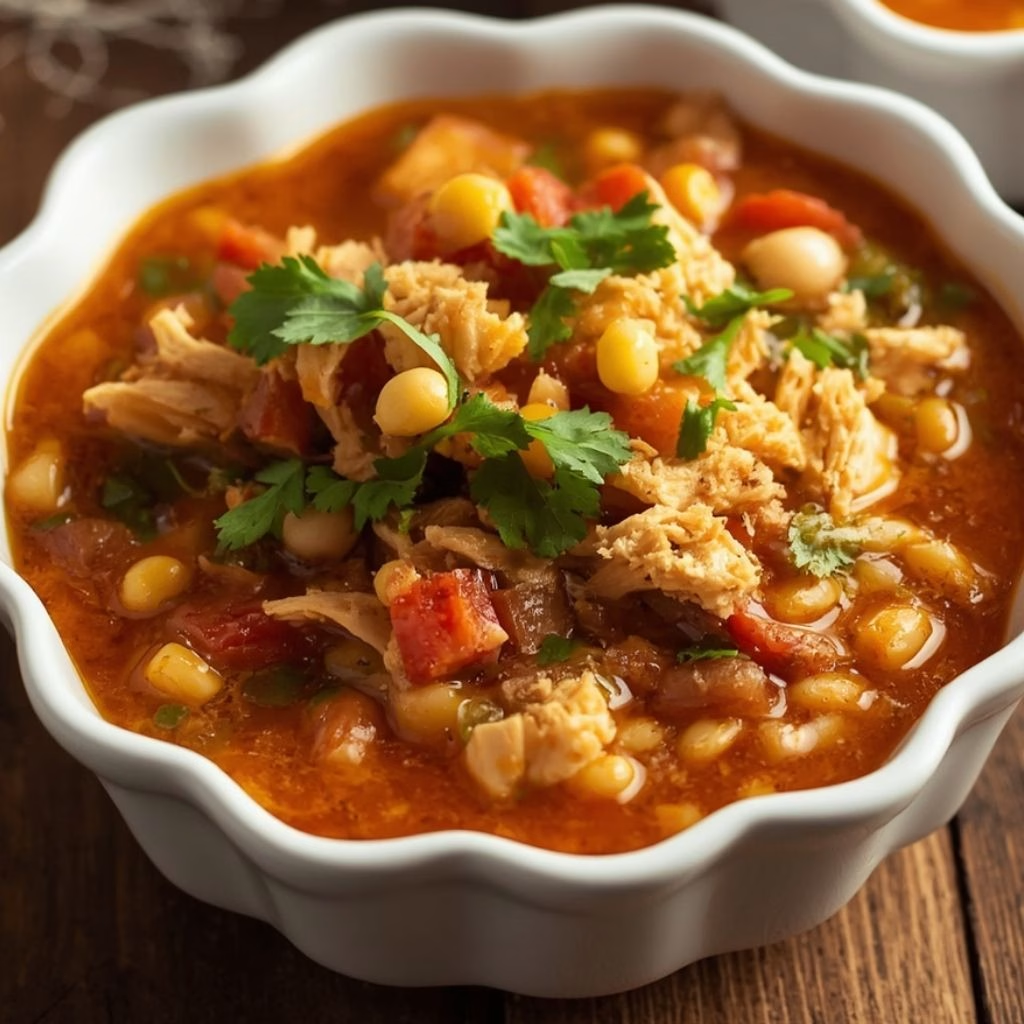
How to Make Meal Prep Chicken Chili Recipe?
Making this chili is honestly simpler than people expect once you have everything chopped and measured. I like to prep my vegetables first so the cooking part moves quickly. Here’s exactly how I put this dish together from start to finish.
Brown the Ground Chicken
I heat the olive oil in my Dutch oven over medium-high heat until it shimmers slightly. Then I add the ground chicken, breaking it apart with a wooden spoon as it cooks. I let it brown for about 6-7 minutes until no pink remains.
Sauté the Vegetables
Once the chicken is browned, I push it to one side and add the onion, bell pepper, and garlic. I cook everything together for another 3-4 minutes until the onion turns soft and fragrant. This step really builds the base flavor of the chili.
Add the Spices
Next, I sprinkle in the chili powder, cumin, smoked paprika, oregano, and cayenne. I stir everything for about a minute so the spices toast slightly in the pan. This little step makes a huge difference in how deep the flavor turns out.
Combine the Beans, Tomatoes, and Broth
I pour in the black beans, kidney beans, diced tomatoes, and chicken broth, stirring everything together well. I bring the mixture to a gentle boil, then reduce the heat to low. This is where the chili really starts smelling amazing.
Simmer the Chili
I cover the pot and let it simmer for about 20-25 minutes, stirring occasionally so nothing sticks to the bottom. The chili thickens naturally as it cooks, and the flavors meld together beautifully during this time.
Stir in the Corn and Finish
In the last 5 minutes, I stir in the corn kernels and let them warm through. I taste and adjust with salt, pepper, or extra chili powder if needed. This final taste-test step is something I never skip.
Cool and Portion for Meal Prep
Once done, I let the chili cool for about 15-20 minutes before dividing it into containers. Cooling it slightly first helps prevent condensation buildup, which keeps the texture better once refrigerated or frozen.
Additional Tips for Making This Recipe Better
I’ve made this chili more times than I can count, and these small tweaks genuinely make it better every time.
- I always brown the chicken in batches if my pot feels crowded, since crowding makes it steam instead of sear.
- I like adding a splash of apple cider vinegar at the end, it brightens the whole pot instantly.
- I never skip toasting the spices for that extra minute, it really deepens the flavor.
- I sometimes swap half the ground chicken for shredded rotisserie chicken when I want a quicker pulled chicken chili recipe version.
- I let the chili rest for 10 minutes off heat before serving, it thickens up nicely that way.
Common Mistakes to Avoid
I’ve made a few of these mistakes myself, so I’m sharing them so you don’t have to repeat them.
- I once rushed the browning step and ended up with watery chili, so now I always give the chicken enough time to sear properly.
- I used to add all the spices at the very start, but they’d burn slightly, so I add them after the vegetables soften instead.
- I learned the hard way that skipping the simmer time leaves the chili too thin, so I always let it reduce fully.
- I used to store the chili while it was still hot, which caused soggy texture from trapped steam, so I cool it first now.
- I once forgot to rinse the canned beans, and the chili turned overly salty, so rinsing them is a step I never skip anymore.
How to Serve Meal Prep Chicken Chili
I love serving this chili in wide, shallow bowls so all the toppings are visible instead of sinking to the bottom. A dollop of Greek yogurt or sour cream on top adds a creamy contrast against the spice. I usually scatter fresh cilantro, a few slices of avocado, and a wedge of lime right before eating.
For something heartier, I sometimes serve it alongside cornbread or over a scoop of brown rice, which also pairs beautifully if you’re already making a batch of smoky crockpot black bean soup for the week and want variety in your rotation. A sprinkle of shredded cheddar on top melts slightly into the warm chili and makes it look extra inviting for photos too.
Variations
This chili is easy to adjust depending on what you’re craving or what’s already in your kitchen.
- Dairy-free: skip the cheese and use dairy-free yogurt or skip the topping entirely
- Sugar-free: this recipe is naturally sugar-free as written, just double-check your canned tomatoes for added sugar
- Extra spicy: add diced jalapeños or a dash of hot sauce while simmering
- White chicken chili style: swap kidney and black beans for white beans and skip the tomatoes for a healthy white chicken chili crockpot-style version
- Low-carb: skip the beans and corn, and add extra bell peppers or zucchini instead
- Smoky twist: add a chipotle pepper in adobo sauce for deep, smoky heat
Nutritional Information
Here’s a general breakdown per serving, based on 6 servings from this batch.
- Calories: approximately 320 kcal
- Protein: approximately 32g
- Carbohydrates: approximately 28g
- Fat: approximately 9g
Make Ahead and Storage
This chili stores beautifully, which is exactly why it’s one of my favorite high protein white chicken chili recipe alternatives to prep ahead. Once fully cooled, I portion it into airtight containers and refrigerate for up to 4-5 days without any loss in flavor.
For freezing, I use freezer-safe containers or bags, laid flat to save space, and it keeps well for up to 3 months. I always leave a little space at the top since the chili expands slightly as it freezes.
To reheat, I microwave individual portions for 2-3 minutes, stirring halfway through, or warm it on the stovetop over medium-low heat until heated through. If it’s too thick after refrigeration, I just stir in a splash of broth or water while reheating.
Why You’ll Love This Recipe?
This chili has earned a permanent spot in my meal prep lineup, and here’s why I think you’ll feel the same way.
- Quick and simple: it comes together in under an hour with mostly hands-off simmering time, so it fits even the busiest weeknight schedule.
- Meal prep friendly: it stores and reheats beautifully, making it one of the easiest ways to have lunch or dinner ready for days.
- High in protein: with lean ground chicken and two types of beans, it keeps you full and satisfied without feeling heavy.
- Easy to customize: whether you want it spicier, dairy-free, or lower carb, this recipe adjusts without losing its core flavor.
- Budget-friendly: it uses pantry staples like canned beans and broth, stretching your grocery budget across several meals.
If you enjoy warm, spoonable comfort food like this, you might also like batch-cooking a pot of green chile chicken soup for another easy weeknight option using similar pantry ingredients.
FAQs
Can I use ground turkey instead of ground chicken?
Yes, ground turkey works as a direct substitute and gives a very similar texture and flavor to this chili.
Is this chicken chili recipe freezer-friendly?
Absolutely, it freezes well for up to 3 months when stored in airtight, freezer-safe containers.
How can I thicken my chicken chili if it turns out too watery?
Simmer it uncovered for a few extra minutes, or stir in a small amount of mashed beans to naturally thicken the broth.
Can I make this chicken chili recipe in a slow cooker?
Yes, brown the chicken first, then add everything to a slow cooker and cook on low for 6 hours or high for 3 hours.
What can I serve with this chili besides rice or cornbread?
Tortilla chips, a side salad, or warm flour tortillas all pair nicely if you want something lighter alongside it.

Meal Prep Chicken Chili Recipe
Ingredients
Method
- I heat the olive oil in my Dutch oven over medium-high heat until it shimmers slightly. Then I add the ground chicken, breaking it apart with a wooden spoon as it cooks. I let it brown for about 6-7 minutes until no pink remains.
- Once the chicken is browned, I push it to one side and add the onion, bell pepper, and garlic. I cook everything together for another 3-4 minutes until the onion turns soft and fragrant. This step really builds the base flavor of the chili.
- Next, I sprinkle in the chili powder, cumin, smoked paprika, oregano, and cayenne. I stir everything for about a minute so the spices toast slightly in the pan. This little step makes a huge difference in how deep the flavor turns out.
- I pour in the black beans, kidney beans, diced tomatoes, and chicken broth, stirring everything together well. I bring the mixture to a gentle boil, then reduce the heat to low. This is where the chili really starts smelling amazing.
- I cover the pot and let it simmer for about 20-25 minutes, stirring occasionally so nothing sticks to the bottom. The chili thickens naturally as it cooks, and the flavors meld together beautifully during this time.
- In the last 5 minutes, I stir in the corn kernels and let them warm through. I taste and adjust with salt, pepper, or extra chili powder if needed. This final taste-test step is something I never skip.
- Once done, I let the chili cool for about 15-20 minutes before dividing it into containers. Cooling it slightly first helps prevent condensation buildup, which keeps the texture better once refrigerated or frozen.
Notes
- I always brown the chicken in batches if my pot feels crowded, since crowding makes it steam instead of sear.
- I like adding a splash of apple cider vinegar at the end, it brightens the whole pot instantly.
- I never skip toasting the spices for that extra minute, it really deepens the flavor.
- I sometimes swap half the ground chicken for shredded rotisserie chicken when I want a quicker pulled chicken chili recipe version.
- I let the chili rest for 10 minutes off heat before serving, it thickens up nicely that way.