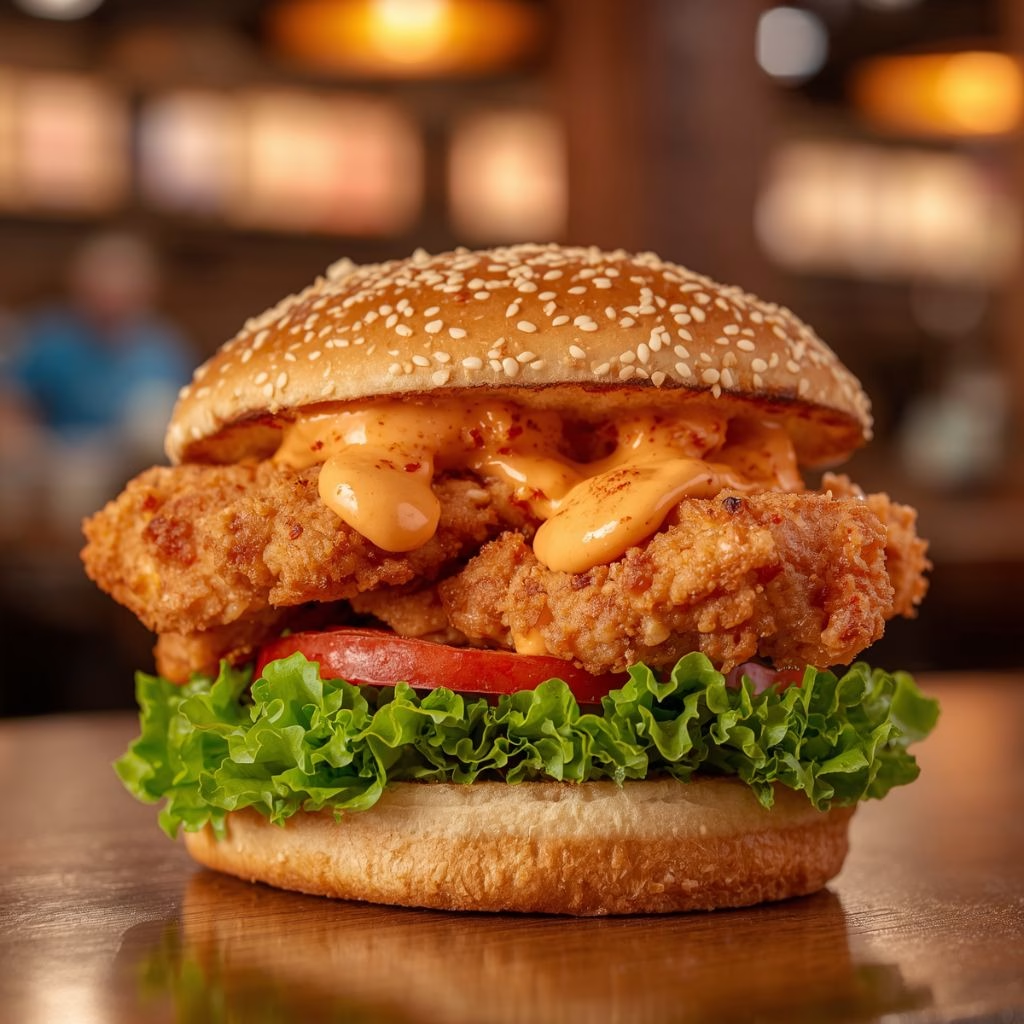
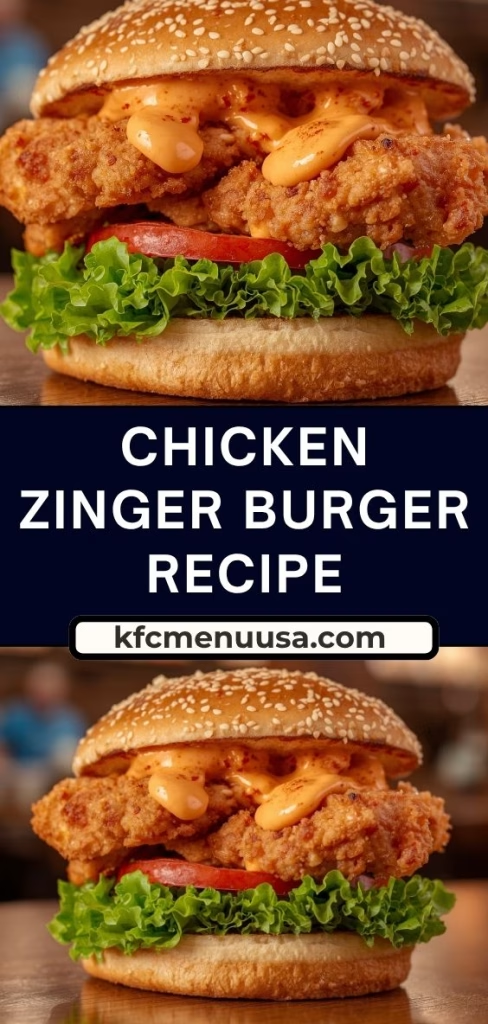
I still remember the first time I made Chicken Zinger Burger Recipe at home instead of driving to grab one. I wanted that same crunchy, spicy chicken patty, but fresher and made with ingredients I trust.
After a few tries, I finally nailed the coating and the marinade balance. Now this is the recipe I come back to whenever I want that fast-food craving satisfied without leaving my kitchen. Let me walk you through exactly how I make it.
Ingredients
- 2 boneless, skinless chicken breasts (pound them to an even thickness so they cook evenly and stay juicy)
- 3/4 cup buttermilk (the mild acidity tenderizes the chicken; if you don’t have any, stir a splash of vinegar into regular milk)
- 1 tablespoon hot sauce (adds a subtle background heat to the marinade itself)
- 1 teaspoon paprika (for color and a smoky note)
- 1 teaspoon garlic powder
- 1/2 teaspoon black pepper
- 1 teaspoon salt
- 1 cup all-purpose flour (the base of your crispy coating)
- 2 tablespoons cornstarch (this is my real secret ingredient; it keeps the crust light and shatteringly crisp instead of dense and bready)
- 1 teaspoon cayenne pepper (adjust up or down depending on how spicy you like it)
- 1/2 teaspoon onion powder
- 2 cups vegetable or canola oil for frying (avoid olive oil, since it can’t handle high frying temperatures)
- 2 burger buns, lightly toasted (brioche gives a richer, slightly sweet contrast to the spice)
- 2 tablespoons mayonnaise
- A handful of shredded lettuce (fresh, crisp lettuce keeps its crunch; skip anything wilted or pre-bagged that’s gone soft)
- Pickles or tomato slices, optional
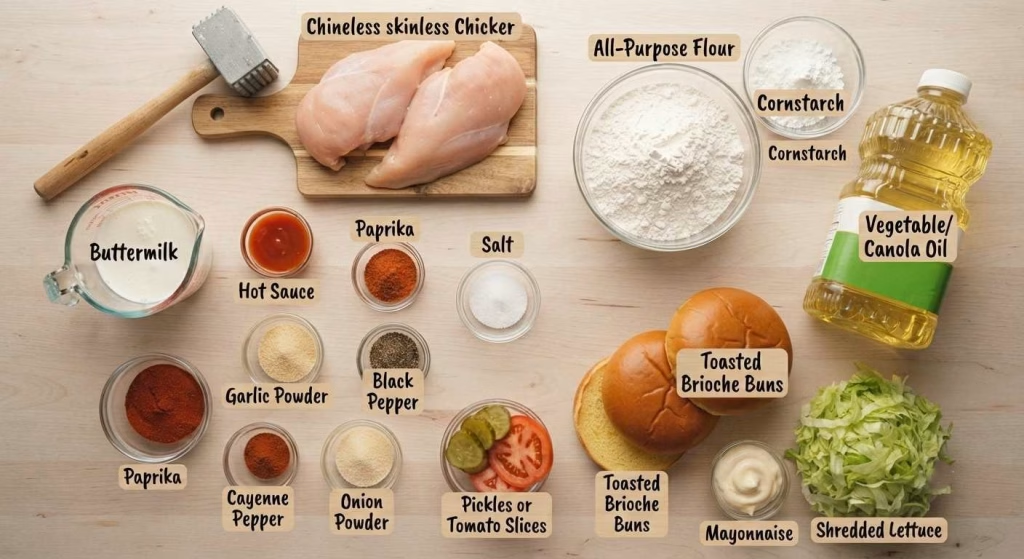
Note: This recipe makes 2 generous chicken zinger burgers. Double or triple every ingredient above if you’re cooking for a bigger group.
Variations
- Dairy-free option: swap the buttermilk for a plant-based milk mixed with a teaspoon of lemon juice, and use a dairy-free mayo for the sauce.
- Extra heat: add more cayenne to both the marinade and the flour coating, or mix a spoonful of hot sauce into your mayo.
- Air fryer version: skip deep frying and air fry the coated chicken at 375°F for around 12 minutes, flipping halfway through.
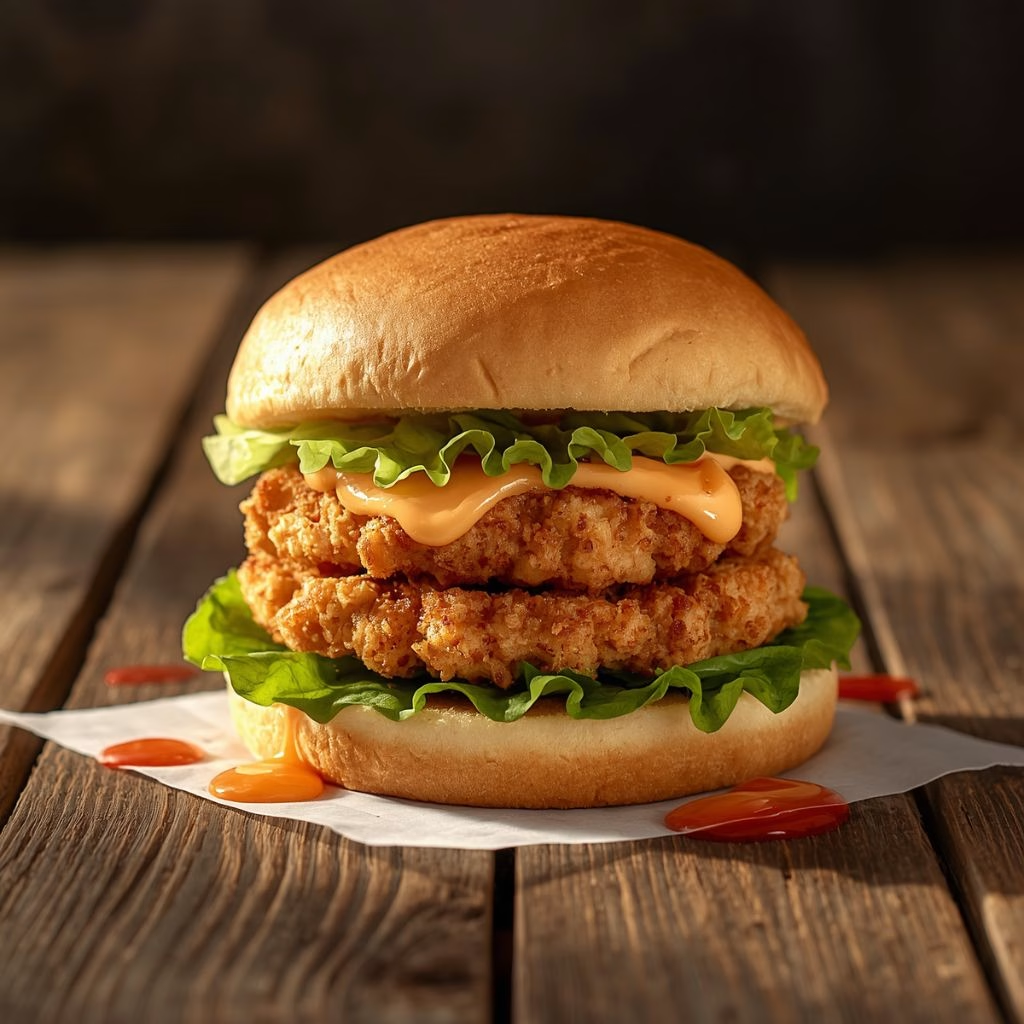
- Cheesy upgrade: melt a slice of cheddar or pepper jack over the chicken right after frying, while it’s still hot.
- Cruncher-style twist: use chicken thighs instead of breasts for a slightly richer, juicier bite.
- Extra crunch: double-dip the chicken in the marinade and flour mixture a second time before frying.
Cooking Time
- Prep Time: 15 minutes
- Marinating Time: 1 hour (or overnight for deeper flavor)
- Cooking Time: 12 minutes
- Total Time: Around 1 hour 30 minutes
Equipment You Need
- Large mixing bowl: for combining the buttermilk marinade
- Meat mallet or rolling pin: to flatten the chicken breasts evenly
- Shallow dish: to hold the flour and cornstarch coating
- Deep skillet or Dutch oven: for frying the chicken to golden perfection
- Wire rack: to drain excess oil so the crust stays crisp
- Meat thermometer: to confirm the chicken has reached a safe internal temperature
How to Make Chicken Zinger Burger?
A great zinger burger comes down to three things done right: a well-marinated chicken breast, a genuinely crispy coating, and careful frying. None of these steps are complicated, but each one matters for the final bite. Here’s exactly how I put it all together at home.
Step 1: Prepare the Chicken
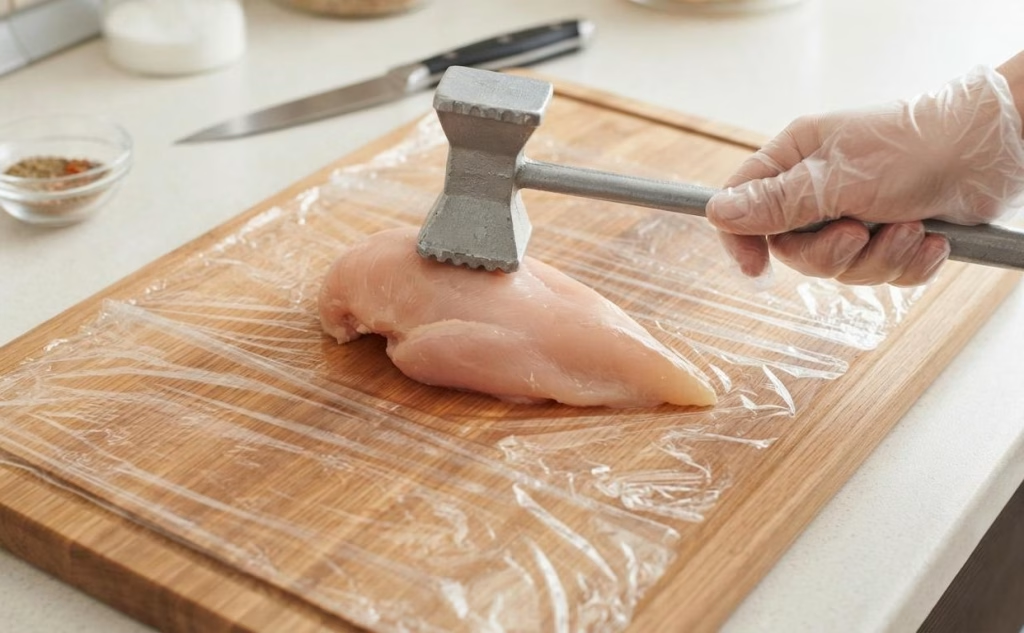
I start by placing the chicken breasts between two sheets of plastic wrap. Using a meat mallet, I pound them to an even thickness of about three-quarters of an inch. This helps the chicken cook through evenly without drying out the edges.
Step 2: Mix the Marinade
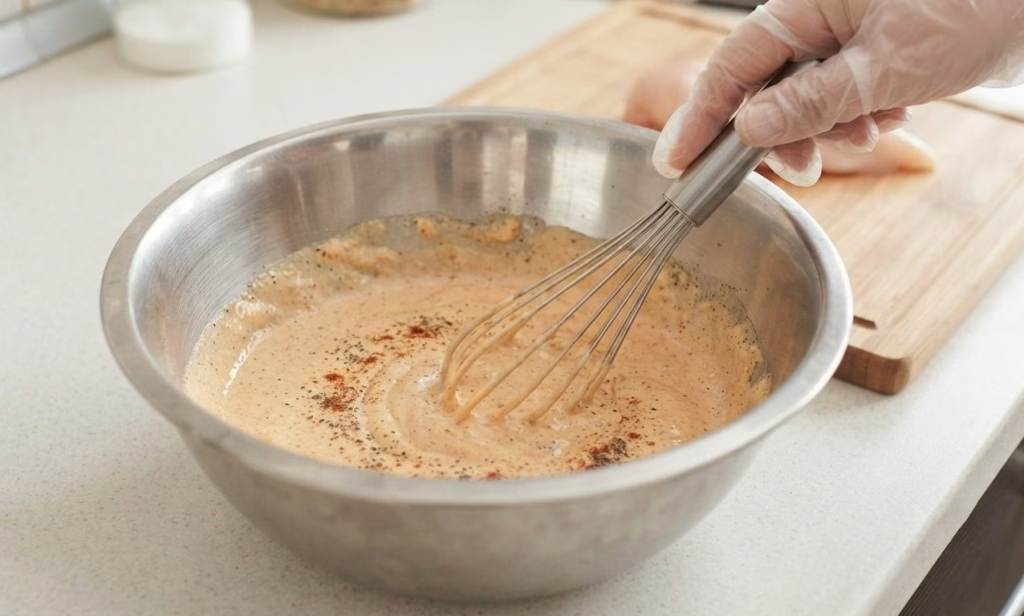
In a large bowl, I whisk together the buttermilk, hot sauce, paprika, garlic powder, salt, and pepper. This marinade does more than add flavor; the buttermilk’s acidity gently breaks down the surface of the chicken, keeping it tender through frying.
Step 3: Marinate the Chicken
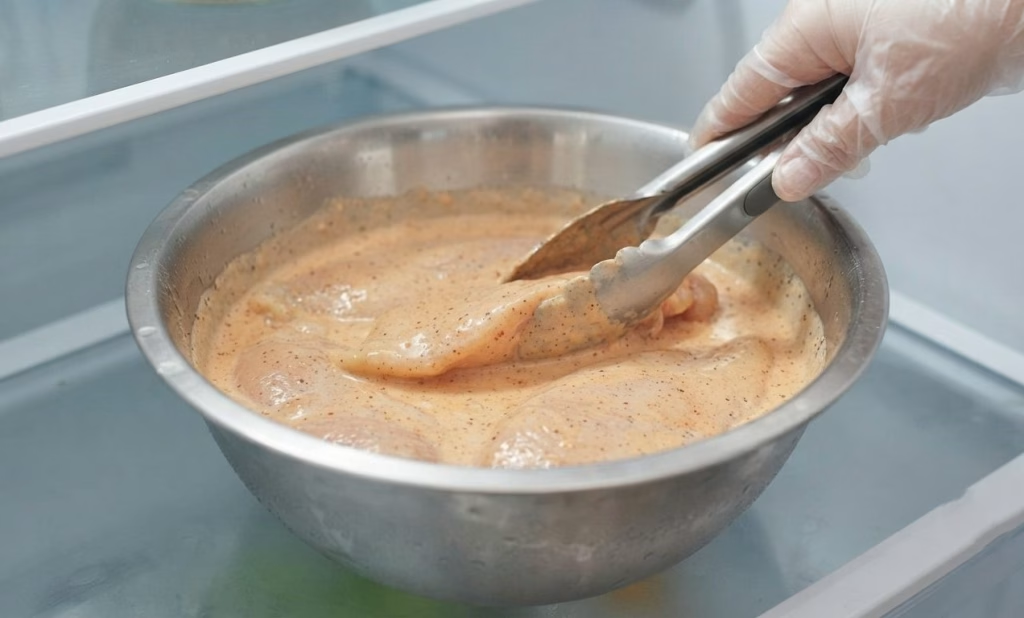
I submerge the chicken fully in the marinade, cover the bowl, and refrigerate it for at least an hour. If I have time, I let it sit overnight, since the flavor only gets better the longer it rests. Almond Butter Berry Overnight Oats Recipe is another make-ahead favorite that fits perfectly into busy meal planning.
Step 4: Make the Coating
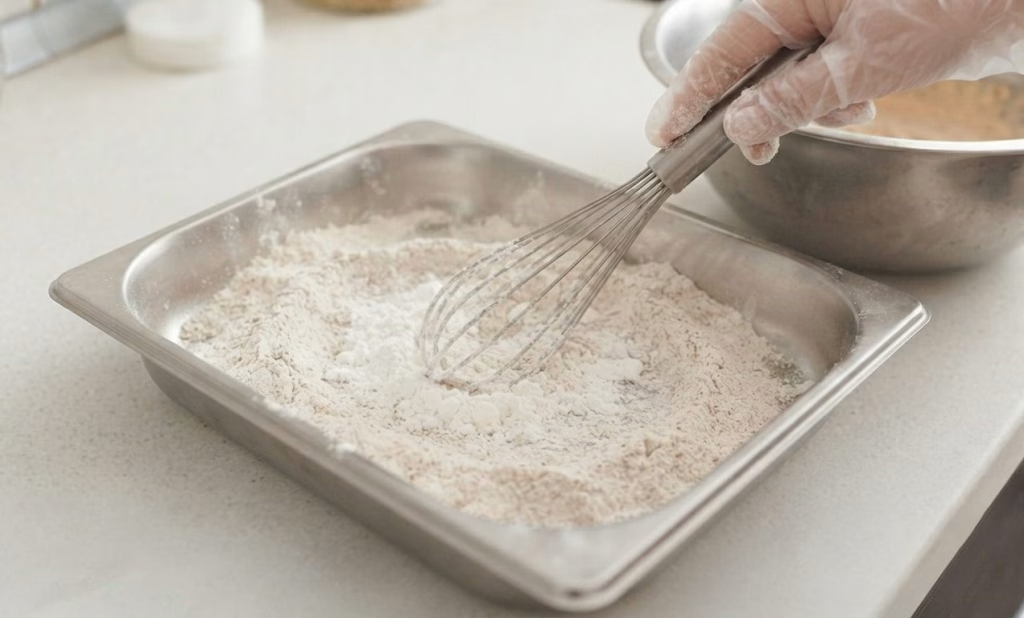
While the chicken marinates, I combine the flour, cornstarch, cayenne pepper, and onion powder in a shallow dish. The cornstarch is what gives the crust its light, shattering crunch instead of a heavy, doughy texture.
Step 5: Dredge the Chicken
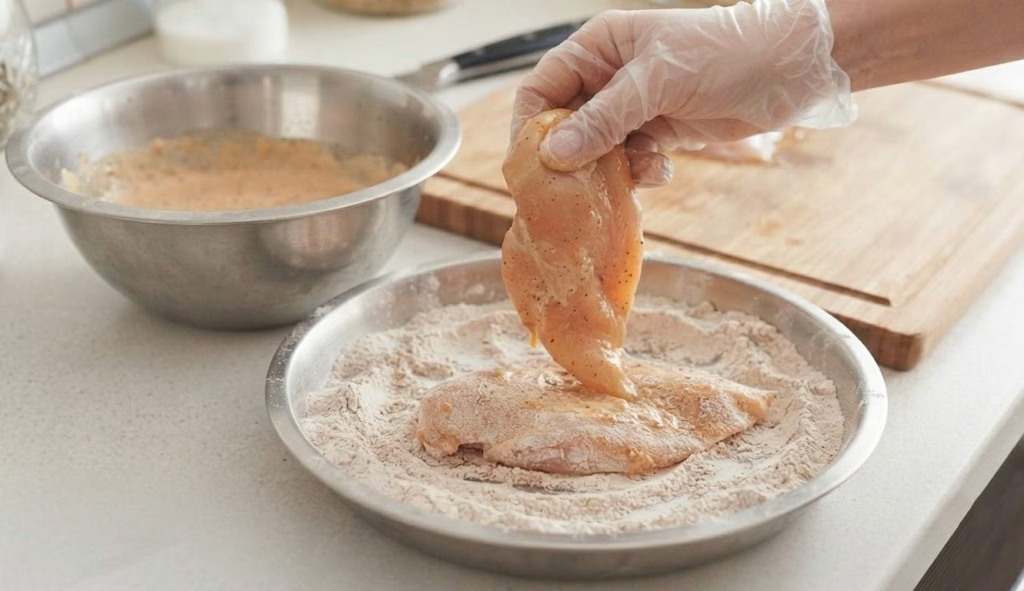
I remove the chicken from the marinade, letting the excess drip off, then press each piece firmly into the flour mixture. Pressing it in on all sides helps the coating stick properly during frying.
Step 6: Heat the Oil
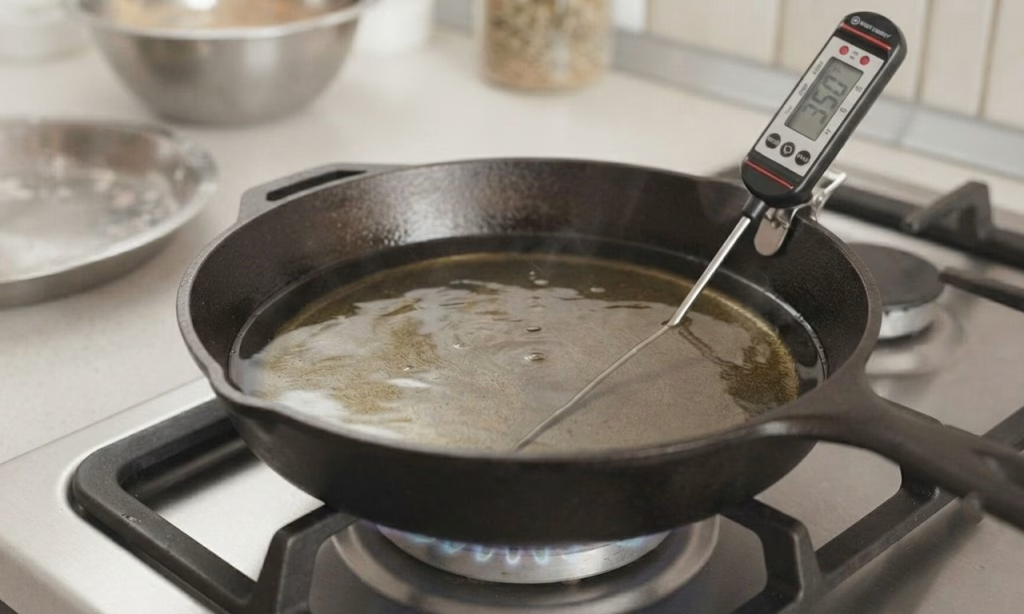
I pour oil into a deep skillet until it’s about two inches deep and heat it to 350°F. Getting the temperature right matters; oil that’s too cool makes the coating greasy instead of crisp.
Step 7: Fry the Chicken
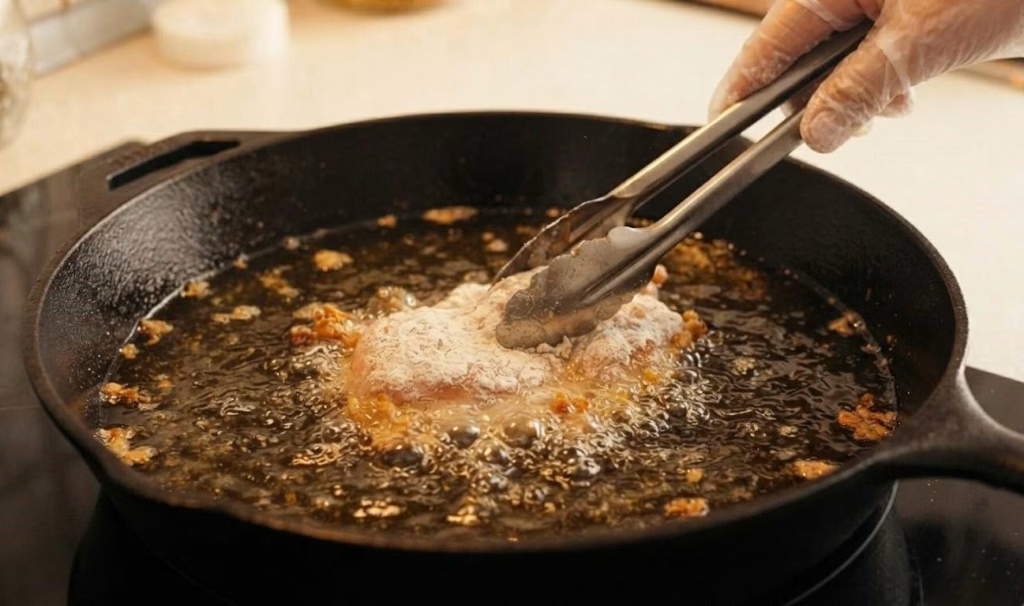
I carefully lower the coated chicken into the hot oil and fry for about five to six minutes per side, until it’s deep golden brown. I always check that the internal temperature reaches 165°F before removing it.
Step 8: Drain and Rest
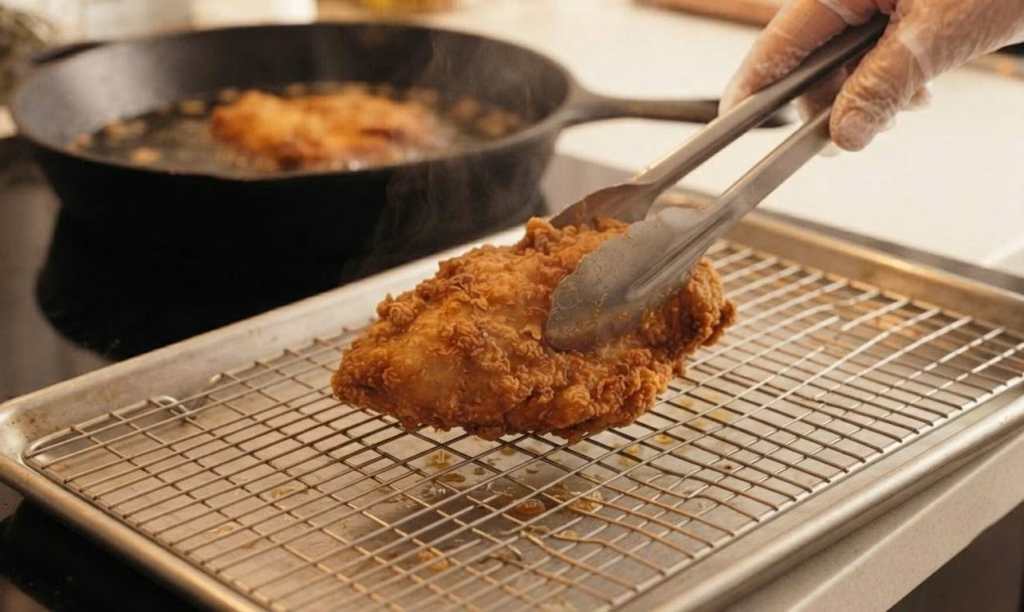
Once cooked, I transfer the chicken to a wire rack instead of a paper towel. This keeps air circulating underneath so the crust doesn’t turn soggy while it rests for a couple of minutes.
Step 9: Assemble the Burger
I toast the buns lightly, spread mayonnaise on both halves, layer on the shredded lettuce, and place the crispy chicken on top. A few pickle slices go on before I close it up and serve right away.
Additional Tips for Making This Recipe Better
I’ve made this enough times now to know what actually moves the needle, so here’s what I’d tell a friend before they start.
- I always pat the chicken dry before marinating; too much surface moisture stops the marinade from really soaking in.
- I never skip the resting step on a wire rack, since it keeps the bottom of the coating from steaming and going soft.
- I use a thermometer for the oil rather than guessing, because inconsistent oil temperature is the number one reason coatings turn out greasy or pale.
- I let the coated chicken sit for ten to fifteen minutes before frying; it helps the crust cling on better instead of flaking off in the oil.
- I toast my buns in a dry pan for a minute, which stops them from getting soggy once the sauce and chicken go on.
How to Serve Chicken Zinger Burger?
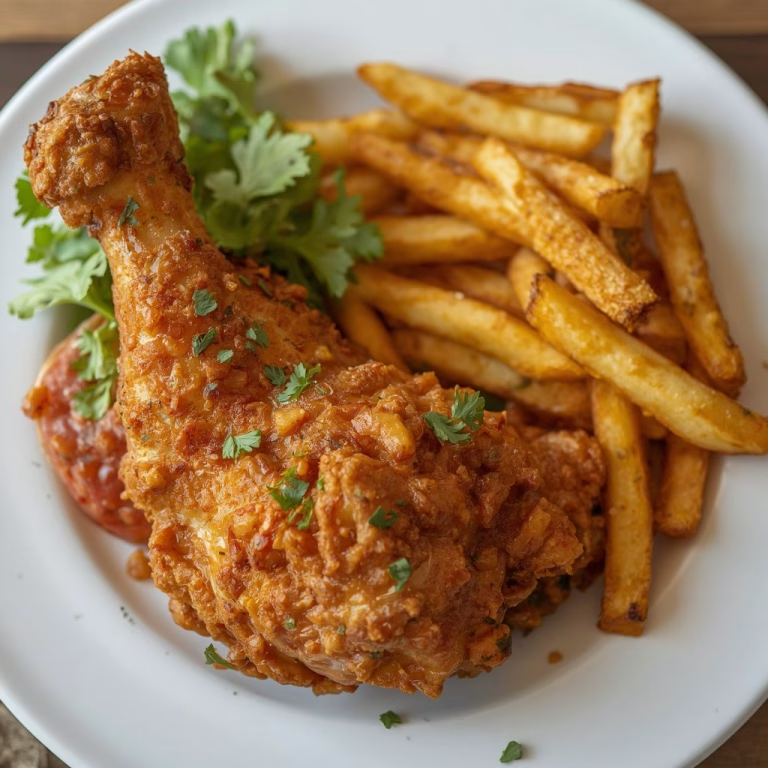
I like to serve this burger while it’s still warm, wrapped loosely in parchment paper for that classic takeaway feel. A side of crispy fries or a simple coleslaw rounds out the plate nicely, and Nutella and Banana Stuffed Crepes Recipe makes a delicious sweet finish if you’re serving a complete homemade meal.
For a bit of extra presentation, I add a few pickle slices peeking out from the side of the bun and a light drizzle of spicy mayo on top. If I’m feeding a crowd, I’ll cut each burger in half diagonally so the crispy layers and juicy chicken are visible, which always gets people reaching for one.
Nutritional Information
Here’s roughly what you can expect per serving, though this will vary depending on your exact ingredients and portion size.
- Calories: 520
- Protein: 32g
- Carbohydrates: 38g
- Fat: 26g
Make Ahead and Storage
Refrigerating: I keep any leftover cooked chicken in an airtight container in the fridge, and it stays good for up to three days. I always reheat it in the oven rather than the microwave to keep the crust from going soft.
Freezing: For longer storage, I freeze the cooked chicken pieces on a tray first before transferring them to a freezer bag. This way they stay good for up to two months without sticking together.
Reheating: I reheat frozen or refrigerated chicken in the oven or air fryer at 375°F for eight to ten minutes. This brings back the crunch far better than a microwave ever could.
Why You’ll Love This Recipe
This chicken zinger burger has become one of my go-to dinners, and here’s why I think you’ll love it too.
- It’s easier than it looks: the whole process comes together in under an hour of active work, even with marinating time built in.
- It’s endlessly customizable: swap the spice level, the cheese, or the bun to match exactly what you’re craving.
- It tastes fresher than takeaway: you control the quality of the chicken and the oil, so every bite feels a little more special.
- It works for meal prep: fry a batch, freeze it, and you’ve got a quick dinner ready whenever you need one.
- It satisfies the craving completely: crispy, spicy, juicy, and stacked with all the classic toppings, this burger checks every box.

Chicken Zinger Burger Recipe
Ingredients
Method
- I start by placing the chicken breasts between two sheets of plastic wrap. Using a meat mallet, I pound them to an even thickness of about three-quarters of an inch. This helps the chicken cook through evenly without drying out the edges.
- In a large bowl, I whisk together the buttermilk, hot sauce, paprika, garlic powder, salt, and pepper. This marinade does more than add flavor; the buttermilk’s acidity gently breaks down the surface of the chicken, keeping it tender through frying.
- I submerge the chicken fully in the marinade, cover the bowl, and refrigerate it for at least an hour. If I have time, I let it sit overnight, since the flavor only gets better the longer it rests.
- While the chicken marinates, I combine the flour, cornstarch, cayenne pepper, and onion powder in a shallow dish. The cornstarch is what gives the crust its light, shattering crunch instead of a heavy, doughy texture.
- I remove the chicken from the marinade, letting the excess drip off, then press each piece firmly into the flour mixture. Pressing it in on all sides helps the coating stick properly during frying.
- I pour oil into a deep skillet until it’s about two inches deep and heat it to 350°F. Getting the temperature right matters; oil that’s too cool makes the coating greasy instead of crisp.
- I carefully lower the coated chicken into the hot oil and fry for about five to six minutes per side, until it’s deep golden brown. I always check that the internal temperature reaches 165°F before removing it.
- Once cooked, I transfer the chicken to a wire rack instead of a paper towel. This keeps air circulating underneath so the crust doesn’t turn soggy while it rests for a couple of minutes.
- I toast the buns lightly, spread mayonnaise on both halves, layer on the shredded lettuce, and place the crispy chicken on top. A few pickle slices go on before I close it up and serve right away.
Notes
- I always pat the chicken dry before marinating; too much surface moisture stops the marinade from really soaking in.
- I never skip the resting step on a wire rack, since it keeps the bottom of the coating from steaming and going soft.
- I use a thermometer for the oil rather than guessing, because inconsistent oil temperature is the number one reason coatings turn out greasy or pale.
- I let the coated chicken sit for ten to fifteen minutes before frying; it helps the crust cling on better instead of flaking off in the oil.
- I toast my buns in a dry pan for a minute, which stops them from getting soggy once the sauce and chicken go on.