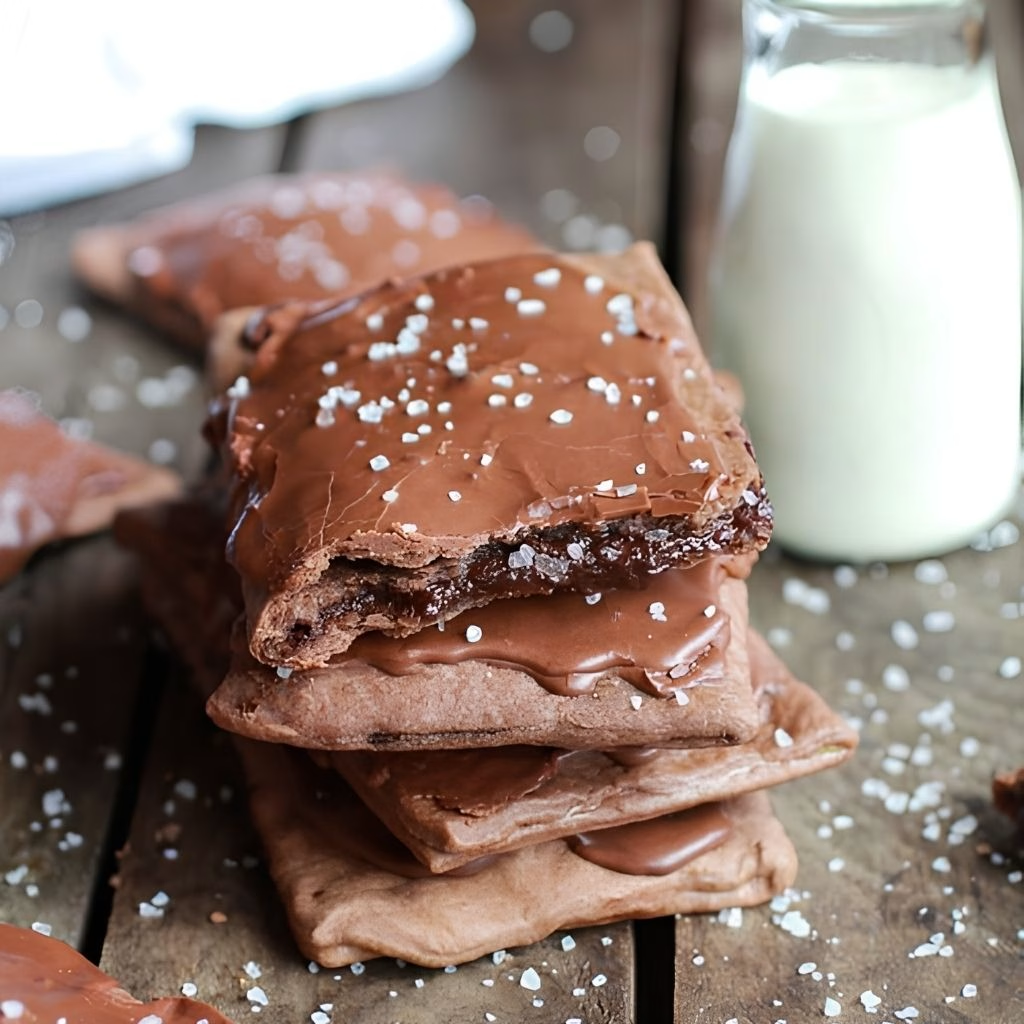
I still remember the first time I pulled a tray of Chocolate Pop Tart Recipe out of my oven. The chocolate crust smelled like a bakery, and the filling was still soft in the middle. One bite told me I was never buying the boxed kind again.
This chocolate pop tart recipe is my go-to whenever a chocolate craving hits hard. It looks fancy, but it’s really just a few pantry staples working together.
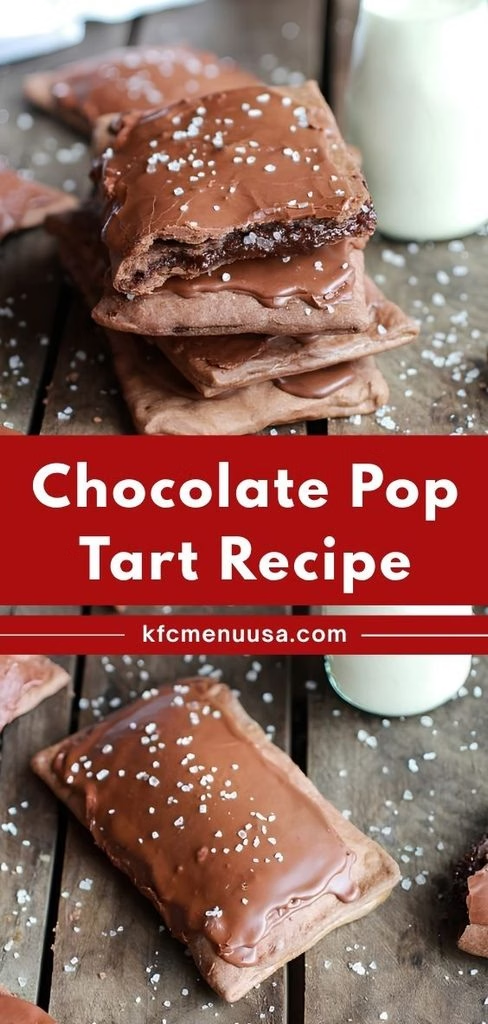
Cooking Time
- Prep Time: 1 hour (includes chilling the dough)
- Cooking Time: 15-17 minutes
- Total Time: About 1 hour 15 minutes
Ingredients
For the Chocolate Pastry Crust
- All-purpose flour (2 ¼ cups) – the base of the dough; measure it by spooning into the cup, not scooping
- Natural cocoa powder (¼ cup) – gives the crust its deep chocolate color and flavor
- Granulated sugar (¼ cup) – balances the slight bitterness of the cocoa
- Table salt (½ teaspoon) – sharpens the chocolate flavor
- Unsalted butter, cold and cubed (1 cup) – keep it ice-cold for a flaky, not tough, crust
- Sour cream (½ cup) – my favorite trick for a tender dough that’s easy to roll
For the Chocolate Filling
- Semisweet chocolate chips (6 oz) – melt these low and slow so they don’t seize
- Salted butter (2 tablespoons) – adds richness and a touch of savory balance
- Heavy cream (2 tablespoons) – loosens the chocolate into a smooth, pourable filling
- Vanilla extract (½ teaspoon) – rounds out the chocolate flavor
- Powdered sugar (3 tablespoons) – sweetens and thickens the filling slightly
For the Egg Wash
- Large egg (1) – whisked with water, this seals the dough and gives it shine
- Water (1 teaspoon) – thins the egg so it brushes on evenly
For the Chocolate Glaze
- Powdered sugar (1 ½ cups) – the glaze base
- Natural cocoa powder (1 tablespoon) – gives the glaze its chocolate flavor
- Milk (2 tablespoons) – thins the glaze; add slowly, you can always add more
- Light corn syrup (1 tablespoon) – makes the glaze glossy and helps it set firm
- Vanilla extract (¼ teaspoon) – adds depth to the glaze
- Sprinkles, optional – for the classic pop tart look
Note: This recipe makes about 10 pop tarts, so plan on serving 8-10 people, or fewer if everyone wants seconds.
Equipment You Need
- Food processor – cuts the cold butter into the flour fast, without warming it with your hands
- Mixing bowls – one for the filling, one for the glaze, so flavors stay separate
- Baking sheet – gives the pop tarts an even surface to bake on
- Rolling pin – rolls the chilled dough into thin, even rectangles
- Pastry brush – spreads the egg wash so the seams seal properly
- Fork – crimps the edges shut so the filling stays locked inside
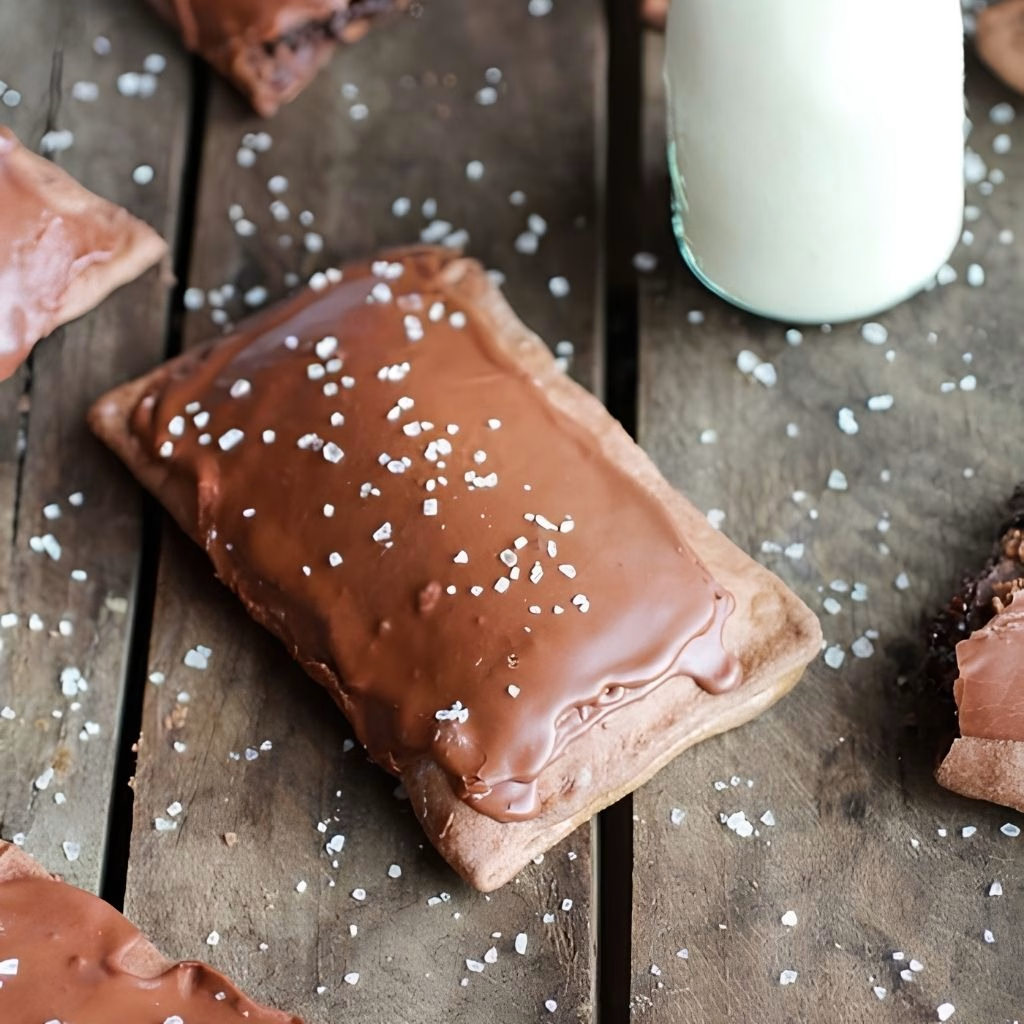
How to Make Chocolate Pop Tart Recipe?
Making these from scratch is simpler than it looks once you break it into stages. I always start the dough first so it has time to chill while I get the filling ready. Here’s exactly how I put mine together every time.
Make the Chocolate Dough
Pulse the flour, cocoa powder, sugar, and salt together in your food processor. Scatter the cold, cubed butter over the top and pulse again until the mixture looks like coarse crumbs. A few visible butter pieces are fine here, they help create flaky layers once baked.
Bring the Dough Together
Add the sour cream and pulse until the dough starts clinging together in small clumps. It should hold its shape when you press it between two fingers. Transfer it to plastic wrap, flatten it into a disk, and chill for 30-60 minutes.
Prepare the Chocolate Filling
While the dough chills, melt the chocolate chips, salted butter, and heavy cream together in short bursts in the microwave. Stir in the vanilla and powdered sugar once smooth. Set the filling aside so it can cool and thicken before you use it.
Roll and Cut the Dough
Once chilled, roll the dough out on a lightly floured surface to about ⅛ to ¼ inch thick. Cut it into rectangles roughly 2.5 by 4 inches. You should get enough for about 10 pop tarts, with a little dough left for scraps.
Assemble the Pop Tarts
Brush one rectangle with egg wash, then spoon a rounded teaspoon of the cooled filling into the center. Top with a second rectangle and press the edges together. Crimp all four sides firmly with a fork so nothing leaks out during baking.
Vent and Bake
Poke 6-8 small holes across the top of each pop tart with a toothpick so steam can escape while baking. Bake at 400°F for 15-17 minutes, until the crust is set and slightly firm to the touch. Let them cool fully on the pan before glazing.
Glaze and Decorate
Whisk together the powdered sugar, cocoa powder, milk, corn syrup, and vanilla until smooth and glossy. Spoon it over each cooled pop tart, letting it drip slightly down the sides. Add sprinkles right away, before the glaze sets.
Additional Tips for Making This Recipe Better
I’ve made this chocolate pop tart recipe more times than I can count, and these small habits make a real difference in how they turn out.
- I always freeze my butter cubes for about 10 minutes before pulsing them into the flour, it keeps the crust flakier
- I let my filling cool completely before assembling, warm filling makes the dough soft and hard to seal
- I trace a template on cardstock first so all my rectangles come out the same size
- I brush egg wash on both the bottom and top layers, not just one, for a stronger seal
- I keep a small bowl of flour nearby to dust my rolling pin so the dough never sticks
Common Mistakes to Avoid
- I once used warm butter by accident, and the dough turned greasy instead of flaky, keep everything cold
- I skipped venting the tops on my first batch, and steam blew the seams open in the oven
- I glazed the pop tarts while they were still warm, and the glaze slid right off, always wait until fully cool
- I overfilled a few early on, thinking more chocolate meant better, but it just leaked out during baking
- I rushed the chilling step once, and the dough tore constantly while rolling, give it the full 30 minutes
How to Serve Chocolate Pop Tart Recipe?
I like serving these slightly warm, sliced in half so the chocolate filling peeks out. A scoop of vanilla ice cream on the side turns them into a dessert instead of a snack. For breakfast, I pair mine with a hot cup of coffee.
If you’re serving a crowd, arrange them on a platter with the glaze drizzled on top and a light dusting of extra cocoa powder or a scatter of sprinkles for color. They also pair nicely alongside other baked treats like the chocolate chip cake if you’re setting up a dessert table.
Variations
- Dairy-free: Swap the butter for a plant-based block butter and use dairy-free chocolate chips and cream
- Sugar-free: Use a sugar substitute made for baking in place of granulated and powdered sugar
- Peanut butter twist: Stir a tablespoon of peanut butter into the chocolate filling before it cools
- Fudge-style filling: Add an extra ounce of chocolate to the filling for a thicker, fudgier center
- Fruit and chocolate: Add a thin layer of raspberry jam alongside the chocolate filling for a fruity contrast
Nutritional Information
Here’s a general estimate per pop tart, based on standard ingredients used in this recipe.
- Calories: About 535
- Protein: About 6g
- Carbohydrates: About 60g
- Fat: About 32g
Make Ahead and Storage
You can prepare the chocolate dough up to 3 days ahead of time. Wrap it tightly in plastic and keep it in the fridge until you’re ready to roll and fill it. I recommend making the filling and glaze fresh, right before assembling.
Store the finished, glazed pop tarts in an airtight container at room temperature for 2-3 days. They stay fresh without drying out if the container seals well.
For longer storage, wrap each pop tart individually and freeze for up to 3 months. Thaw them in the fridge overnight, then warm gently in the microwave for a few seconds before serving.
Why You’ll Love This Recipe
This chocolate pop tart recipe has earned a permanent spot in my baking rotation, and here’s why I think you’ll love it too.
- Better than store-bought: The filling is rich, real chocolate, not a processed paste, and you can taste the difference
- Customizable: You can swap the filling, adjust the glaze, or make it dairy-free without losing the flaky texture
- Great for meal prep: The dough and filling can be made ahead, so assembly day goes quickly
- Kid and adult approved: My kids love decorating theirs with sprinkles, and adults love the deep chocolate flavor
- Freezer friendly: You can always keep a batch stored away for a fast breakfast or snack later
If you like breakfast pastries, my banana oat pancake recipe is another one worth trying on a slower morning.
FAQs
What are the ingredients in chocolate pop-tarts?
A chocolate pop tart needs a cocoa-based pastry dough, a rich chocolate filling made from melted chocolate and cream, and a chocolate glaze on top. Sprinkles are optional but common.
How many calories are in a chocolate pop tart?
A homemade chocolate pop tart runs around 500-540 calories each, depending on filling and glaze amounts. Home bakers on Reddit have noted that homemade versions often carry more calories than store-bought ones since the filling and crust use real butter and chocolate rather than processed fillers, based on discussions shared by Reddit users.
What are the nutrition facts for a chocolate pop tart?
Per pop tart, expect roughly 535 calories, 6g protein, 60g carbohydrates, and 32g fat, using the ingredients listed in this recipe.
Why were chocolate pop-tarts discontinued?
Kellogg’s has discontinued several chocolate-flavored Pop-Tarts over the years, including Frosted Chocolate Chip Cookie Dough, though it was later brought back permanently after years of fan requests. Reddit threads have repeatedly turned into rallying points for fans asking the brand to bring discontinued chocolate flavors back, based on discussions shared by Reddit users.
Can I make a healthier chocolate pop tart?
Yes, you can lighten this recipe by using a sugar substitute, reducing the glaze, or swapping in a lower-fat filling. It won’t taste identical to the original, but it keeps the same basic structure.
Can I make chocolate fudge pop tarts with this recipe?
Yes, adding an extra ounce of chocolate to the filling gives you a thicker, more fudge-like center, closer to a chocolate fudge pop tart than the standard version.

Chocolate Pop Tart Recipe
Ingredients
Method
- Pulse the flour, cocoa powder, sugar, and salt together in your food processor. Scatter the cold, cubed butter over the top and pulse again until the mixture looks like coarse crumbs. A few visible butter pieces are fine here, they help create flaky layers once baked.
- Add the sour cream and pulse until the dough starts clinging together in small clumps. It should hold its shape when you press it between two fingers. Transfer it to plastic wrap, flatten it into a disk, and chill for 30-60 minutes.
- While the dough chills, melt the chocolate chips, salted butter, and heavy cream together in short bursts in the microwave. Stir in the vanilla and powdered sugar once smooth. Set the filling aside so it can cool and thicken before you use it.
- Once chilled, roll the dough out on a lightly floured surface to about ⅛ to ¼ inch thick. Cut it into rectangles roughly 2.5 by 4 inches. You should get enough for about 10 pop tarts, with a little dough left for scraps.
- Brush one rectangle with egg wash, then spoon a rounded teaspoon of the cooled filling into the center. Top with a second rectangle and press the edges together. Crimp all four sides firmly with a fork so nothing leaks out during baking.
- Poke 6-8 small holes across the top of each pop tart with a toothpick so steam can escape while baking. Bake at 400°F for 15-17 minutes, until the crust is set and slightly firm to the touch. Let them cool fully on the pan before glazing.
- Whisk together the powdered sugar, cocoa powder, milk, corn syrup, and vanilla until smooth and glossy. Spoon it over each cooled pop tart, letting it drip slightly down the sides. Add sprinkles right away, before the glaze sets.
Notes
- I always freeze my butter cubes for about 10 minutes before pulsing them into the flour, it keeps the crust flakier
- I let my filling cool completely before assembling, warm filling makes the dough soft and hard to seal
- I trace a template on cardstock first so all my rectangles come out the same size
- I brush egg wash on both the bottom and top layers, not just one, for a stronger seal
- I keep a small bowl of flour nearby to dust my rolling pin so the dough never sticks