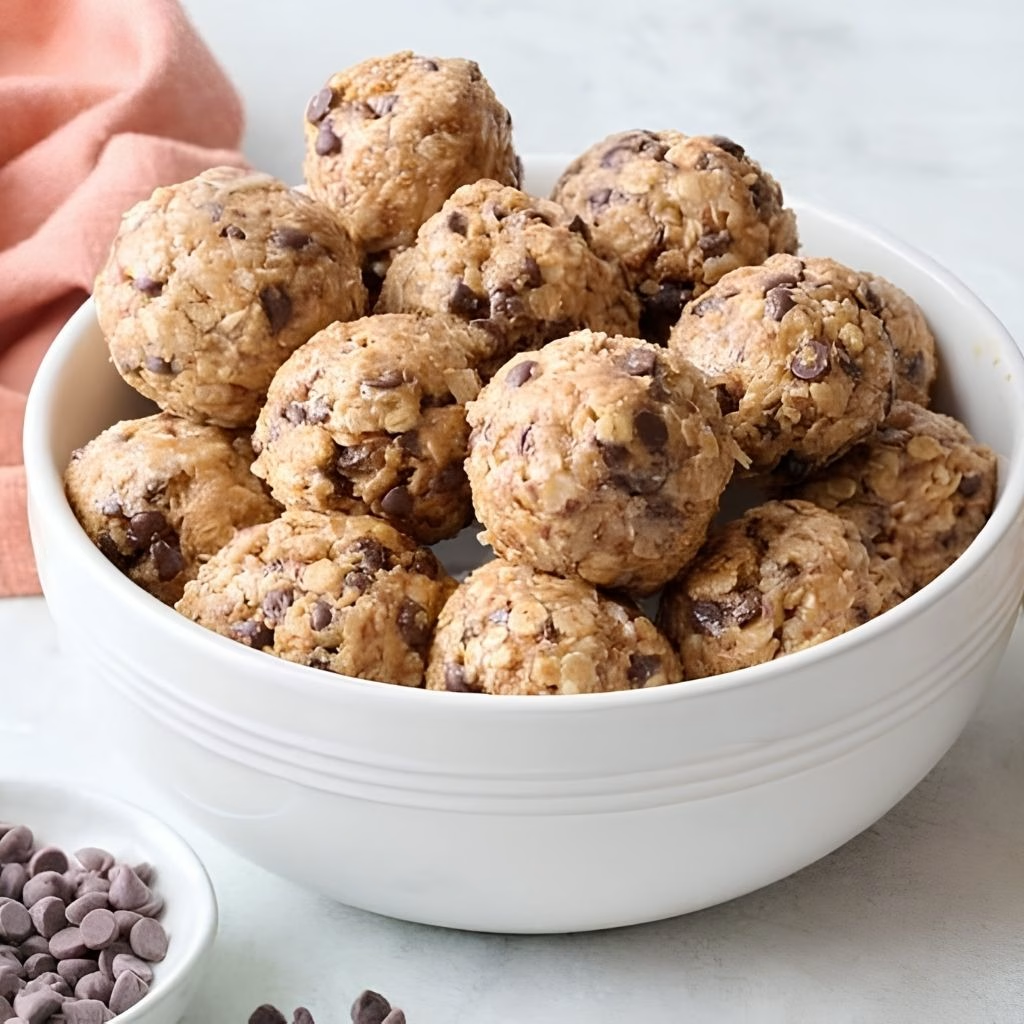
I first made this No Bake Energy Balls Recipe on a Sunday afternoon when I had zero motivation to turn on the oven, and they’ve been my go-to snack ever since. I love that I can mix everything in one bowl, roll it up, and be done in twenty minutes flat.
Every time I bring a batch to work, someone asks me for the recipe by the end of the day. They’re the kind of healthy energy balls recipe that feels a little indulgent but is actually packed with good stuff like oats, peanut butter, and flaxseed. Once I started keeping a batch in my fridge, I never went back to store-bought granola bars.
Cooking Time
- Prep Time: 15 minutes
- Cooking Time: 0 minutes (no bake!)
- Total Time: 1 hour 15 minutes (includes chilling)
Ingredients
- 1 cup old-fashioned oats – I use rolled oats since they hold their shape better than quick oats
- 2/3 cup shredded coconut, toasted – toasting brings out a nutty flavor, but skip it if you want energy balls no coconut style and swap in extra oats
- 1/2 cup creamy peanut butter – natural or traditional both work, just make sure it’s well stirred
- 1/2 cup ground flaxseed – this is what gives the recipe for energy balls with peanut butter its fiber and omega-3 boost
- 1/3 cup honey – my sweetener of choice, though maple syrup works if you want it vegan
- 1/2 cup mini chocolate chips – I always use semisweet, but dark chocolate chips are great too
- 1 teaspoon vanilla extract – adds warmth and rounds out the sweetness
- 1 tablespoon chia seeds (optional) – I toss these in when I want a little extra crunch and nutrition
Note: this recipe makes about 20 to 25 energy balls, so it easily serves a family or a week’s worth of snacking.
Equipment You’ll Need
- Large mixing bowl – for combining all the ingredients evenly
- Measuring cups and spoons – to keep your ratios accurate
- Rubber spatula or wooden spoon – makes stirring the sticky mixture much easier
- Small cookie scoop – helps you portion out evenly sized balls
- Airtight container – for storing the finished energy balls in the fridge or freezer
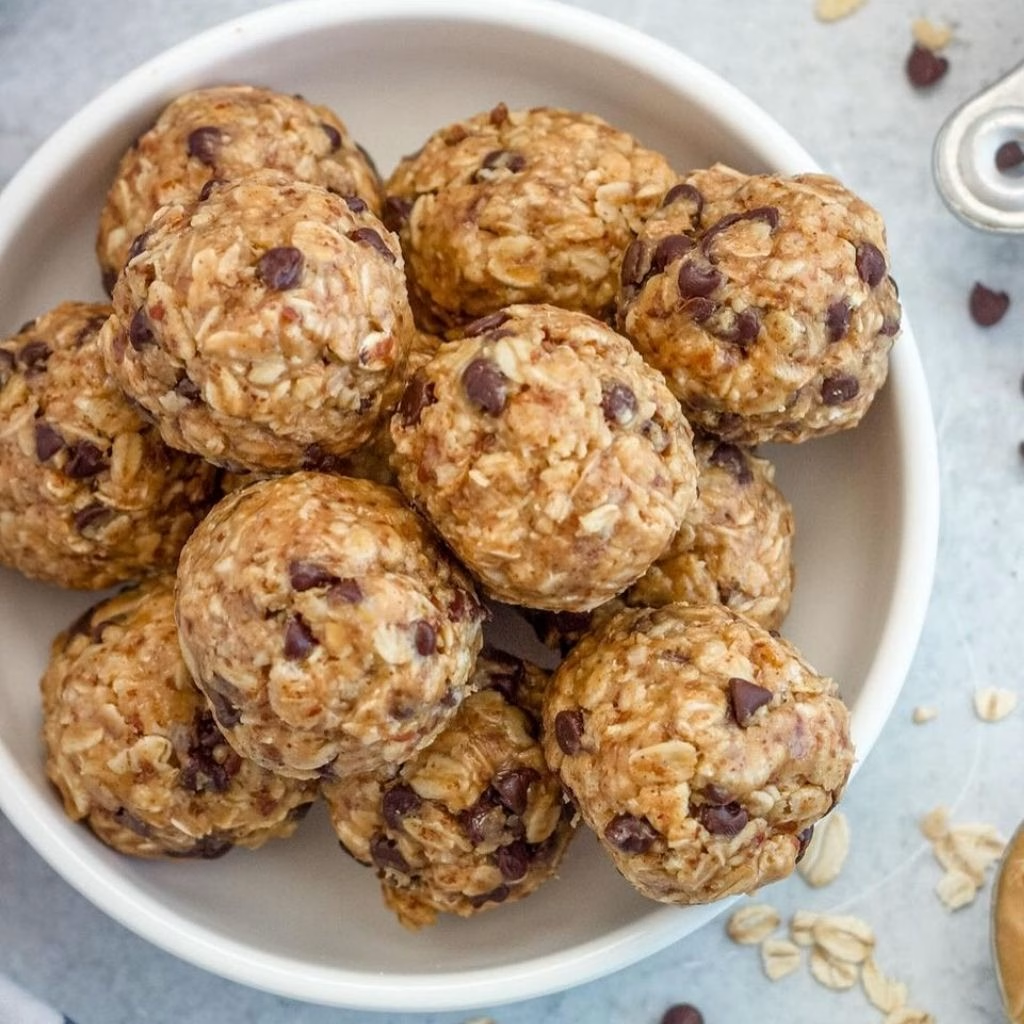
How to Make No-Bake Energy Balls Recipe?
This is genuinely one of the simplest recipes I make on a regular basis. There’s no oven involved, no complicated technique, and the whole process comes together in one bowl. I’ll walk you through exactly how I do it every single time.
Toast the Coconut (Optional)
I like to toast my shredded coconut in a dry skillet over medium heat for about three minutes, stirring often so it doesn’t burn. This step is optional, but it adds a deeper, nuttier flavor that I really enjoy. Just make sure the coconut cools completely before you add it to the bowl, or it can melt your chocolate chips.
Mix the Dry Ingredients
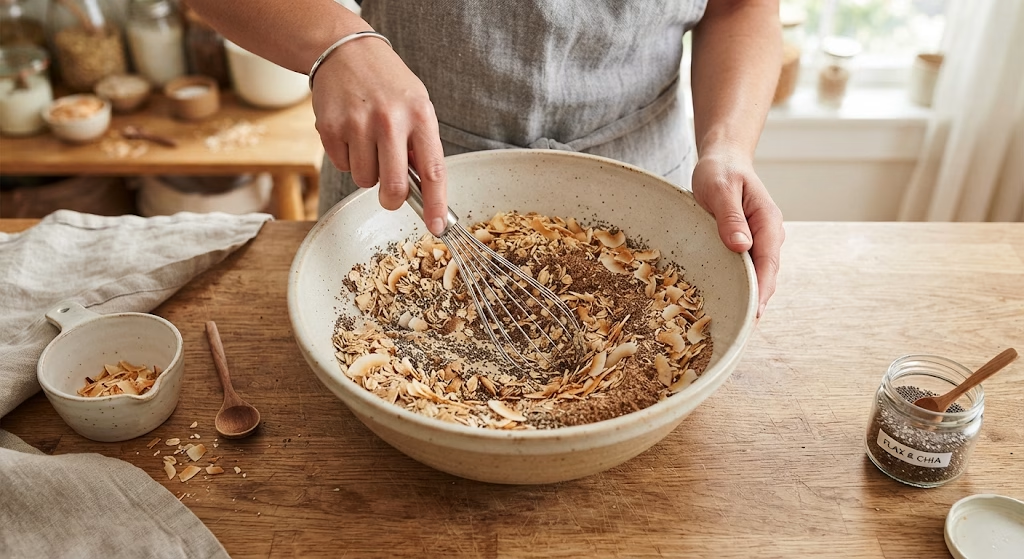
In a large mixing bowl, I combine the oats, cooled toasted coconut, ground flaxseed, and chia seeds if I’m using them. I like to stir these together first so everything is evenly distributed before the wet ingredients go in. This little step keeps the texture consistent throughout the batch.
Add the Wet Ingredients
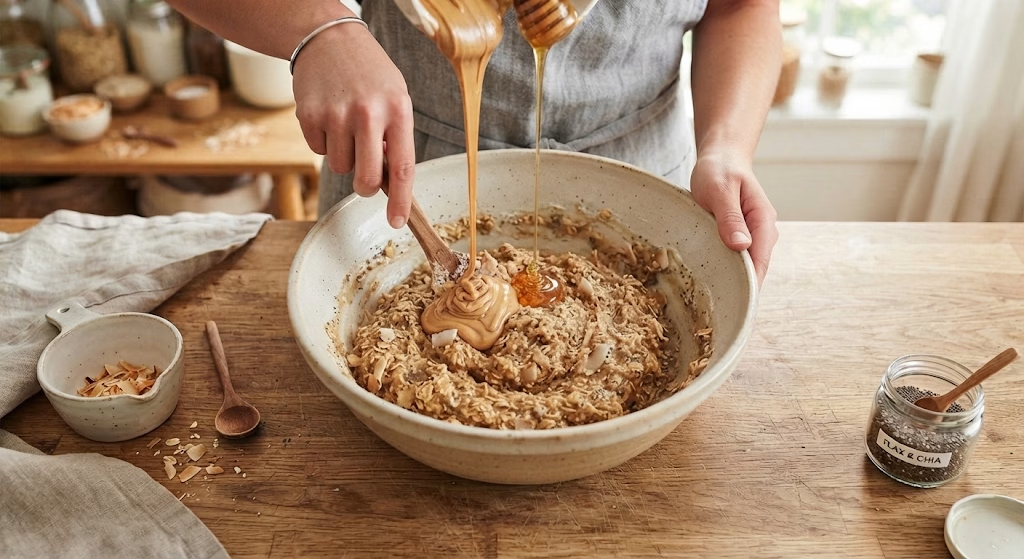
Next, I pour in the peanut butter, honey, and vanilla extract. I stir everything together with a spatula until it forms a thick, sticky dough. It takes a bit of muscle at first, but it comes together within a minute or two of steady mixing.
Fold in the Chocolate Chips
Once the dough is fully combined, I gently fold in the chocolate chips. I try not to overmix at this point since I want the chips to stay whole and not melt into the mixture from the warmth of my hands.
Chill the Mixture
I cover the bowl and pop it in the refrigerator for about an hour. Chilling makes the dough much easier to handle and keeps the mixture from sticking to my palms when I roll it. I know it’s tempting to skip this step, but I promise it makes rolling so much smoother.
Roll into Balls
Once chilled, I use a small cookie scoop to portion the mixture, then roll each portion between my palms into a one-inch ball. I usually get around 20 to 25 balls out of one batch, depending on how big I make them.
Store and Serve
I transfer the finished energy balls into an airtight container and keep them in the fridge until I’m ready to snack. They firm up even more after a few hours of chilling, which makes them perfect for grabbing on busy mornings.
Additional Tips for Making This Recipe Better
I’ve made this recipe more times than I can count, and here’s what I’ve learned along the way:
- I always let my toasted coconut cool fully before mixing, since warm coconut can melt the chocolate chips and turn my dough greasy
- I wet my hands slightly with water before rolling, which keeps the mixture from sticking to my palms
- I use a small cookie scoop to keep every ball roughly the same size, so they chill and set evenly
- I taste my dough before rolling and adjust the honey if I want it a touch sweeter
- I keep a batch in the freezer at all times so I always have a healthy snack ready to go
Common Mistakes to Avoid
- I used to skip chilling the dough, and I ended up with a sticky mess that wouldn’t hold its shape
- I once used quick oats instead of old-fashioned oats, and the texture turned out mushy instead of chewy
- I’ve overmixed the dough before, which melted the chocolate chips right into the mixture
- I didn’t measure my peanut butter properly once, and the balls turned out too oily to hold together
- I stored a batch at room temperature for too long, and they went soft and lost their shape
How to Serve No-Bake Energy Balls?
I love serving these on a small platter lined with parchment paper for a simple, rustic presentation. If I’m hosting brunch, I’ll arrange them next to a bowl of fresh berries and a light dusting of extra shredded coconut on top for color. They also pair beautifully with a warm cup of coffee or tea for an afternoon pick-me-up.
For a fun twist, I sometimes drizzle a little melted chocolate over the top right before serving, which makes them look like a bakery treat even though they took no baking at all. If you enjoy easy make-ahead breakfasts, these energy balls also make a great companion to a bowl of overnight oats or a simple fruit salad on a busy morning.
For a more savory snack spread, I sometimes add crispy sides to the table alongside these sweet energy balls, such as Homemade Seasoned Fries Recipe for a simple sweet-and-savory combination.
Variations
- Dairy-free: I use dairy-free chocolate chips to keep the recipe fully plant-based
- Sugar-free: I swap the honey for a sugar-free syrup alternative if I want to cut down on added sugar
- No-bake energy balls with dates: I blend in a handful of pitted dates for natural sweetness and a chewier texture
- Protein balls recipe without protein powder: I rely on peanut butter and flaxseed for protein instead of a powder, which keeps the ingredient list simple
- Nut-free: I swap peanut butter for sunflower seed butter when I’m making these for a kid-friendly energy balls batch to send to school
- Extra crunch: I add chopped almonds or pumpkin seeds for texture
Nutritional Information
Here’s a general breakdown per energy ball, based on the ingredients above:
- Calories: about 110 kcal
- Protein: about 3 grams
- Carbohydrates: about 12 grams
- Fat: about 6 grams
Make Ahead and Storage
I always make a double batch of this recipe because it stores so well. Once rolled, I keep the energy balls in an airtight container in the refrigerator, where they stay fresh for up to one week.
If I want to keep them longer, I freeze them in a single layer on a baking sheet first, then transfer them to a freezer bag once solid. They’ll keep well in the freezer for up to three months.
There’s no reheating needed here since these are meant to be enjoyed cold or at room temperature. I just pull a few out of the freezer about ten minutes before I want to eat them, and they soften up perfectly.
Why You’ll Love This Recipe?
I keep coming back to this recipe again and again, and here’s why I think you will too:
- It’s incredibly easy to make: There’s no baking involved, and the whole process takes about fifteen minutes of hands-on time before chilling.
- It’s endlessly customizable: I can swap ingredients based on what I have on hand, making it one of the best energy balls recipe options for using up pantry staples.
- It’s great for meal prep: I make a big batch on Sunday and have snacks ready for the entire week without any extra effort.
- It fits different diets: Between the dairy-free, sugar-free, and nut-free swaps, I can adjust this recipe to fit almost anyone’s needs.
- It’s a hit with kids: My family devours these faster than store-bought granola bars, and I feel good knowing exactly what’s inside them.
FAQs
Can I make this recipe without honey?
Yes, I’ve swapped honey for maple syrup or agave nectar in this recipe with great results, especially if I’m making a vegan batch.
Do I have to use peanut butter?
Not at all. I’ve used almond butter, cashew butter, and sunflower seed butter in place of peanut butter, and they all worked well.
How long do these energy balls last?
I keep mine in the fridge for up to a week, or in the freezer for up to three months if I want to make them ahead of time.
Can I leave out the chocolate chips?
Absolutely. I sometimes leave them out entirely or replace them with dried fruit like raisins or chopped dried apricots for a different flavor.
Why is my mixture too dry or too wet?
I’ve found that adding a touch more peanut butter or honey fixes a dry mixture, while a bit more oats helps firm up a mixture that feels too wet or sticky.
When I want a richer savory option for a snack table, Garlic Parmesan Fries Recipe also works nicely alongside lighter homemade snacks.

No Bake Energy Balls Recipe
Ingredients
Method
- I like to toast my shredded coconut in a dry skillet over medium heat for about three minutes, stirring often so it doesn’t burn. This step is optional, but it adds a deeper, nuttier flavor that I really enjoy. Just make sure the coconut cools completely before you add it to the bowl, or it can melt your chocolate chips.
- In a large mixing bowl, I combine the oats, cooled toasted coconut, ground flaxseed, and chia seeds if I’m using them. I like to stir these together first so everything is evenly distributed before the wet ingredients go in. This little step keeps the texture consistent throughout the batch.
- Next, I pour in the peanut butter, honey, and vanilla extract. I stir everything together with a spatula until it forms a thick, sticky dough. It takes a bit of muscle at first, but it comes together within a minute or two of steady mixing.
- Once the dough is fully combined, I gently fold in the chocolate chips. I try not to overmix at this point since I want the chips to stay whole and not melt into the mixture from the warmth of my hands.
- I cover the bowl and pop it in the refrigerator for about an hour. Chilling makes the dough much easier to handle and keeps the mixture from sticking to my palms when I roll it. I know it’s tempting to skip this step, but I promise it makes rolling so much smoother.
- Once chilled, I use a small cookie scoop to portion the mixture, then roll each portion between my palms into a one-inch ball. I usually get around 20 to 25 balls out of one batch, depending on how big I make them.
- I transfer the finished energy balls into an airtight container and keep them in the fridge until I’m ready to snack. They firm up even more after a few hours of chilling, which makes them perfect for grabbing on busy mornings.
Notes
- I always let my toasted coconut cool fully before mixing, since warm coconut can melt the chocolate chips and turn my dough greasy
- I wet my hands slightly with water before rolling, which keeps the mixture from sticking to my palms
- I use a small cookie scoop to keep every ball roughly the same size, so they chill and set evenly
- I taste my dough before rolling and adjust the honey if I want it a touch sweeter
- I keep a batch in the freezer at all times so I always have a healthy snack ready to go.