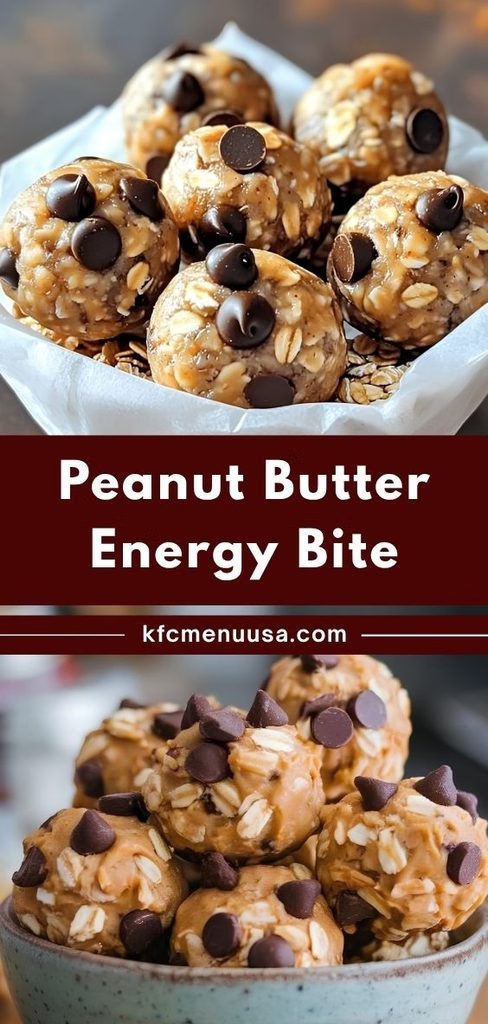
I make a batch of this No Bake Peanut Butter Energy Bites Recipe almost every single week, and I’m not exaggerating even a little. Between school lunches, gym bags, and my own 4 p.m. slump, I needed something I could throw together in ten minutes without turning on the oven.
These little bites came out of pure trial and error in my own kitchen, and now I genuinely crave them. If you’ve been searching for a healthy energy balls recipe that doesn’t taste like cardboard, I think you’re going to love this one as much as I do.
Cooking Time
- Prep Time: 10 minutes
- Cooking Time: 0 minutes (no-bake)
- Total Time: 40 minutes (includes chilling)
Ingredients
- 1 cup creamy peanut butter — go for a natural, well-stirred kind so your bites aren’t greasy or too runny
- 1 ½ cups old-fashioned rolled oats — skip quick oats here, they turn the mixture mushy instead of chewy
- ⅓ cup honey — acts as the sticky glue that holds everything together, maple syrup works if you’re vegan
- ⅓ cup mini chocolate chips — mini ones distribute better through the mix than regular-sized chips
- 1 teaspoon vanilla extract — rounds out the sweetness and makes the peanut butter flavor pop
- ¼ teaspoon salt — skip this if your peanut butter is already salted, it balances the sweetness either way
- 2 tablespoons ground flaxseed (optional) — a simple way to sneak in extra fiber without changing the flavor
Note: this recipe serves 8, making about 16 bites in total.
Equipment You Need
- Large mixing bowl — for combining all your ingredients evenly
- Measuring cups and spoons — accuracy keeps the texture consistent every time
- Rubber spatula or wooden spoon — makes stirring the sticky mixture much easier
- Plastic wrap or a lid — to cover the bowl while it chills in the fridge
- Small cookie scoop — helps you portion out evenly sized bites
- Baking sheet or plate lined with parchment — gives you a spot to set the rolled bites
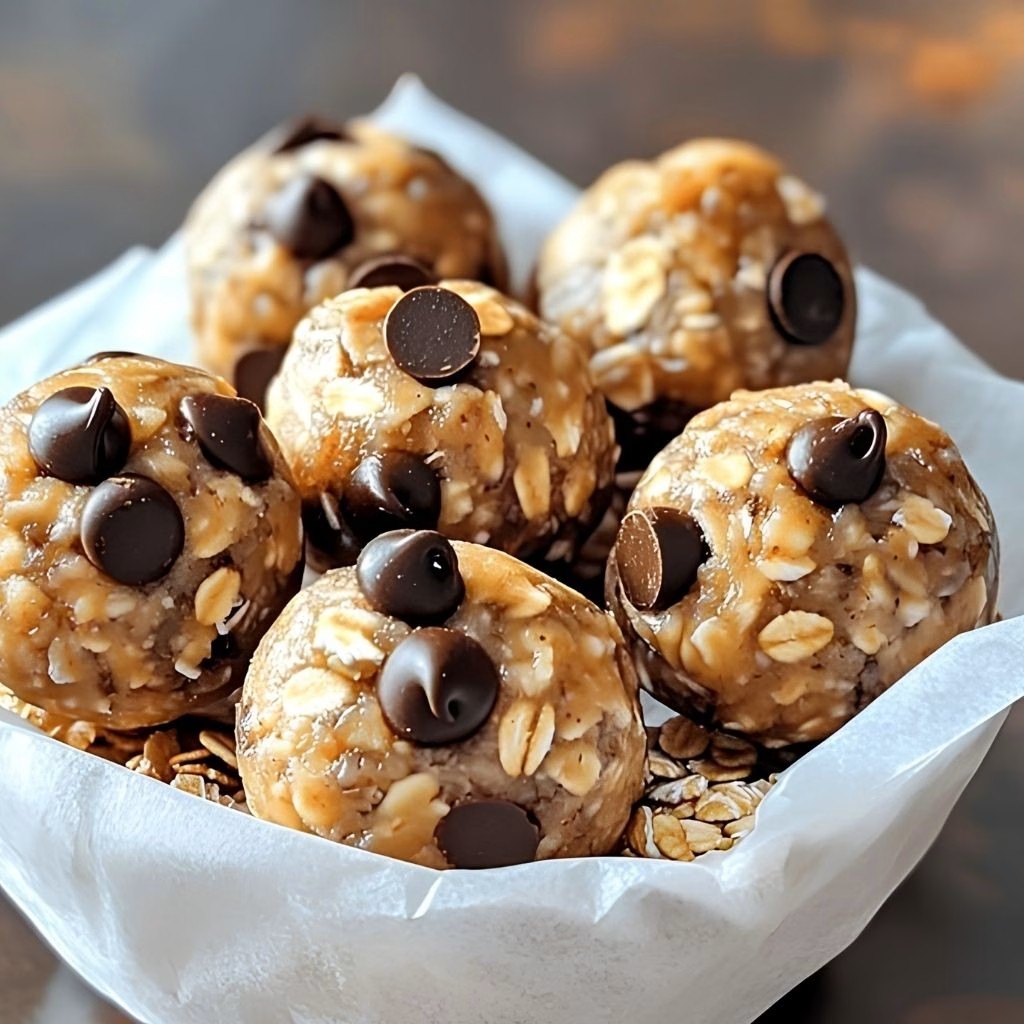
How to Make Peanut Butter Energy Bites Recipe?
Making these really couldn’t be simpler, and that’s exactly why I keep coming back to them. There’s no oven, no mixer, and barely any cleanup involved. Here’s exactly how I put mine together every time.
Combine the Wet and Dry Ingredients
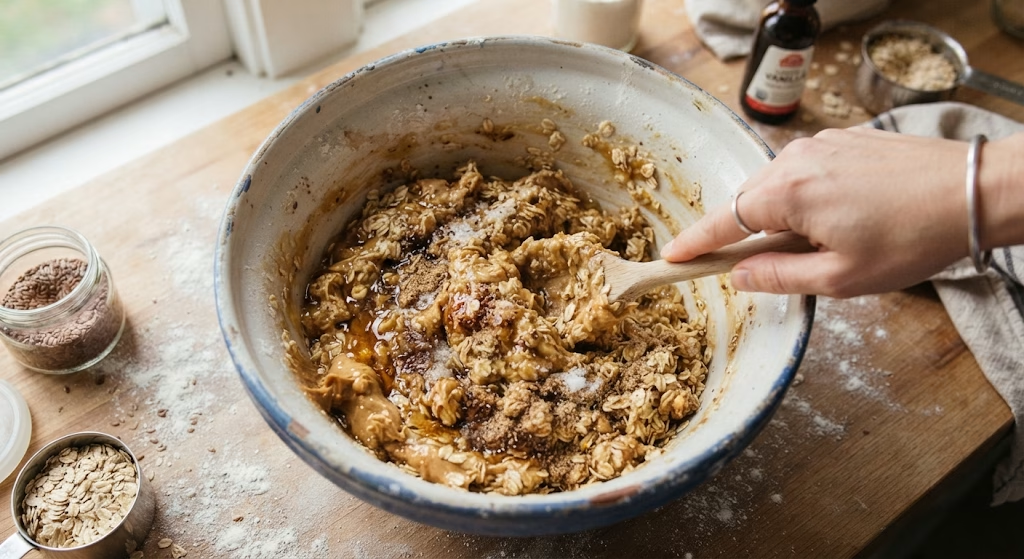
Start by adding your peanut butter and honey to a large mixing bowl. Stir them together until they’re fully blended and smooth, which usually takes about a minute. Then pour in the oats, vanilla, salt, and flaxseed if you’re using it, and mix everything until well combined.
Fold in the Chocolate Chips
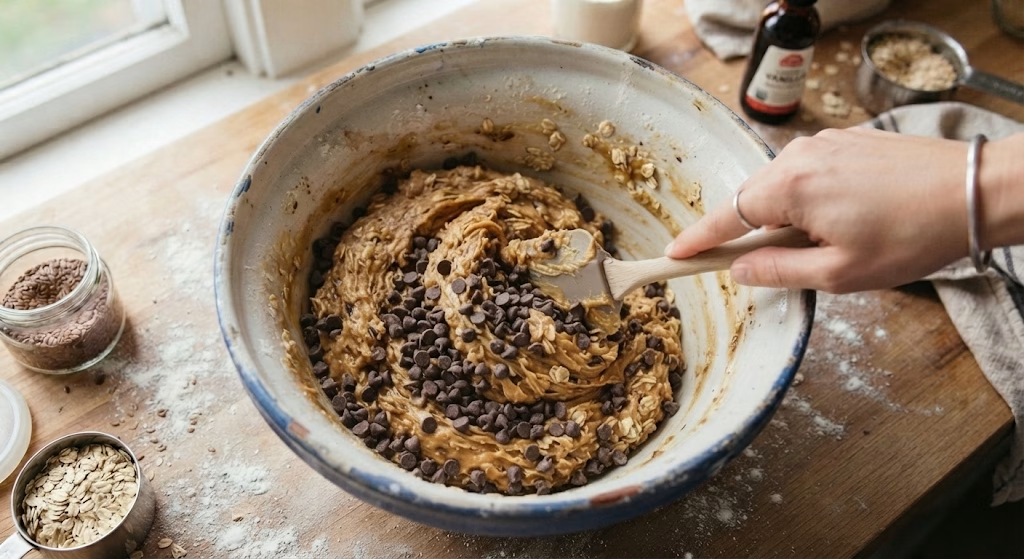
Once your base mixture is thick and evenly combined, sprinkle in the mini chocolate chips. Fold them through gently with a spatula so they don’t melt from the warmth of your hands. You want them spread throughout, not clumped in one spot.
Chill the Mixture
Cover your bowl with plastic wrap and pop it in the refrigerator for about 30 minutes. This step matters more than people think, since a chilled mixture is far less sticky and rolls into neat balls much more easily.
Roll Into Bites
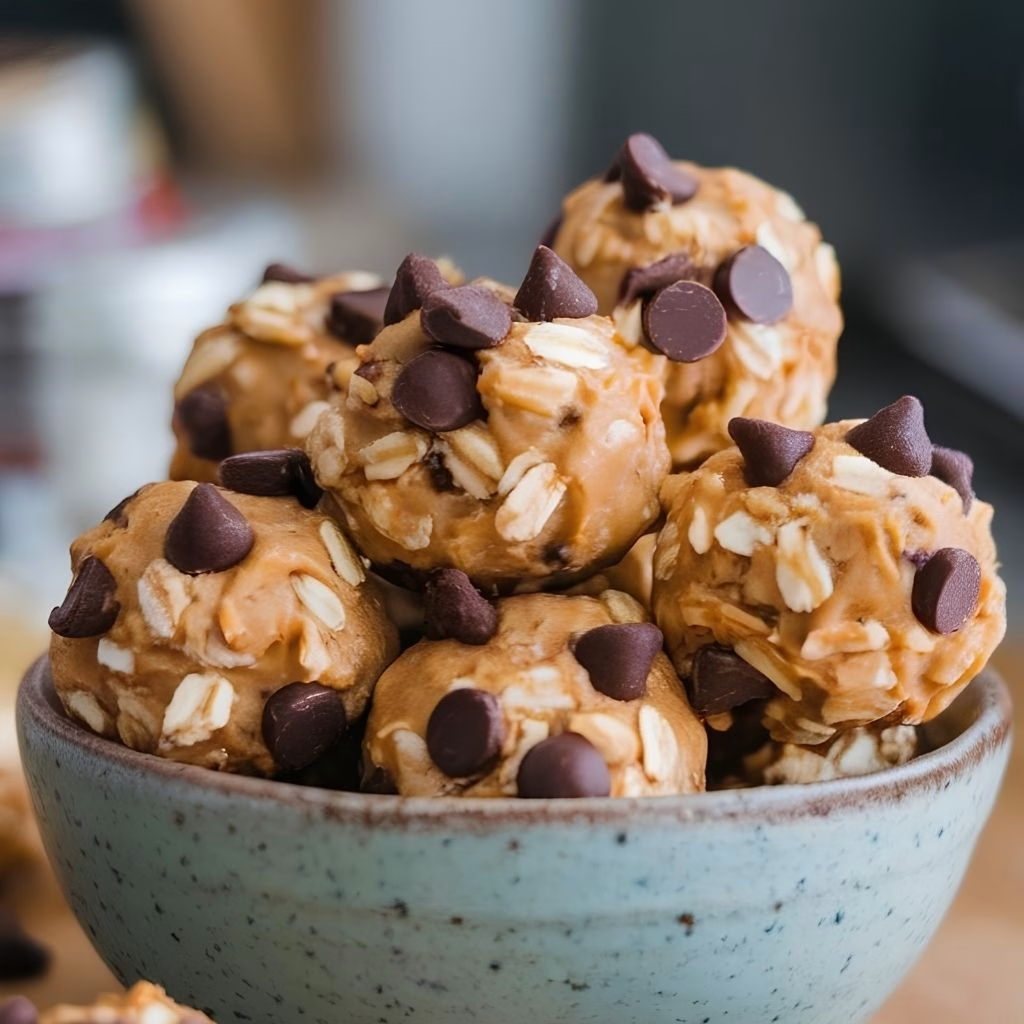
Once chilled, use a small cookie scoop or a tablespoon to portion the mixture into 1-inch balls. I like to lightly coat my palms with a bit of oil or butter first, which stops the mixture from sticking to my hands while I roll.
Store or Serve
Arrange your finished bites on a parchment-lined plate. You can eat a couple right away, or transfer the rest to a sealed container in the fridge for later. Either way, they’re ready to grab whenever hunger strikes.
Additional Tips for Making This Recipe Better
I’ve made these dozens of times now, and here’s what actually moves the needle for me.
- I always use natural peanut butter that’s already well-stirred, since the separated oily kind throws off the texture completely.
- I chill my mixing bowl for a few minutes before I even start, which helps the peanut butter firm up faster once combined.
- I never skip the salt, even a small pinch keeps the sweetness from feeling flat.
- I like tossing my finished bites in a little extra oats or cocoa powder for a nicer finish and less mess on my hands.
- I always make a double batch, because a single batch never lasts more than two days in my house.
Common Mistakes to Avoid
- I once used quick oats instead of old-fashioned, and the bites turned out pasty instead of chewy, so I stick with rolled oats now.
- I skipped chilling the mixture one time because I was in a rush, and I ended up with a sticky mess all over my hands.
- I added the chocolate chips while the mixture was still warm, and they melted into streaks instead of staying whole.
- I used too much honey once thinking it would help binding, and the bites turned out too soft to hold their shape.
- I didn’t store mine properly and left them out on the counter overnight, which made them go soft and lose their bite.
How to Serve Peanut Butter Energy Bites?
I usually pile mine onto a small wooden board or a shallow bowl so they look a bit more special than just snacks from the fridge. A light dusting of extra oats or a drizzle of melted peanut butter on top makes them feel more like a treat.
They’re great alongside a cup of coffee in the morning, tucked into a lunchbox, or set out on a platter for a casual get-together. If you’re already putting together a spread of easy morning options, these pair really nicely next to something like a stack of soft, fluffy banana oat pancakes.
Variations
- Swap the peanut butter for almond butter or sunflower seed butter if you’re avoiding peanuts
- Use pitted, chopped dates instead of honey for a naturally sweetened, refined-sugar-free version, which turns this into more of an energy balls with dates recipe
- Stir in a scoop of your favorite vanilla or chocolate protein powder for an extra protein boost
- Add shredded coconut for a chewier bite and a slightly tropical flavor
- Try dried cranberries or raisins in place of chocolate chips for a fruitier take
- Keep it ultra simple with just peanut butter, oats, and honey for a version closer to 3 ingredient peanut butter oatmeal balls
Nutritional Information
Here’s a rough breakdown per serving of two bites, though exact numbers will shift depending on the brands you use.
- Calories: 190 kcal
- Protein: 6 g
- Carbohydrates: 18 g
- Fat: 11 g
Make Ahead and Storage
You can make the mixture up to two days ahead of time and keep it covered in the fridge before rolling it into bites whenever you’re ready.
Store finished bites in an airtight container in the refrigerator, where they’ll stay fresh and chewy for up to one week.
For longer storage, freeze them in a sealed freezer bag for up to three months, and just let them sit at room temperature for about 10 minutes before eating.
Why You’ll Love This Recipe?
This recipe has earned a permanent spot in my rotation, and here’s why I think you’ll feel the same way.
- It’s ready in minutes: With no oven involved and just one bowl to wash, this comes together faster than most snacks you’d buy at the store.
- It’s endlessly customizable: Whether you want a protein energy bites recipe with added powder or a simpler take, the base recipe adapts to whatever you’re craving.
- It travels well: These hold up nicely in a lunchbox, gym bag, or car console without melting or falling apart.
- It’s a healthier option: Compared to store-bought protein bars loaded with added sugar, these peanut butter bites recipe give you more control over what goes in.
- It’s kid and adult approved: My whole family reaches for these, which almost never happens with anything I make from scratch.
FAQs
Can I make this a protein balls recipe without protein powder?
Yes, absolutely. The peanut butter and oats already provide a solid amount of natural protein, so the powder is optional, not essential.
Why did my energy bites turn out too dry?
This usually means too many oats were added relative to the wet ingredients, so try mixing in an extra spoonful of peanut butter or honey to loosen it back up.
Can I use crunchy peanut butter instead of creamy?
Yes, crunchy peanut butter works fine and adds a nice bit of texture, just know the bites may be slightly harder to roll smoothly.
How long do these peanut butter energy balls healthy bites actually stay fresh?
They stay fresh in the fridge for about a week, or up to three months if you freeze them in a sealed bag.
Can I skip the chocolate chips entirely?
Of course, you can leave them out completely or swap them for raisins, dried fruit, or extra flaxseed depending on what you’re in the mood for.
If you’re building out a whole rotation of easy, protein-packed snacks and breakfasts, these bites pair well with something heartier too, like a batch of meal prep breakfast bowls for the days you need something more filling.

No Bake Peanut Butter Energy Bites Recipe
Ingredients
Method
- Start by adding your peanut butter and honey to a large mixing bowl. Stir them together until they’re fully blended and smooth, which usually takes about a minute. Then pour in the oats, vanilla, salt, and flaxseed if you’re using it, and mix everything until well combined.
- Once your base mixture is thick and evenly combined, sprinkle in the mini chocolate chips. Fold them through gently with a spatula so they don’t melt from the warmth of your hands. You want them spread throughout, not clumped in one spot.
- Cover your bowl with plastic wrap and pop it in the refrigerator for about 30 minutes. This step matters more than people think, since a chilled mixture is far less sticky and rolls into neat balls much more easily.
- Once chilled, use a small cookie scoop or a tablespoon to portion the mixture into 1-inch balls. I like to lightly coat my palms with a bit of oil or butter first, which stops the mixture from sticking to my hands while I roll.
- Arrange your finished bites on a parchment-lined plate. You can eat a couple right away, or transfer the rest to a sealed container in the fridge for later. Either way, they’re ready to grab whenever hunger strikes.
Notes
- I always use natural peanut butter that’s already well-stirred, since the separated oily kind throws off the texture completely.
- I chill my mixing bowl for a few minutes before I even start, which helps the peanut butter firm up faster once combined.
- I never skip the salt, even a small pinch keeps the sweetness from feeling flat.
- I like tossing my finished bites in a little extra oats or cocoa powder for a nicer finish and less mess on my hands.
- I always make a double batch, because a single batch never lasts more than two days in my house.