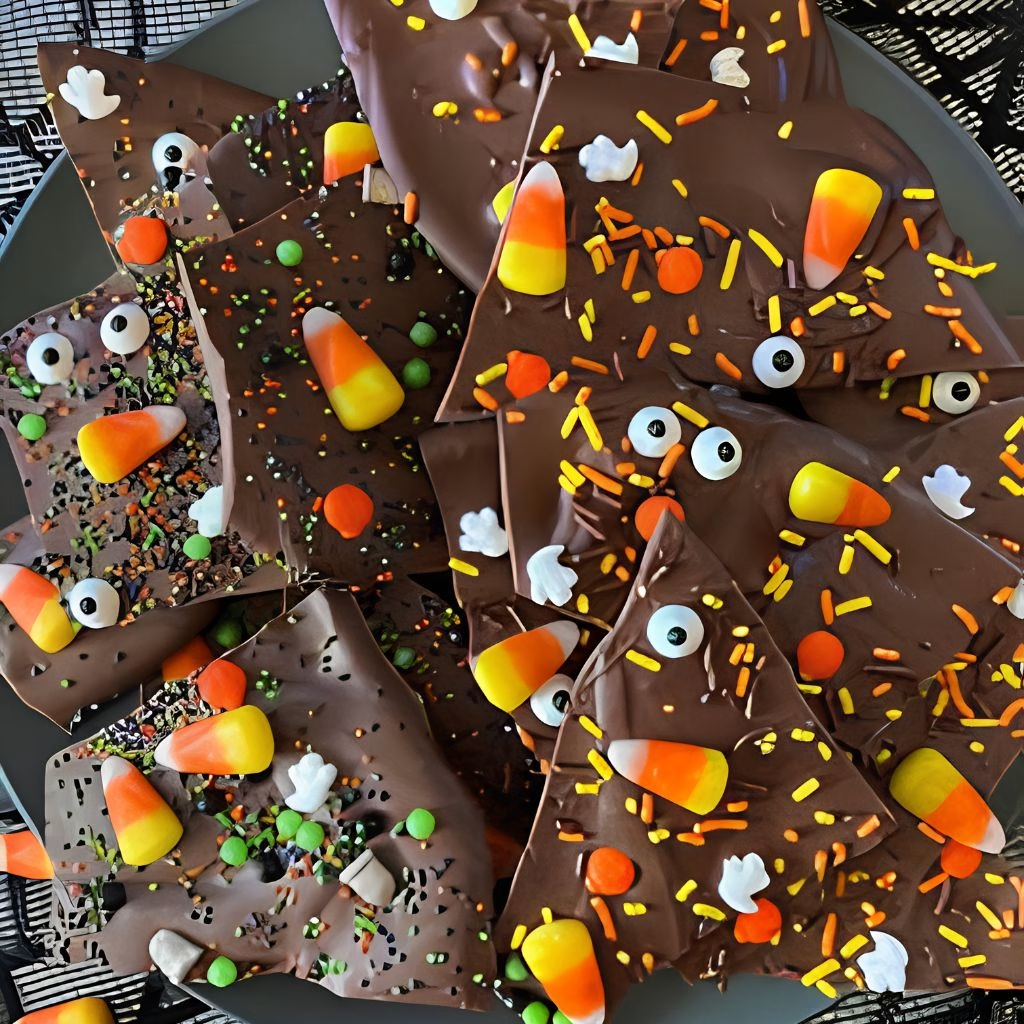
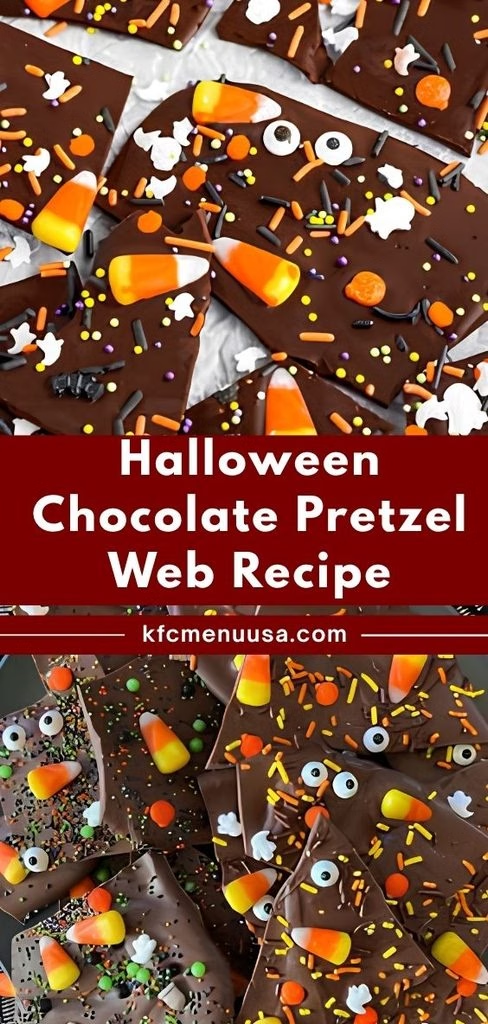
I first made this Easy Halloween Candy Bark Recipe on a night when I had zero energy for baking but still wanted something festive on the counter. I melted a bag of chocolate, dumped my favorite Halloween candy on top, and walked away for two hours.
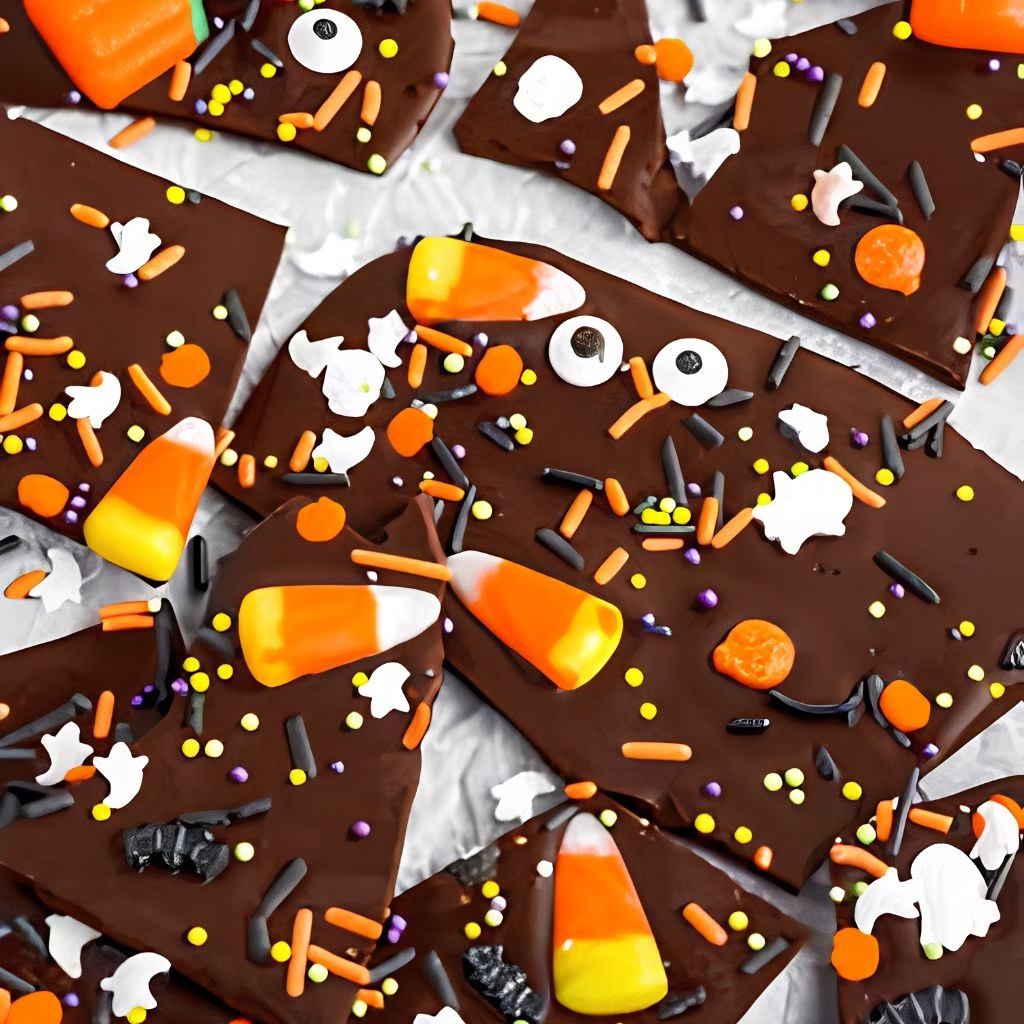
When I came back, I had a slab of glossy, candy-studded bark that looked like it took way more effort than it did. Ever since that night, this has been my go-to for parties, school treats, and using up leftover Halloween candy. I love that I can change the toppings every single time and it never turns out the same way twice.
Cooking Time
- Prep Time: 10 minutes
- Cooking Time: 10 minutes
- Total Time: 20 minutes (plus 30 minutes to 2 hours to harden)
Ingredients
- 1 pound semisweet or bittersweet chocolate chips (or chopped chocolate bars) – this is the base of the bark, so pick a chocolate you actually enjoy eating on its own
- ⅓ cup candy corn – the classic Halloween topping that makes the bark instantly recognizable
- ¼ cup Halloween sprinkles and/or candy eyeballs – adds color, crunch, and that spooky-cute look
- Optional: pinch of flaky sea salt – balances the sweetness and makes the flavors pop
Note: serves 10-12 people
Equipment You Need
- Rimmed baking sheet – gives the melted chocolate a flat surface to set on
- Parchment paper – keeps the bark from sticking to the pan
- Heatproof bowl – used for melting the chocolate over a double boiler
- Saucepan – holds the simmering water for the double boiler method
- Offset spatula or butter knife – helps spread the chocolate evenly
- Rubber spatula – for stirring the chocolate smooth
How to Make Easy Halloween Candy Bark Recipe?
This recipe really only has four steps, and none of them require an oven. I promise you’ll have this ready faster than it takes to find a Halloween movie to watch. Here’s exactly how I put mine together every time.
Melt the Chocolate
I set a heatproof bowl over a saucepan of gently simmering water, making sure the bowl doesn’t touch the water. I add the chocolate and stir it often so it melts evenly without scorching. If I’m in a rush, I microwave it in 15-second bursts instead, stirring between each round.
Pour and Spread
Once the chocolate is smooth, I pour it straight onto my parchment-lined baking sheet. Using an offset spatula, I spread it into an even layer, about a quarter to a half inch thick. I don’t stress over a perfect shape here rustic edges are part of the charm.
Add the Toppings
I move fast at this stage because the chocolate starts firming up quickly. I scatter candy corn, sprinkles, and candy eyeballs over the top, pressing lightly so everything sticks into the chocolate instead of rolling off.
Let It Harden
I leave the pan at room temperature for about two hours, or pop it in the fridge for 30 minutes if I want it ready sooner. Once it’s firm, I break it into rustic pieces with my hands or a sharp knife.
Additional Tips for Making This Recipe Better
I’ve made this bark more times than I can count, and these small tweaks have made a real difference for me.
- I always prep and measure my toppings before I even start melting the chocolate, because once it’s melted, I don’t have time to go hunting for sprinkles.
- I like using good quality chocolate bars instead of cheap chips, since the flavor really shines through in such a simple recipe.
- I press the toppings in gently with my palm right after sprinkling, so they don’t fall off once the bark is broken into pieces.
- I’ve started adding a light pinch of flaky sea salt on top, and it makes the sweetness taste much more balanced.
- If I want cleaner edges, I chill the bark in the fridge instead of leaving it at room temperature.
Common Mistakes to Avoid
I learned most of these the hard way, so hopefully this saves you a step or two.
- I once overheated my chocolate in the microwave, and it seized up into a grainy mess — now I always stir between short intervals instead of walking away.
- I used to wait too long to add toppings, and they wouldn’t stick because the chocolate had already started to set.
- I tried spreading the chocolate too thin once, and the bark cracked into tiny, fragile shards instead of clean pieces.
- I skipped the parchment paper one time, thinking I’d save a step, and ended up scraping chocolate off the pan for way too long.
- I stored a batch in a warm kitchen and came back to a melty puddle, so now I always keep it somewhere cool.
How to Serve Easy Halloween Candy Bark?
I like piling broken bark pieces onto a black or orange platter for an instant Halloween vibe. Scattering a few extra candy eyeballs or a light dusting of sprinkles around the edges makes it look like a proper dessert table centerpiece.
For parties, I portion pieces into small cellophane bags tied with orange ribbon so guests can grab one on their way out. It also pairs nicely as a sweet finish alongside other party bites, so if you’re planning a full Halloween spread, it fits right in next to something like this Halloween Charcuterie Board Recipe.
Variations
- Dairy-free: use dairy-free dark chocolate chips, which melt and set just as well as regular chocolate
- White chocolate halloween bark: swap the chocolate for melted white chocolate or candy melts for a lighter, sweeter base
- Fall candy bark: use caramel bits, chopped pretzels, and pecans instead of candy corn for a cozy autumn twist
- Leftover halloween candy bark: chop up any leftover trick-or-treat candy, like M&Ms or peanut butter cups, and press it into the chocolate
- Nutty crunch: add chopped almonds, peanuts, or pistachios for extra texture
- Pioneer woman bark recipe style: layer in crushed pretzels and mini marshmallows for a sweet-and-salty version
- Sugar-conscious option: use a dark chocolate with a higher cocoa percentage and skip the candy corn for a less sugary bite
Nutritional Information
Here’s roughly what one serving of this bark looks like, based on twelve servings per batch.
- Calories: about 250 kcal
- Protein: about 2g
- Carbohydrates: about 27g
- Fat: about 15g
Make Ahead and Storage
I usually make this bark a few days ahead of any party since it holds up so well. Once it’s fully hardened, I store it in an airtight container at room temperature, and it stays fresh and snappy for up to two weeks.
If I want to keep it longer, I freeze the pieces in a freezer-safe bag for up to two months and just let them sit at room temperature for about ten minutes before serving. I don’t recommend reheating this bark, since it’s meant to be enjoyed cold or at room temperature straight from the container.
Why You’ll Love This Recipe?
This bark has earned a permanent spot in my Halloween rotation, and here’s why I think you’ll feel the same way.
- No oven required: I never have to preheat anything or babysit a timer, since this comes together entirely on the stovetop or in the microwave.
- Endlessly customizable: I switch up the toppings depending on what candy I have on hand, so it never feels repetitive.
- Great for kids: my kids love sprinkling on the toppings, so it’s turned into a fun little activity we do together every October.
- Perfect for gifting: I portion it into small bags or tins, and it makes an easy homemade gift for teachers, neighbors, or party hosts.
- Budget-friendly: I can stretch a bag of chocolate chips and a handful of leftover candy into a treat that feeds a whole party.
FAQs
Can I use white chocolate instead of dark chocolate?
Yes, white chocolate halloween bark works great just melt it gently since white chocolate scorches faster than dark or milk chocolate.
How long does Halloween candy bark last?
It stays fresh in an airtight container at room temperature for up to two weeks, or in the freezer for up to two months.
Can I use leftover halloween candy for this recipe?
Absolutely, chopped leftover candy bars or M&Ms work wonderfully and are a great way to avoid waste after trick-or-treating.
Why did my chocolate turn grainy?
This usually happens from overheating, so melt it slowly in short bursts and stir often to keep it smooth.
Do I need a double boiler to make this?
No, a double boiler gives more control, but the microwave method in 15-second intervals works just as well if you don’t have one.
If you’re craving something warm and chocolatey to go with your bark on a cool October night, I’d also point you toward this Spooky Hot Chocolate Recipe — it’s another simple treat that fits right into the same Halloween spread.

Easy Halloween Candy Bark Recipe
Ingredients
Method
- I set a heatproof bowl over a saucepan of gently simmering water, making sure the bowl doesn’t touch the water. I add the chocolate and stir it often so it melts evenly without scorching. If I’m in a rush, I microwave it in 15-second bursts instead, stirring between each round.
- Once the chocolate is smooth, I pour it straight onto my parchment-lined baking sheet. Using an offset spatula, I spread it into an even layer, about a quarter to a half inch thick. I don’t stress over a perfect shape here — rustic edges are part of the charm.
- I move fast at this stage because the chocolate starts firming up quickly. I scatter candy corn, sprinkles, and candy eyeballs over the top, pressing lightly so everything sticks into the chocolate instead of rolling off.
- I leave the pan at room temperature for about two hours, or pop it in the fridge for 30 minutes if I want it ready sooner. Once it’s firm, I break it into rustic pieces with my hands or a sharp knife.
Notes
- I always prep and measure my toppings before I even start melting the chocolate, because once it’s melted, I don’t have time to go hunting for sprinkles.
- I like using good quality chocolate bars instead of cheap chips, since the flavor really shines through in such a simple recipe.
- I press the toppings in gently with my palm right after sprinkling, so they don’t fall off once the bark is broken into pieces.
- I’ve started adding a light pinch of flaky sea salt on top, and it makes the sweetness taste much more balanced.
- If I want cleaner edges, I chill the bark in the fridge instead of leaving it at room temperature.