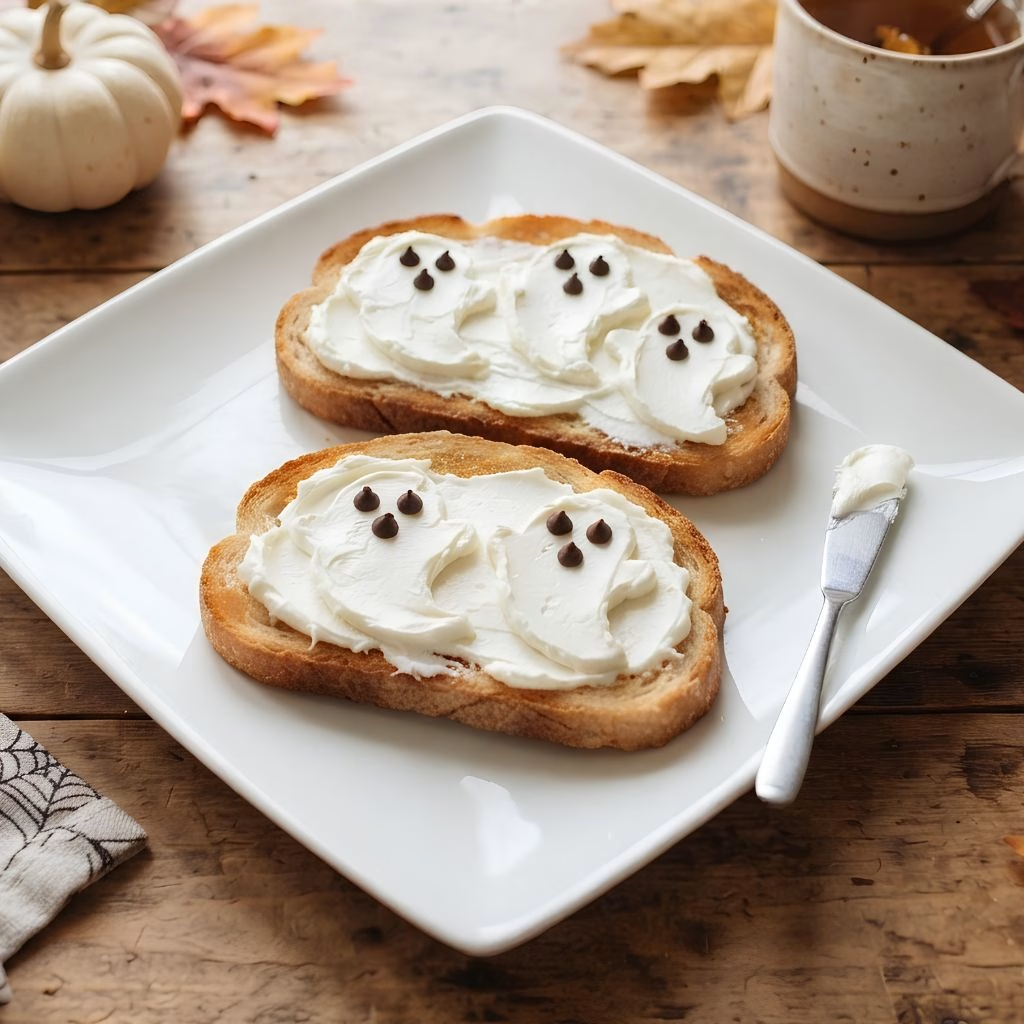
I still remember the first time I made Easy Ghost Toast Recipe for my kids on Halloween morning, and the look on their faces was priceless. It’s one of those recipes that looks like it took forever but honestly comes together in minutes.
I love that I can whip this up even on a rushed morning and still make breakfast feel special. If you’re looking for a fun, no-fuss way to bring some Halloween magic to the table, this is it. I promise once you try it, it’ll become a yearly tradition in your house too.
Cooking Time
- Prep Time: 5 minutes
- Cooking Time: 3 minutes
- Total Time: 8 minutes
Ingredients
- 4 slices of bread (I like sourdough or brioche for extra flavor, but any sandwich bread works)
- 4 oz cream cheese, softened (softening it first makes spreading so much easier)
- Mini chocolate chips or raisins (these become the ghost eyes, so keep a small bowl handy)
- 1 tbsp milk, optional (a splash loosens up thick cream cheese for smoother spreading)
- Halloween sprinkles, optional (a fun way to dress up the plate for little ones)
Note: This recipe serves 4, with three ghosts fitting comfortably on each slice.
Equipment You Need
- Toaster or toaster oven – to toast the bread until lightly golden
- Butter knife or small offset spatula – for spreading the cream cheese smoothly
- Small bowl – to hold the chocolate chips or raisins for the eyes
- Cutting board – gives you a steady surface to decorate each slice
- Plate – for serving the finished ghost toast
How to Make Ghost Toast Recipe?
This recipe is really more about assembling than cooking, which is what makes it so beginner-friendly. I usually get everything laid out on the counter before I start so the process moves quickly. Here’s exactly how I put mine together every single time.
Toast the Bread
Start by toasting your bread slices until they’re golden and crisp, not too dark. I like a light toast so the cream cheese spreads smoothly without tearing the bread. Let the slices cool for a minute or two before decorating, since warm bread can melt the cream cheese too fast.
Soften the Cream Cheese
While the bread toasts, make sure your cream cheese is nice and soft, not straight from the fridge. I sometimes microwave mine for about ten seconds to get that smooth, spreadable texture. If it still feels stiff, stir in a small splash of milk until it loosens up.
Spread the Ghost Shapes
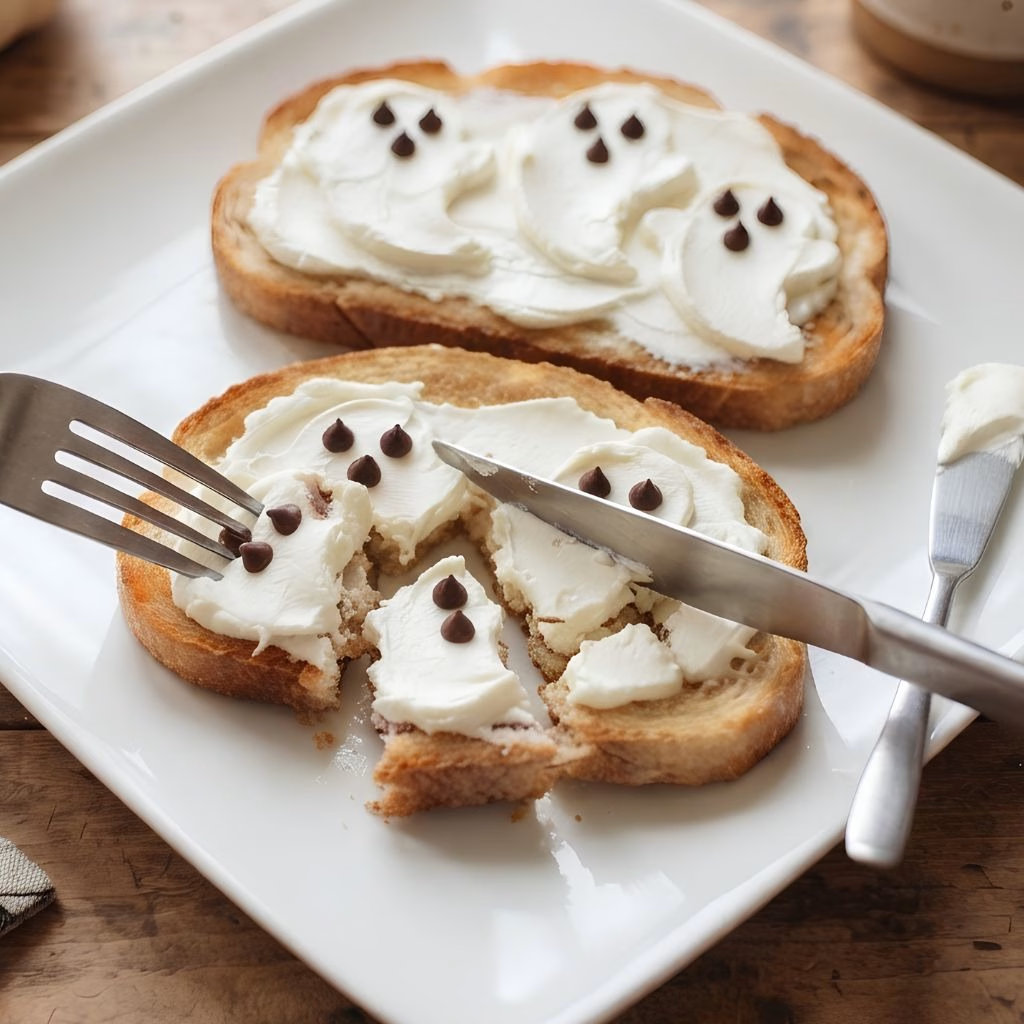
Using your knife or spatula, spread the cream cheese onto the toast in a ghost silhouette, wider at the top and curling into little waves at the bottom. I usually fit three ghosts on each slice, spacing them evenly so they don’t blend together. Don’t worry about perfection here, since a slightly wobbly ghost still looks adorable.
Add the Eyes
Once your ghost shapes are spread, gently press two mini chocolate chips or raisins onto each ghost for the eyes. I like placing them near the top third of the shape so the ghosts look like they’re staring back at you. This step is where the recipe really comes to life, so take your time and let the kids help if they want.
Serve Right Away
Ghost toast tastes best fresh, so I always serve it right after decorating. The bread stays crisp and the cream cheese stays soft, which is the perfect texture combo. If you’re making a big batch, decorate the slices in small groups so nothing sits out too long.
Additional Tips for Making This Recipe Better
I’ve made this recipe more times than I can count, and I’ve picked up a few tricks along the way that genuinely make a difference.
- I always toast my bread just slightly less than usual, since a super crispy slice can crack when I spread the cream cheese.
- I found that chilling the cream cheese mixture for five minutes after adding milk actually helps it hold its shape better on the toast.
- I like to use a butter knife with a rounded tip for spreading, since it gives me more control for the ghost’s curvy edges.
- When I’m short on time, I prep the chocolate chip eyes in little bowls the night before so morning assembly is even faster.
- I sometimes swap thicker bread like brioche or sourdough when I want the toast to feel a bit more like a treat instead of a quick snack.
Common Mistakes to Avoid
I’ve messed up this recipe in small ways over the years, so here’s what I’ve learned to watch out for.
- I once used cream cheese straight from the fridge and it tore the bread instead of spreading smoothly, so now I always let it soften first.
- I made the mistake of toasting the bread too dark once, and it became too brittle to spread on without cracking.
- I tried using frozen bread without thawing it fully, and it left soggy spots once toasted, so I always start with fresh or fully thawed slices.
- I placed the chocolate chip eyes too close to the edge once and they kept falling off, so now I press them gently near the center of the ghost’s face.
- I overloaded one slice with too many ghosts trying to save time, and it just looked crowded and messy instead of cute.
How to Serve Ghost Toast?
I love serving this on a simple white or black plate so the ghosts really pop visually against the background. A few Halloween-themed sprinkles scattered around the edge of the plate add a festive touch without much extra effort. I also like pairing it with a glass of orange juice or apple cider, since the color contrast makes the whole plate feel more Halloween-ready.
If I’m hosting a small breakfast gathering, I’ll set the toast slices on a tiered stand so everyone can see the ghosts clearly as they walk by. For something heartier alongside it, I’ve also served this next to a batch of crispy chicken tenders as part of a bigger Halloween brunch spread; you can browse more savory pairing ideas at chicken recipes.
Variations
- I’ve made a dairy-free version using a plant-based cream cheese alternative, and it worked just as well for spreading.
- For a lower-sugar option, I skip the chocolate chips and use unsweetened raisins or even blueberries for the eyes instead.
- I’ve added a light drizzle of honey over the finished toast for a hint of sweetness on days I want something extra special.
- Swapping in cinnamon-raisin bread gives the toast a warm, spiced flavor that pairs really well with the cream cheese.
- I’ve also tried using flavored cream cheese, like pumpkin spice, to make the toast feel even more seasonal.
Nutritional Information
Here’s a general estimate per serving, though exact numbers will vary depending on the bread and cream cheese you use.
- Calories: 180 kcal
- Protein: 6 g
- Carbohydrates: 18 g
- Fat: 9 g
Make Ahead and Storage
You can prep the bread and pre-measure the cream cheese and toppings the night before, but I don’t recommend assembling the toast itself ahead of time, since the bread softens quickly once it’s decorated.
If you have leftover toasted bread without the cream cheese spread, store it in an airtight container at room temperature for up to a day. Once fully assembled with cream cheese and toppings, ghost toast is really best eaten fresh within about 30 minutes.
I don’t recommend freezing the finished toast, since the cream cheese texture changes once thawed and it won’t spread the same way again.
Why You’ll Love This Recipe?
This recipe has earned a permanent spot in my Halloween breakfast rotation, and here’s why I think you’ll feel the same way.
- It’s incredibly quick to make, so even on a busy school morning I can have a fun themed breakfast ready in under ten minutes.
- It’s easy to customize, whether I’m making it dairy-free, lower sugar, or swapping in a different bread for variety.
- Kids genuinely love getting involved, and I’ve found it’s a great way to get my little ones excited about helping in the kitchen.
- It doesn’t require any special baking skills, so even if I’m not feeling particularly crafty that morning, it still turns out cute.
- It’s budget-friendly since I usually already have bread and cream cheese on hand, making it an easy last-minute Halloween idea.
FAQs
Can I use a different spread instead of cream cheese?
Yes, I’ve used mascarpone and even flavored yogurt spreads with good results, though cream cheese holds its shape the best.
What bread works best for ghost toast?
I prefer sourdough or brioche for a slightly richer bite, but any sandwich bread you have at home will work fine.
Can I make this recipe nut-free?
Absolutely, since the classic version uses chocolate chips or raisins for eyes, there’s no nut content involved at all.
How far ahead can I prep this for a party?
I recommend prepping your ingredients up to a day ahead, but only assembling the toast right before serving for the best texture.
Is this recipe suitable for toddlers?
Yes, it’s one of my go-to options for toddlers since the pieces are soft, easy to bite, and fun for them to help decorate. For more kid-friendly breakfast and snack ideas, I often browse through breakfast recipes for inspiration when I want to mix things up.

Easy Ghost Toast Recipe
Ingredients
Method
- Start by toasting your bread slices until they’re golden and crisp, not too dark. I like a light toast so the cream cheese spreads smoothly without tearing the bread. Let the slices cool for a minute or two before decorating, since warm bread can melt the cream cheese too fast.
- While the bread toasts, make sure your cream cheese is nice and soft, not straight from the fridge. I sometimes microwave mine for about ten seconds to get that smooth, spreadable texture. If it still feels stiff, stir in a small splash of milk until it loosens up.
- Using your knife or spatula, spread the cream cheese onto the toast in a ghost silhouette, wider at the top and curling into little waves at the bottom. I usually fit three ghosts on each slice, spacing them evenly so they don’t blend together. Don’t worry about perfection here, since a slightly wobbly ghost still looks adorable.
- Once your ghost shapes are spread, gently press two mini chocolate chips or raisins onto each ghost for the eyes. I like placing them near the top third of the shape so the ghosts look like they’re staring back at you. This step is where the recipe really comes to life, so take your time and let the kids help if they want.
- Ghost toast tastes best fresh, so I always serve it right after decorating. The bread stays crisp and the cream cheese stays soft, which is the perfect texture combo. If you’re making a big batch, decorate the slices in small groups so nothing sits out too long.
Notes
- I always toast my bread just slightly less than usual, since a super crispy slice can crack when I spread the cream cheese.
- I found that chilling the cream cheese mixture for five minutes after adding milk actually helps it hold its shape better on the toast.
- I like to use a butter knife with a rounded tip for spreading, since it gives me more control for the ghost’s curvy edges.
- When I’m short on time, I prep the chocolate chip eyes in little bowls the night before so morning assembly is even faster.
- I sometimes swap thicker bread like brioche or sourdough when I want the toast to feel a bit more like a treat instead of a quick snack.