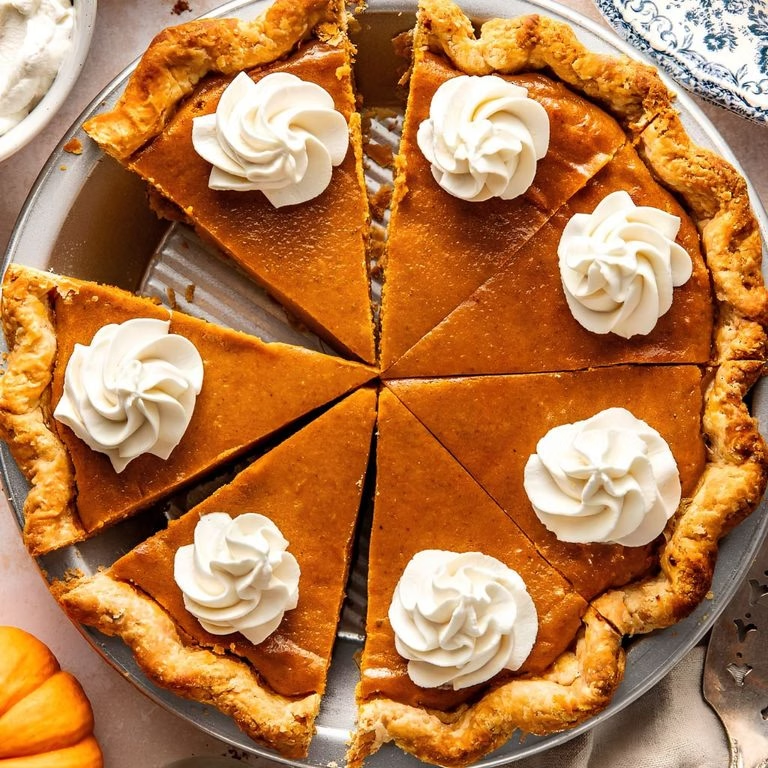
I still remember the first time I set out a tray of blank sugar cookies and a rainbow of icing bowls on my kitchen counter for Halloween. What started as “just a quick baking project” turned into hours of giggles, sticky fingers, and cookies that looked more like abstract art than ghosts and I loved every second of it.
This Easy Halloween Cookie Decorating Recipe enough for beginners has become my go-to every October, and I promise it’ll become yours too. Whether you’re baking with kids or hosting a spooky get-together, this recipe delivers soft, buttery cookies that hold their shape and take decorating like a dream.

Cooking Time
- Prep Time: 30 minutes
- Chill Time: 1-2 hours
- Cook Time: 12 minutes
- Total Time: About 2 hours 45 minutes
Ingredients
For the Cookies
- 3 cups all-purpose flour — the backbone of a sturdy cookie that won’t spread or crack when cut
- ¾ teaspoon salt — balances the sweetness and sharpens the buttery flavor
- ½ teaspoon baking powder — just enough lift without puffing the shapes out of form
- 1¼ cups chilled butter, cubed — cold butter keeps the dough firm and easy to roll
- 1¼ cups granulated sugar — for sweetness and that classic golden edge
- 1 large egg plus 1 egg yolk — the yolk adds richness and keeps the cookies tender
- 1 teaspoon vanilla extract — use pure vanilla, not imitation, for the best flavor
For the Royal Icing
- 4 cups powdered sugar, sifted — sifting prevents lumpy, grainy icing
- ¼ cup meringue powder — this is what gives royal icing its hard, glossy set
- 6-8 tablespoons water — add slowly since too much thins the icing too fast
- 1 teaspoon vanilla extract — a subtle flavor boost that doesn’t dull the white color
- Gel food coloring — gel keeps the icing thick, unlike liquid dyes that water it down
Note: This recipe serves about 24 decorated cookies, depending on the size of your cutters.
Equipment You Need
- Stand mixer or hand mixer — creams the butter and sugar smoothly without lumps
- Rolling pin — rolls the dough to an even thickness for uniform baking
- Halloween cookie cutters — shapes your ghosts, pumpkins, bats, and cats
- Parchment paper — keeps cookies from sticking and makes cleanup easy
- Baking sheets — for even heat distribution while baking
- Piping bags with small round tips — essential for clean icing outlines and details
- Squeeze bottles — great for flooding larger areas of icing quickly
- Wire cooling rack — lets cookies cool fully before you start decorating

How to Make Halloween Cookie Decorating Recipe?
I like to think of this recipe in two easy phases: baking the cookies, then bringing them to life with icing. Don’t rush the chilling step it’s what keeps your shapes crisp instead of blobby. Once you get the rhythm down, this becomes a relaxing, almost meditative process.
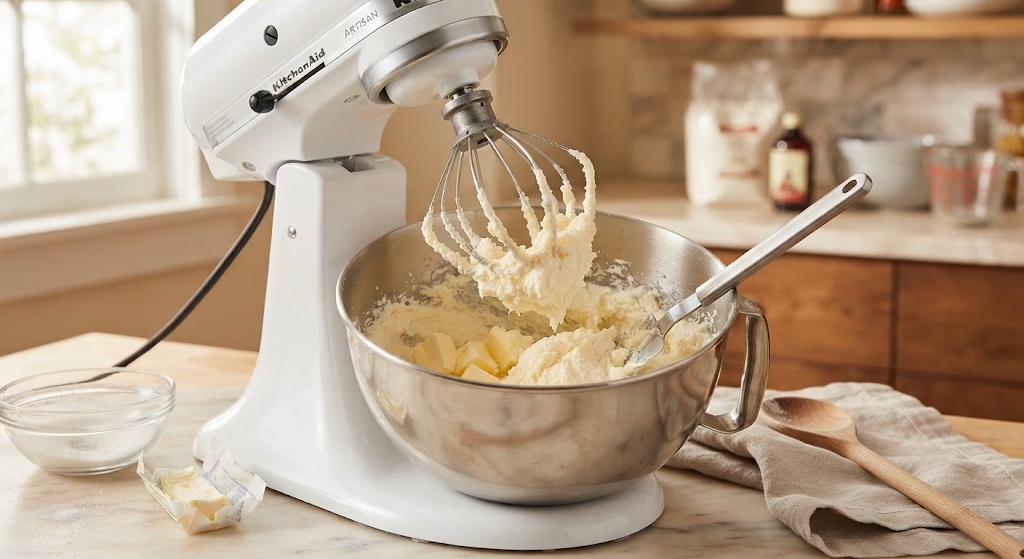
Cream the Butter and Sugar
Beat the chilled butter and sugar together on medium-high speed until the mixture turns pale and fluffy, about 3 minutes. This step traps air into the dough, which helps the cookies bake evenly. Don’t skip scraping down the bowl halfway through unmixed butter chunks lead to uneven dough.
Add the Wet Ingredients
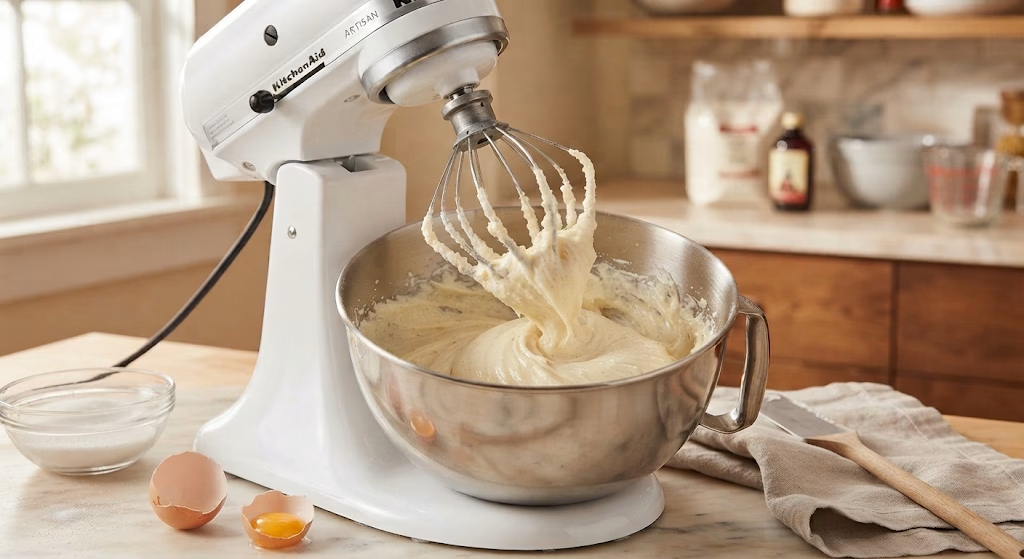
Mix in the egg, egg yolk, and vanilla extract until fully combined. Scrape the sides of the bowl again to make sure nothing is hiding at the bottom. The mixture should look smooth, glossy, and slightly thickened at this point.
Mix in the Dry Ingredients
Add the flour, salt, and baking powder on low speed, mixing just until the dough comes together. Overmixing here activates the gluten and makes cookies tough instead of tender. Stop as soon as you no longer see streaks of flour.
Chill the Dough
Shape the dough into a flat disc, wrap it tightly, and refrigerate for at least 1 hour. Chilling firms up the butter so your cutout shapes stay sharp in the oven. If you’re short on time, the freezer can speed this up in about 30 minutes.
Roll and Cut the Shapes
On a lightly floured surface, roll the dough to about ¼-inch thickness. Use your Halloween cookie cutters to cut out ghosts, pumpkins, bats, or witch hats. Re-roll the scraps once, since dough handled too many times gets tough.
Bake the Cookies
Arrange the cutouts on a parchment-lined baking sheet, spaced about 2 inches apart. Bake at 325°F for 12 to 15 minutes, until the edges just barely turn golden. Let them cool completely on the pan before moving to a wire rack.
Make the Royal Icing
Whisk the meringue powder and powdered sugar together, then slowly add water and vanilla while mixing. Beat on medium-high speed until stiff, glossy peaks form, about 5 minutes. Divide the icing into bowls and tint each one with gel food coloring.
Outline and Flood the Cookies
Use thicker icing in a piping bag to outline each cookie’s edges first. Thin the remaining icing slightly and use it to flood the center, letting it settle into a smooth layer. Use a toothpick to pop any air bubbles before the icing sets.
Add the Details and Let Dry
Once the base icing has set for about 30 minutes, pipe on details like eyes, stripes, or stitching with a small round tip. Let the finished cookies dry uncovered for at least 4-6 hours, or overnight for the cleanest results. Patience here really does pay off.
Additional Tips for Making This Recipe Better
I’ve made these cookies more times than I can count, and here’s what actually made a difference for me:
- I always chill my dough twice once before rolling and once after cutting shapes, right before baking, so nothing spreads.
- I test my icing consistency with a butter knife; if the line disappears in about 10 seconds, it’s ready for flooding.
- I keep my piping bags twisted tightly at the top so icing doesn’t ooze out the wrong end while I’m working.
- I always bake one test cookie first to double-check my oven’s actual temperature before committing a whole tray.
- I lay a damp paper towel over my icing bowls between colors so the surface doesn’t crust while I work.
Common Mistakes to Avoid
- I once used warm butter instead of chilled, and my cutouts lost their crisp edges in the oven cold butter is non-negotiable for me now.
- I learned the hard way that skipping the chill step makes the dough sticky and nearly impossible to transfer without tearing.
- I used to add too much water to my icing at once, which turned it runny fast — I add it a teaspoon at a time now.
- I tried decorating cookies that weren’t fully cooled, and the icing melted right into the surface instead of sitting on top.
- I used liquid food coloring early on and it thinned my icing out completely — I stick to gel coloring every time now.
How to Serve Halloween Cookie Decorating Recipe
I love arranging these cookies on a tiered stand so the different shapes and colors really pop against each other. For parties, I lay them out on a black or orange platter lined with parchment paper cut into jagged “spiderweb” edges for a spooky touch.
A light dusting of edible glitter or black sanding sugar on the icing right before it fully sets adds extra sparkle without overwhelming the design. These cookies also pair nicely as a dessert table alongside seasonal treats if you’re planning a full spread, our pumpkin sugar cookies recipe is another great addition that fits the same festive theme.
Variations
- Dairy-free version: swap the butter for a plant-based baking stick and use dairy-free meringue powder alternatives.
- Sugar-free option: replace granulated sugar with a 1:1 sugar substitute made for baking, though texture may be slightly softer.
- Chocolate twist: swap ¼ cup of flour for cocoa powder to make dark, spooky chocolate-based cutouts.
- Spiced version: add ½ teaspoon cinnamon or pumpkin pie spice to the dough for a warm, fall-forward flavor.
- Crunch factor: press mini chocolate chips or nonpareils onto wet icing before it sets for added texture.
- Flavor boost: a few drops of almond extract alongside the vanilla gives the dough a subtle bakery-style flavor.
Nutritional Information
Here’s a general breakdown per decorated cookie, though exact values will vary based on size and icing amount:
- Calories: about 180-220 kcal
- Protein: 2g
- Carbohydrates: 32g
- Fat: 7g
Make Ahead and Storage
You can make the cookie dough up to 3-4 days ahead and keep it wrapped tightly in the refrigerator until you’re ready to roll and bake.
Once decorated and fully dry, store the cookies in a single layer in an airtight container at room temperature for up to a week, separating layers with parchment paper if stacking.
For longer storage, freeze undecorated baked cookies for up to 3 months in a sealed container; thaw at room temperature before icing so the surface stays dry.
Why You’ll Love This Halloween Cookie Decorating Recipe
This isn’t just another cookie recipe, it’s an activity, a gift idea, and a dessert all rolled into one. Here’s why it keeps earning a spot on my Halloween baking list every year:
- Beginner-friendly decorating: The icing technique is simple enough for first-timers but still looks impressively polished once dry.
- Kid-approved fun: Little hands love picking colors and adding faces, making it a great family baking afternoon.
- Make-ahead convenience: Both the dough and baked cookies can be prepped in advance, easing party-day stress.
- Endlessly customizable: From candy corn colors to eerie ghost faces, the same base recipe adapts to any Halloween theme you like.
- Great for gifting: Wrapped individually, these cookies make charming homemade treats for neighbors, teachers, or trick-or-treaters.
If you enjoy hands-on holiday baking projects like this one, you might also like browsing a halloween cookies decorating kit guide for extra tool and design inspiration before your next batch.
FAQs
Can I use a Pillsbury dough shortcut for this recipe?
Yes, halloween sugar cookies pillsbury dough works as a quick base, though homemade dough holds shapes slightly better for detailed decorating.
How do I make scary Halloween cookies instead of cute ones?
For scary halloween cookies, use darker icing colors like deep purple, black, and blood-red, and pipe on drippy or cracked details.
What’s the best royal icing consistency for beginners?
Start with a slightly thicker consistency for outlines, then thin small batches for flooding. It’s more forgiving than icing that’s too runny.
Can I make this recipe kid-friendly for a classroom party?
Absolutely pre-bake and pre-outline the cookies, then let kids handle the flooding and sprinkle decorating for mess-free fun.
Are these good Halloween cookie recipes for adults too?
Yes, adding spiced flavors, chocolate variations, or elegant monochrome icing designs makes this recipe feel more grown-up and sophisticated.

Easy Halloween Cookie Decorating Recipe
Ingredients
Method
- Beat the chilled butter and sugar together on medium-high speed until the mixture turns pale and fluffy, about 3 minutes. This step traps air into the dough, which helps the cookies bake evenly. Don’t skip scraping down the bowl halfway through — unmixed butter chunks lead to uneven dough.
- Mix in the egg, egg yolk, and vanilla extract until fully combined. Scrape the sides of the bowl again to make sure nothing is hiding at the bottom. The mixture should look smooth, glossy, and slightly thickened at this point.
- Add the flour, salt, and baking powder on low speed, mixing just until the dough comes together. Overmixing here activates the gluten and makes cookies tough instead of tender. Stop as soon as you no longer see streaks of flour.
- Shape the dough into a flat disc, wrap it tightly, and refrigerate for at least 1 hour. Chilling firms up the butter so your cutout shapes stay sharp in the oven. If you’re short on time, the freezer can speed this up in about 30 minutes.
- On a lightly floured surface, roll the dough to about ¼-inch thickness. Use your Halloween cookie cutters to cut out ghosts, pumpkins, bats, or witch hats. Re-roll the scraps once, since dough handled too many times gets tough.
- Arrange the cutouts on a parchment-lined baking sheet, spaced about 2 inches apart. Bake at 325°F for 12 to 15 minutes, until the edges just barely turn golden. Let them cool completely on the pan before moving to a wire rack.
- Whisk the meringue powder and powdered sugar together, then slowly add water and vanilla while mixing. Beat on medium-high speed until stiff, glossy peaks form, about 5 minutes. Divide the icing into bowls and tint each one with gel food coloring.
- Use thicker icing in a piping bag to outline each cookie’s edges first. Thin the remaining icing slightly and use it to flood the center, letting it settle into a smooth layer. Use a toothpick to pop any air bubbles before the icing sets.
- Once the base icing has set for about 30 minutes, pipe on details like eyes, stripes, or stitching with a small round tip. Let the finished cookies dry uncovered for at least 4-6 hours, or overnight for the cleanest results. Patience here really does pay off.
Notes
- I always chill my dough twice once before rolling and once after cutting shapes, right before baking, so nothing spreads.
- I test my icing consistency with a butter knife; if the line disappears in about 10 seconds, it’s ready for flooding.
- I keep my piping bags twisted tightly at the top so icing doesn’t ooze out the wrong end while I’m working.
- I always bake one test cookie first to double-check my oven’s actual temperature before committing a whole tray.
- I lay a damp paper towel over my icing bowls between colors so the surface doesn’t crust while I work.