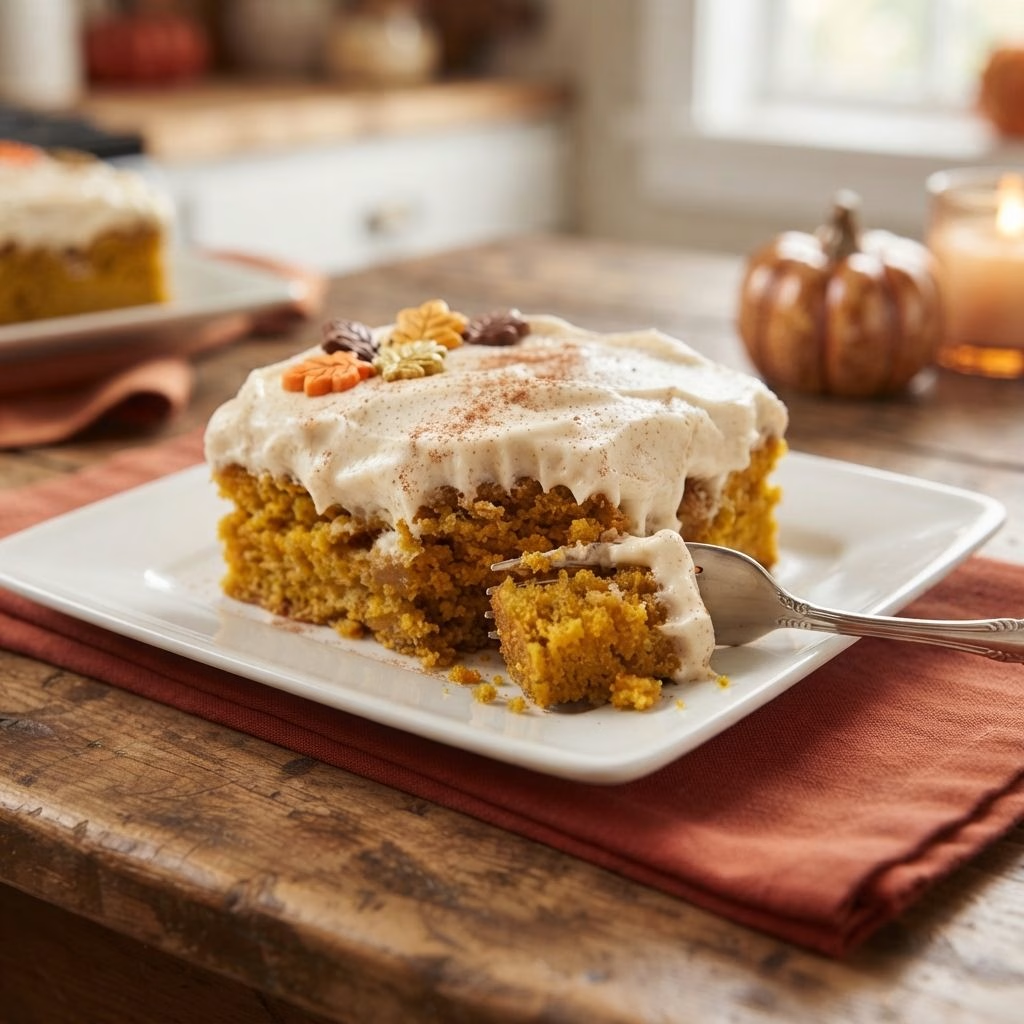
I still remember the first time I pulled this Pumpkin Magic Cake Recipe out of the oven and had no idea what was hiding inside it. I poured a simple pumpkin filling over plain cake batter, walked away, and came back an hour later to find three distinct layers had formed on their own.
It genuinely looked like magic to me. Once I frosted it and took that first bite, I understood why everyone calls it that. Now it’s the one dessert I make every single fall without fail.
Cooking Time
- Prep Time: 15 minutes
- Cook Time: 55 minutes
- Total Time: 1 hour 10 minutes (plus chilling time)
Ingredients
- 1 box yellow cake mix, plus the eggs, oil, and water called for on the box – this is the base layer that magically rises to the top while baking
- 1 (15-ounce) can pure pumpkin puree – use plain pumpkin, not pumpkin pie filling, or your cake will turn out overly sweet
- ½ cup evaporated milk – gives the pumpkin layer its silky, custard-like texture
- ½ cup heavy cream – adds richness so the bottom layer tastes just like real pumpkin pie
- 3 large eggs – helps the pumpkin layer set properly instead of staying runny
- 1 cup brown sugar – brings warmth and a deeper sweetness than white sugar would
- 1 teaspoon pumpkin pie spice – the backbone of that cozy fall flavor, so don’t skip it
- 1 (3.4-ounce) box instant vanilla pudding mix – the secret to a frosting that sets up fast without needing gelatin
- 1 teaspoon pumpkin pie spice (for the frosting) – ties the topping back to the pumpkin flavor below
- 1 cup cold milk – whisk this in slowly so the pudding doesn’t get lumpy
- 8 ounces Cool Whip, thawed – folding it in gently keeps the frosting light and fluffy instead of dense
Note: This recipe serves 12–16 people, so it’s perfect for potlucks, holiday dinners, or a house full of guests.
Equipment You Need
- 9×13-inch baking pan – the right size to let both layers form evenly
- Large mixing bowl – for whisking the pumpkin filling until smooth
- Whisk – prevents lumps in both the filling and the frosting
- Electric hand mixer or stand mixer – makes quick work of the cake batter
- Rubber spatula – ideal for folding the Cool Whip into the frosting without deflating it
- Toothpick – your best tool for checking doneness in the center of the cake
- Rimmed baking sheet – slide it under the cake pan in case anything bubbles over
How to Make a Pumpkin Magic Cake Recipe?
This cake looks fancy, but it’s really just two simple mixtures poured into one pan. The oven does all the hard work of separating them into layers. Here’s exactly how I put mine together every time.
Preheat and Prep the Pan
I start by heating my oven to 350°F so it’s fully ready by the time my batter is mixed. Then I lightly grease my 9×13 pan with baking spray or a little coconut oil. Skipping this step is asking for a stuck cake later.
Mix the Cake Batter
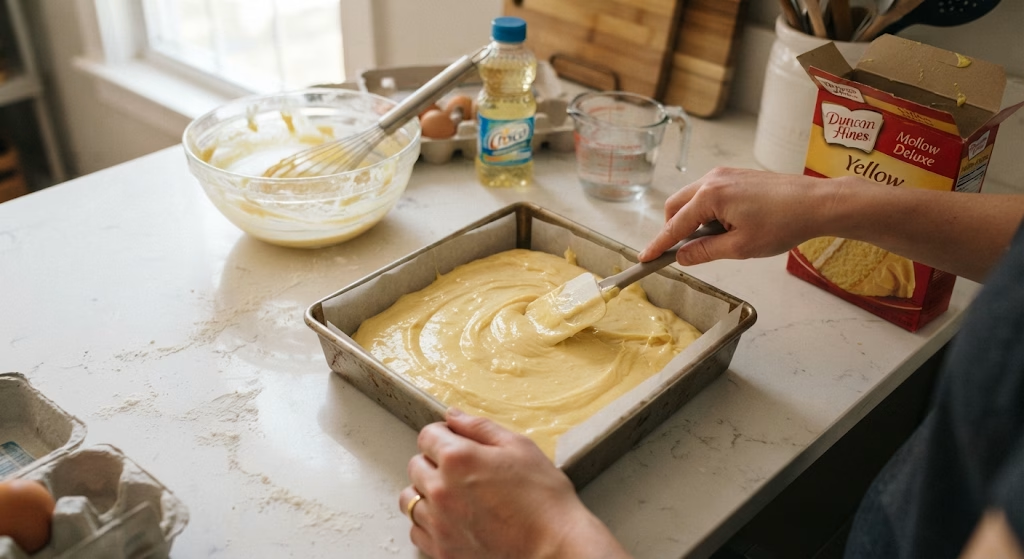
Next, I prepare the boxed yellow cake mix exactly as the package directs, using the eggs, oil, and water it calls for. I pour this batter straight into my prepared pan and spread it into an even layer. I haven’t baked it yet, but this is just the base.
Whisk the Pumpkin Filling
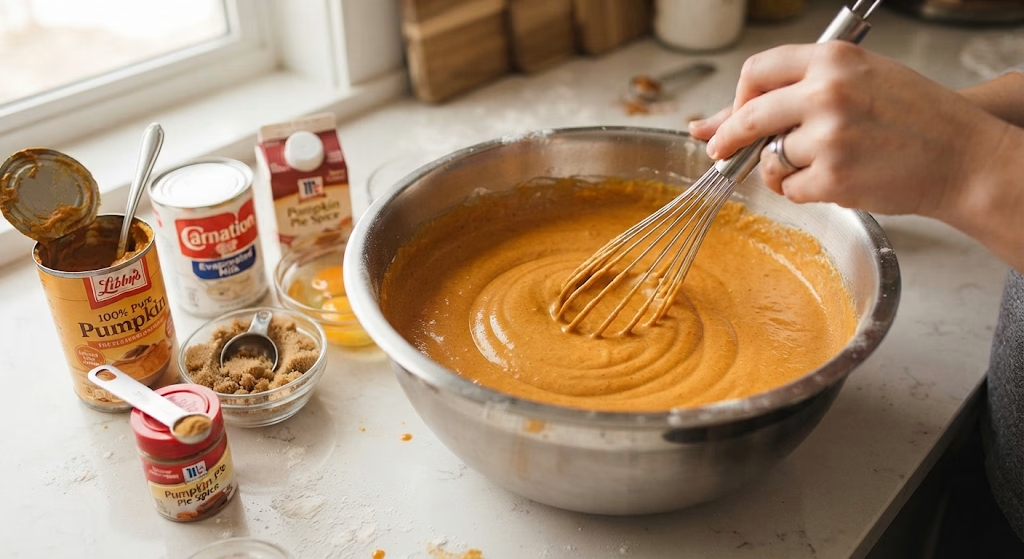
In a separate large bowl, I whisk together the pumpkin puree, evaporated milk, heavy cream, eggs, brown sugar, and pumpkin pie spice. I keep whisking until it’s completely smooth with no streaks of egg or sugar left behind.
Pour the Filling Over the Batter
This is the fun part. I slowly pour the pumpkin mixture all over the top of the unbaked cake batter, moving in a steady back-and-forth motion so it covers every corner. I don’t stir it — the layers separate on their own in the oven.
Bake Until Set
I carefully place the pan in the oven and bake for 50 to 60 minutes. I check for doneness by inserting a toothpick into the center; it should come out clean, and the middle shouldn’t jiggle. The top may look a little darker than a normal cake, and that’s completely normal.
Cool Completely
Once it’s out of the oven, I let the cake cool to room temperature right in the pan. Rushing this step means a melty frosting later, so I usually let it sit for at least an hour before touching it.
Make the Frosting
While the cake cools, I whisk the instant vanilla pudding mix with pumpkin pie spice and cold milk in a medium bowl until it starts to thicken. Then I gently fold in the Cool Whip with a spatula until it’s fully combined and fluffy.
Frost and Chill
Finally, I spread the frosting evenly over the cooled cake. I like to chill mine for at least an hour before slicing so the layers set firmly and cut cleanly.
Additional Tips for Making This Recipe Better
I’ve made this cake more times than I can count, and these little tweaks have made a real difference for me.
- I always let the cake cool completely before frosting it, or the Cool Whip topping starts to melt and slide right off.
- I slide a rimmed baking sheet under my cake pan before baking, just in case the pumpkin layer bubbles over the sides.
- I’ve swapped the yellow cake mix for spice cake mix before, and it made the pumpkin flavor even bolder.
- I use full-fat evaporated milk instead of low-fat, since it gives the bottom layer a noticeably creamier texture.
- I chill my cake overnight whenever I can, since the layers taste even better the next day.
Common Mistakes to Avoid
- I’ve poured the pumpkin filling too fast before, and it sank unevenly instead of spreading. I now pour slowly in a wide, steady stream.
- I once used pumpkin pie filling instead of plain pumpkin puree by mistake, and the cake turned out way too sweet and lost its balance.
- I pulled the cake out too early thinking it was done, only to find a jiggly, undercooked center. I always double-check with a toothpick now.
- I tried folding the Cool Whip in too aggressively once, and the frosting turned thin and runny instead of light and fluffy.
- I skipped greasing the pan one time in a rush, and half my first slice stuck to the bottom, so I never skip it anymore.
How to Serve Pumpkin Magic Cake?
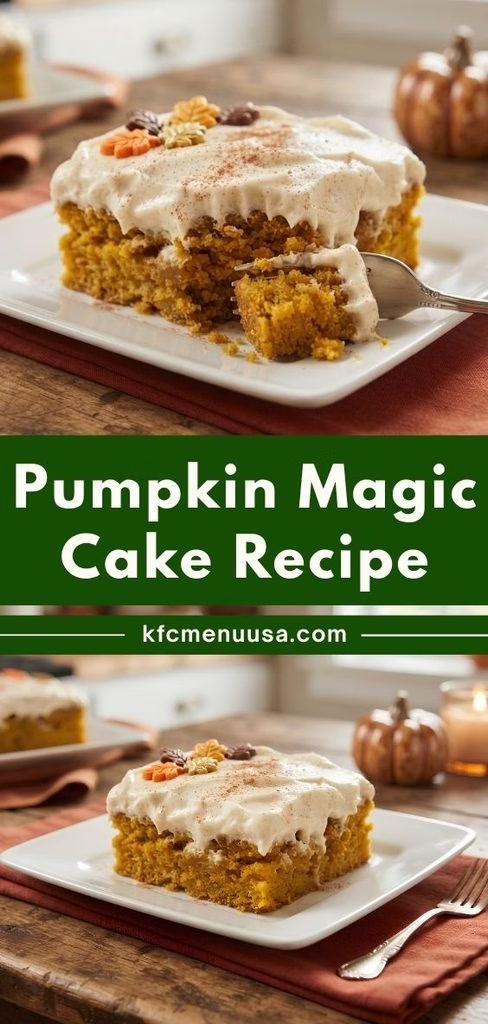
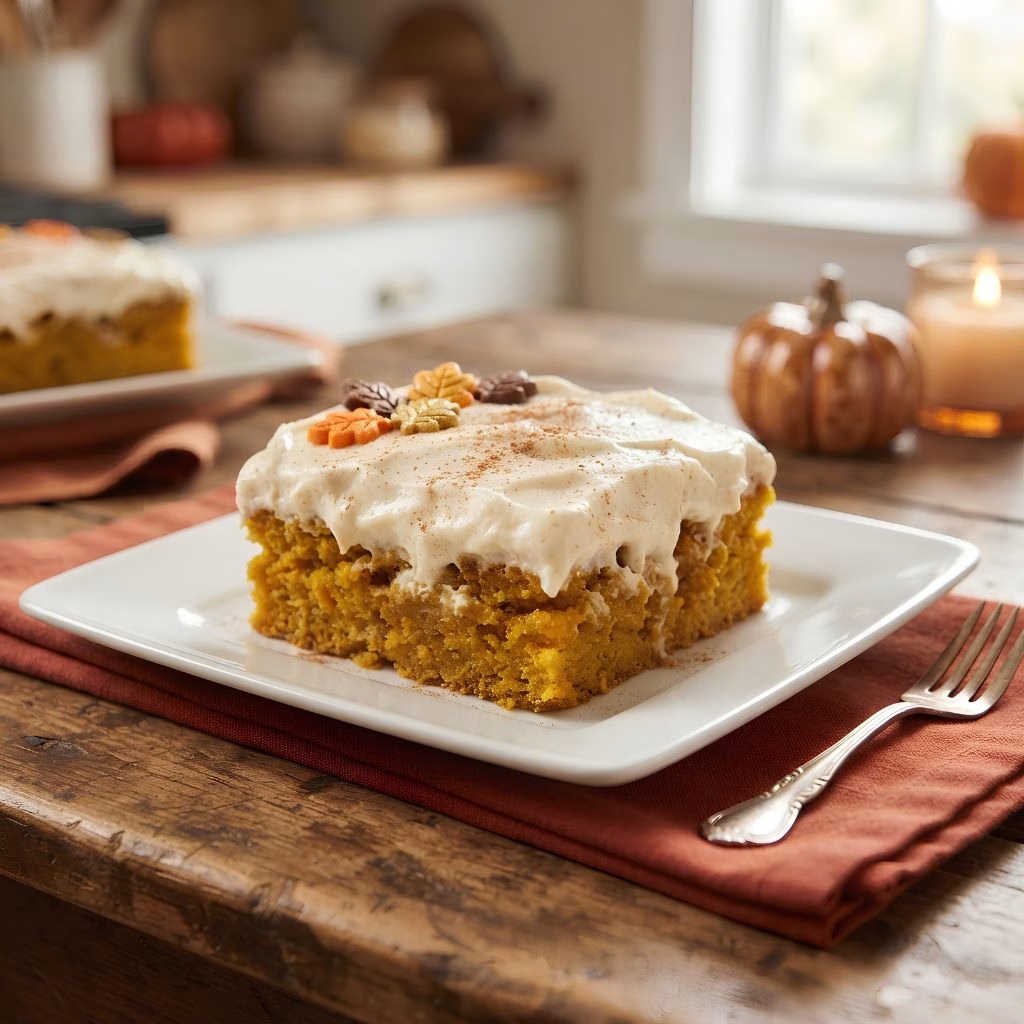
I like to slice this cake into neat squares so everyone can see all three layers peeking through the side. A light dusting of extra pumpkin pie spice or cinnamon on top makes it look bakery-worthy in seconds. For special occasions, I’ll add a dollop of whipped cream and a few crushed pecans or graham cracker crumbs on each slice.
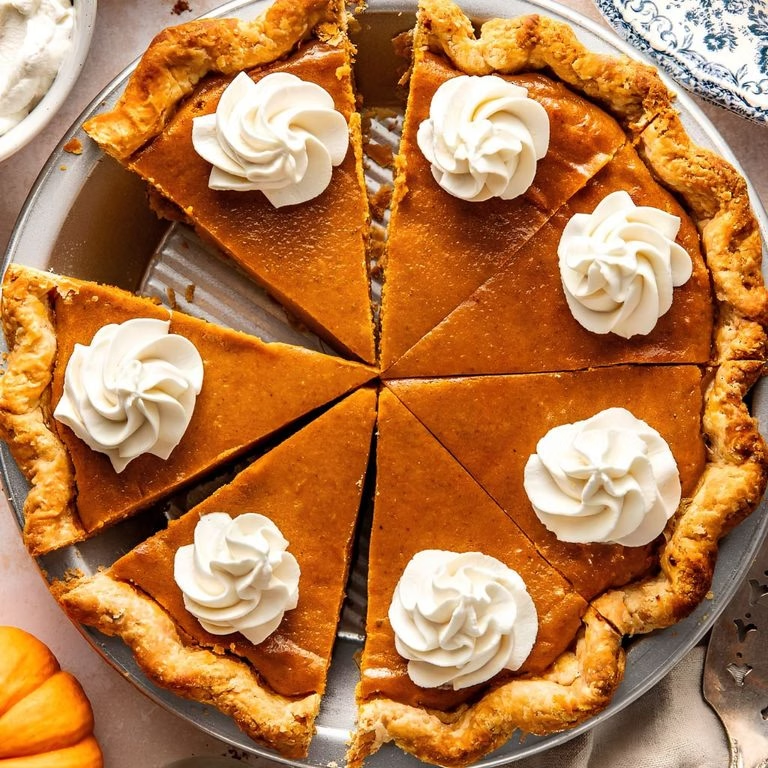
It pairs beautifully with a hot cup of coffee or chai, especially if you’re planning a full fall spread. This cake makes a wonderful companion to a slice of pumpkin pie recipe if you want to give guests two pumpkin desserts to choose from at your next gathering.
Variations
- Swap the yellow cake mix for spice cake or butter pecan cake mix for a deeper, more layered flavor.
- Use a dairy-free evaporated milk and coconut whipped topping to make the whole cake dairy-free.
- Replace the brown sugar with a sugar-free sweetener blend if you’re cutting back on sugar.
- Stir in a handful of chopped pecans or walnuts on top of the frosting for extra crunch.
- Try a cheesecake or butterscotch instant pudding mix instead of vanilla for a fun flavor twist.
- Add a swirl of caramel sauce over the frosting right before serving for an extra indulgent finish.
Nutritional Information
Here’s a general breakdown per slice, based on 12 servings:
- Calories: approximately 380 kcal
- Protein: approximately 5g
- Carbohydrates: approximately 55g
- Fat: approximately 15g
Make Ahead and Storage
This cake actually tastes better after chilling, so making it a day ahead is completely fine. Just bake it, cool it, and store it covered in the fridge before frosting until you’re ready to serve.
Once frosted, keep the cake covered tightly in the refrigerator, where it stays fresh for up to 3 days. I don’t recommend freezing it after frosting, since Cool Whip toppings tend to separate once thawed, but the unfrosted baked cake freezes well for up to a month if wrapped tightly.
Why You’ll Love This Recipe
This cake has earned a permanent spot in my fall baking rotation, and I think it’ll do the same for you.
- It’s incredibly easy: With a boxed cake mix as the base, I don’t need any fancy baking skills to pull this off, yet it looks impressively layered when sliced.
- It’s a real showstopper: Guests are always amazed that one pan of batter separates into three distinct layers all on its own.
- It’s easy to customize: Between different cake mix flavors, pudding options, and mix-ins, I can make it a little different every time I bake it.
- It travels well: Since it’s baked right in a 9×13 pan, I can cover it and carry it straight to a potluck or holiday dinner without any fuss.
- It feeds a crowd: With 12 to 16 generous slices, it’s one of my go-to desserts whenever I’m hosting a bigger group.
FAQs
Can I use homemade pumpkin puree instead of canned?
Yes, as long as it’s well-drained and smooth, homemade puree works just as well as canned pumpkin in this recipe.
Why did my cake come out too mushy in the center?
This usually means it needs a bit longer in the oven. Always check with a toothpick and make sure it comes out clean before removing it.
Can I make this cake without a mixer?
Yes, a sturdy whisk and a bit of elbow grease work fine for both the cake batter and the pumpkin filling.
How far in advance can I make this cake?
You can bake and chill it up to 3 days ahead, though I recommend adding the whipped frosting no more than a day before serving for the best texture.
Can I substitute the Cool Whip with homemade whipped cream?
Yes, just make sure to stabilize your whipped cream first, since regular whipped cream can weep and thin out faster than Cool Whip once refrigerated.

Pumpkin Magic Cake Recipe
Ingredients
Method
- I start by heating my oven to 350°F so it’s fully ready by the time my batter is mixed. Then I lightly grease my 9×13 pan with baking spray or a little coconut oil. Skipping this step is asking for a stuck cake later.
- Next, I prepare the boxed yellow cake mix exactly as the package directs, using the eggs, oil, and water it calls for. I pour this batter straight into my prepared pan and spread it into an even layer. I haven’t baked it yet, but this is just the base.
- In a separate large bowl, I whisk together the pumpkin puree, evaporated milk, heavy cream, eggs, brown sugar, and pumpkin pie spice. I keep whisking until it’s completely smooth with no streaks of egg or sugar left behind.
- This is the fun part. I slowly pour the pumpkin mixture all over the top of the unbaked cake batter, moving in a steady back-and-forth motion so it covers every corner. I don’t stir it the layers separate on their own in the oven.
- I carefully place the pan in the oven and bake for 50 to 60 minutes. I check for doneness by inserting a toothpick into the center; it should come out clean, and the middle shouldn’t jiggle. The top may look a little darker than a normal cake, and that’s completely normal.
- Once it’s out of the oven, I let the cake cool to room temperature right in the pan. Rushing this step means a melty frosting later, so I usually let it sit for at least an hour before touching it.
- While the cake cools, I whisk the instant vanilla pudding mix with pumpkin pie spice and cold milk in a medium bowl until it starts to thicken. Then I gently fold in the Cool Whip with a spatula until it’s fully combined and fluffy.
- Finally, I spread the frosting evenly over the cooled cake. I like to chill mine for at least an hour before slicing so the layers set firmly and cut cleanly.
Notes
- I always let the cake cool completely before frosting it, or the Cool Whip topping starts to melt and slide right off.
- I slide a rimmed baking sheet under my cake pan before baking, just in case the pumpkin layer bubbles over the sides.
- I’ve swapped the yellow cake mix for spice cake mix before, and it made the pumpkin flavor even bolder.
- I use full-fat evaporated milk instead of low-fat, since it gives the bottom layer a noticeably creamier texture.
- I chill my cake overnight whenever I can, since the layers taste even better the next day.