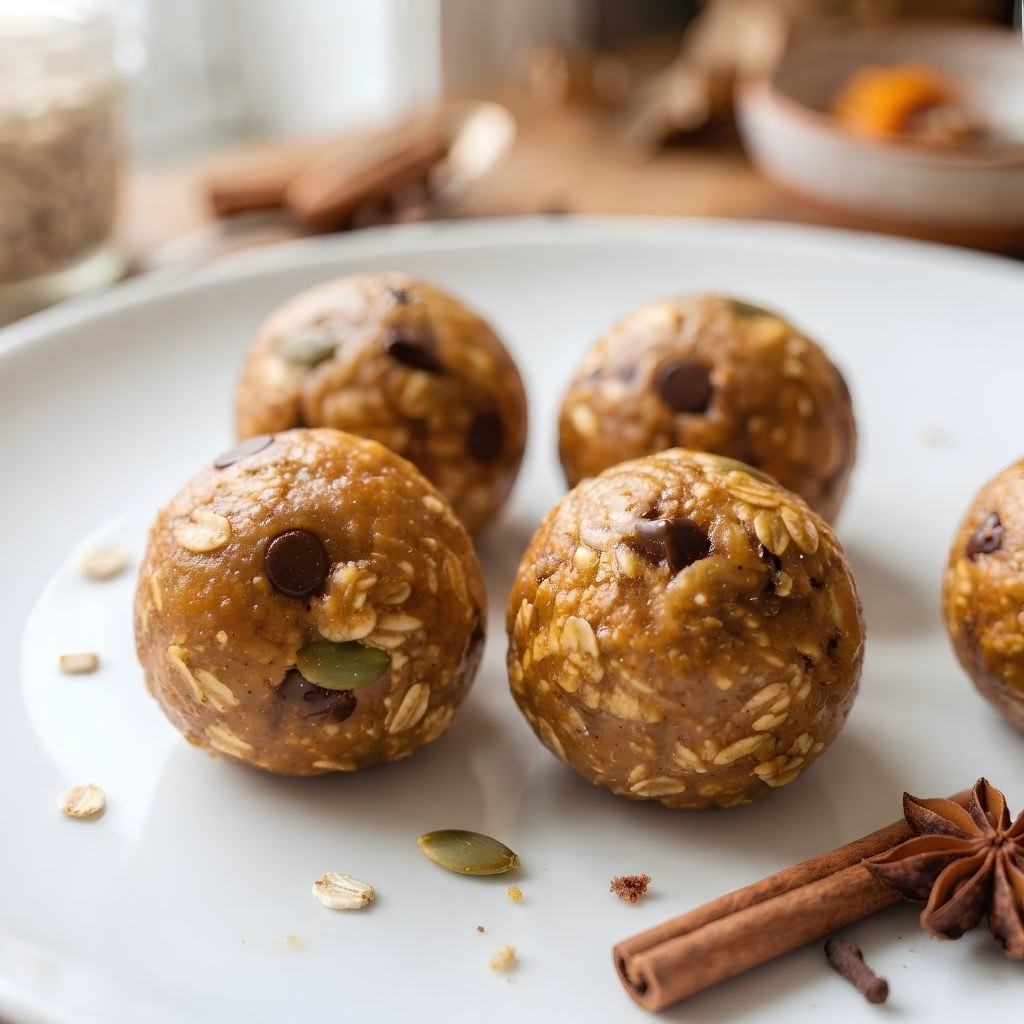
I make a batch of this Pumpkin Energy Balls Recipe every single week once September rolls around, and honestly, I can’t imagine fall without them sitting in my fridge. They came about one lazy Sunday when I had leftover pumpkin puree and didn’t want to turn on the oven.
Since then, they’ve become my go-to grab-and-go breakfast, post-workout snack, and even my kids’ afternoon pick-me-up. If you’re searching for an easy, no-fuss treat that tastes like pumpkin pie in bite form, I promise this is the one you’ll keep coming back to.
Cooking Time
- Prep Time: 10 minutes
- Cooking Time: 0 minutes (no-bake recipe)
- Total Time: 10 minutes (plus optional 20-minute chill)
Ingredients
- 1 1/4 cups old-fashioned rolled oats – the base of the balls, giving them a hearty, chewy texture
- 1/4 cup ground flaxseed – adds fiber and helps everything bind together
- 1 tablespoon chia seeds – a small nutritional boost that also helps thicken the mixture
- 1 1/2 teaspoons ground cinnamon – the backbone of that cozy fall flavor
- 1/2 teaspoon ground ginger – adds a subtle warm spice note
- 1/4 teaspoon ground nutmeg – rounds out the pumpkin-pie flavor profile
- 1/8 teaspoon ground cloves – just a hint goes a long way here
- A pinch of sea salt – balances the sweetness so the flavors don’t fall flat
- 1/2 cup creamy almond butter – the sticky glue that holds each ball together, use fresh and well-stirred
- 1/4 cup pumpkin puree – plain puree only, not pumpkin pie filling, or the balls turn out too wet
- 1/4 cup honey – natural sweetness plus extra stickiness for easy rolling
- 1 teaspoon vanilla extract – rounds out the flavor with a little warmth
- 1/4 cup mini chocolate chips – optional, but I never skip them
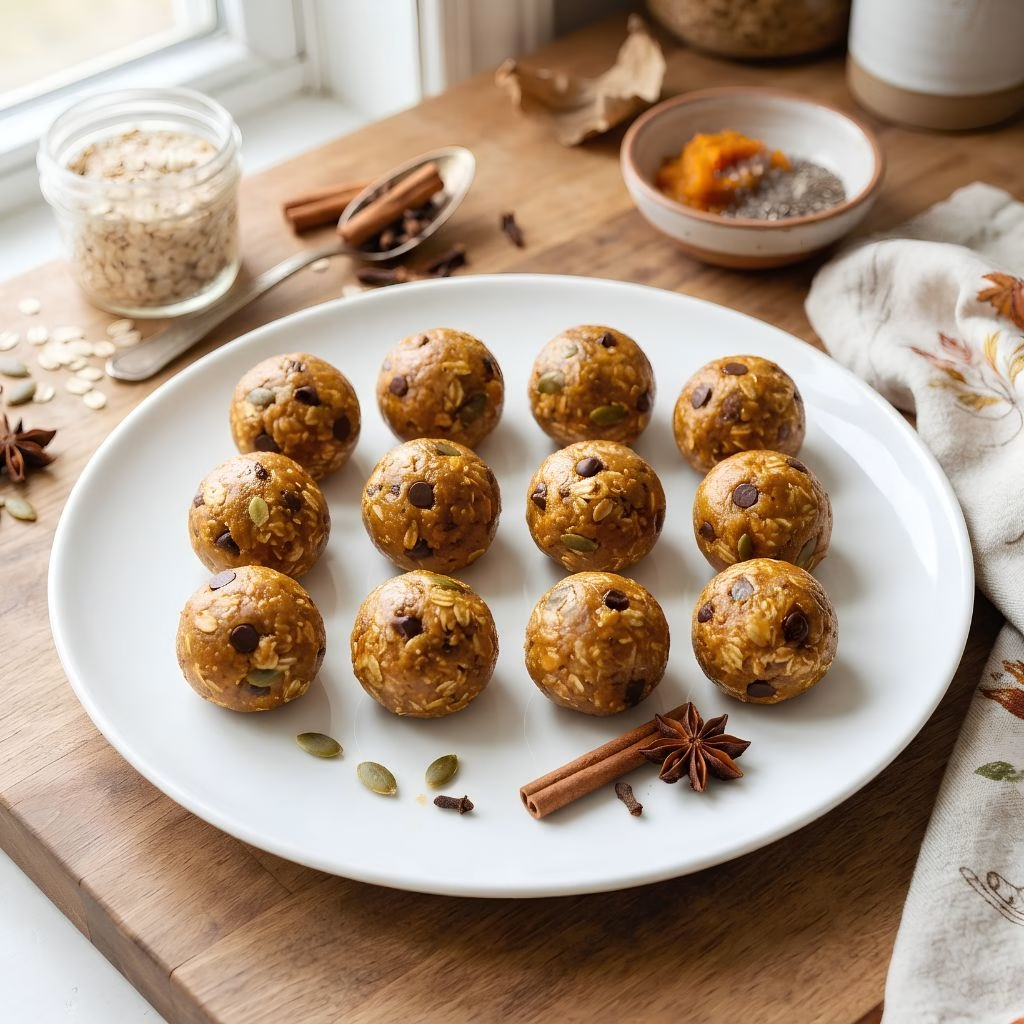
Note: This recipe makes about 12 energy balls, perfect for a small household or a week’s worth of snacking.
Equipment You’ll Need
- Large mixing bowl – for combining all your ingredients
- Stand mixer or hand mixer – makes blending the sticky mixture effortless
- Measuring cups and spoons – for accurate ingredient amounts
- Rubber spatula – to scrape down the sides and fold in chocolate chips
- Cookie scoop – for evenly sized, mess-free balls
- Parchment paper – so the balls don’t stick while they set
- Airtight container – for storing your finished energy balls
How to Make Pumpkin Energy Balls?
This no-bake pumpkin balls recipe comes together in one bowl with almost zero cleanup. I like to set out all my ingredients before I start so I’m not scrambling mid-mix. Once you’ve got everything measured, the whole process takes about ten minutes from start to finish.
Step 1: Combine the Dry Ingredients
I start by adding the oats, flaxseed, chia seeds, cinnamon, ginger, nutmeg, cloves, and salt into my mixing bowl. Using the paddle attachment on low speed, I mix everything until it’s evenly combined. This step makes sure the spices don’t clump together later.
Step 2: Add the Wet Ingredients
Next, I pour in the almond butter, pumpkin puree, honey, and vanilla extract. I mix on low until the wet and dry ingredients come together into a thick, sticky dough. If you don’t have a stand mixer, a wooden spoon works just fine here too.
Step 3: Fold in the Chocolate Chips
Once the dough looks fully combined, I turn off the mixer and gently fold in the mini chocolate chips by hand. This keeps them from melting into the mixture and gives every bite a little chocolatey surprise.
Step 4: Chill the Mixture (Optional)
If the dough feels too sticky to handle, I pop the bowl in the fridge for about 15 to 20 minutes. This little rest makes rolling so much easier, especially if your kitchen runs warm.
Step 5: Roll Into Balls
Using a cookie scoop, I portion out about 2 tablespoons of dough per ball and roll it smooth between my palms. I usually get exactly 12 balls out of one batch, give or take a couple.
Step 6: Store and Set
I place the rolled balls into an airtight container and pop them in the refrigerator. They firm up within an hour and are ready to grab whenever hunger strikes.
Additional Tips for Making This Recipe Better
I’ve made these more times than I can count, so here’s what I’ve learned along the way:
- I always use old-fashioned rolled oats instead of quick oats because they hold their texture better and don’t turn mushy.
- I make sure my almond butter is well-stirred and drippy, since a stiff, dry nut butter makes the dough crumbly.
- I wet my hands slightly before rolling, which keeps the dough from sticking to my palms.
- I double the batch on Sundays so I have enough energy balls to last me through a busy week.
- I taste the dough before rolling (raw oats and pumpkin are totally safe) to check if I want a touch more cinnamon.
Common Mistakes to Avoid
- I once used pumpkin pie filling instead of plain pumpkin puree, and the balls turned out way too sweet and loose. Always check your can label.
- I’ve learned not to skip the chilling step in warmer months, or the dough sticks to everything and rolling becomes a mess.
- I used to pack the oats too tightly when measuring, which threw off the ratio and made the dough dry. Spoon and level instead.
- I made the mistake of rolling the balls too large once, and they never firmed up properly in the fridge. Stick to about 2 tablespoons each.
- I stored a batch in a container that wasn’t fully airtight, and they dried out within two days. A good seal really does matter.
How to Serve Pumpkin Energy Balls?
I love piling these onto a small wooden board or a rustic plate for a pretty fall-inspired snack spread. A light dusting of extra cinnamon or a few extra mini chocolate chips pressed on top makes them look bakery-fresh.
For a fun breakfast idea, I sometimes serve them alongside a bowl of yogurt and fresh apple slices, similar to how I plate up my pumpkin overnight oats on busy mornings. They also travel well wrapped individually in parchment for school lunches or road trips.
Variations
- Pumpkin energy balls without peanut butter: swap in almond butter, sunflower seed butter, or cashew butter for a nut-free or allergy-friendly version.
- 3 ingredient pumpkin balls: blend just oats, pumpkin puree, and nut butter for a stripped-down version when you’re short on pantry staples.
- Pumpkin energy balls with protein powder: stir in a scoop of vanilla or unflavored protein powder for a post-workout boost.
- Pumpkin protein balls with almond flour: replace some of the oats with almond flour for a lower-carb, grain-light option.
- Pumpkin coconut energy balls: roll the finished balls in shredded coconut for extra texture and a tropical twist.
- No-bake pumpkin energy bites for kids: leave out the cloves and ginger for a milder, kid-friendly flavor.
Nutritional Information
Here’s roughly what you can expect per energy ball, based on a batch of 12:
- Calories: 158
- Protein: 5g
- Carbohydrates: 18g
- Fat: 8g
Make Ahead and Storage
These pumpkin energy balls are ideal for meal prep since they only get better after a little time in the fridge to firm up.
Storage: Keep them in an airtight container in the refrigerator for up to one week. I like to layer parchment paper between them so they don’t stick together.
Freezing: Freeze the rolled balls on a parchment-lined tray until solid, then transfer to a freezer bag for up to 3 months. Thaw at room temperature for about 15 minutes before eating.
Reheating: No reheating needed, these are meant to be enjoyed cold or at room temperature straight from the fridge or freezer.
Why You’ll Love This Recipe?
Once you try these, I think they’ll earn a permanent spot in your snack rotation too:
- No oven required: since this is a completely no-bake pumpkin energy balls recipe, I can whip up a batch even on the hottest fall afternoon without heating up my kitchen.
- Meal-prep friendly: I make a big batch on Sunday and have healthy pumpkin energy bites ready to grab all week long.
- Easy to customize: whether I want it nut-free, protein-packed, or coconut-coated, this base recipe flexes to whatever I’m craving.
- Kid-approved: my kids genuinely ask for these over store-bought granola bars, which feels like a small parenting win.
- Great use for leftover pumpkin: anytime I have extra canned pumpkin from another recipe, like my pumpkin spice muffins, this is where the rest goes.
FAQs
Can I make this pumpkin balls recipe without a mixer?
Yes, a wooden spoon or sturdy spatula works fine. It just takes a little more arm strength to fully combine the sticky dough.
Can I substitute the almond butter?
Absolutely. Peanut butter, cashew butter, or sunflower seed butter all work well as substitutes without changing the texture much.
Do I have to refrigerate these energy balls?
I’d recommend it, since chilling helps them hold their shape and keeps them fresh for up to a week.
Can I use canned pumpkin pie filling instead of puree?
No, pumpkin pie filling already contains added sugar and spices, which will throw off the texture and make the dough too wet. Stick with plain pumpkin puree.
How many energy balls does one batch make?
This recipe makes about 12 balls using roughly 2 tablespoons of dough per ball, though you can roll them smaller for more bite-sized pieces.

Pumpkin Energy Balls Recipe
Ingredients
Method
- I start by adding the oats, flaxseed, chia seeds, cinnamon, ginger, nutmeg, cloves, and salt into my mixing bowl. Using the paddle attachment on low speed, I mix everything until it’s evenly combined. This step makes sure the spices don’t clump together later.
- Next, I pour in the almond butter, pumpkin puree, honey, and vanilla extract. I mix on low until the wet and dry ingredients come together into a thick, sticky dough. If you don’t have a stand mixer, a wooden spoon works just fine here too.
- Once the dough looks fully combined, I turn off the mixer and gently fold in the mini chocolate chips by hand. This keeps them from melting into the mixture and gives every bite a little chocolatey surprise.
- If the dough feels too sticky to handle, I pop the bowl in the fridge for about 15 to 20 minutes. This little rest makes rolling so much easier, especially if your kitchen runs warm.
- Using a cookie scoop, I portion out about 2 tablespoons of dough per ball and roll it smooth between my palms. I usually get exactly 12 balls out of one batch, give or take a couple.
- I place the rolled balls into an airtight container and pop them in the refrigerator. They firm up within an hour and are ready to grab whenever hunger strikes.
Notes
- I always use old-fashioned rolled oats instead of quick oats because they hold their texture better and don’t turn mushy.
- I make sure my almond butter is well-stirred and drippy, since a stiff, dry nut butter makes the dough crumbly.
- I wet my hands slightly before rolling, which keeps the dough from sticking to my palms.
- I double the batch on Sundays so I have enough energy balls to last me through a busy week.
- I taste the dough before rolling (raw oats and pumpkin are totally safe) to check if I want a touch more cinnamon.