I started making this Easy Pumpkin Crepes Recipe on a whim one chilly October morning, and now I can’t get through fall without them. I love crepes already, so pairing that thin, buttery batter with warm pumpkin spice felt like an obvious move once I actually tried it.
The batter comes together in my blender in under a minute, which means I’m never stuck standing over a bowl whisking by hand. I fill mine with a simple cream cheese filling and a little whipped cream, and honestly, it tastes like dessert disguised as breakfast. If you’ve been searching for fall crepe recipes that actually feel special without taking all morning, this is the one I keep coming back to.

Cooking Time
- Prep Time: 10 minutes
- Cooking Time: 15 minutes
- Total Time: 25 minutes
Ingredients
- 1 cup all-purpose flour — this gives the crepes their structure without making them heavy
- 1 ¼ cups milk — whole milk gives the thinnest, most tender batter
- 2 large eggs — use fresh eggs so the batter binds together properly
- ½ cup pumpkin puree — grab plain pumpkin puree, not pumpkin pie filling with added sugar and spices
- 2 tablespoons melted butter — helps the crepes turn golden and keeps them from sticking
- 2 tablespoons granulated sugar — just enough to lightly sweeten without overpowering the pumpkin
- 1 teaspoon pumpkin pie spice — this is where all that cozy fall flavor comes from
- 1 teaspoon vanilla extract — pure vanilla extract gives the best depth of flavor
- ¼ teaspoon salt — balances the sweetness and rounds everything out
Note: this recipe serves 4, making about 8 crepes in total.
Equipment You Need
- Blender — quickly combines the batter until smooth with no lumps
- Nonstick skillet or crepe pan — essential for thin, evenly cooked crepes that release easily
- Ladle or measuring cup — helps pour consistent amounts of batter each time
- Offset spatula — makes flipping delicate crepes much easier
- Rubber spatula — for spreading batter thin if you’re not using a swirl technique
- Plate — for stacking finished crepes as you go
How to Make Pumpkin Crepes Recipe?
Making crepes always feels a little fancy, but the truth is it’s one of the simplest batters you’ll ever put together. Once you’ve got the blending and swirling technique down, the whole process moves fast. Here’s exactly how I make mine every fall.
Blend the Batter
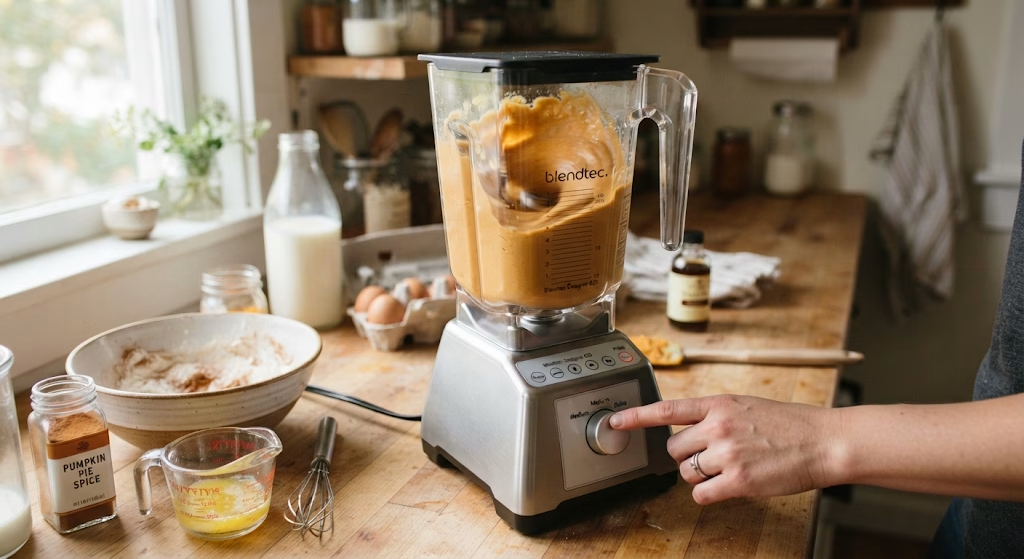
Add the flour, milk, eggs, pumpkin puree, melted butter, sugar, pumpkin pie spice, vanilla, and salt into your blender. Blend everything for about 20 seconds, or until the batter looks completely smooth. Scrape down the sides if needed and give it one more quick pulse.
Rest the Batter
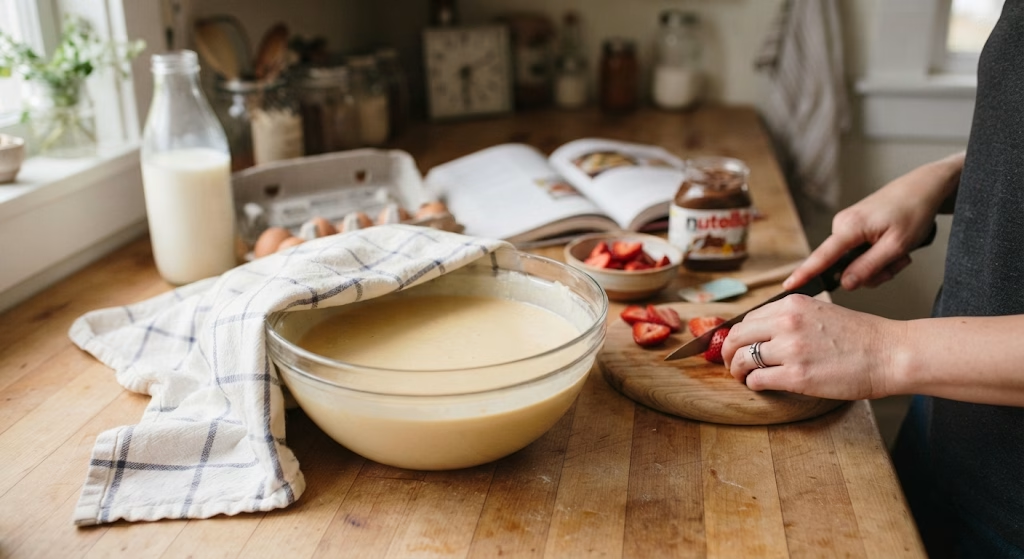
Let the batter sit for at least 10 minutes before cooking, though longer resting in the fridge gives even better results. This short rest lets the flour relax, which means your crepes turn out more tender instead of rubbery. I usually use this time to prep my filling.
Heat the Pan
Warm a lightly greased nonstick skillet over medium heat until it’s hot but not smoking. A properly heated pan is the difference between crepes that release cleanly and ones that tear apart. Test with a small drop of batter first if you’re unsure.
Cook the Crepes
Pour about ¼ cup of batter into the center of the pan and immediately swirl it around to coat the bottom in a thin, even layer. Cook for about one minute, until the edges look dry and slightly golden. Flip carefully and cook the other side for just 20 to 30 seconds more.
Fill and Serve
Stack your finished crepes on a plate as you go, keeping them covered so they stay soft. Once you’re ready to serve, spread on your favorite pumpkin crepe filling, fold or roll them up, and add any toppings you like.
Additional Tips for Making This Recipe Better
After making a lot of batches of these, here’s what actually makes a noticeable difference for me.
- I always let my batter rest, even just 10 minutes, since skipping it makes my crepes tear more easily.
- I keep my pan on medium heat instead of cranking it higher, because a pan that’s too hot browns the crepes before they cook through.
- I grease my pan lightly between each crepe instead of once at the start, which keeps every single one from sticking.
- I like using an offset spatula instead of a regular one, since it slides under the thin edges without ripping them.
- I always make a double batch since these disappear fast and freeze beautifully for later.
Common Mistakes to Avoid
- I poured too much batter into the pan my first time, and I ended up with crepes that were thick instead of thin and delicate.
- I didn’t let my batter rest once when I was in a hurry, and the crepes turned out noticeably tougher.
- I used pumpkin pie filling instead of plain pumpkin puree, and my crepes turned out way too sweet and spiced.
- I flipped my crepe too early before the edges set, and it tore right down the middle.
- I stacked my crepes while they were still steaming hot, which made them stick together in a soggy mess.
How to Serve Pumpkin Crepes?
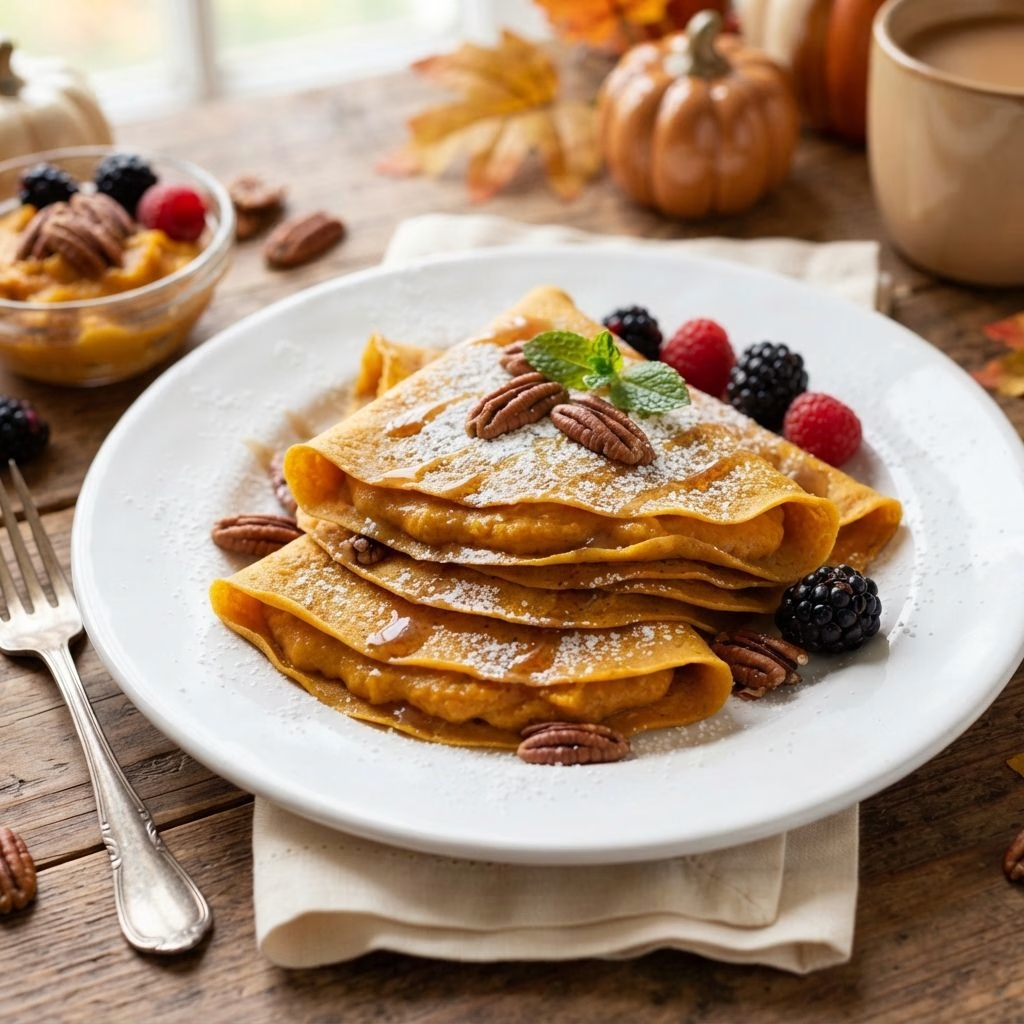
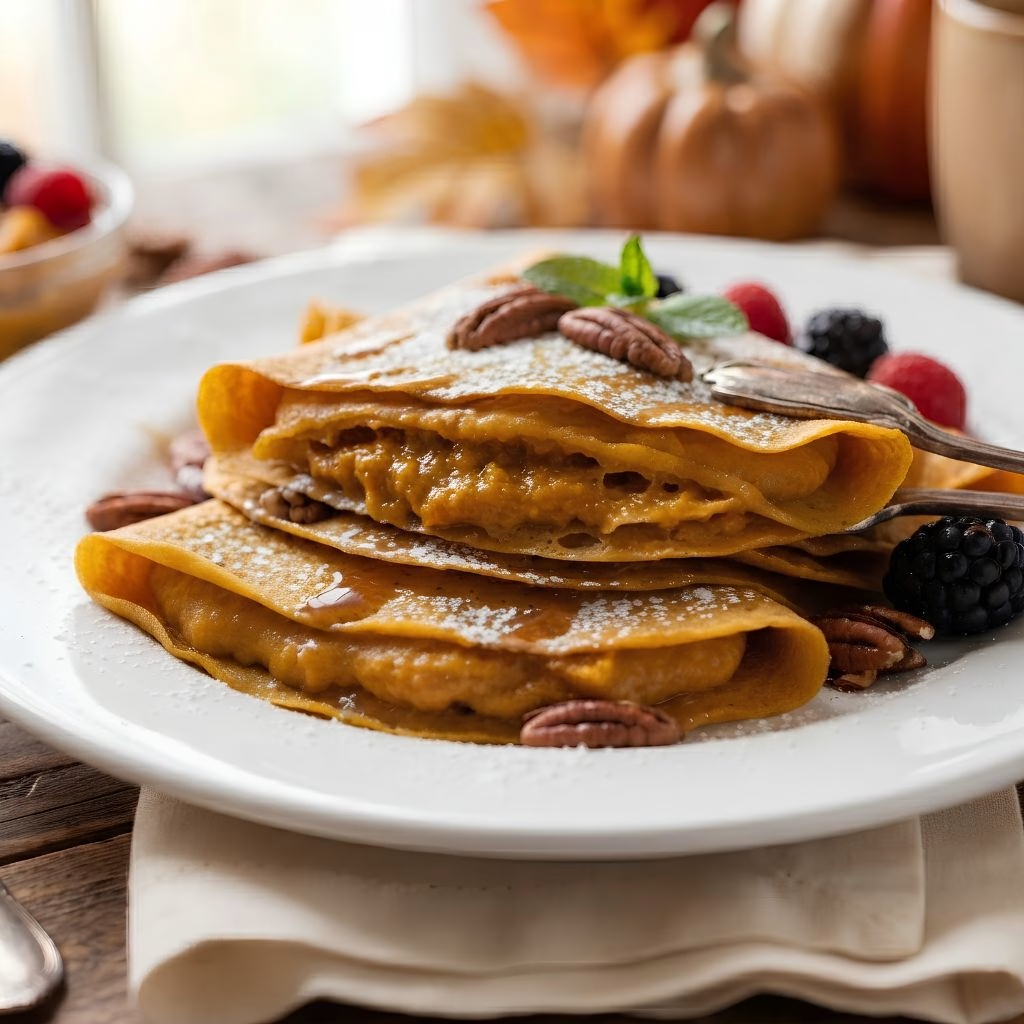
I like folding mine into quarters and fanning them out on a plate so the golden edges show. A generous dollop of whipped cream, a light dusting of extra pumpkin pie spice, and a drizzle of caramel or maple syrup make them look like they came from a brunch spot rather than my kitchen.
Sliced bananas or a handful of toasted pecans add a nice bit of texture on top. These pair wonderfully with a full fall breakfast spread, especially something like a stack of fluffy pumpkin buttermilk pancakes if you’re feeding a crowd that wants options.
Variations
- Make pumpkin crepes with cream cheese filling by whipping softened cream cheese, powdered sugar, and a splash of vanilla until fluffy
- Turn this into savory pumpkin crepes by skipping the sugar and vanilla, then filling with sautéed spinach, mushrooms, and goat cheese
- Try a gluten free pumpkin crepes version using a 1:1 gluten-free flour blend in place of all-purpose flour
- Lean into pumpkin pie crepes by folding in a bit of brown sugar and extra cinnamon, then topping with whipped cream like a slice of pie
- Skip a few extras for a 4 ingredient crepe recipe base of just flour, milk, eggs, and pumpkin puree, adding spice separately to taste
- Swap sugar for a sugar-free sweetener if you’re watching your sugar intake without losing the pumpkin flavor
Nutritional Information
Here’s a general breakdown per crepe, though the numbers will shift a bit depending on your exact filling and toppings.
- Calories: 140 kcal
- Protein: 5 g
- Carbohydrates: 17 g
- Fat: 6 g
Make Ahead and Storage
You can make the batter up to two days in advance and keep it covered in the fridge, giving the flavors even more time to settle.
Store any cooked, unfilled crepes stacked with parchment paper between them in an airtight container in the fridge, where they’ll stay fresh for about 3 days.
To freeze, layer cooked crepes with parchment paper and place them in a freezer bag for up to 2 months, then thaw in the fridge overnight before gently reheating in a warm skillet.
Why You’ll Love This Recipe?
This has become one of my favorite fall breakfast recipes for so many reasons, and I think you’ll feel the same after one bite.
- It’s quick to prepare: With a blender doing most of the work, you can have the batter ready in under a minute and crepes on the table in 25 minutes total.
- It’s endlessly versatile: Whether you want something sweet with a pumpkin crepe filling or a savory twist for dinner, the same base batter adapts easily.
- It works for different diets: A simple flour swap turns this into a gluten free pumpkin crepes option without sacrificing texture.
- It’s easy to customize: From cream cheese filling to fresh fruit and nuts, you can dress these up however fits your mood or the occasion.
FAQs
Can I use fresh pumpkin instead of canned puree?
Yes, homemade pumpkin puree works great here, just make sure it’s well-drained so your batter doesn’t turn out too watery.
Why did my crepes turn out too thick?
This usually means too much batter was poured in at once, so try using slightly less and swirling the pan quickly to spread it thin.
What are some good recipes for crepe fillings besides cream cheese?
Nutella, sliced fruit, mascarpone, or even a simple ricotta and honey blend all work beautifully alongside the pumpkin flavor.
Can I make the batter ahead of time?
Absolutely, the batter keeps well covered in the fridge for up to two days, which actually helps the crepes turn out even more tender.
Do these freeze well?
Yes, cooked and cooled crepes freeze nicely for up to two months when layered with parchment paper in a sealed freezer bag.
If you’re planning a whole fall brunch spread, these crepes also pair really nicely alongside something heartier like a batch of pumpkin spice pancakes for guests who want more than one option on the table.

Easy Pumpkin Crepes Recipe
Ingredients
Method
- Add the flour, milk, eggs, pumpkin puree, melted butter, sugar, pumpkin pie spice, vanilla, and salt into your blender. Blend everything for about 20 seconds, or until the batter looks completely smooth. Scrape down the sides if needed and give it one more quick pulse.
- Let the batter sit for at least 10 minutes before cooking, though longer resting in the fridge gives even better results. This short rest lets the flour relax, which means your crepes turn out more tender instead of rubbery. I usually use this time to prep my filling.
- Warm a lightly greased nonstick skillet over medium heat until it’s hot but not smoking. A properly heated pan is the difference between crepes that release cleanly and ones that tear apart. Test with a small drop of batter first if you’re unsure.
- Pour about ¼ cup of batter into the center of the pan and immediately swirl it around to coat the bottom in a thin, even layer. Cook for about one minute, until the edges look dry and slightly golden. Flip carefully and cook the other side for just 20 to 30 seconds more.
- Stack your finished crepes on a plate as you go, keeping them covered so they stay soft. Once you’re ready to serve, spread on your favorite pumpkin crepe filling, fold or roll them up, and add any toppings you like.
Notes
- I always let my batter rest, even just 10 minutes, since skipping it makes my crepes tear more easily.
- I keep my pan on medium heat instead of cranking it higher, because a pan that’s too hot browns the crepes before they cook through.
- I grease my pan lightly between each crepe instead of once at the start, which keeps every single one from sticking.
- I like using an offset spatula instead of a regular one, since it slides under the thin edges without ripping them.
- I always make a double batch since these disappear fast and freeze beautifully for later.