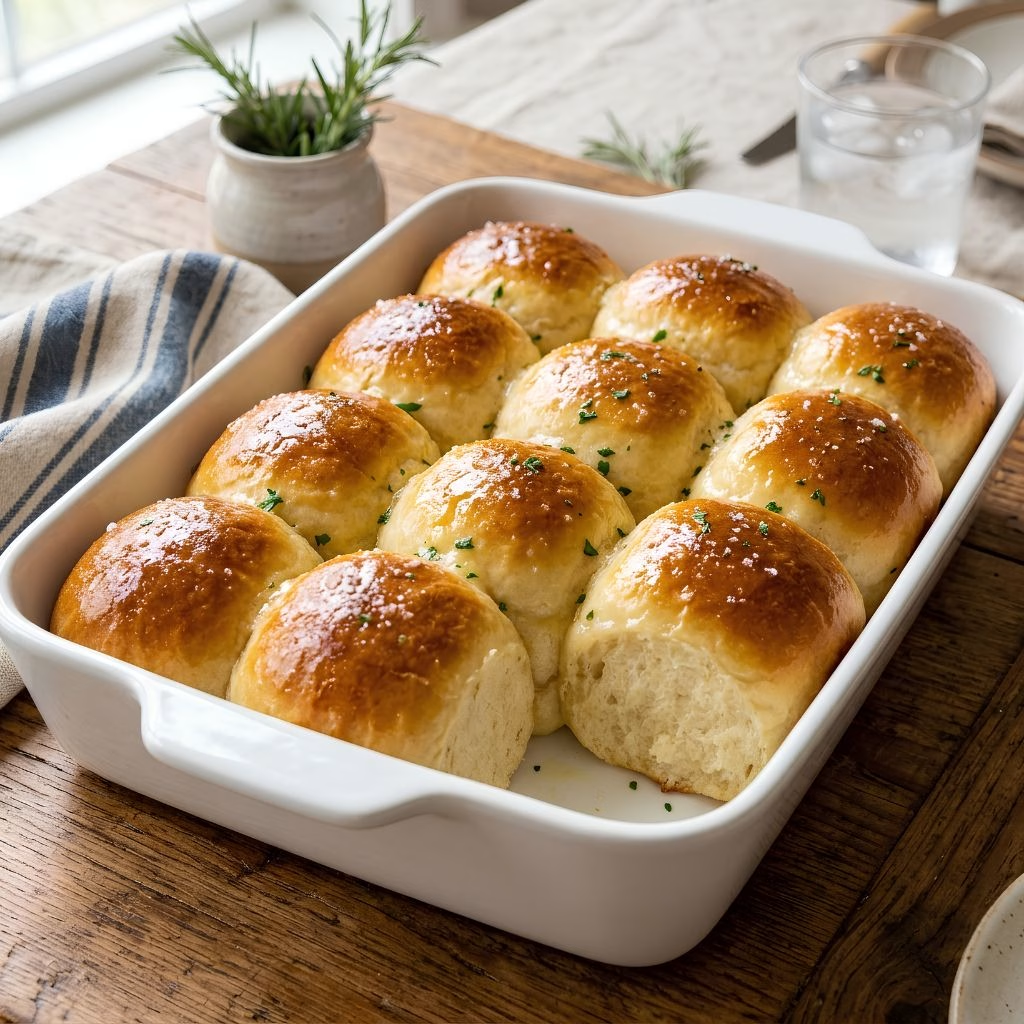
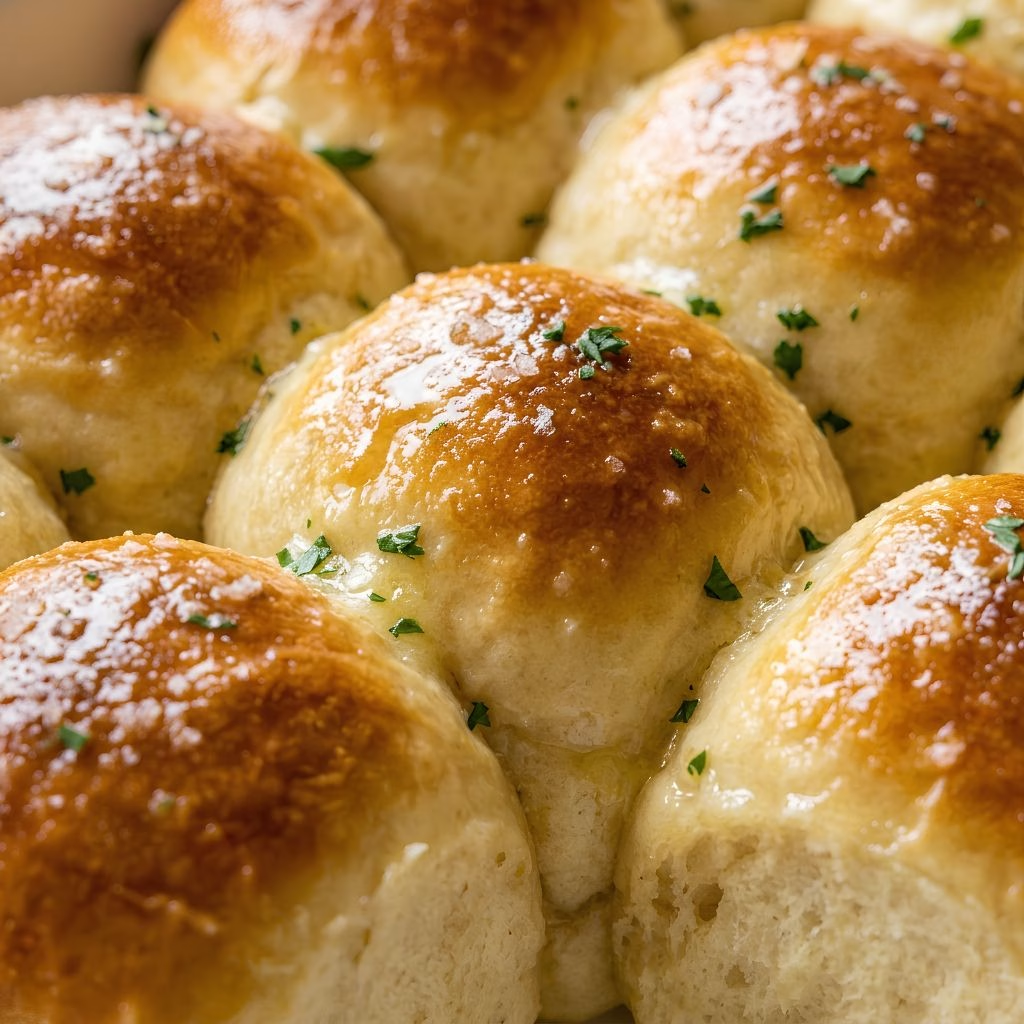
I still remember the first time I pulled a tray of this Easy Homemade Dinner Roll Recipe out of my oven and watched them puff up golden and soft. I honestly didn’t expect homemade bread to come together this easily.
Ever since that first batch, I’ve made these dinner rolls for every holiday table, Sunday dinner, and random Tuesday night when I just need something warm and buttery. If you’ve ever been nervous about baking with yeast, this is the recipe that will change your mind for good.

Cooking Time
- Prep Time: 20 minutes
- Rise Time: 1 hour 30 minutes
- Cooking Time: 18 minutes
- Total Time: 2 hours 8 minutes
Ingredients
- 4 cups all-purpose flour, spooned and leveled, plus a little extra for kneading
- 2 1/4 teaspoons instant or active dry yeast, make sure it isn’t expired or the rolls won’t rise
- 1/4 cup warm water, around 110°F, too hot will kill the yeast
- 1 cup whole milk, warmed gently, whole milk gives the softest crumb
- 1/4 cup unsalted butter, melted and slightly cooled
- 1/4 cup granulated sugar, feeds the yeast and keeps the rolls tender
- 1 1/2 teaspoons salt, balances the sweetness and strengthens the dough
- 1 large egg, for an egg wash that gives the tops a beautiful golden shine
- 2 tablespoons melted butter, for brushing the hot rolls right out of the oven
Note: this recipe makes about 12 soft dinner rolls, enough for a family dinner or a small gathering.
Equipment You Need
- Large mixing bowl, for proofing the yeast and mixing the dough
- Stand mixer with a dough hook, makes kneading faster, though hand kneading works too
- Measuring cups and spoons, for accurate ingredient amounts
- 9×13-inch baking pan, keeps the rolls close together so they rise up soft and tall
- Clean kitchen towel, for covering the dough while it rises
- Pastry brush, for applying the egg wash and melted butter
How to Make an Easy Homemade Dinner Rolls Recipe?
This dough comes together in just a few simple stages, and none of them require any special skill. I promise that if you’ve never made bread before, this is still a great place to start.
Activate the Yeast
I start by stirring the yeast into the warm water and letting it sit for about five minutes until it turns foamy on top. This step tells me the yeast is alive and ready to work. If nothing happens after five minutes, I toss it and start over with fresh yeast rather than risking flat rolls.
Mix the Wet Ingredients
While the yeast rests, I whisk together the warm milk, melted butter, sugar, and the egg in a separate bowl. I like to make sure the milk isn’t too hot, since that can scramble the egg or stall the yeast. Once the yeast mixture looks foamy, I pour it right into this bowl and give everything a quick stir.
Form the Dough
Next, I add the flour and salt into my mixer bowl and pour in the wet mixture. Using the dough hook, I let it mix on low speed until a shaggy dough forms, then increase the speed slightly. The dough should pull away from the sides of the bowl but still feel a little tacky to the touch.
Knead Until Smooth
I knead the dough for about six to eight minutes, either in the mixer or by hand on a floured surface. I’m looking for a soft, smooth, elastic texture that springs back slightly when I poke it. This is what gives the rolls their fluffy structure once baked.
First Rise
I place the dough in a lightly greased bowl, cover it with a towel, and set it somewhere warm for about an hour. I know it’s ready when it has doubled in size. On cooler days, I turn my oven light on and let the dough rise inside with the door closed for a gentle, draft-free spot.
Shape the Rolls
Once risen, I punch the dough down gently to release the air, then divide it into twelve equal pieces. I roll each piece into a tight little ball by cupping my hand over the dough and rolling it in small circles against the counter, which creates that smooth, rounded top.
Second Rise
I arrange the shaped rolls in a greased baking pan, leaving a little space between them, then cover and let them rise again for about 30 to 45 minutes. They should look puffy and almost touching each other by the time they’re ready for the oven.
Bake to Golden Perfection
Before baking, I brush the tops with a light egg wash for that glossy, golden finish. I bake them at 375°F for 16 to 18 minutes, until the tops are deeply golden and the rolls sound slightly hollow when tapped.
Brush with Butter and Serve
As soon as they come out of the oven, I brush the hot rolls generously with melted butter. This step is non-negotiable for me, it keeps the tops soft and adds that irresistible buttery shine everyone notices first.
Additional Tips for Making This Recipe Better
I’ve made these rolls more times than I can count, and here are a few things I’ve learned along the way.
- I always check that my milk and water are warm, not hot, since overheated liquid kills yeast before it even gets a chance to work.
- I weigh my flour when I can, because scooping straight from the bag tends to pack in too much and leaves the rolls dense.
- I let the dough rise in a warm, draft-free spot, which makes a noticeable difference in how tall and fluffy my rolls turn out.
- I brush the rolls with butter twice, once before baking is optional, but always right after, since that second brush keeps them soft for days.
- I like tucking a few pieces of my dough into a batch of soft air fryer pretzels when I have extra dough left over after shaping my rolls.
Common Mistakes to Avoid
- I’ve learned the hard way that using liquid that’s too hot kills the yeast instantly, so I always test it on my wrist first.
- I used to rush the rising time, and the rolls came out dense and small, now I always let them fully double before moving on.
- I once added too much flour while kneading because the dough felt sticky, but a little tackiness is normal and actually gives softer rolls.
- I forgot to cover my dough while it rose one time and it dried out on top, so now I always use a damp towel or plastic wrap.
- I’ve overbaked rolls before by leaving them in a few extra minutes, so now I start checking at the 15-minute mark to avoid dry edges.
How to Serve Easy Homemade Dinner Rolls?
I love piling these rolls into a cloth-lined basket so the steam stays trapped and they stay warm at the table. A small dish of softened butter or honey butter on the side always disappears fast.
For holidays, I like dusting a little flaky sea salt or fresh chopped herbs over the tops right after brushing with butter, which makes them look bakery-worthy with almost no extra effort. These rolls also pair beautifully with a side like my everything bagel pretzels for a fun bread basket spread when I’m hosting a bigger crowd.
Variations
- Swap the whole milk for a dairy-free alternative like oat or almond milk if needed.
- Use honey in place of sugar for a slightly deeper, more natural sweetness.
- Add a sprinkle of garlic powder and dried herbs to the dough for a savory twist.
- Mix shredded cheese into the dough before shaping for cheesy pull-apart rolls.
- Brush the baked rolls with garlic butter instead of plain butter for extra flavor.
- Replace a cup of all-purpose flour with whole wheat flour for a heartier, nuttier roll.
Nutritional Information
Here’s a general idea of what you can expect per roll, though exact values will vary based on your specific ingredients.
- Calories: approximately 160 per roll
- Protein: approximately 4 grams per roll
- Carbohydrates: approximately 24 grams per roll
- Fat: approximately 5 grams per roll
Make Ahead and Storage
To make these ahead, I shape the rolls and place them in the pan, then cover and refrigerate the unbaked dough overnight. The next day, I let them sit at room temperature for about 30 minutes before baking as usual.
For storage, I keep leftover baked rolls in an airtight container at room temperature for up to two days, or in the fridge for about five days. A quick 10-second zap in the microwave brings back that fresh-baked softness.
To freeze, I wrap the fully cooled baked rolls tightly in foil and place them in a freezer bag for up to three months. I thaw them at room temperature, then warm them in a 300°F oven for about 10 minutes before serving.
Why You’ll Love This Recipe
These dinner rolls have earned a permanent spot in my recipe rotation, and here’s why.
- Easy for beginners: the steps are simple and forgiving, so even a first attempt at yeast baking usually turns out great.
- Incredibly soft texture: the combination of milk, butter, and egg keeps the crumb tender and pillowy for days.
- Flexible for any occasion: these rolls work for casual weeknight dinners just as well as they do for holiday spreads.
- Freezer-friendly: I can make a big batch ahead of time and always have fresh-tasting rolls ready to go.
- Customizable: from cheesy to herby to whole wheat, this dough adapts to whatever flavor I’m craving that day.
FAQs
Can I use active dry yeast instead of instant yeast?
Yes, active dry yeast works fine, just proof it in the warm water for a full five to ten minutes until foamy before using it.
Why didn’t my dinner rolls rise?
This usually means the yeast was expired or the liquid was too hot, so always check both before mixing your dough.
Can I make these dinner rolls without a stand mixer?
Absolutely, you can knead the dough by hand on a floured surface for about eight to ten minutes until smooth and elastic.
How do I know when the rolls are fully baked?
The tops should be deeply golden and the rolls should sound slightly hollow when you tap the bottom of one.
Can I make these into bigger buns instead of small rolls?
Yes, just divide the dough into fewer, larger pieces and add a few extra minutes to the baking time until golden throughout.

Easy Homemade Dinner Roll Recipe
Ingredients
Method
- I start by stirring the yeast into the warm water and letting it sit for about five minutes until it turns foamy on top. This step tells me the yeast is alive and ready to work. If nothing happens after five minutes, I toss it and start over with fresh yeast rather than risking flat rolls.
- While the yeast rests, I whisk together the warm milk, melted butter, sugar, and the egg in a separate bowl. I like to make sure the milk isn’t too hot, since that can scramble the egg or stall the yeast. Once the yeast mixture looks foamy, I pour it right into this bowl and give everything a quick stir.
- Next, I add the flour and salt into my mixer bowl and pour in the wet mixture. Using the dough hook, I let it mix on low speed until a shaggy dough forms, then increase the speed slightly. The dough should pull away from the sides of the bowl but still feel a little tacky to the touch.
- I knead the dough for about six to eight minutes, either in the mixer or by hand on a floured surface. I’m looking for a soft, smooth, elastic texture that springs back slightly when I poke it. This is what gives the rolls their fluffy structure once baked.
- I place the dough in a lightly greased bowl, cover it with a towel, and set it somewhere warm for about an hour. I know it’s ready when it has doubled in size. On cooler days, I turn my oven light on and let the dough rise inside with the door closed for a gentle, draft-free spot.
- Once risen, I punch the dough down gently to release the air, then divide it into twelve equal pieces. I roll each piece into a tight little ball by cupping my hand over the dough and rolling it in small circles against the counter, which creates that smooth, rounded top.
- I arrange the shaped rolls in a greased baking pan, leaving a little space between them, then cover and let them rise again for about 30 to 45 minutes. They should look puffy and almost touching each other by the time they’re ready for the oven.
- Before baking, I brush the tops with a light egg wash for that glossy, golden finish. I bake them at 375°F for 16 to 18 minutes, until the tops are deeply golden and the rolls sound slightly hollow when tapped.
- As soon as they come out of the oven, I brush the hot rolls generously with melted butter. This step is non-negotiable for me, it keeps the tops soft and adds that irresistible buttery shine everyone notices first.
Notes
- I always check that my milk and water are warm, not hot, since overheated liquid kills yeast before it even gets a chance to work.
- I weigh my flour when I can, because scooping straight from the bag tends to pack in too much and leaves the rolls dense.
- I let the dough rise in a warm, draft-free spot, which makes a noticeable difference in how tall and fluffy my rolls turn out.
- I brush the rolls with butter twice, once before baking is optional, but always right after, since that second brush keeps them soft for days.