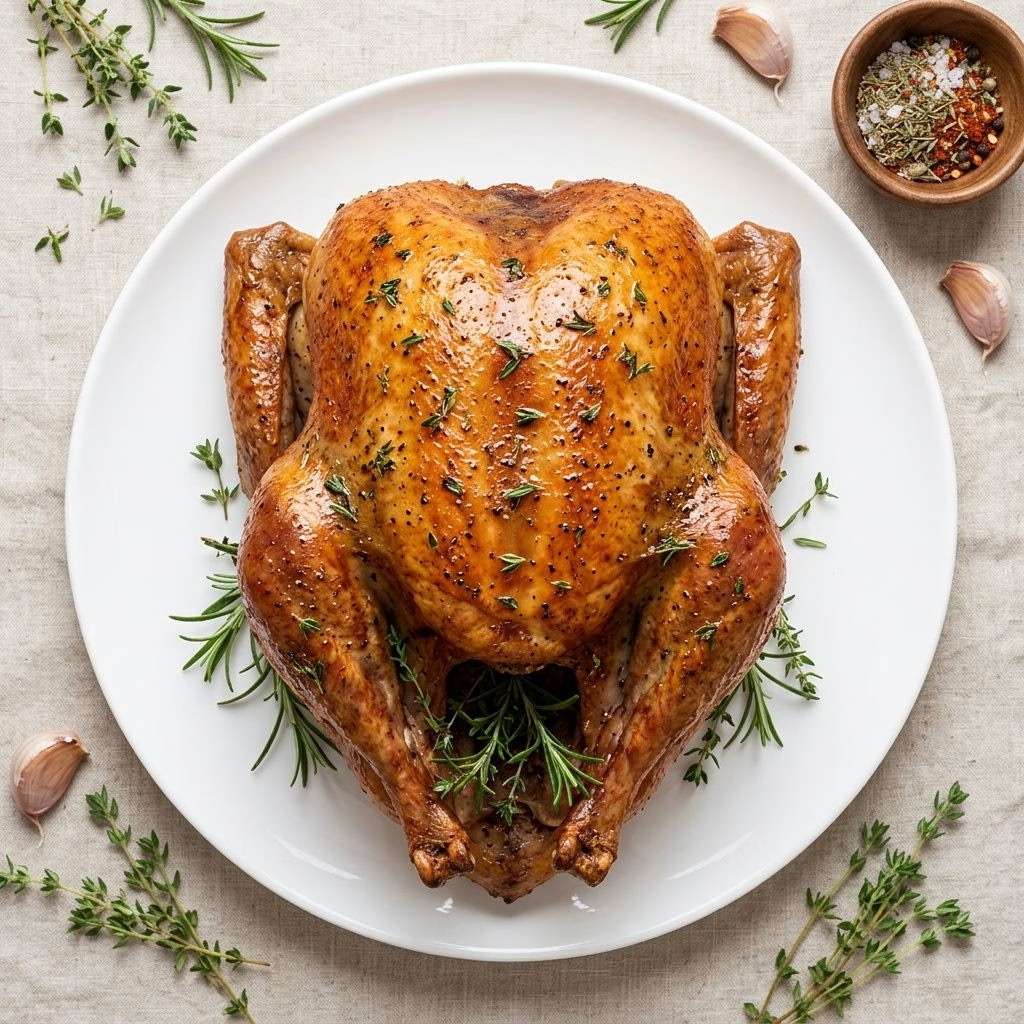
I’ve roasted more turkeys than I can count over the years, and I can tell you this straight away: the secret isn’t butter, basting, or luck. It’s brining. The first time I dry brined a turkey instead of wrestling with a giant bucket of salty water, I honestly couldn’t believe how much juicier it turned out.
Every slice stayed moist, the skin went beautifully golden, and I didn’t have to babysit the oven every twenty minutes. This is the method I now use every single Thanksgiving and Christmas, and once you try it, I don’t think you’ll ever go back to a plain, un-brined turkey again.
Cooking Time
- Prep Time: 25 minutes (plus 2 days dry brining in the fridge)
- Cooking Time: Around 1 hour 45 minutes to 2 hours 45 minutes, depending on turkey size
- Total Time: About 2 days 2 hours (mostly hands-off brining time)
Ingredients
For the Dry Brine Rub:
- 10 lb / 5 kg whole turkey, fully or partially thawed — a plain turkey, never a pre-brined or “self-basting” one
- 2 1/2 tablespoons kosher salt — this is what pulls moisture in and keeps every bite tender
- 2 teaspoons dried thyme — adds a warm, earthy base note under the skin
- 1 teaspoon paprika — gives the skin a gorgeous golden-red tint as it roasts
- 1 teaspoon garlic powder — a subtle savoury boost that works through the whole bird
- 1/2 teaspoon black pepper — just enough to balance the salt without overpowering it
For Roasting:
- 2 heads garlic, halved — roasted whole, these turn sweet and mellow and flavour the pan juices
- 1 onion, halved, skin on — forms the base of a rich, deeply flavoured gravy later
- 2 small bunches mixed herbs (sage, rosemary, thyme, parsley) — one goes inside the turkey, one into the pan for aroma
- 10 tablespoons (150 g) unsalted butter, melted — this is what gives that irresistible glossy, crisp skin
- 1 tablespoon finely chopped sage, rosemary and thyme — added late so the herbs don’t scorch
- 3 garlic cloves, minced — mixed into the final butter baste for a punch of flavour
- 1 1/2 cups dry white wine (or water) — keeps the pan juices loose and adds depth to the gravy
- Salt and pepper, to taste
For the Gravy:
- 4 cups low-sodium chicken broth — the backbone of a smooth, flavourful gravy
- 5 tablespoons plain flour — thickens the gravy without clumping if whisked in slowly
- Salt and pepper, to taste
Note: This recipe serves 10 to 12 people generously, with leftovers for sandwiches the next day.
Equipment You Need
- Large roasting pan — holds the turkey, vegetables and pan juices together
- Roasting rack — keeps the turkey elevated so air and heat circulate evenly
- Plastic cling wrap or a large sealable bag — used to “mummy wrap” the turkey while it brines
- Meat thermometer — the only reliable way to know your turkey is safely cooked
- Kitchen twine — ties the legs together so the bird roasts evenly
- Basting brush — spreads that garlic herb butter evenly over the skin
- Small saucepan — for whisking together the gravy on the stovetop
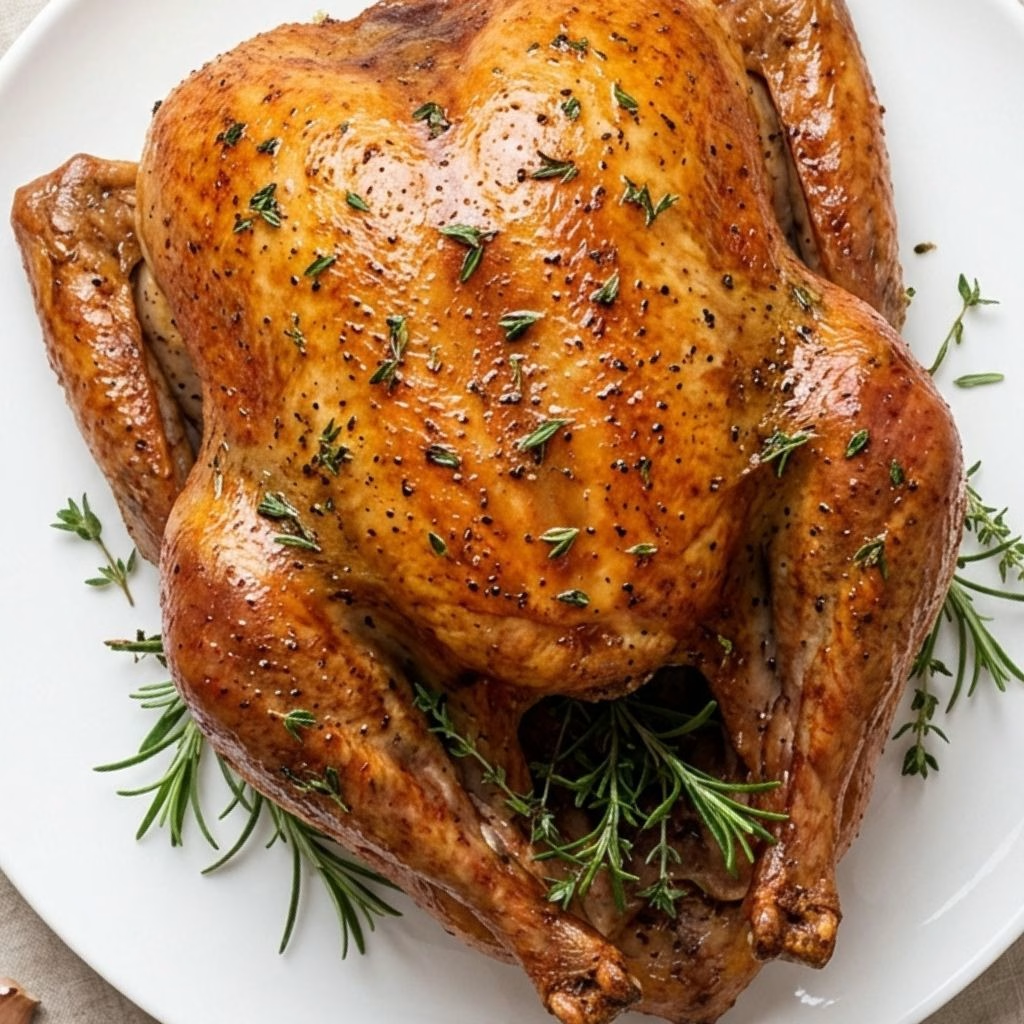
How to Make Juicy Roast Turkey Recipe?
I know a whole turkey can feel intimidating if you’ve never tackled one, but this process is really just rubbing, wrapping, flipping and roasting. Nothing fancy, nothing that requires special skill. Let me walk you through exactly how I do it from start to finish.
Step 1: Mix the Dry Brine Rub
I start by stirring together the kosher salt, dried thyme, paprika, garlic powder and black pepper in a small bowl. This simple mix is doing all the heavy lifting here, so make sure it’s well combined before it touches the turkey.
Step 2: Prep the Turkey
I pat the turkey completely dry with paper towels, inside and out, and remove the giblets from the cavity. A dry surface helps the salt rub stick properly and also helps the skin crisp up later in the oven.
Step 3: Apply the Rub
I sprinkle a little rub inside the cavity first, then flip the turkey over to season the underside, and finally rub the rest generously over the breast and legs, working a bit under the skin if I can. Don’t be shy with the breast it needs the most help staying juicy.
Step 4: Wrap and Refrigerate
Next, I wrap the turkey tightly in cling wrap, almost like a mummy, so the salt stays pressed against the skin. It goes into the fridge, breast-side down, for 48 hours, and I flip it over halfway through that time.
Step 5: Unwrap and Rest Before Roasting
About 30 minutes before roasting, I unwrap the turkey and pat off any extra moisture. The skin should look slightly tacky, not wet. I leave it out briefly so it isn’t ice-cold going into the oven.
Step 6: Stuff and Prep the Pan
I lay the onion and garlic halves in the roasting pan and set a rack on top. Inside the turkey cavity, I stuff a bundle of fresh herbs, a couple of garlic halves and a few tablespoons of butter for extra flavour as it roasts.
Step 7: Roast Upside Down First
I place the turkey breast-side down on the rack, brush it with melted butter, and roast it at a high temperature for 30 minutes. Starting upside down lets the juices settle into the breast meat, which is usually the driest part.
Step 8: Flip, Baste and Lower the Heat
Using clean kitchen towels, I carefully flip the turkey breast-side up, brush it again with butter, and drop the oven temperature. This is where the bird really starts turning that gorgeous golden colour.
Step 9: Baste with Garlic Herb Butter
Partway through roasting, I mix the remaining butter with minced garlic and chopped herbs, then brush it generously over the skin. Adding it now, rather than earlier, stops the garlic from burning.
Step 10: Check Temperature and Rest
Once the thickest part of the thigh reads 165°F / 75°C on a meat thermometer, I pull the turkey out, loosely tent it with foil, and let it rest for a full 30 minutes before carving. This resting step is non-negotiable for juicy meat.
Additional Tips for Making This Recipe Better
I’ve made plenty of mistakes over the years, so here’s what actually moves the needle for me now:
- I always use a thermometer instead of guessing it’s saved me from both dry and undercooked turkey more than once.
- I never skip the resting time, even when everyone at the table is hungry and staring at the bird.
- I keep a close eye on the garlic in the final butter baste, because it burns fast once the skin starts browning.
- I make sure the turkey is fully thawed on the outside before rubbing on the salt, even if the inside is still a little icy.
- I save the pan drippings religiously, because that’s where all the gravy flavour is hiding.
Common Mistakes to Avoid
- I used to rinse the turkey before roasting, but that’s unnecessary and can spread bacteria around my sink. Patting dry is enough.
- I once used a pre-brined, self-basting turkey with this rub and it turned out far too salty, so I always double check the label first.
- I learned the hard way that stuffing the cavity with bread stuffing overcooks the meat around it, so I only stuff with herbs, garlic and butter now.
- I tried skipping the flip step once to save time, and the breast turned out noticeably less juicy than usual.
- I’ve opened the oven door too often in the past just to peek, which drops the temperature and stretches out my cooking time.
How to Serve Juicy Roast Turkey?
I like to let the turkey rest right on the cutting board, loosely tented, before moving it to a big platter for presentation. For a simple but striking look, I lay a bed of fresh greens like watercress or parsley underneath the bird, then scatter orange wedges and fresh cranberries around the edges for pops of colour.
A warm gravy boat on the side is essential, and I usually add a bowl of cranberry sauce too, since the tartness cuts through all that richness beautifully. Carve at the table if you can, it makes for a lovely bit of theatre, and everyone gets to see just how juicy those slices really are.
Variations
- Swap the butter for a dairy-free alternative or olive oil if you’re cooking for guests who avoid dairy.
- Use smoked paprika instead of sweet paprika for a deeper, slightly smoky flavour in the rub.
- Add orange or lemon zest to the garlic herb butter for a brighter, citrusy finish.
- Try apple cider instead of white wine in the roasting pan for a touch of natural sweetness.
- Mix in a pinch of cayenne or chili flakes to the rub if you like a little heat under that crispy skin.
Nutritional Information
Here’s a rough idea of what you’re looking at per serving, though actual values will vary based on portion size and how much butter you use:
- Calories: approximately 420 kcal
- Protein: approximately 48 g
- Carbohydrates: approximately 3 g
- Fat: approximately 22 g
Make Ahead and Storage
You can dry brine the turkey up to 3 days ahead, which actually makes the flavour even better, though I wouldn’t go beyond that for food safety reasons.
Leftover cooked turkey keeps well in an airtight container in the fridge for 3 to 4 days, and it reheats nicely in a covered dish with a splash of broth to keep it moist.
For longer storage, sliced turkey freezes well for up to 2 months just thaw it in the fridge overnight and reheat gently so it doesn’t dry out.
Why You’ll Love This Recipe?
Once you try dry brining, it genuinely changes how you feel about cooking turkey altogether. Here’s why this one has become my go-to every single year:
- It’s genuinely foolproof. Even if you’ve had dry, disappointing turkey before, the dry brine does most of the work for you, so the margin for error is much smaller.
- It’s far less messy than wet brining. There’s no giant bucket of salty water to lug around or find fridge space for, which makes the whole process so much calmer.
- The flavour is unmatched. Because the turkey brines in its own juices rather than diluted water, it actually tastes like turkey, not just salt water.
- It’s flexible for any size bird. Whether you’re cooking a small turkey breast or a full 16 lb turkey, the same method and ratios scale easily.
- The gravy practically makes itself. Since the pan juices aren’t overly salty, you get a rich, well-balanced gravy straight from the drippings, no extra fixing required.
If you’re planning a full holiday spread, this turkey pairs beautifully with a side of creamy mashed potatoes, which soak up all that extra gravy perfectly.
FAQs
Can I dry brine a partially frozen turkey?
Yes, as long as the skin is thawed enough to rub the salt in properly, the inside can still be a little icy and it will finish thawing as it brines.
How long should I brine the turkey?
Two days is ideal for the best flavour and texture, though even one night in the fridge is far better than skipping the brine altogether.
Can I use table salt instead of kosher salt?
You can, but reduce the quantity slightly since table salt is finer and more concentrated, or you risk an overly salty turkey.
Do I need to stuff the turkey with bread stuffing?
No, and I actually recommend against it, since stuffed turkey takes longer to cook and often ends up drier. Bake your stuffing separately instead, much like this comforting chicken casserole that works well as a holiday side.
How do I know the turkey is fully cooked?
Insert a meat thermometer between the leg and the breast; it should read 165°F / 75°C. If the juices run clear instead of pink, that’s another good sign it’s done.

Juicy Roast Turkey Recipe
Ingredients
Method
- I start by stirring together the kosher salt, dried thyme, paprika, garlic powder and black pepper in a small bowl. This simple mix is doing all the heavy lifting here, so make sure it’s well combined before it touches the turkey.
- I pat the turkey completely dry with paper towels, inside and out, and remove the giblets from the cavity. A dry surface helps the salt rub stick properly and also helps the skin crisp up later in the oven.
- I sprinkle a little rub inside the cavity first, then flip the turkey over to season the underside, and finally rub the rest generously over the breast and legs, working a bit under the skin if I can. Don’t be shy with the breast — it needs the most help staying juicy.
- Next, I wrap the turkey tightly in cling wrap, almost like a mummy, so the salt stays pressed against the skin. It goes into the fridge, breast-side down, for 48 hours, and I flip it over halfway through that time.
- About 30 minutes before roasting, I unwrap the turkey and pat off any extra moisture. The skin should look slightly tacky, not wet. I leave it out briefly so it isn’t ice-cold going into the oven.
- I lay the onion and garlic halves in the roasting pan and set a rack on top. Inside the turkey cavity, I stuff a bundle of fresh herbs, a couple of garlic halves and a few tablespoons of butter for extra flavour as it roasts.
- I place the turkey breast-side down on the rack, brush it with melted butter, and roast it at a high temperature for 30 minutes. Starting upside down lets the juices settle into the breast meat, which is usually the driest part.
- Using clean kitchen towels, I carefully flip the turkey breast-side up, brush it again with butter, and drop the oven temperature. This is where the bird really starts turning that gorgeous golden colour.
- Partway through roasting, I mix the remaining butter with minced garlic and chopped herbs, then brush it generously over the skin. Adding it now, rather than earlier, stops the garlic from burning.
- Once the thickest part of the thigh reads 165°F / 75°C on a meat thermometer, I pull the turkey out, loosely tent it with foil, and let it rest for a full 30 minutes before carving. This resting step is non-negotiable for juicy meat.
Notes
- I always use a thermometer instead of guessing it’s saved me from both dry and undercooked turkey more than once.
- I never skip the resting time, even when everyone at the table is hungry and staring at the bird.
- I keep a close eye on the garlic in the final butter baste, because it burns fast once the skin starts browning.
- I make sure the turkey is fully thawed on the outside before rubbing on the salt, even if the inside is still a little icy.
- I save the pan drippings religiously, because that’s where all the gravy flavour is hiding.